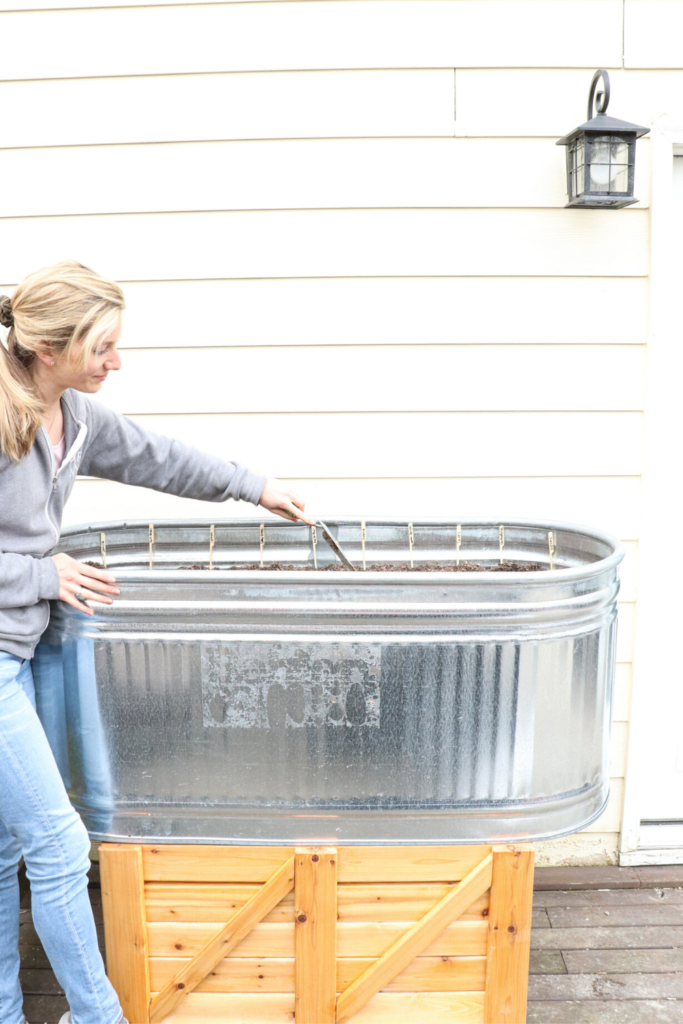
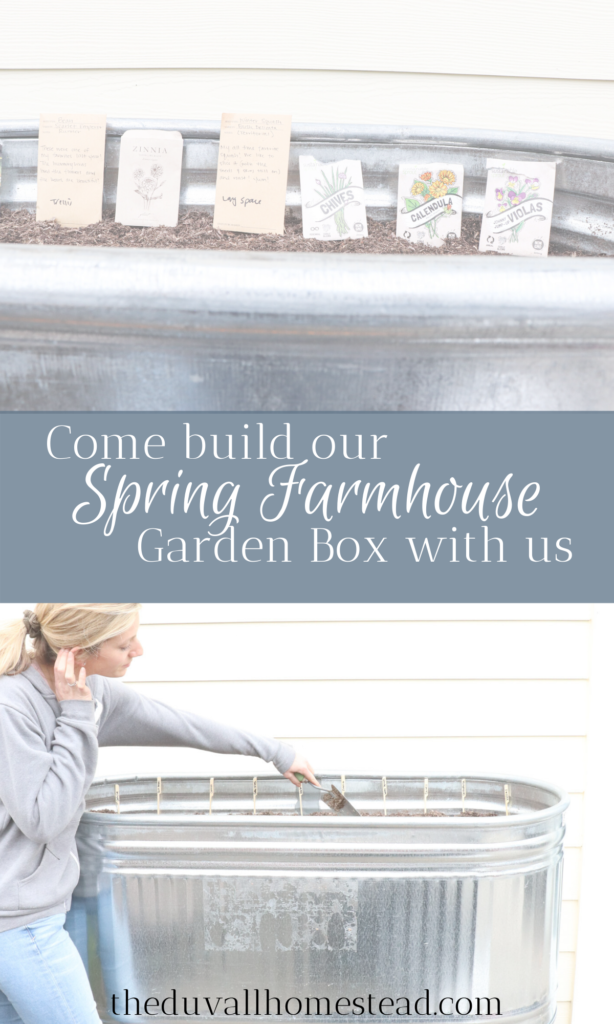
We have two different gardens in our small homestead backyard. This year we chose to use a galvanized horse trough for a planter box and build a cedar wood stand under it. That way, we’ll have one planter box on the deck and the other on the ground. Come see how we built a stand for our trough planter box and filled it to get ready for spring at the homestead.
Note: This post main contain affiliate links, which means I make a small commission off items you buy at no charge to you.
Time for Spring!
It’s spring, it’s spring, it’s spring!
I was just talking to my parents the other day and telling them how spring has been so great for us this year. Our chickens took a break from laying eggs in the winter, but they started back up in February which was earlier than I expected. Then we had a few weeks of solid sunshine after that. So, we’ve been in spring mode for a while now.
There is nothing better than looking outside your window and seeing your plants sprouting and growing new buds for spring. New life, fresh starts, and so much inspiration to look forward to.
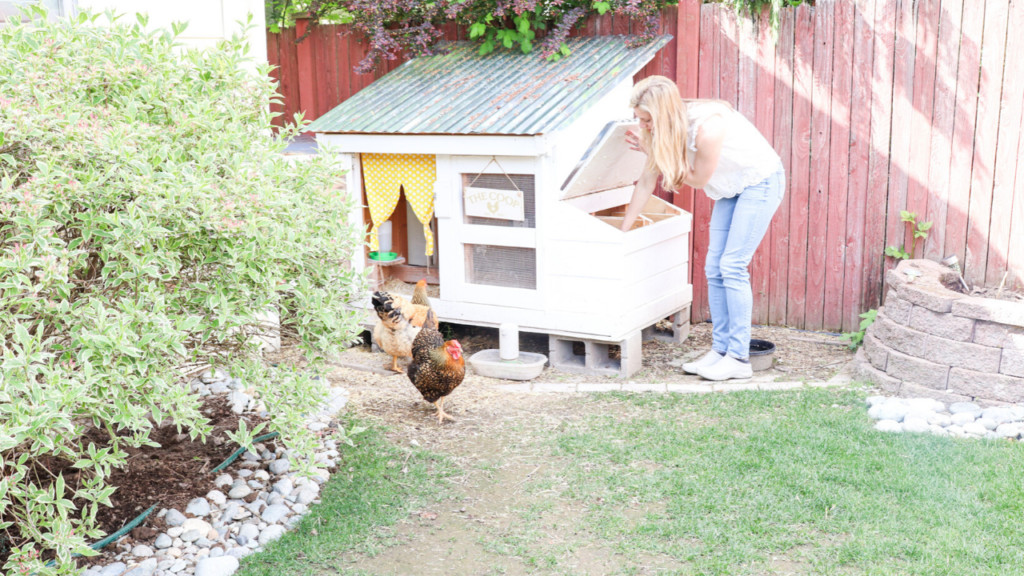
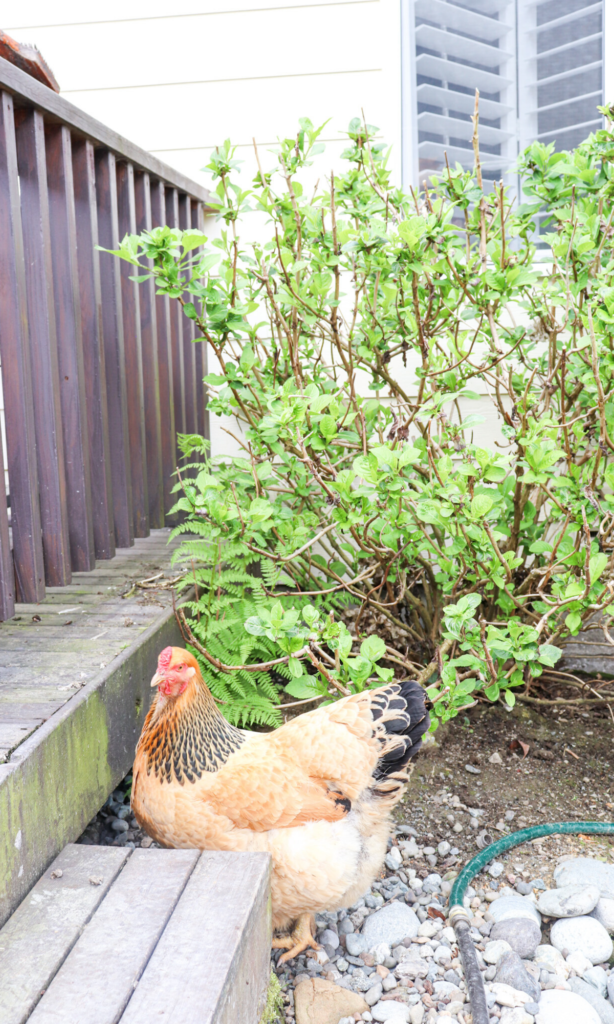
Come see how our chickens held up in the winter time at the farmhouse. Looking back at all this snow makes me especially thankful for the sunshine this spring!
WATCH: Come plant our spring garden with us at our farmhouse!
Making the Best Use of Your Space
One of the things that was important to us when we were thinking about spring planting at the farmhouse was making the best use of space. Our backyard is a simple rectangle but the deck takes up half of it. Long story short, we don’t have a lot of ground space. We have one planter box on the ground but we wanted to add a second one.
So, we decided to make it a raised bed and have it up on the deck. That way the chickens can’t get to it (at least we didn’t think they could) and we could walk right out from the door and pick our veggies. I mean is there anything better than that?
I forgot to mention the other big goal was to grow carrots. We knew carrots needed 1 to 2 feet of depth to grow properly.
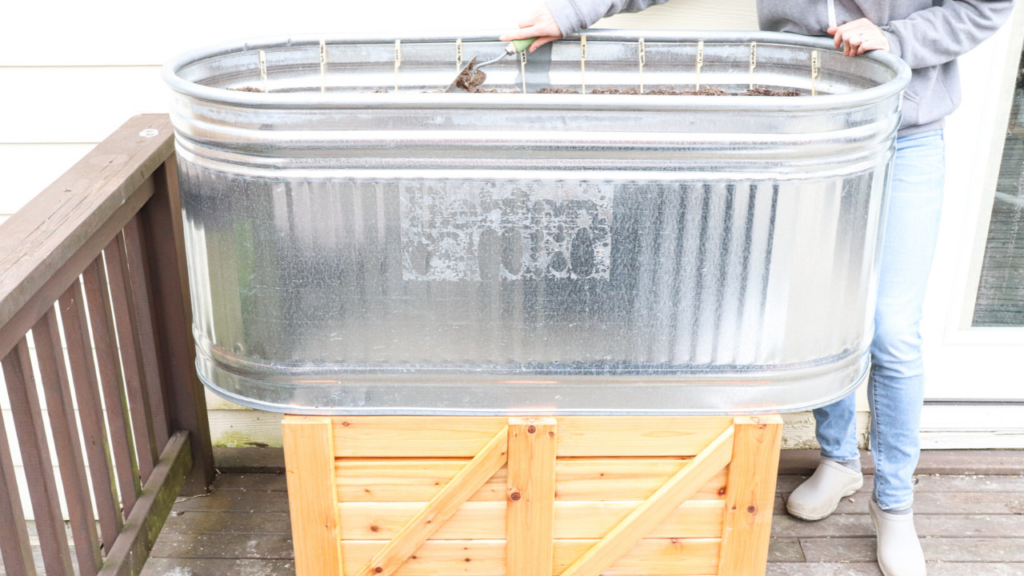
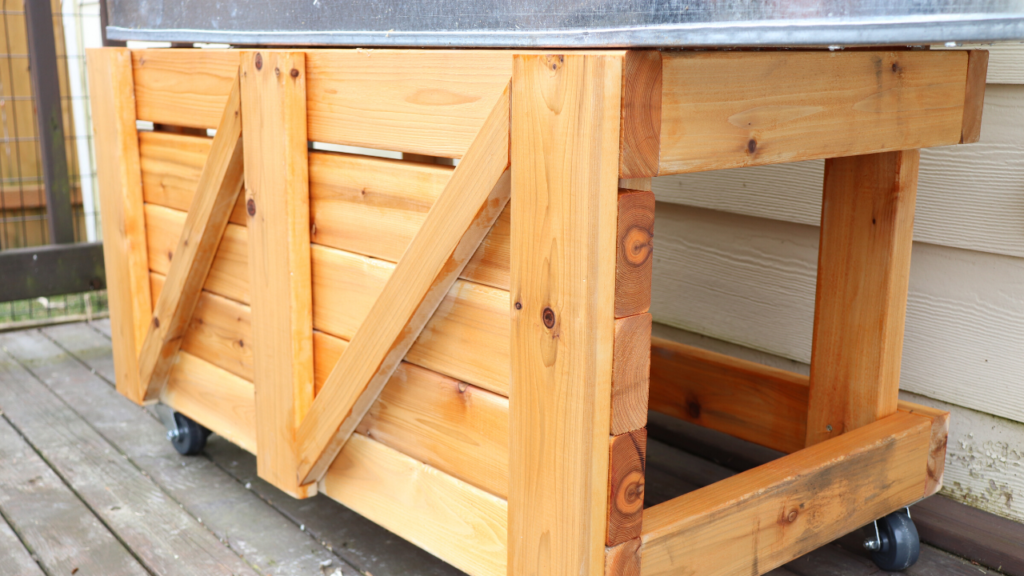
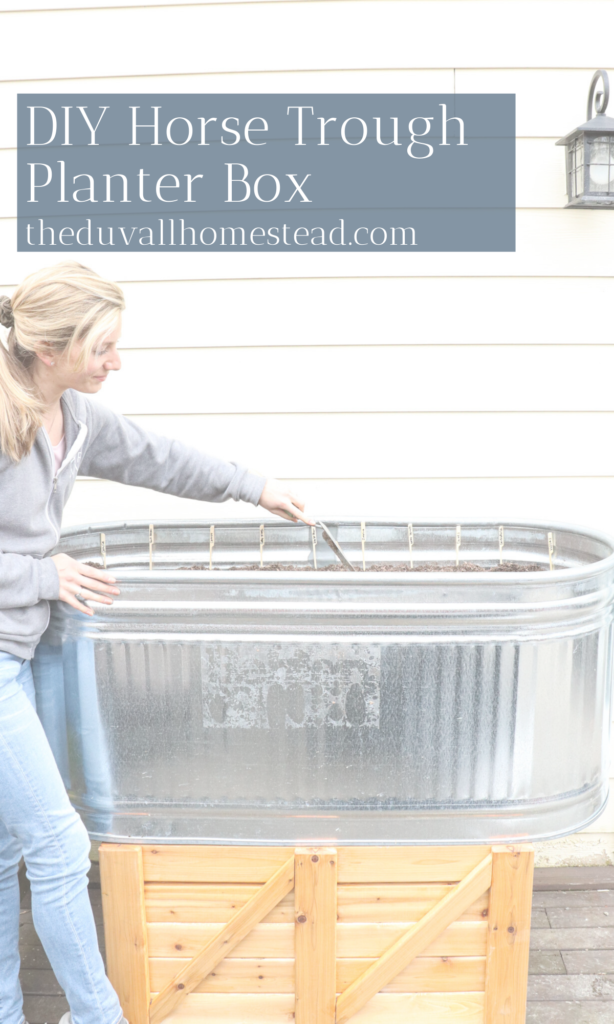
So we got a galvanized horse trough and built a cedar stand for it. The stand was a really simple build but had to be strong enough to hold the weight of the trough.
Then we got to filling the trough. If you have a deep enough trough or planter box, this may provide some inspiration for the layers you put inside. I’ll also add some tips that I wish we would have done looking back.
The Galvanized Horse Trough
We had our eye on a galvanized horse trough planter box since last year. The benefit of these troughs is that they are super deep and easy to work into a planter box.
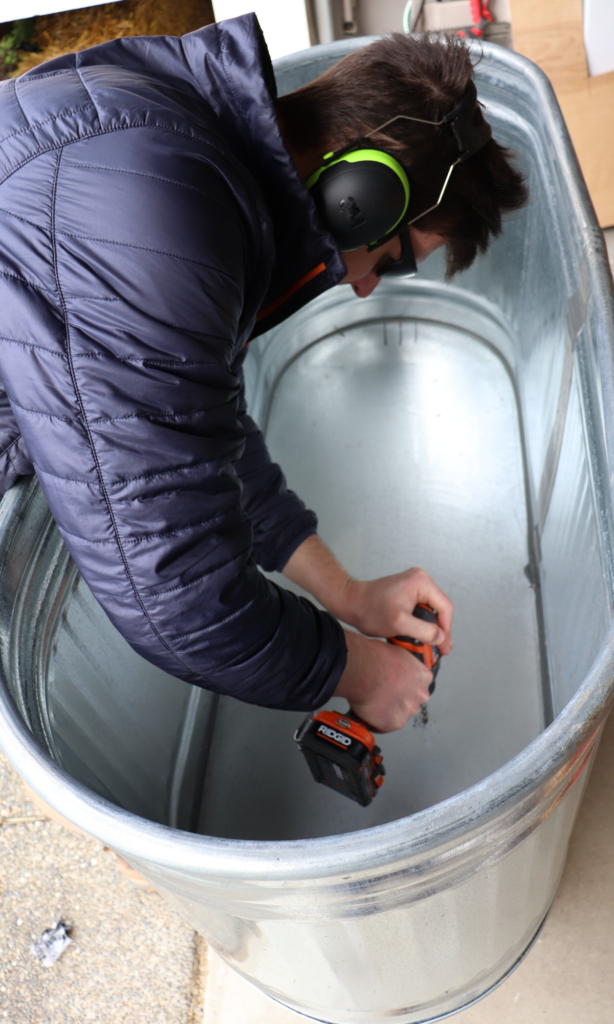
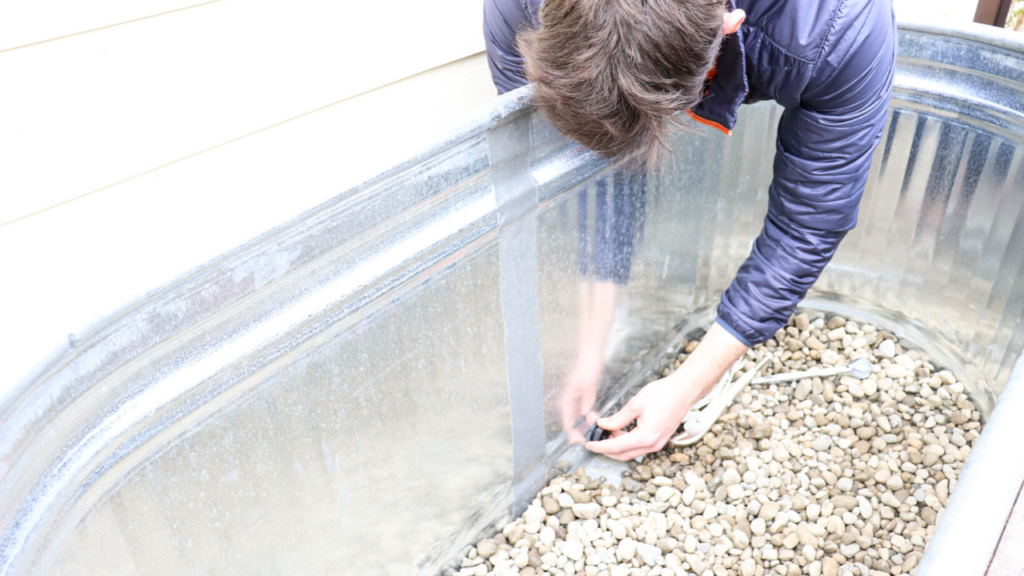
We drilled holes in the bottom for proper drainage. The trough came with a drain hole but it was about 1-2 inches above the bottom of the pan so it wouldn’t catch a lot of the water. So we covered this drain hole and drilled our own.
The Cedar Wood Stand
Like I said our intention with this stand was to raise the bed high enough to 1) make it really easy to reach inside without bending over and 2) prevent the chickens from getting to it.
I can now say we accomplished one of those two goals. Chickens are a lot smarter than you think and of course ours figured out how to get up there. So we’re working on a solution to that now 🙂 Oh, chickens…
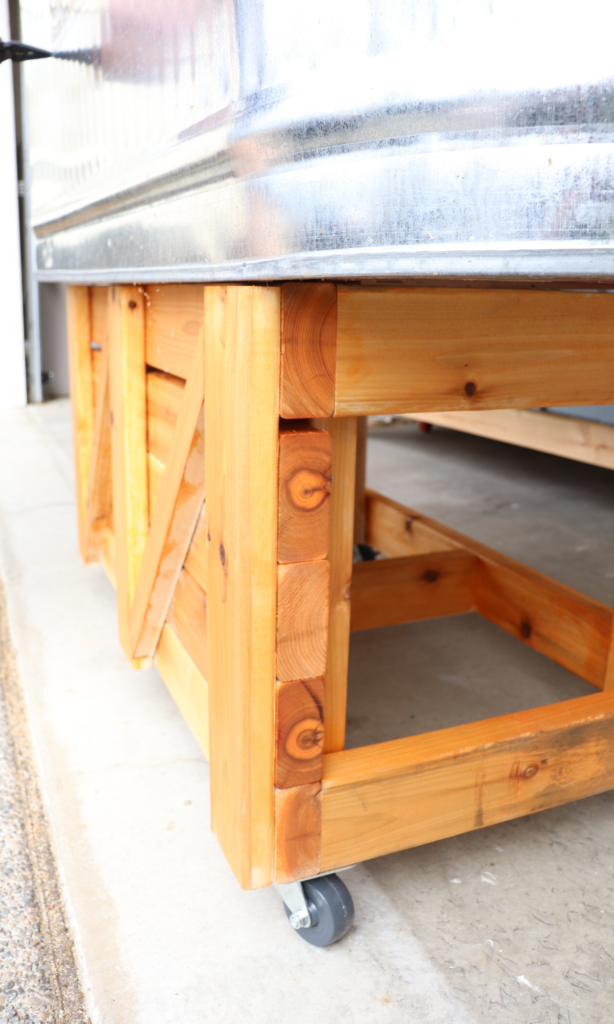
We made the wood stand using 2x4x8 cedar planks from Lowe’s. My husband uses a miter saw for cutting and power drill for drilling. He also always adds castor wheels to pretty much any wood project he makes.
Considering how heavy the planter box will be once you add the drain rock, soil, etc., it is very important that you build a solid stand and that you have wheels so you can move it if needed.
We also secured the trough to the wood stand with roofing screws. To prevent rusting, we used roofing screws with neoprene washers.
Filling the Farmhouse Planter Box
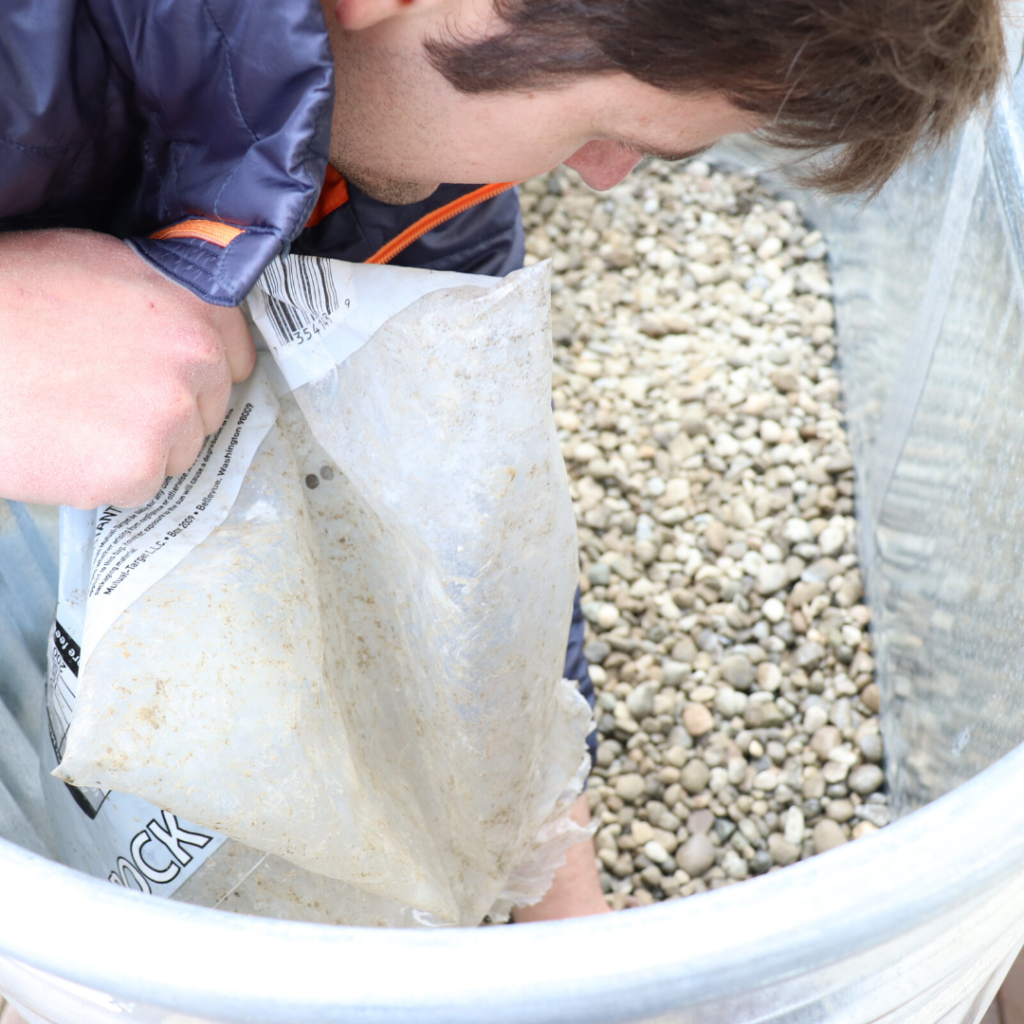
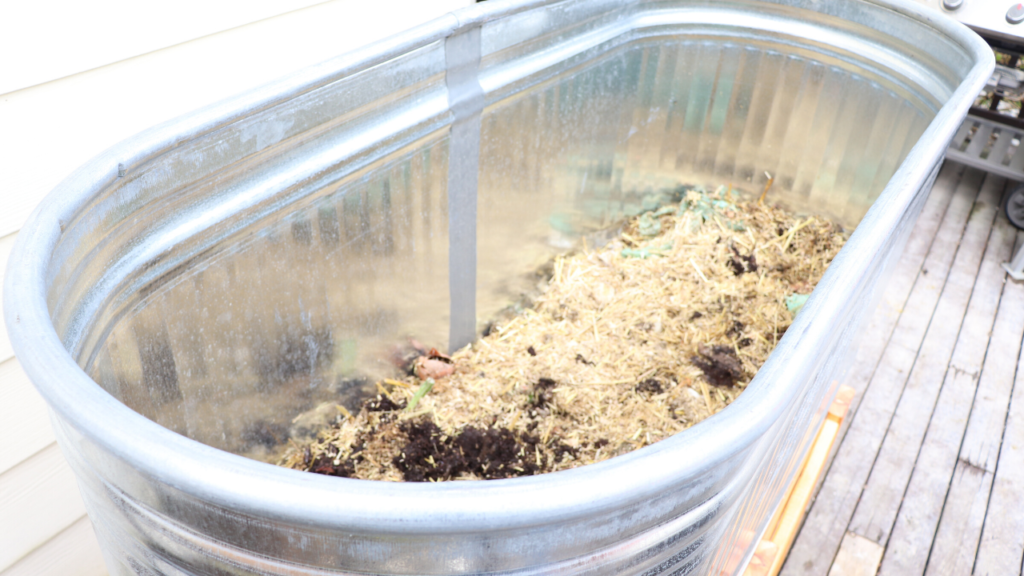
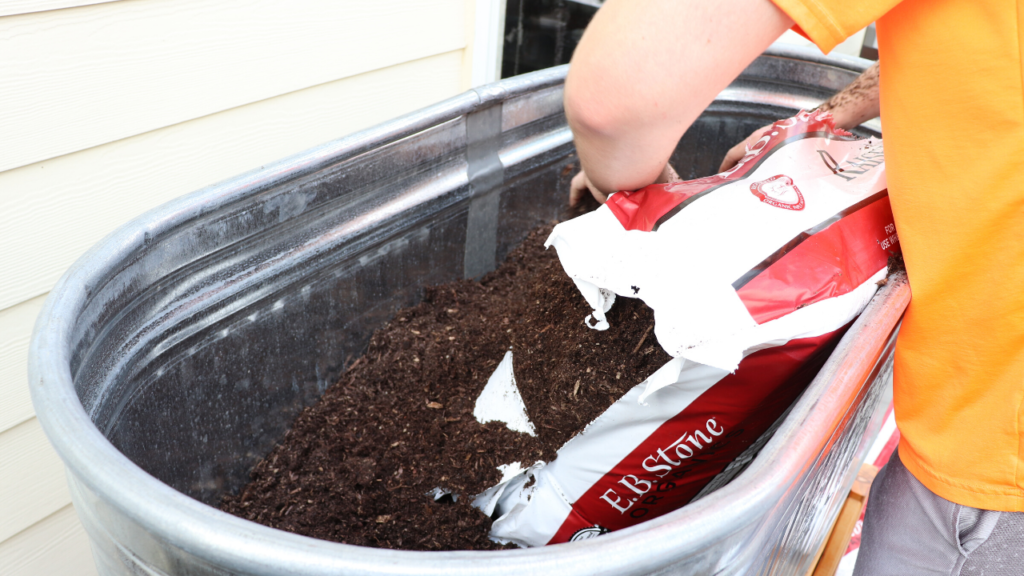
We were really excited for this part. This is because we had been saving chicken bedding, manure, veggie scraps, coffee grinds, etc. in our compost bin and wanted to use it in the box. Here are the layers we created for this box:
First layer: drain rock
Second layer: compost
Third layer: organic potting soil
Fourth layer: organic veggie food
Tips and Lessons Learned
I think when you’re planning any planter box situation it’s important to do you research before hand. Try to understand the best lighting, best soil, best seed planting practices, etc. But with that said, you kind of just have to go for it. I don’t think anyone knows 100% with accuracy what they’re doing before they plant a garden. So just go for it and if it doesn’t work out then try again.
Do make sure that if you use a horse trough, you are 100% positive where you want it to sit. Once if you fill it, I think ours is probably several hundred pounds. So we can’t really move it. Although we did build castor wheels into the stand so that helps, but it’s still not something we want to move a lot.
One thing I wish we would have done before planting seeds was add layers of food grade diatomaceous earth, LIME, neem oil, or other organic natural bug preventative. We had a few bugs pop up and started adding these preventatives to the top soil, but I wish we would have been able to put it deeper down before planting the seeds.
Did you plant a garden bed this spring? Share with me on Facebook or Instagram your creative garden ideas!
WATCH: Come plant our spring garden with us at our farmhouse!
Pin it for Later



This is beautiful, Alexa! Thank you for sharing. 🙂
What a great idea! I love the you are planting carrots too! I can’t wait to see how the garden turns out.