Learn how to make homemade butter that is easily spreadable, farm fresh, and so much better than store bought. You can make this with just a mixer and some fresh cream. Be careful though, you may find yourself eating it all by itself!
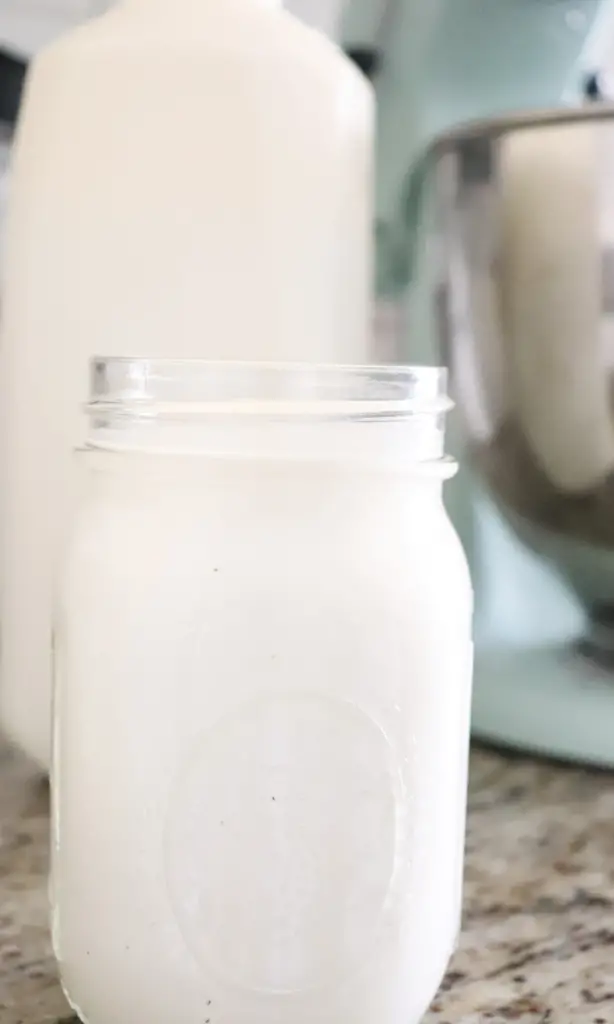
Learn how to make homemade butter that is easily spreadable, farm fresh, and so much better than store bought. You can make this with just a mixer and some fresh cream. Be careful though, you may find yourself eating it all by itself!
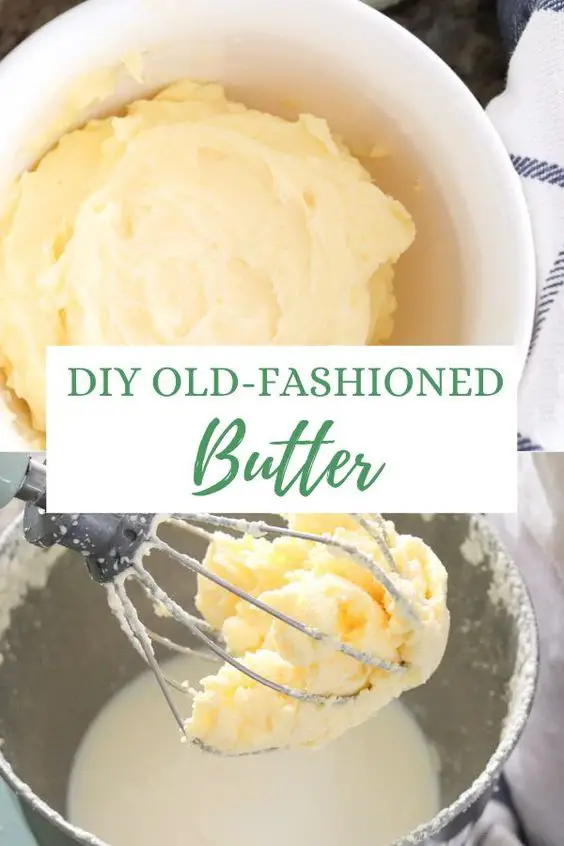
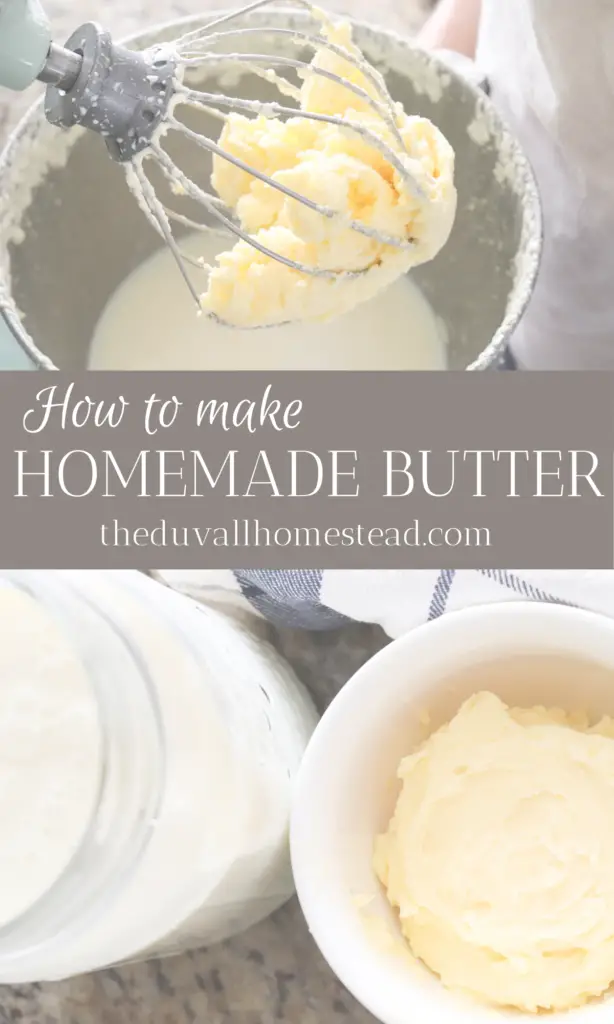
Pin it for Later!
Note: this post may contain affiliate links, which means I could earn a small commission off of items you buy at no charge to you.
Homemade Everything
I will be honest, I’m a sucker for homemade everything.
Homemade stocks, homemade bread, and homemade butter.
I just think it’s so much better than store-bought! And it is, too. It’s healthier, because often during the manufacturing process of food chemicals are introduced to prolong the food’s life and you’re not getting the most raw, pure form of the food.
I may be old-fashioned, but I like knowing where my food comes from and how to get dinner on the table for my family by making it from scratch.
What I love about this recipe
You can’t really call this a recipe because it’s technically a process, but I still love making homemade butter. If this was a lengthy and difficult process that caused me more stress than it did provide benefit of eating it, then I really wouldn’t do it. Here are the reasons I do think this is worth doing.
First of all it’s a great way to use raw milk cream. When we go to the store to buy raw milk from a local dairy, we know we are getting all the healthy benefits of raw milk. There is so much good bacteria that’s killed in the pasteurization stage so this is a great opportunity for us to use that raw milk cream.
Second it actually does taste better than store-bought butter. This is because we can mix several creams into one to make butter, so it’s more of a whipped cream butter that is so good you’ll want to just eat it on its own.
You can also control the salt content and add any herbs to your liking.
Mixing creams is one of our favorite things to do when we make butter. I’ll take my raw milk cream from the dairy which is full of that good bacteria, and I’ll mix it with store-bought heavy whipping cream which is pasteurized and doesn’t have the bacteria. The flavor is un.beat.able.
Lastly you get buttermilk! We’ve been eating buttermilk pancakes since I was a kid, there is just no other way to do pancakes. So with the purchase of fresh cream you can turn it in to butter and buttermilk. That’s a great deal!
Tips for Making Homemade Butter
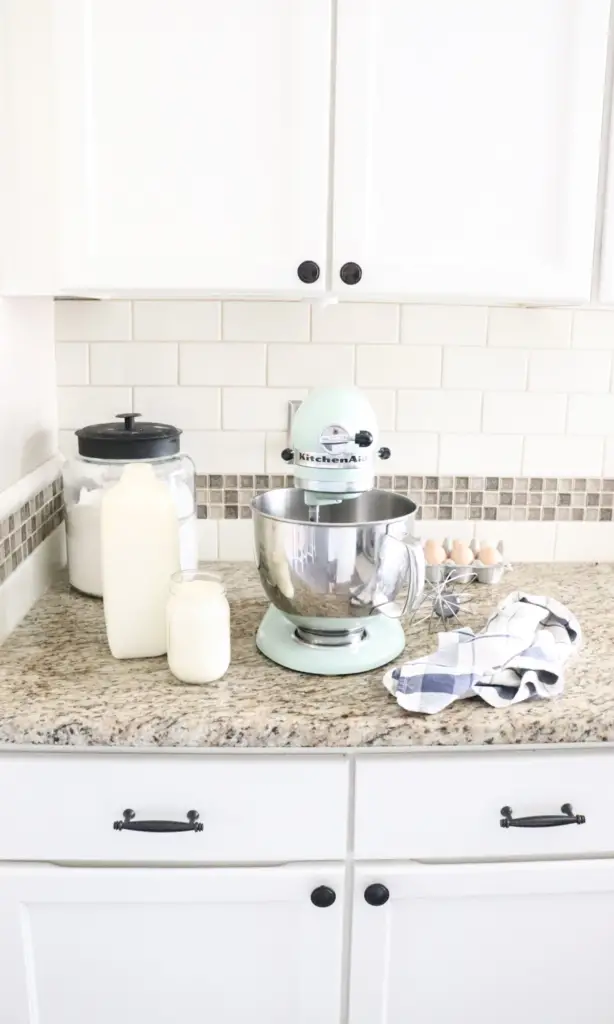
First and foremost, do not use a hand mixer. I did this before we got a stand-up mixer, and it takes about 7 hours to get butter. You may be able to do it faster than that, who knows. But I’m never doing that again! You definitely want a stand-up mixer with the whisk attachment.
Make sure you have a kitchen towel nearby. The butter process is messy, so you want to cover the mixer with a towel to catch any buttermilk that gets projectiled.
When you get to the stage where your butter is done and you have to rinse it, make sure you have plates and bowls nearby or wherever you’re going it. This is because the butter is slippery and sticky, so its best to be prepared once you start handling it.
Make sure your cream is room temperature before starting the butter. This is just to make your mixing process go faster. It allows the fat to separate from the buttermilk quicker. If you didn’t think ahead and it’s cold, you can still make the butter, it just may take longer.
Be patient. Depending on the fat content in your cream and the temperature of your house, I’ve seen this take anywhere from 10 minutes to 45 minutes. Typically it only takes me 10 minutes if my cream is room temp. But don’t give up! You will get butter eventually.
FAQs
Will half and half work to make butter?
No. Half and half does not have the right fat content to make butter. Heavy whipping cream contains 35-40% fat content, while half and half is made by mixing cream and milk and contains 10-18% fat (source). Now you may be thinking, I can just mix my half and half for longer and eventually it’ll separate. But no, I’ve done it, and it does not work.
What cream is best for making butter?
Fresh raw cow cream is best because it’ll have the highest fat content and will contain healthy bacteria, as well as no additives or other preservatives adding during processing.
If you don’t have access to fresh raw cow cream, you can use heavy whipping cream from the store. I don’t like to use that as much because it does contain thickeners and additives, as well as it lacks beneficial bacteria due to the over pasteurization.
How long does butter last?
Well for starters, you won’t be able to not eat this up within a few days. But let’s say you made a whole bunch, or want to give it as a gift. Here are a few tips to keep your butter lasting long:
Because of the high fat content, butter is less likely to be overcome with bad bacteria than other dairy products. Also if you add salt like we do, it’s even less likely because of the salt.
Also the part where we rinse the butter and squeeze all the buttermilk out is really important for this reason.
You can keep your butter out on the counter at room temperature or store it in the fridge. We will keep it on the counter because we eat it within a few days.
Butter can go rancid, but it would take a long time out of the fridge and it’s never happened to us. I read that you would know if its rancid if it becomes discolored, smells bad, and of course, if you see mold do not eat it. Source
Can you freeze homemade butter?
You can freeze homemade butter. To freeze: cut the butter into half cup portions (like a store-bought stick of butter), wrap it in BPA-free plastic, and then place them a large sealed plastic bag to prevent freezer burn.
How much salt do you add to homemade butter?
The amount of salt to add to your homemade butter will entirely depend on your taste. You may add 1/4 tsp of salt after you’ve rinsed the butter, during the shaping process. Taste it and add more to your liking!
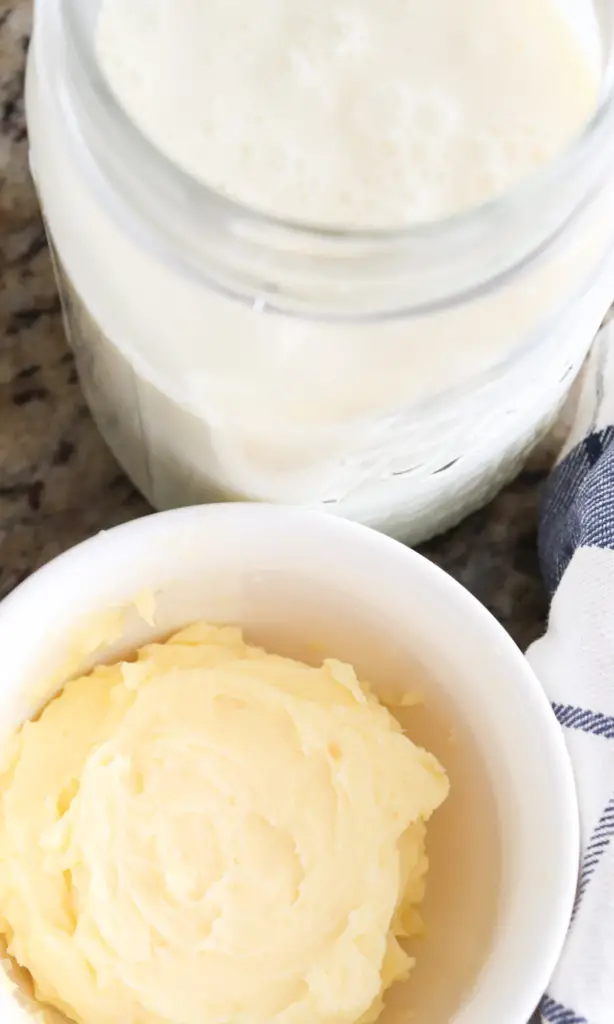
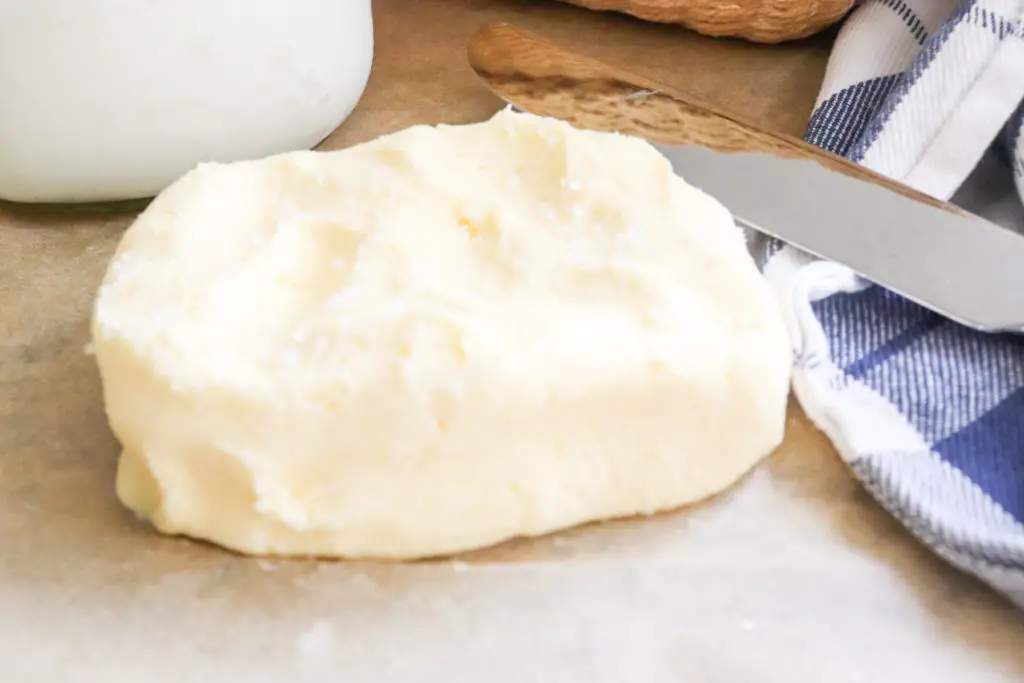
How to Make Butter Process
First, buy a quart of high quality cream from the store or a local dairy. The best cream is one you can get from a nice dairy nearby, pasteurized or raw, but try to avoid ultra-pasteurized. Do not use half and half.
Next, leave the cream out at room temperature for a few hours. You don’t want to start making with cold cream, or else you’ll be mixing for hours!
Step 1: Mix the Cream
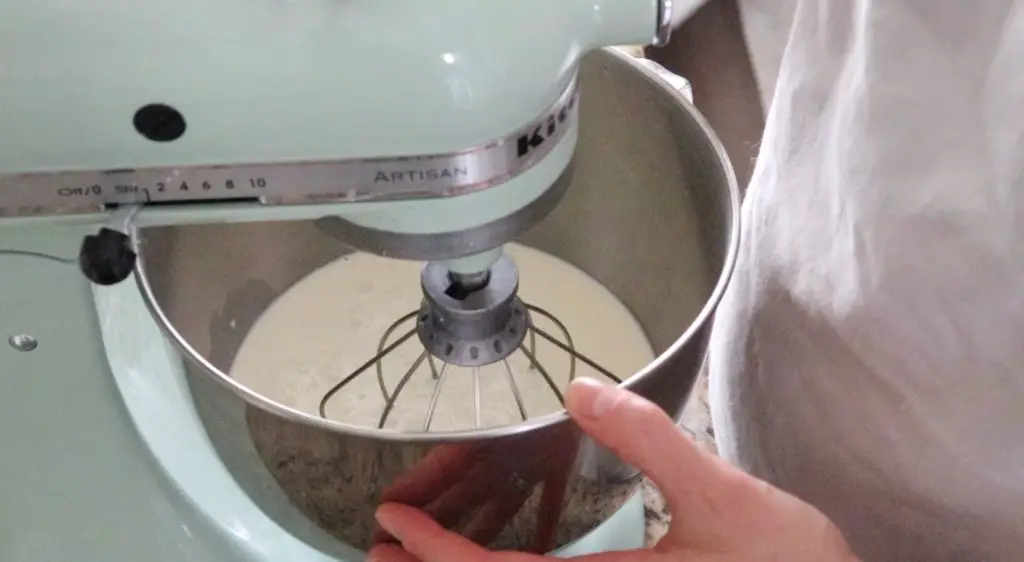
Using a stand-up mixer, pour the cream into the mixing bowl. Add the whisk attachment.
Turn the mixer on medium, about a level 5 on my mixer.
This next step takes a while. You just have to let the mixer keep going and watch the beauty unfold. I suggest putting a dish towel over the top of the mixture to prevent splattering.
Step 2: Cream -> Whipped Cream -> Butter
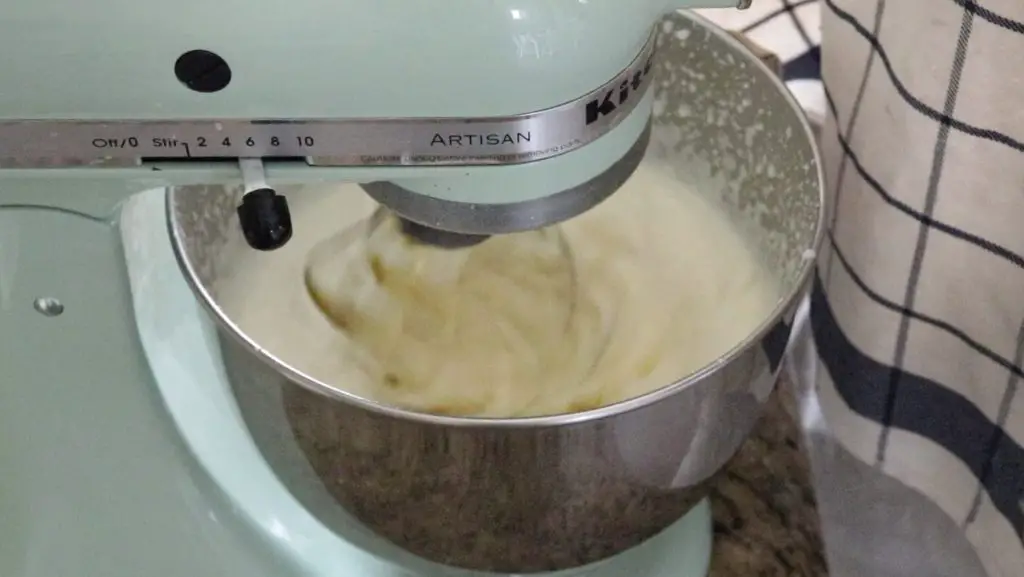
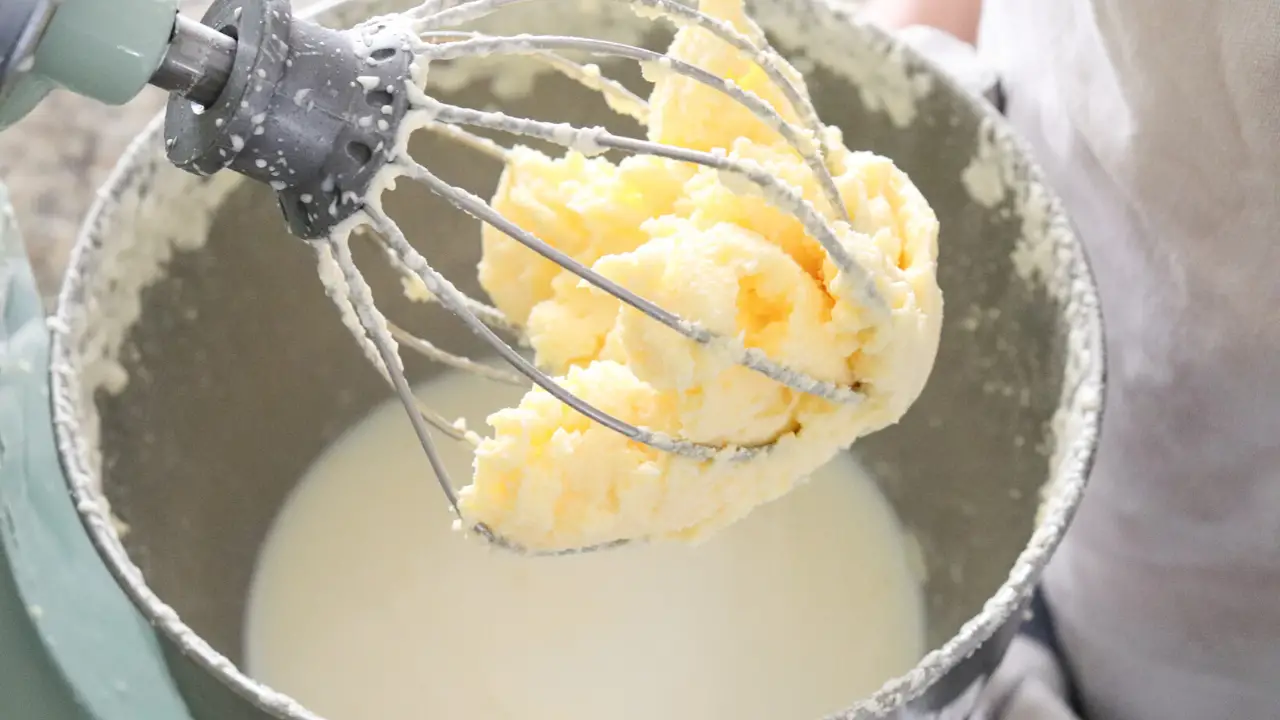
This is the fun part. First, watch as your cream turns into whipped cream. Maybe take a taste of that. But then it will become a sloshy-er version of whipped cream and will start splattering all of your kitchen (hence the dish towel). The sloshy stage indicates it is almost ready.
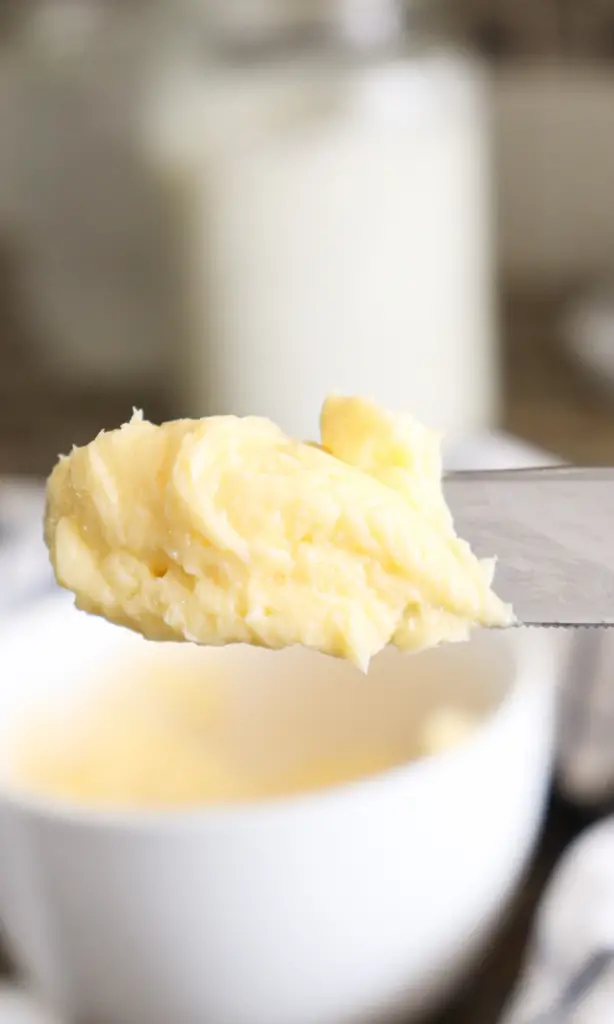
After a bit, you will check back and see that the fat of the cream has totally separated from the milk, which is now buttermilk by the way. When you finally see butter, turn your blender off.
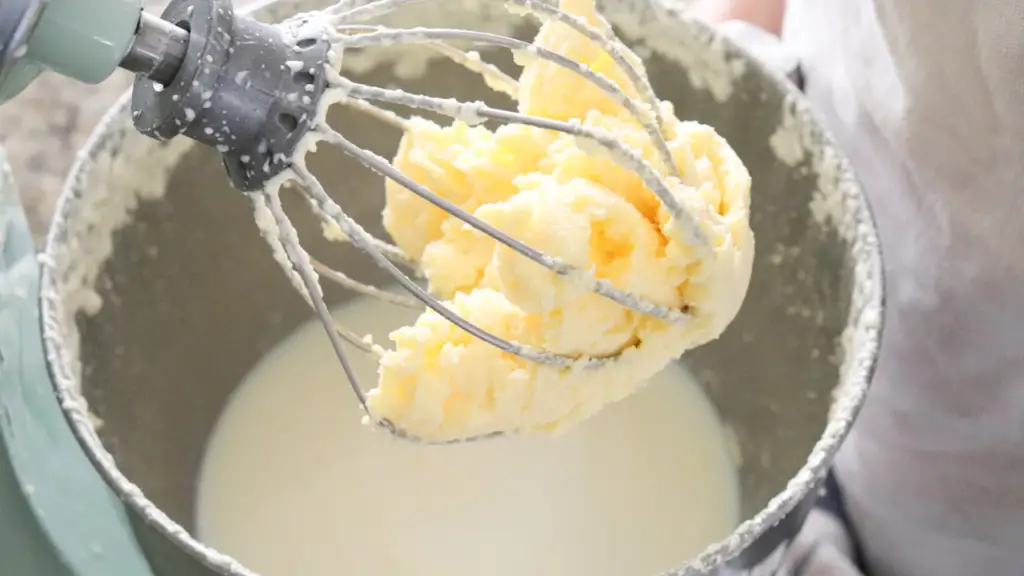
Step 3 – Wash the Butter
Next we’ll gather up the butter and wash it. Remember, don’t toss away the liquid because that is excellent buttermilk that you can use for buttermilk pancakes!
Run the butter under cold water in the sink while squeezing it occasionally. The goal is to get all the buttermilk completely separate from the fat. This helps the butter last longer. Squeeze and watch the liquid will go from cloudy to clear, then you know it’s done.
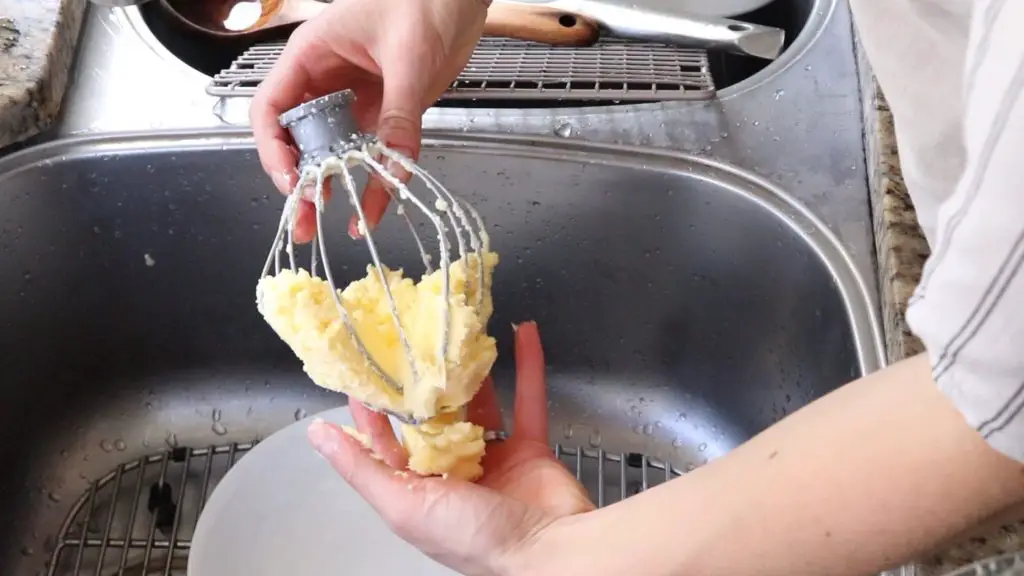
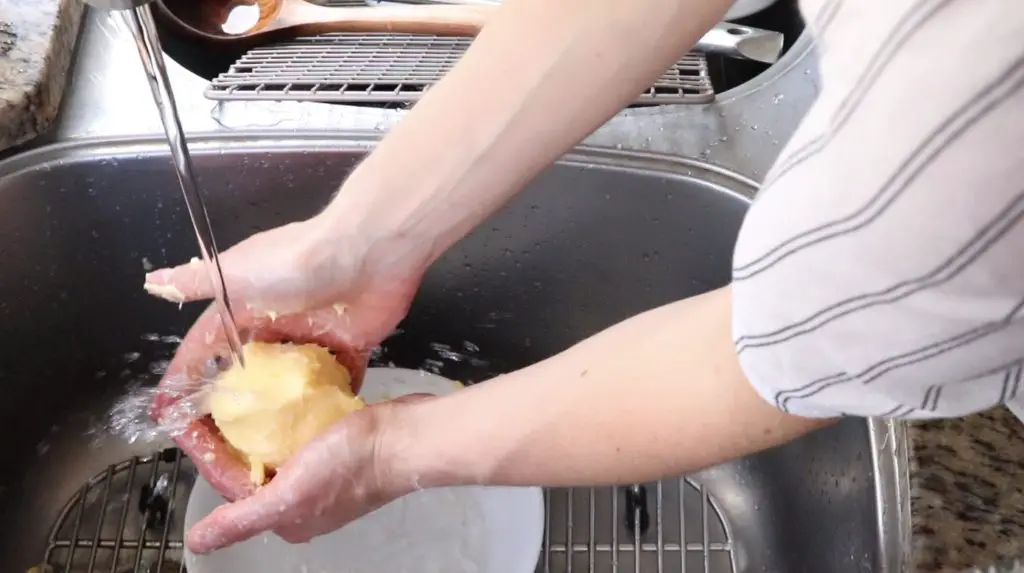
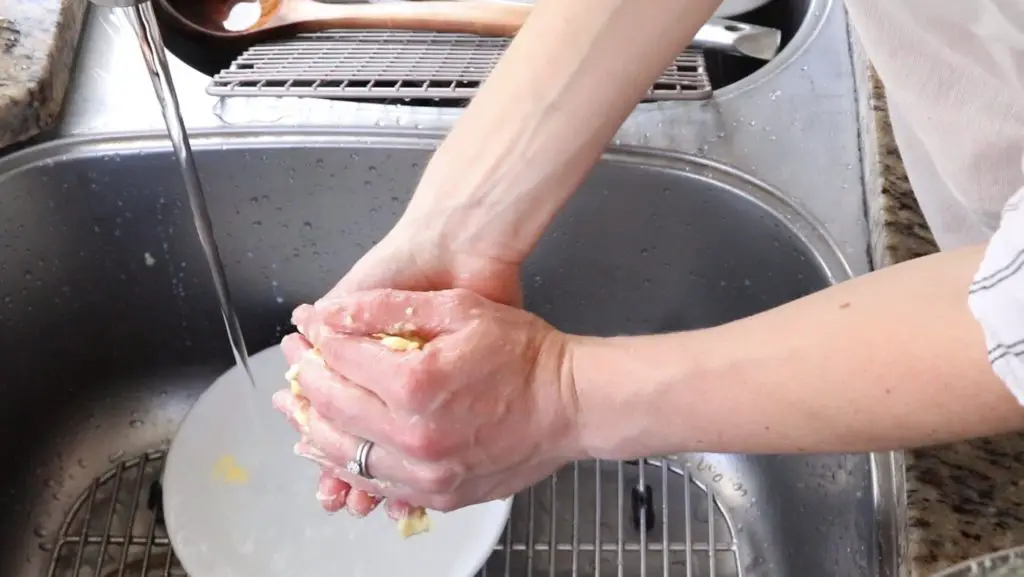
Step 4 – Store and Enjoy!
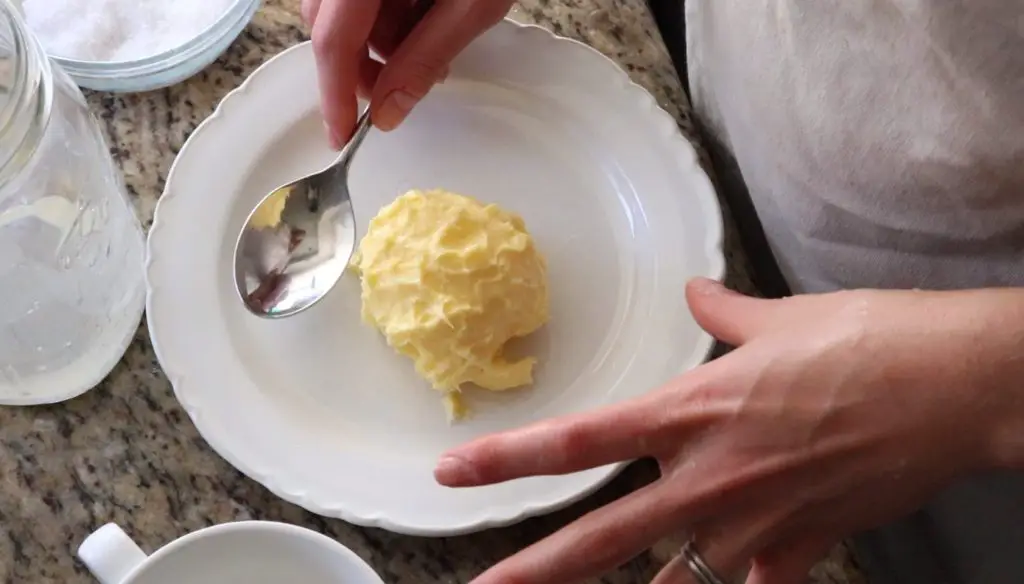
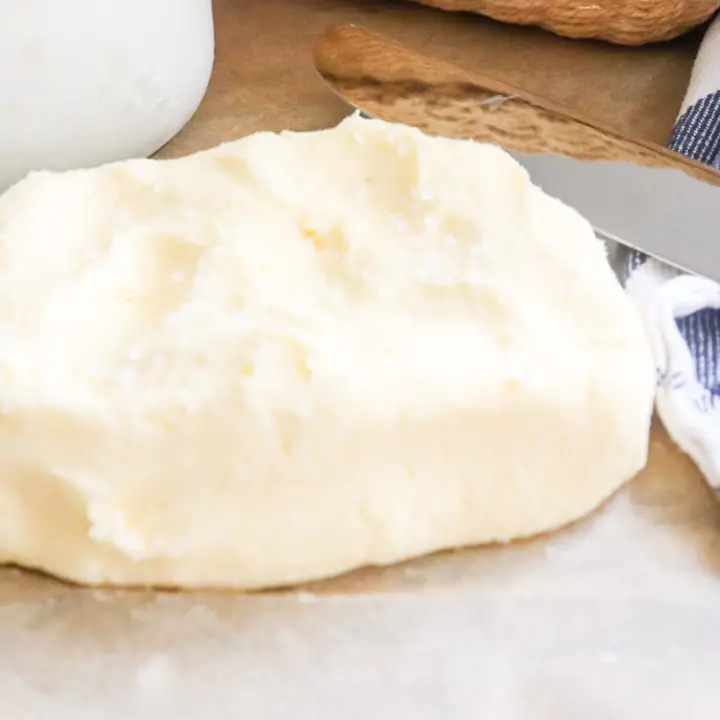
Then use your hands to compact the butter in whatever shape you like. This is also the time to add salt or herbs for different flavor.
Next find a container and store the butter in the fridge. Ours only lasts a few days before everyone devours it, so we just put it in a glass bowl with plastic wrap on top. You could also use a wide mouth mason jar. Whatever you use just make sure it has a wide top so you can easily scoop it out when you want to use it!
You can leave butter at room temperature for a few days or in the fridge for up to a month. The shelf life will depend on the quality of the cream and temperature of your house, so always check for mold just in case. I’d be surprised if your butter lasts for more than a few days, though 😉
Homemade Butter
Learn how to make butter from cream in a few easy steps. This makes the best butter, and buttermilk too!
Ingredients
- 1 quart heavy cream. Fresh dairy cream is best but heavy whipping cream works too. Do not use half and half.
Instructions
1. Let the cream sit out just long enough to reach room temperature. Using cold cream will just take longer for the fat to separate.
2. Pour the cream into the mixing bowl of a stand-up mixer with the whisk attachment. Turn the mixer on medium, about a level 4 or 5 on my mixer. This next step takes a while. You just have to let the mixer keep going and watch the beauty unfold. I suggest putting a dish towel over the top of the mixture to prevent splattering.
3. Just keep mixing. Your cream will go from cream to whipped cream to butter. This is the fun part. Eventually you will hear a sloshy sound as the fat is separating from the buttermilk and it will start splattering all of your kitchen (hence the dish towel). The sloshy stage indicates it is almost time for butter.
4. Once you finally see butter, turn your blender off. The butter will be clearly separated from the buttermilk (save the buttermilk for pancakes by the way!) and you should be able to pick it up with your hands.
5. Next you need to wash the butter. Run the butter under cold water in the sink while squeezing it occasionally. The goal is to get all the buttermilk completely out of the butter. This helps the butter last longer. When you squeeze the butter, the liquid will go from cloudy to clear, then you know you're done.
6. Form the butter whatever shape you like. This is also the time to add salt or herbs for a fun variation on traditional butter. Next find a container and store the butter in the fridge. Our butter only lasts a few days before everyone devours it, so we just put it in a glass bowl with plastic wrap on top. You could also use a wide mouth mason jar. Whatever you use just make sure it has a wide top so you can easily scoop the butter out when you want to use it!
Notes
You can leave butter at room temperature for a few days or in the fridge for up to a month. How long your butter will last depends on the quality of the cream and temperature of your house, so always check for mold just in case. I'd be surprised if your butter lasts for more than a few days, though 😉
Recommended Products
As an Amazon Associate and member of other affiliate programs, I earn from qualifying purchases.
Watch: How to Make Homemade Butter
Pint it for Later!
Leave A Comment