Homemade einkorn sourdough sandwich bread is a delicious loaf made with fluffy sourdough, crisped to perfection in the oven. Whip up this recipe the day before and enjoy benefits of long fermented bread made with einkorn flour.
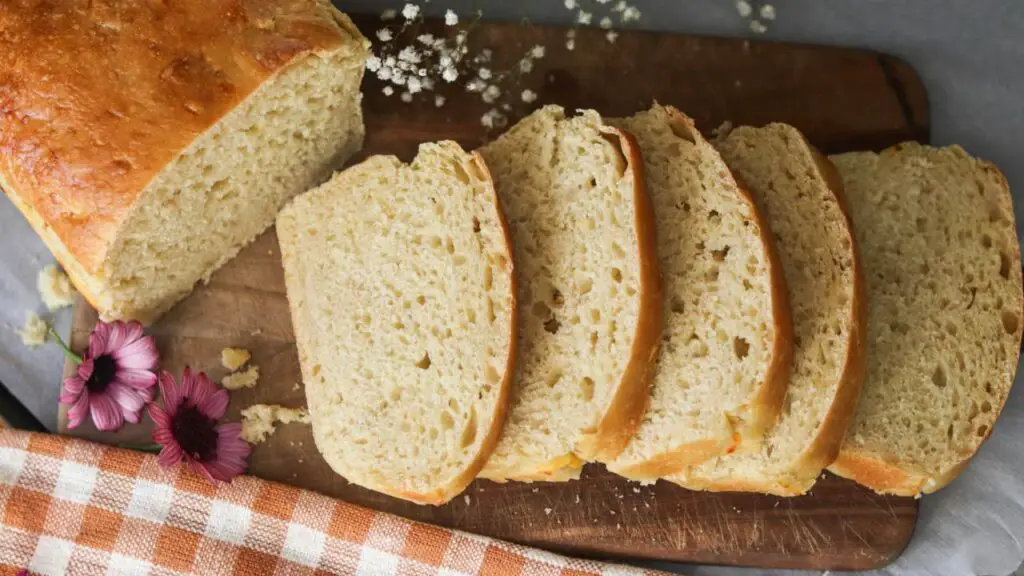
Homemade einkorn sourdough sandwich bread is a delicious loaf made with fluffy sourdough, crisped to perfection in the oven. Whip up this recipe the day before and enjoy benefits of long fermented bread made with einkorn flour.
The days are getting warmer as we get more into summertime, and I’m loving baking sourdough in the homestead kitchen.
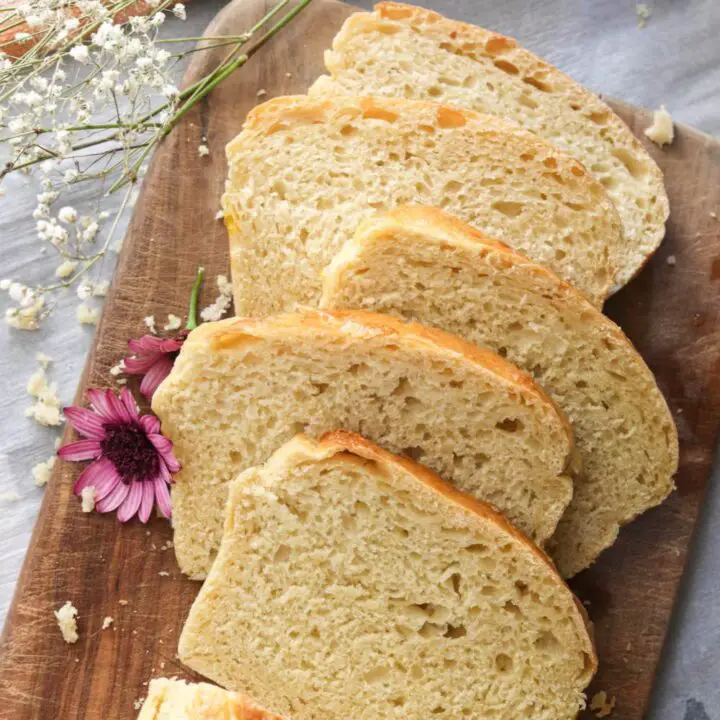
This einkorn sourdough sandwich bread recipe is made with sourdough starter, einkorn flour, and a few other easy ingredients. It creates a beautiful, fluffy sandwich loaf that can be made into toast, PB&J, and more.
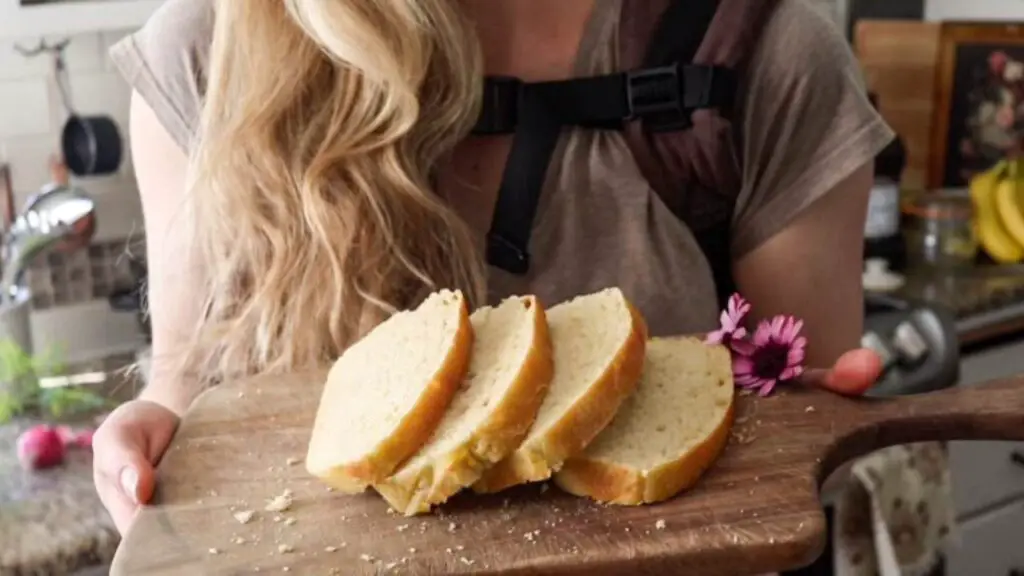
Becoming a bread maker
I started creating sourdough starter several years ago. Since then I have enjoyed the process of bread making with a rustic sourdough loaf, regular sourdough sandwich bread, rustic einkorn loaf, and many more.
Learning how to use sourdough starter in your every day cooking takes time, patience, and practice. When I made my first loaf many years ago it didn’t come out how I liked and I remember actually throwing it away.
Now a days, I would know better and know to not throw it away. But back then I saw it as a failure and luckily many books and YouTube videos later, I figured it all out.
Sourdough Today
Sourdough is wildly popular today, as it used to be in previous generations (thanks pandemic!). This is not just because people like bread and don’t want to use yeast. There’s more to the story there.
I think it’s because people, in general, are wanting to go back to their roots and learn how to bake the old fashioned way. So for me, while the desire to do sourdough may have original stemmed from just not wanting to leave the house to go buy bread, it’s evolved into something much bigger.
I’ve learned through sourdough to create rhythms in my home through cooking, which also expand into other areas like housekeeping and gardening. Sourdough is a spinning plate just like many other tasks of a homemaker and when you learn how to spin plates, you start to feel a lot more empowered in your day to day living.
This post contains affiliate links, which means I may make a small commission off items you buy at no extra cost to you. As an Amazon associate, I earn on qualifying purchases. See my full disclosure here.
Sourdough Recipe Ebook
If you are new to sourdough, you are going to love diving into the world of fermented bread products!
You can learn how to make your own sourdough starter from scratch to make homemade bread, sourdough pizza, bagels, and more.
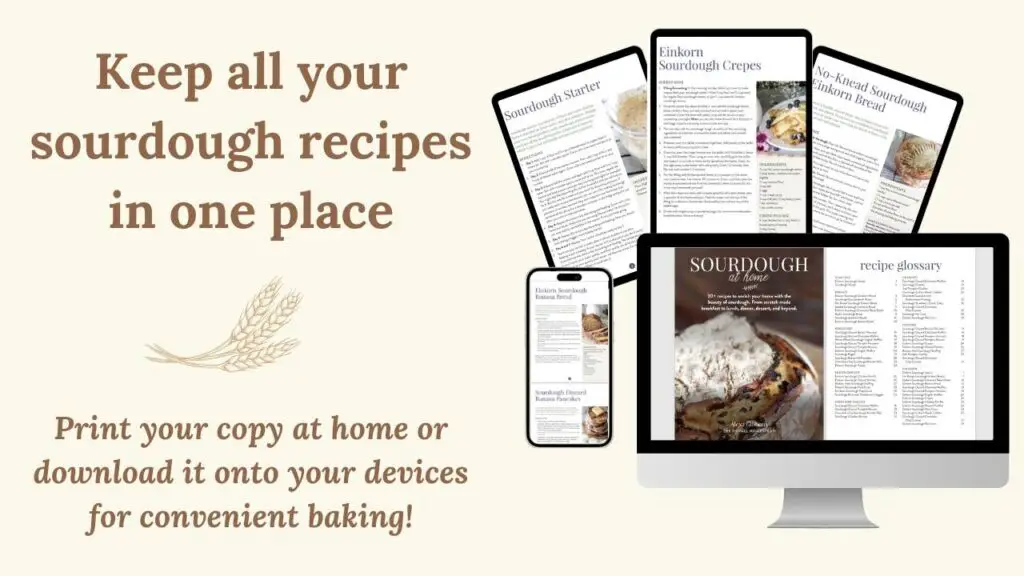
Put all your sourdough recipes in one spot!
Download and print off this NEW sourdough recipes ebook and keep your favorite sourdough recipes on your counter for easy, every day cooking.



Benefits of Ancient Grains
Einkorn is a nutritious and protein-rich ancient grain that is known for its lower gluten content compared to modern wheat varieties. The grain is non-hybridized, unlike the rest of today’s modern wheat.
Hybridization is the process of breeding different types of grain to create a grain that can withstand weather ailments and produce a higher yield crop. This modern process allows people to get grain who may not be able to otherwise, but it also jeopardizes some of the original qualities of non-hybridized wheat.
Einkorn has 50% more manganese, riboflavin, and zinc, and 20% more magnesium, thiamin, niacin, iron, and vitamin B. Ironically these are same nutrients that are synthetically added back to enriched wheat flour to compensate for what we’ve lost in making wheat a high-yield crop. (source)
Einkorn is also higher in protein, making it a much better source of energy for your body.
Pin it for Later!
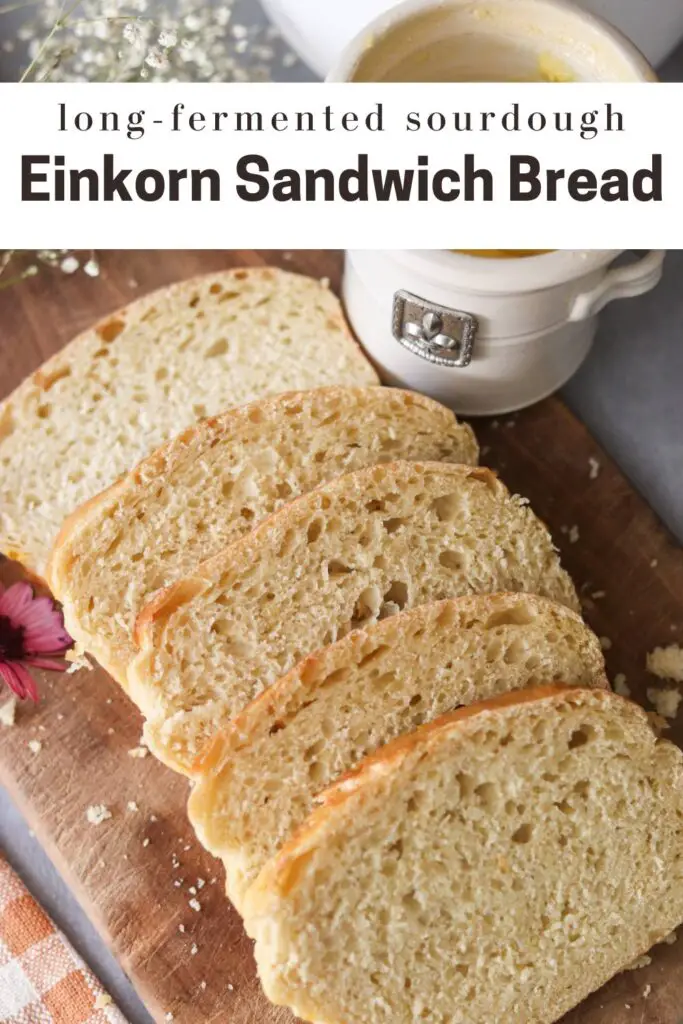
Why use einkorn flour for sandwich bread?
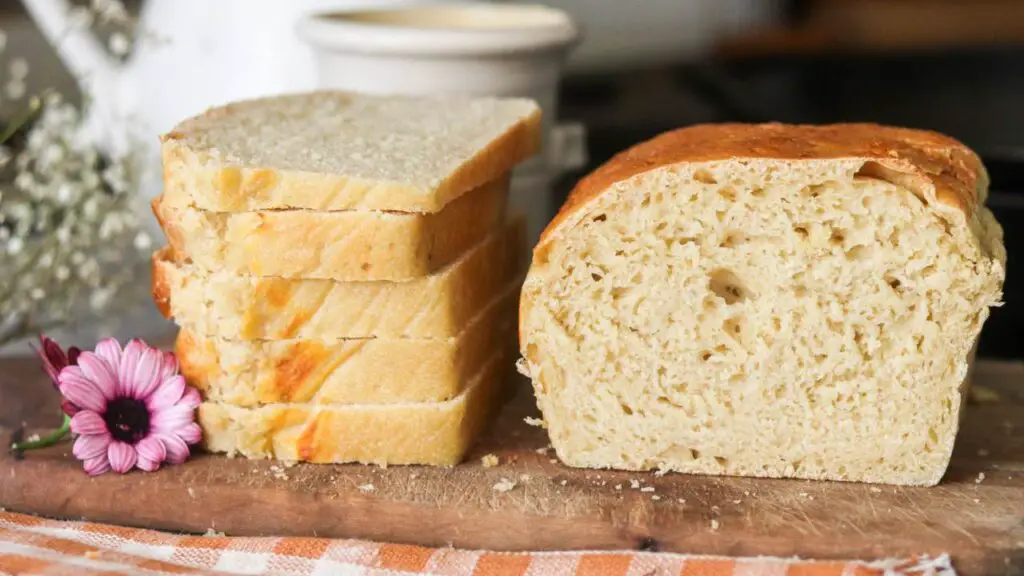
Using einkorn flour for sandwich bread will give it a rich, moist, and nutty texture that you won’t get with traditional white flour.
Because of it’s higher protein and vitamin content, einkorn sourdough sandwich bread will also be a better energy source for your body than it’s store-bought alternative.
Now, this recipe is 50% einkorn flour. I do this because I do not have any grain sensitivities, so I enjoy the extra gluten that white flour adds to this recipe. That way the sandwich bread has a better rise and is a little less dense.
Looking for 100% einkorn sourdough sandwich bread?
You can easily convert this recipe to use 100% einkorn flour by using an einkorn sourdough starter and 4 1/2 cups einkorn flour.
Einkorn Sourdough Sandwich Loaf Ingredients
3/4 cup fed, active sourdough starter
1.5 cup filtered water
1.5 tsp salt
5 tbsp butter, melted and cooled slightly
1-2 tbsp sugar
1 tbsp olive oil
2 cups regular all purpose flour
2 cups einkorn flour (note: if you’d like to convert to 100% einkorn flour, use 4 1/2 cups einkorn)
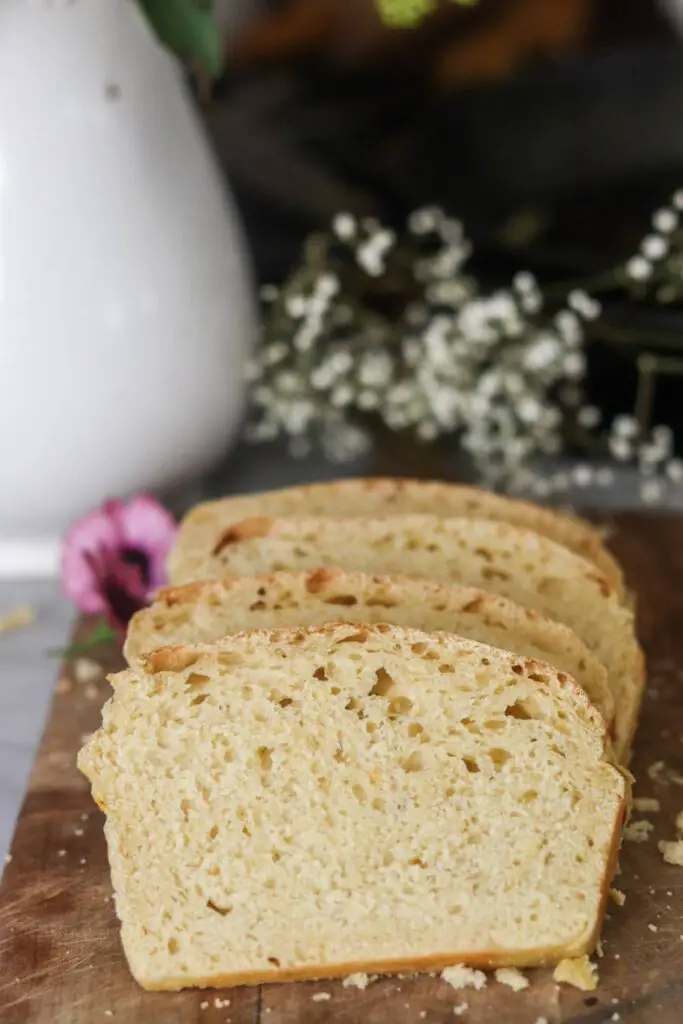
BAKER’S TIMELINE
Day 1 (morning): feed the sourdough starter (1 cup four + 3/4 cup filtered water)
(afternoon): make the dough
(evening): stretch and folds
(night): long ferment in the fridge
Day 2 (morning): pull dough out of the fridge, shape into sandwich bread tin
(late morning or afternoon): bake the bread
Note: if you are brand new to sourdough bread making, I highly encourage you to print this recipe out! Save it on your countertop and follow it until you have it memorized. That’s what I did with my first couple of loaves. Now, once you memorize it, this will become second nature and very easy. So, do not let this process intimidate you. If I can do it, you can do it!
How to Make Sourdough Einkorn Sandwich Bread
PHASE 1: MAKE THE DOUGH
Melt the butter and remove from the heat to let cool slightly. Butter should be slightly warm, but not hot, before adding to the bread dough.
Add all of the ingredients except the flour and egg into a large bowl and whisk together with fork.
Then add the flour and use your hands to combine. To combine, scoop the mixture up on the sides and fold it into the center, slowly incorporating the flour with the wet ingredients. The dough should be wet and sticky at first, but it will develop into a nice smooth dough later on as it ferments.
Then, cover the bowl with a tea towel and let it sit out on your counter.

PHASE 2: STRETCH AND FOLD
After about 1 hour, perform a stretch and fold. Pull up on one side of the dough with one hand while holding the center of the dough down with the other. Fold the extended dough hand over onto the center of the dough. Then rotate the bowl 90 degrees and do it again. Repeat until all 4 sides of the dough have been stretched and folded into the center. Then, cover the dough bowl back up with a tea towel.
It also helps here to use your fingers to scrape the dough off the sides of the bowl and incorporate it into the main mixture. While you’re doing this, think about lifting and tucking all the sides of the dough into the center so you’re creating a ball shape.
This process of lifting and tucking, or stretching and folding, distributes the gluten and helps create a nice bread that will rise.

PHASE 3: MORE STRETCH AND FOLDS
After the first stretch and fold, you’re going to let the dough sit on the counter for the rest of the day, or another 4-6 hours.
Repeat the stretch and fold process 1-2 more times during this time. This sandwich bread is not picky. So if you do 2 stretch and folds before the long ferment, that will work just fine. Or if you do 4 stretch and folds, that works too! You can really make this work around your schedule just fine.
Chef’s note: a warmer house will yield faster fermentation and nicer loaves of bread. If your house is below 70 degrees (say, in the winter time), I suggest keeping the dough on a warm place like near the stove or fire.
PHASE 4: LONG FERMENTATION
After about 6 hours of the dough being out, you’re going to let it long ferment in the refrigerator. This helps slow the fermentation down while also developing the gluten nicely so it will rise in the oven the next day.
Cover the dough bowl with plastic wrap over the top to prevent it from drying out, and stick the whole bowl in the fridge over night.
PHASE 5: SHAPE THE DOUGH
The next day, bring the dough out of the fridge and let sit about 30 minutes to 1 hour. Meanwhile, place a sheet of parchment paper in your sandwich loaf tray.
Sprinkle some flour on a clean countertop. Remove the dough from the bowl and place it on the floured surface.
Using your hands, gently stretch all 4 sides of the dough out to create a rectangle shape. Fold the long sides in towards the center, and then the short sides in towards the center.
Then, flip the dough over onto the non-floured part of the countertop. Using your hands, drag it forward and backward on the countertop and encourage it to get more into the rectangular shape. This motion on the clean countertop surface creates friction on the bottom of your dough, almost like you’re making a knot at the bottom.
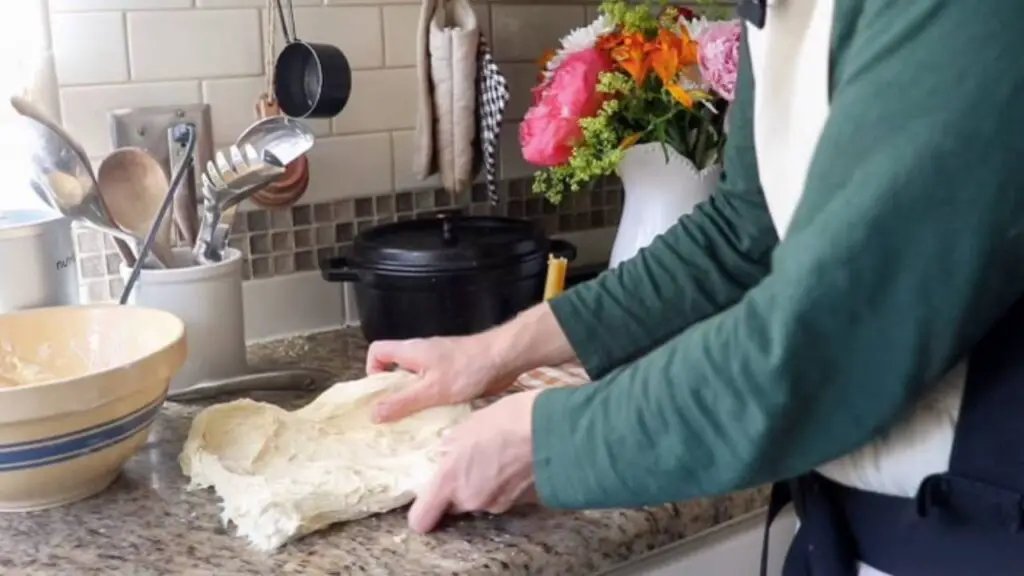
Once your dough is rectangular, transfer it to the loaf pan (on top of the parchment paper). Cover it with a tea towel and again, let it sit out for 3-6 hours or until doubled in size. Note: the warmer your house is, the faster this will go. When it’s almost ready to bake, preheat the oven to 350 degrees F.
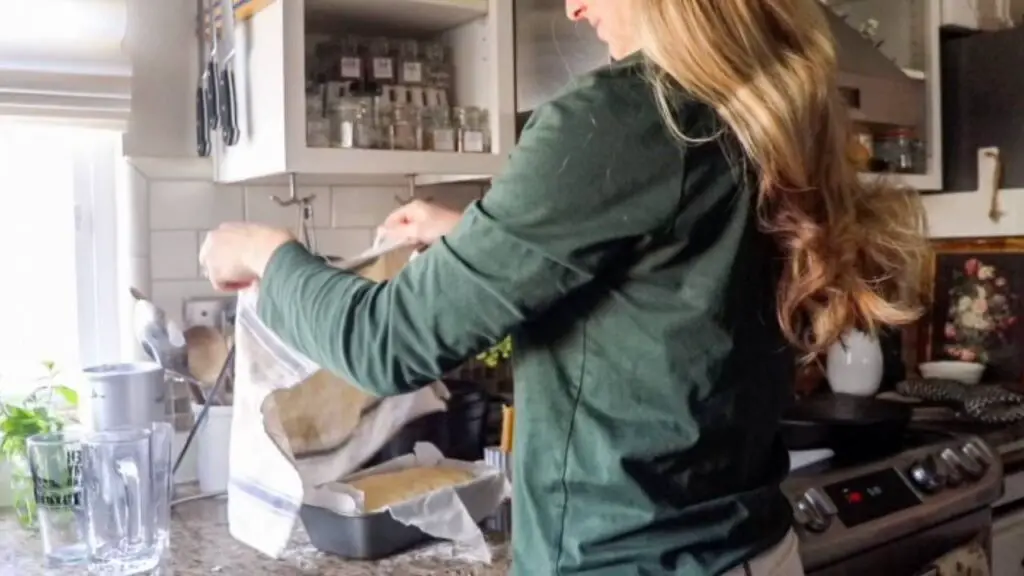
Before baking, brush a whisked egg over the top of the dough to create a delicious egg wash crust (optional).
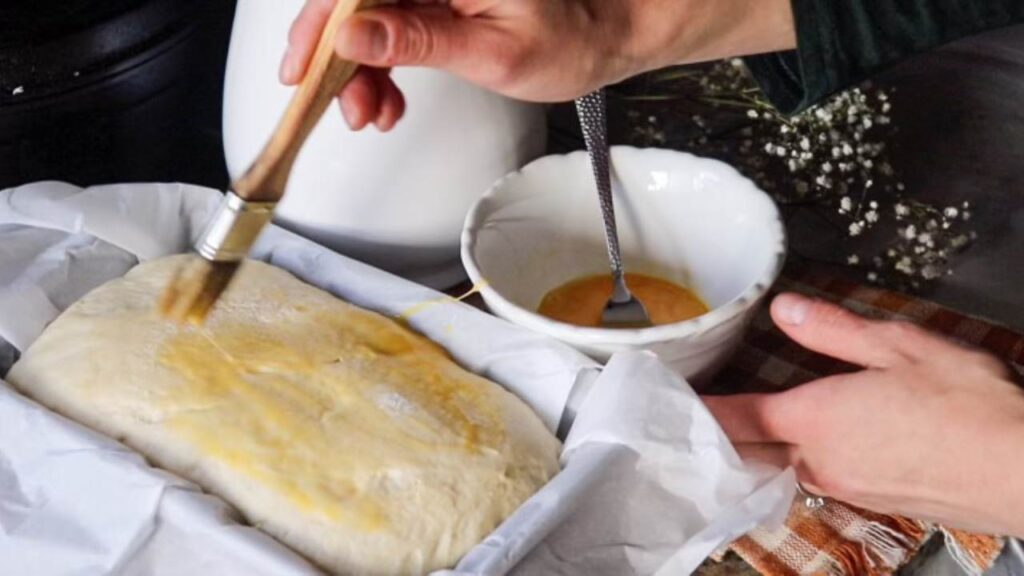
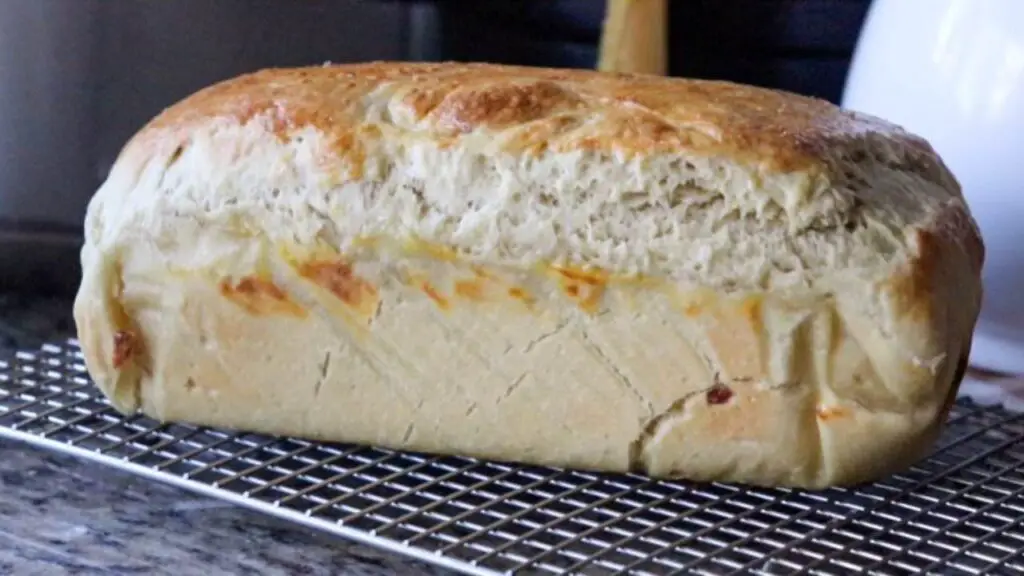
Bake for 35 minutes or until the dough crust is firm and golden. Remove from the oven when finished, transfer to a cooling rack, and let sit for at least 1 hour before cutting (this is the hardest part but very important as the bread is still finishing!).
Looking for 100% einkorn sourdough sandwich bread?
You can easily convert this recipe to use 100% einkorn flour by using an einkorn sourdough starter and 4 1/2 cups einkorn flour.
HOW TO STORE SOURDOUGH SANDWICH BREAD
Keep your sourdough sandwich bread wrapped in plastic wrap and in the fridge for 3-5 days.
If the bread is several days old and you’re looking for ways to use it, my favorite way is to make French toast. Simply add it to a mixture of egg, milk, cinnamon, maple syrup, and salt whisked together and sear it on the cast iron until cooked for a delicious breakfast.
A NOTE ON GRAMS VERSUS CUPS
Because this recipe is in cups and not grams, there may be a variance in the weight of your ingredients. Flour, especially, can vary in weight depending on which brand you’re using. My recommendation would not be to try to convert this to grams. (I’ve had people say they try that and it just doesn’t work). Instead, watch the video in the recipe card below and try to get your dough to match mine in the beginning.
Ultimately, you just need to learn what the dough consistency should be like. You may need more or less flour than I used. But, it will only be about 2 tablespoons of flour in either direction. So, instead of trying to convert the recipe, just follow the above but also leave room for flexibility. And remember, even if a recipe is in grams, it doesn’t mean it will work for you every time. Sourdough takes practice but you WILL get it, so don’t give up, and enjoy your bread each time!

More Sourdough Recipes from The Duvall Homestead
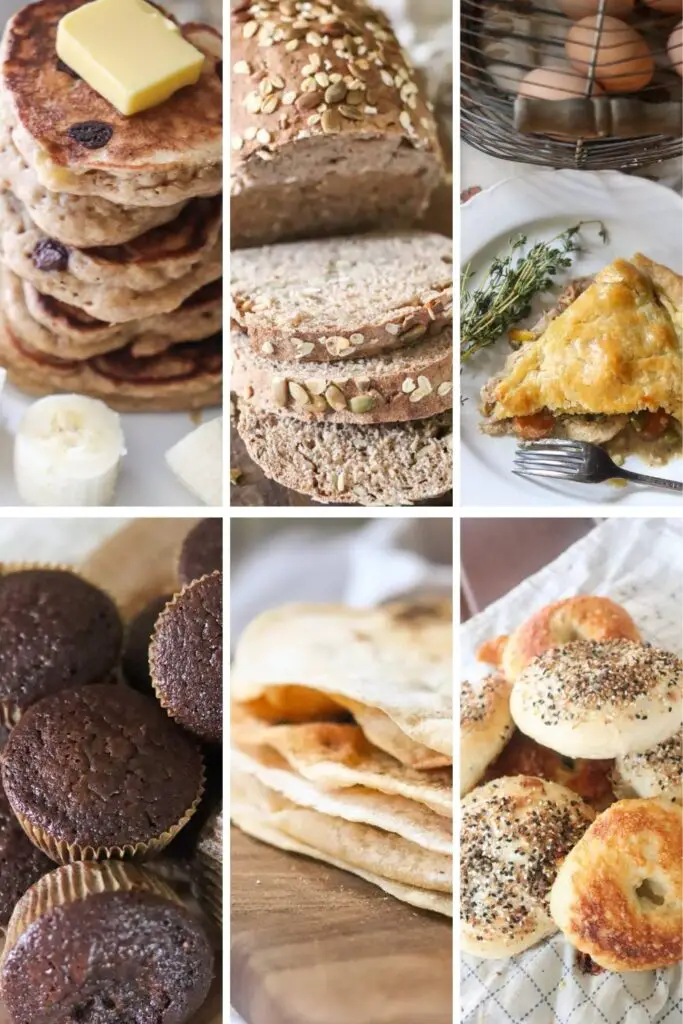
Einkorn Sourdough Chicken Pot Pie
No-Knead Sourdough Einkorn Bread
Einkorn Sourdough Discard Tortillas
Sourdough Discard Banana Pancakes
Sourdough Discard Chocolate Muffins with Einkorn Flour
Whole Wheat Seeded Sourdough Sandwich Bread
FAQs
Is einkorn good for sourdough?
Einkorn, although lower in gluten, is high in protein and still contains the gluten necessary to make sourdough rise. It’s nutty, rich flavor also give a unique taste to the bread loaves.
Sometimes if I want a higher rising loaf, I will substitute about 50% flour with regular wheat. However if you are gluten sensitive or just prefer einkorn, then 100% einkorn sourdough loaves will work just fine.
Is einkorn flour good for gluten intolerance?
Einkorn flour is good for gluten sensitivities. However, it does still contain gluten, so it is not gluten-free.
Can einkorn flour replace all-purpose flour?
Einkorn flour can replace all-purpose flour however, it is not a one-to-one ratio. I substitute about 1 1/4 cups einkorn flour for every 1 cup of regular flour.
Why is my einkorn sourdough bread dense?
Einkorn sourdough bread may appear more dense than regular because the einkorn grain contains less gluten. The grain has a unique appearance and taste, so it may take a little while to get used to.
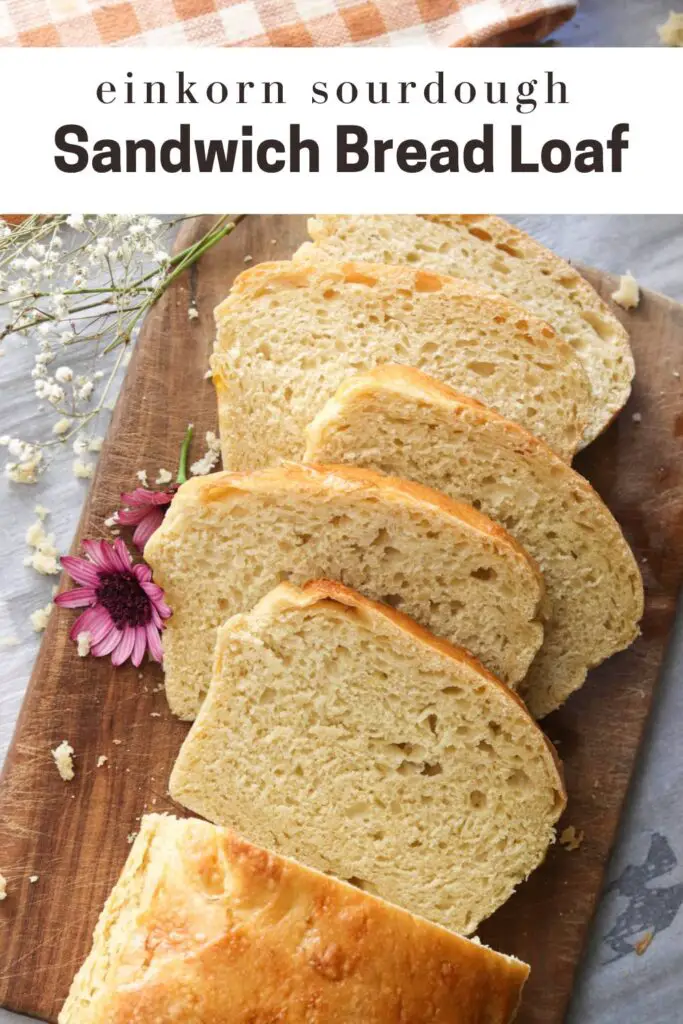
Pin it for later!
Einkorn Sourdough Sandwich Bread
Homemade einkorn sourdough sandwich bread is a delicious loaf made with fluffy sourdough, crisped to perfection in the oven. Whip up this recipe the day before and enjoy benefits of long fermented bread made with einkorn flour.
Ingredients
- 3/4 cup fed, active sourdough starter
- 1.5 cup filtered water
- 1.5 tsp salt
- 5 tbsp butter, melted and cooled slightly
- 1-2 tbsp sugar
- 1 tbsp olive oil
- 2 cups regular all purpose flour
- 2 cups einkorn flour (note: if you’d like to convert to 100% einkorn flour, use 4 1/2 cups einkorn)
Instructions
PHASE 1: MAKE THE DOUGH
- Melt the butter and remove from the heat to let cool slightly. Butter should be slightly warm, but not hot, before adding to the bread dough.
- Add all of the ingredients except the flour and egg into a large bowl and whisk together with fork.
- Then add the flour and use your hands to combine. To combine, scoop the mixture up on the sides and fold it into the center, slowly incorporating the flour with the wet ingredients. The dough should be wet and sticky at first, but it will develop into a nice smooth dough later on as it ferments.
- Then, cover the bowl with a tea towel and let it sit out on your counter.
PHASE 2: STRETCH AND FOLD
- After about 1 hour, perform a stretch and fold. Pull up on one side of the dough with one hand while holding the center of the dough down with the other. Fold the extended dough hand over onto the center of the dough. Then rotate the bowl 90 degrees and do it again. Repeat until all 4 sides of the dough have been stretched and folded into the center. Then, cover the dough bowl back up with a tea towel.
- It also helps here to use your fingers to scrape the dough off the sides of the bowl and incorporate it into the main mixture. While you’re doing this, think about lifting and tucking all the sides of the dough into the center so you’re creating a ball shape.
- This process of lifting and tucking, or stretching and folding, distributes the gluten and helps create a nice bread that will rise.
PHASE 3: MORE STRETCH AND FOLDS
- After the first stretch and fold, you’re going to let the dough sit on the counter for the rest of the day, or another 4-6 hours.
- Repeat the stretch and fold process 1-2 more times during this time. This sandwich bread is not picky. So if you do 2 stretch and folds before the long ferment, that will work just fine. Or if you do 4 stretch and folds, that works too! You can really make this work around your schedule just fine.
- Chef’s note: a warmer house will yield faster fermentation and nicer loaves of bread. If your house is below 70 degrees (say, in the winter time), I suggest keeping the dough on a warm place like near the stove or fire.
PHASE 4: LONG FERMENTATION
- After about 6 hours of the dough being out, you’re going to let it long ferment in the refrigerator. This helps slow the fermentation down while also developing the gluten nicely so it will rise in the oven the next day.
- Cover the dough bowl with plastic wrap over the top to prevent it from drying out, and stick the whole bowl in the fridge over night.
PHASE 5: SHAPE THE DOUGH
- The next day, bring the dough out of the fridge and let sit about 30 minutes to 1 hour. Meanwhile, place a sheet of parchment paper in your sandwich loaf tray.
- Sprinkle some flour on a clean countertop. Remove the dough from the bowl and place it on the floured surface.
- Using your hands, gently stretch all 4 sides of the dough out to create a rectangle shape. Fold the long sides in towards the center, and then the short sides in towards the center.
- Then, flip the dough over onto the non-floured part of the countertop. Using your hands, drag it forward and backward on the countertop and encourage it to get more into the rectangular shape. This motion on the clean countertop surface creates friction on the bottom of your dough, almost like you’re making a knot at the bottom.
- Once your dough is rectangular, transfer it to the loaf pan (on top of the parchment paper). Cover it with a tea towel and again, let it sit out for 3-6 hours or until doubled in size. Note: the warmer your house is, the faster this will go. When it’s almost ready to bake, preheat the oven to 350 degrees F.
- Before baking, brush a whisked egg over the top of the dough to create a delicious egg wash crust (optional).
- Bake for 35 minutes or until the dough crust is firm and golden. Remove from the oven when finished, transfer to a cooling rack, and let sit for at least 1 hour before cutting (this is the hardest part but very important as the bread is still finishing!).
Notes
BAKER’S TIMELINE
Day 1 (morning): feed the sourdough starter (1 cup four + 3/4 cup filtered water)
Day 1 (afternoon): make the dough
Day 1 (evening): stretch and folds
Day 1 (night): long ferment in the fridge
Day 2 (morning): pull dough out of the fridge, shape into sandwich bread tin
Day 2 (late morning or afternoon): bake the bread
Note: if you are brand new to sourdough bread making, I highly encourage you to print this recipe out! Save it on your countertop and follow it until you have it memorized. That’s what I did with my first couple of loaves. Now, once you memorize it, this will become second nature and very easy. So, do not let this process intimidate you. If I can do it, you can do it!



Leave A Comment