This soft, chewy, sourdough sandwich bread is easy to make and beginner friendly, making it the perfect weekly family bread staple. With decadent ingredients like butter and the tangy taste of sourdough, this bread has topped the charts as the new family favorite in our homestead.

This soft, chewy, sourdough sandwich bread is easy to make and beginner friendly, making it the perfect weekly family bread staple. With decadent ingredients like butter and the tangy taste of sourdough, this bread has topped the charts as the new family favorite in our homestead.
Sourdough’s Finest
If you’re brand new to the world of sourdough starter or sourdough bread, you will love this sourdough sandwich bread recipe.
Sourdough sandwich bread is a little easier to work with and perfect than a loaf of bread because of its compact rectangular shape and decadent ingredients.
It’s pretty hard to not absolutely love this sourdough sandwich bread, whether this is your first loaf or your 100th.
What differentiates sourdough sandwich bread from a regular loaf is the ingredients butter, oil, and sugar. This yields that melt-in-your mouth, PB&J sandwich bread on a sunny afternoon at the park, kind of bread. Only, without all the bad ingredients that the store puts in it.
I love making my own sandwich bread with sourdough starter, and I know you will too. After several years of making only sourdough loaves, I’m officially convinced this is my new favorite bread for me and my family.
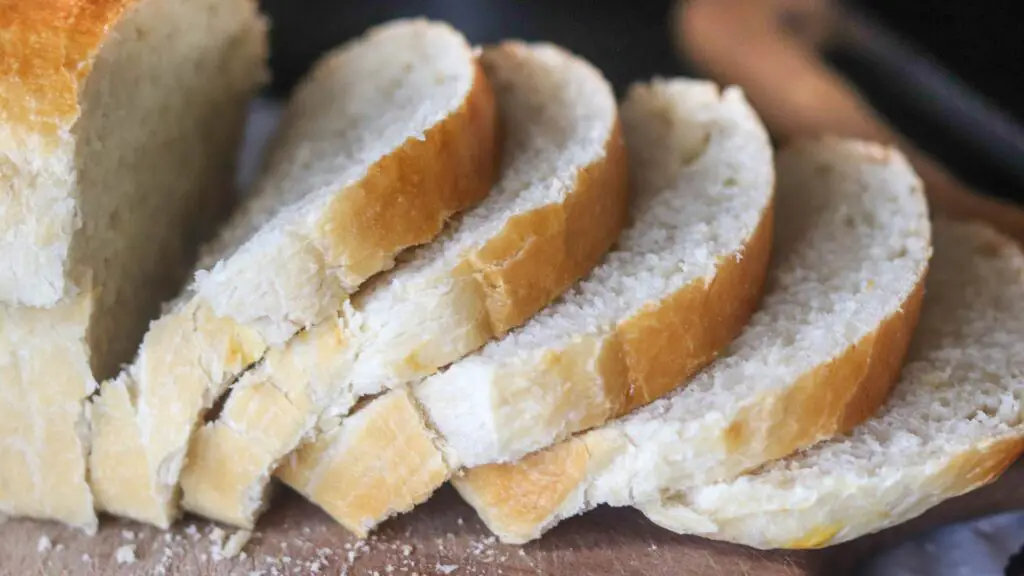
Pin it for Later!
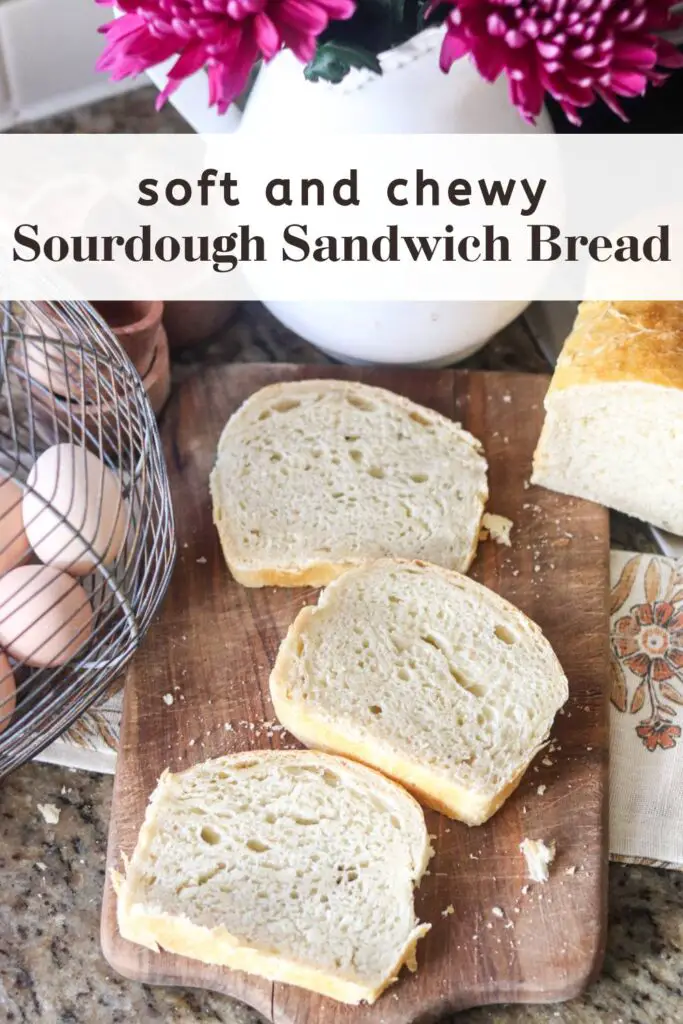
Tips for making homemade sourdough sandwich bread
Make sure the butter is melted and cooled slightly before adding to the dough. This will help it mix thoroughly with the other ingredients, instead of being clumpy throughout the bread.
Feed your sourdough starter with 1 cup flour and 3/4 cup filtered water before starting this recipe. Some sourdough starters are more thin and watery and some are more thick and dry. I find that a thicker, denser sourdough starter yields a nicer sandwich loaf, so 1 cup flour and 3/4 cup water does the trick every time.
You know your sourdough starter is ready for baking when it passes the “float test”. A spoonful of sourdough starter should float in a cup of water. Do not stir your starter before taking the spoonful. If it sinks to the bottom, the starter either needs to sit out longer, or it sat out too long and is hungry again.
I find my sourdough starter likes to sit out for about 4-6 hours, depending on temperature, before it’s ready to be used in sourdough sandwich bread. A warm house will accelerate it, while a cold house will require more time.
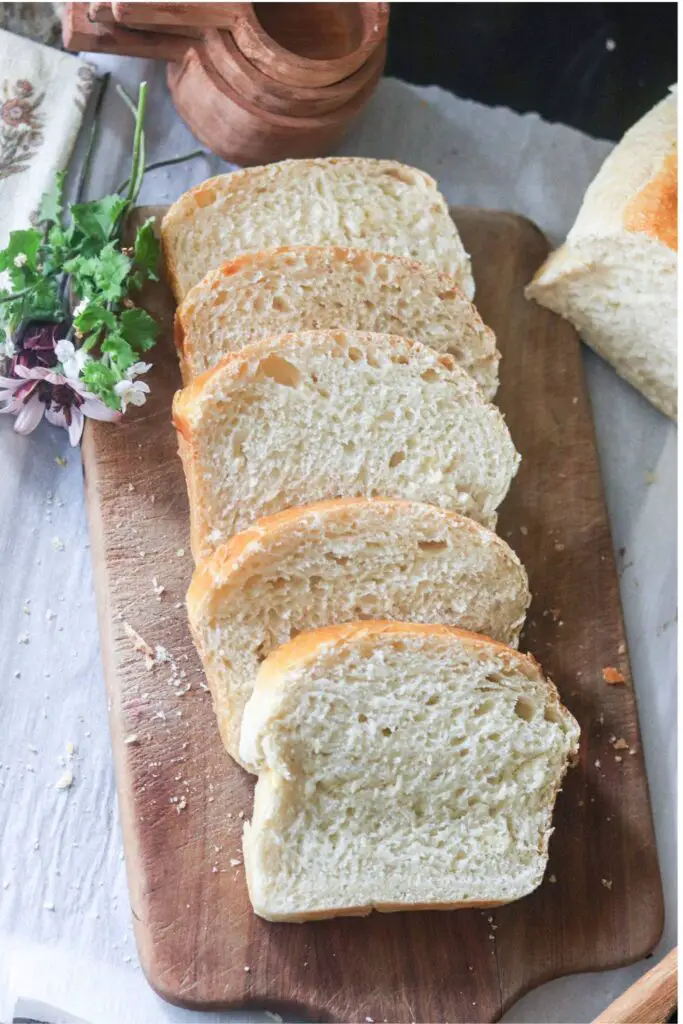
Baker’s Encouragement:
Depending on the type of flour you use, your measurements may be slightly different than mine. Remember, sourdough is an experiment and even if you follow a recipe to a T, your dough might come out different each time you try it.
I find though, that every recipe can be troubleshooted with about 2 tablespoons more or less of flour to get it right. Meaning, if you find that your dough is too watery, add 2 tablespoons more flour. And the opposite is the same if your dough is too dry.
Remember, experimentation is key to understanding this process, and never waste a loaf of homemade sourdough bread!
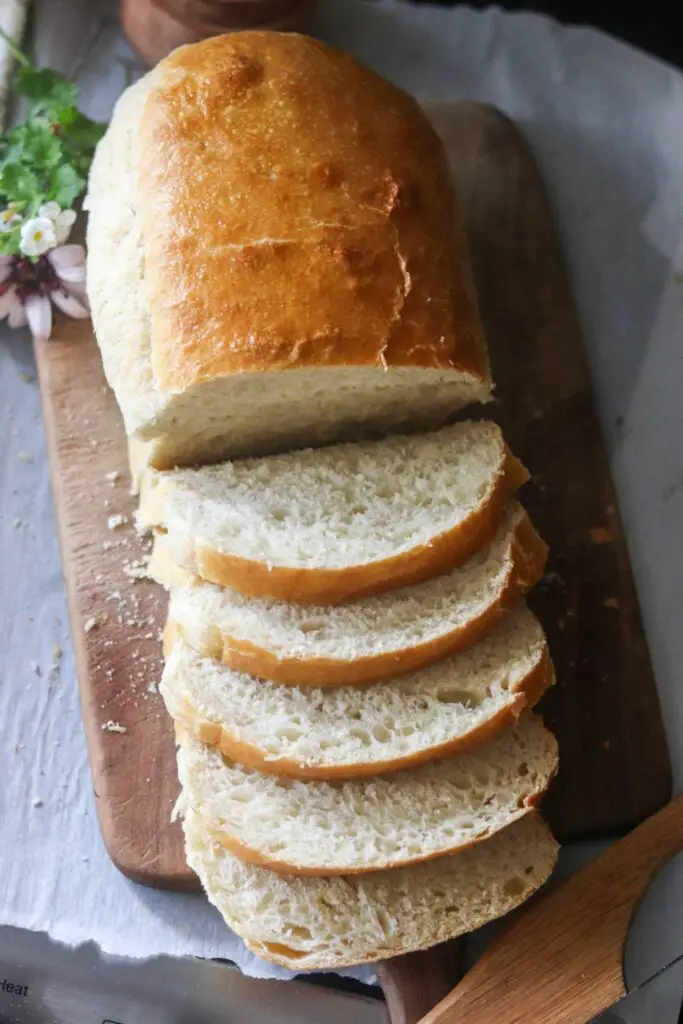
New to Sourdough?
If you’re new to sourdough, you are going to love it!
You can learn how to make your own sourdough starter from scratch to make homemade bread, sourdough pizza, bagels, and more.
Put all your sourdough recipes in one spot!
Download and print off this NEW sourdough recipes ebook and keep your favorite sourdough recipes on your counter for easy, every day cooking.


A NOTE ON GRAMS VERSUS CUPS
Because this recipe is in cups and not grams, there may be a variance in the weight of your ingredients, specifically flour, if you’re using a different flour than I am. My recommendation would not be to try to convert this to grams (I’ve had people say they try that and it just doesn’t work). Instead, watch the video in the recipe card below and try to get your dough to match mine in the beginning.
Ultimately, you just need to learn what the dough consistency should be like. You may need more or less flour than I used, but it will only be about 2 tablespoons of flour in either direction. So, instead of trying to convert the recipe, just follow the above but also leave room for flexibility. And remember, even if a recipe is in grams, it doesn’t mean it will work for you every time. Sourdough takes practice but you WILL get it, so don’t give up, and enjoy your bread each time!
Want to get really into sourdough baking? Read more about troubleshooting sourdough in this post.
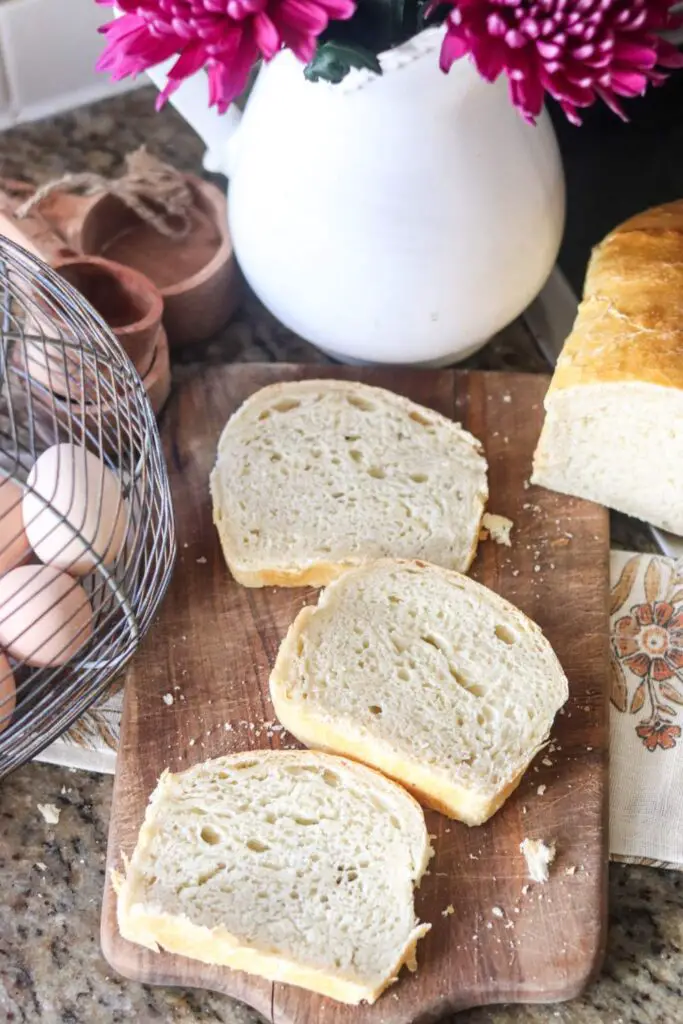
BAKER’S TIMELINE
Day 1 (morning): feed the sourdough starter (1 cup four + 3/4 cup filtered water)
Day 1 (afternoon): make the dough
Day 1 (evening): stretch and folds
Day 1 (night): long ferment
Day 2 (morning): pull dough out
Day 2 (late morning or afternoon): bake the bread
Note: if you are brand new to sourdough bread making, I highly encourage you to print this recipe out! Save it on your countertop and follow it until you have it memorized. That’s what I did with my first couple of loaves. Now, once you memorize it, this will become second nature and very easy. So, do not let this process intimidate you. If I can do it, you can do it!
SOURDOUGH SANDWICH BREAD INGREDIENTS
3/4 cup active, bubbly sourdough starter (I feed my starter with 1 cup flour and 3/4 cup filtered water and let it sit until doubled in size before starting this recipe)
1 1/2 cup filtered warm water
1 1/2 tsp salt
4 tbsp butter, melted and then cooled slightly
1-2 tbsp of sugar or honey
1 tbsp olive oil
4 cups all-purpose or bread flour *see note on measurements below
1 egg (optional, for an egg wash on top)
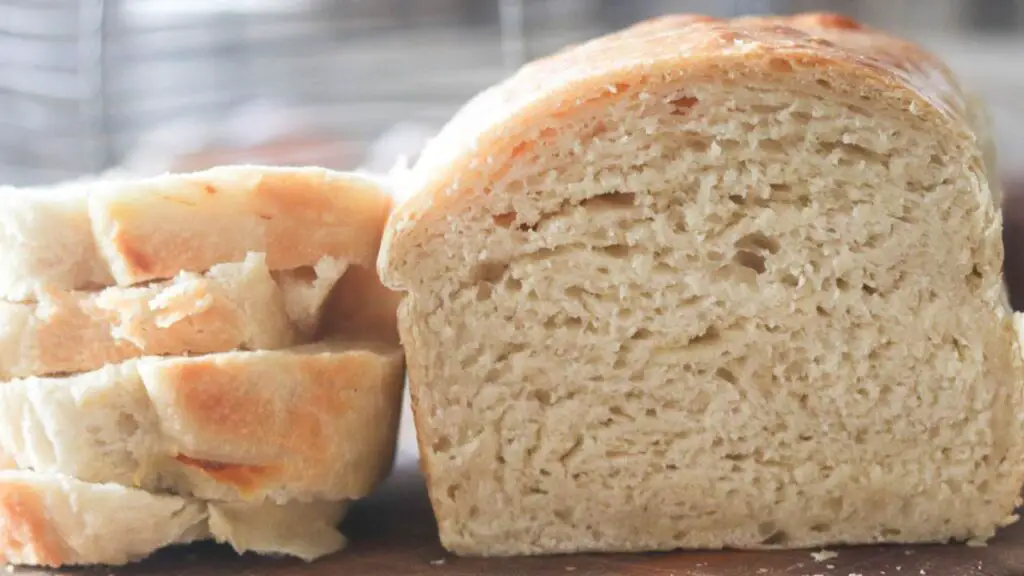
HOW TO MAKE SOURDOUGH SANDWICH BREAD
PHASE 1: MAKE THE DOUGH
Melt the butter and remove from the heat to let cool slightly. Butter should be slightly warm, but not hot, before adding to the bread dough.
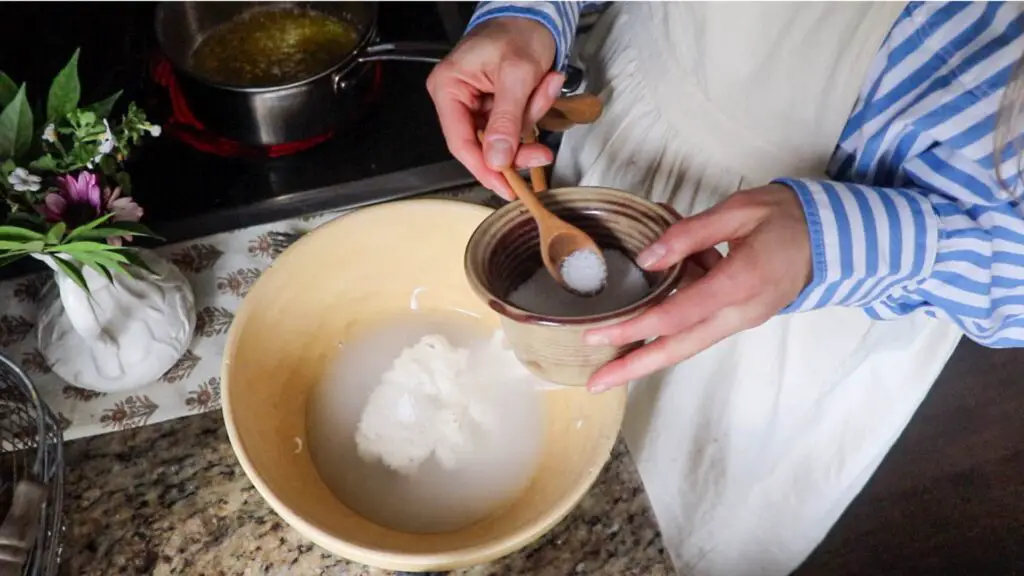
Add all of the ingredients except the flour and egg into a large bowl and whisk together with fork.
Then add the flour and use your hands to combine. To combine, scoop the mixture up on the sides and fold it into the center, slowly incorporating the flour with the wet ingredients. The dough will be choppy and sticky at first, but it will develop into a nice smooth dough later on as it ferments.
Then, cover the bowl with a tea towel and let it sit out on your counter.
PHASE 2: STRETCH AND FOLD
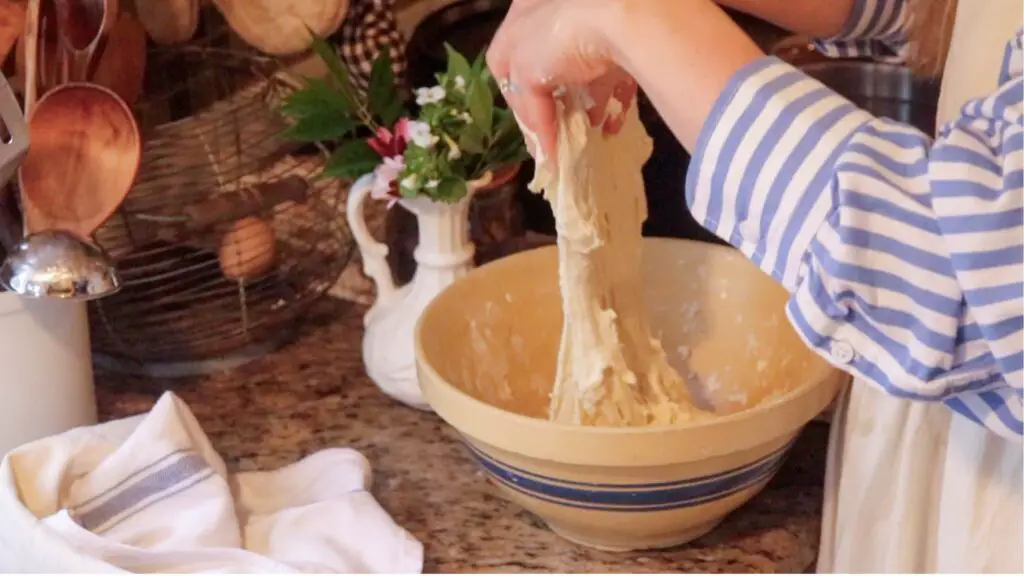
After about 1 hour, perform a stretch and fold. Pull up on one side of the dough with one hand while holding the center of the dough down with the other. Fold the extended dough hand over onto the center of the dough. Then rotate the bowl 90 degrees and do it again. Repeat until all 4 sides of the dough have been stretched and folded into the center. Then, cover the dough bowl back up with a tea towel.
It also helps here to use your fingers to scrape the dough off the sides of the bowl and incorporate it into the main mixture. While you’re doing this, think about lifting and tucking all the sides of the dough into the center so you’re creating a ball shape.
This process of lifting and tucking, or stretching and folding, distributes the gluten and helps create a nice bread that will rise.
PHASE 3: MORE STRETCH AND FOLDS
After the first stretch and fold, you’re going to let the dough sit on the counter for the rest of the day, or another 4-6 hours.
Repeat the stretch and fold process 1-2 more times during this time. This sandwich bread is not picky. So if you do 2 stretch and folds before the long ferment, that will work just fine. Or if you do 4 stretch and folds, that works too! You can really make this work around your schedule just fine.
PHASE 4: LONG FERMENTATION
After about 6 hours of the dough being out, you’re going to let it long ferment in the refrigerator. This helps slow the fermentation down while also developing the gluten nicely so it will rise in the oven the next day.
Cover the dough bowl with plastic wrap over the top to prevent it from drying out, and stick the whole bowl in the fridge over night.
PHASE 5: SHAPE THE DOUGH
The next day, bring the dough out of the fridge and let sit about 30 minutes to 1 hour. Meanwhile, place a sheet of parchment paper in your sandwich loaf tray.
Sprinkle some flour on a clean countertop. Remove the dough from the bowl and place it on the floured surface.
Using your hands, gently stretch all 4 sides of the dough out to create a rectangle shape. Fold the long sides in towards the center, and then the short sides in towards the center.
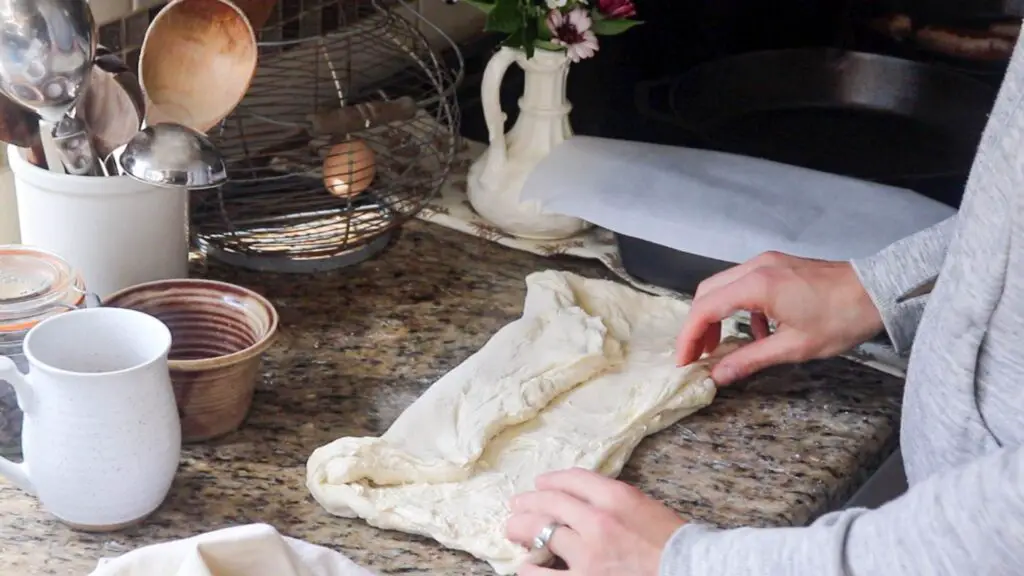
Then, flip the dough over onto the non-floured part of the countertop. Using your hands, drag it forward and backward on the countertop and encourage it to get more into the rectangular shape. This motion on the clean countertop surface creates friction on the bottom of your dough, almost like you’re making a knot at the bottom.
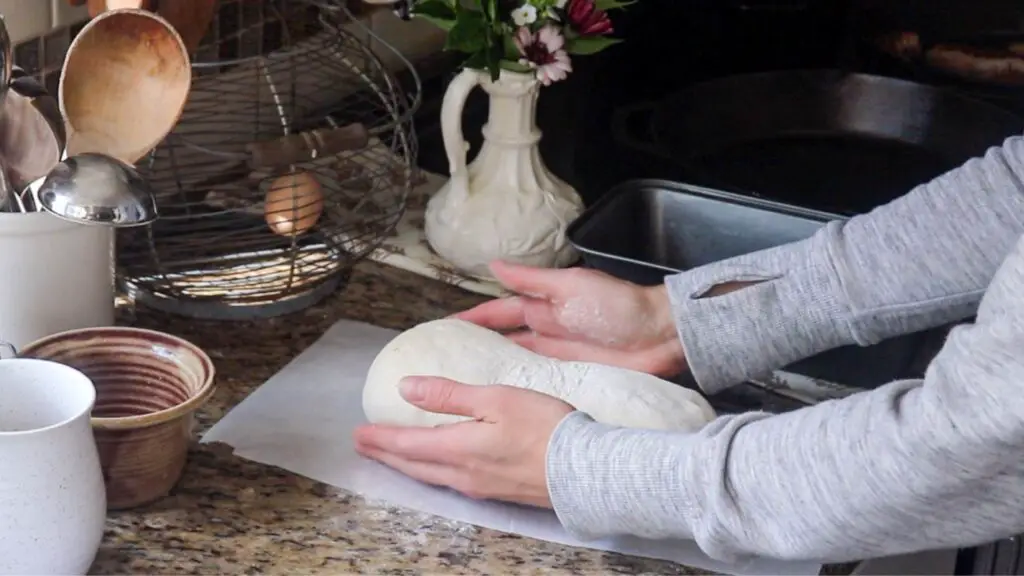
Once your dough is rectangular, transfer it to the loaf pan (on top of the parchment paper). Cover it with a tea towel and again, let it sit out for 3-6 hours or until doubled in size. Note: the warmer your house is, the faster this will go.
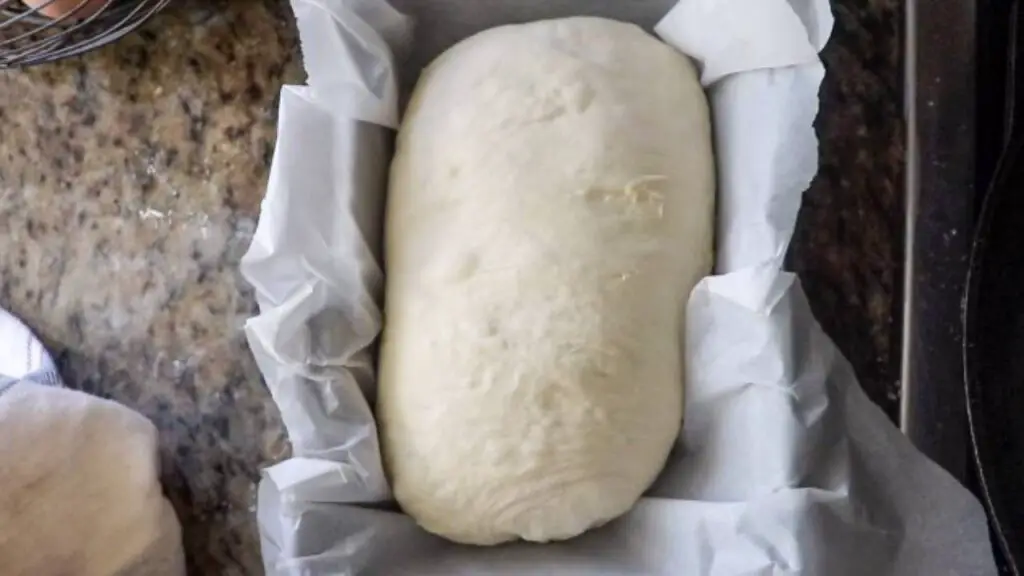
When it’s almost ready to bake, preheat the oven to 350 degrees F.
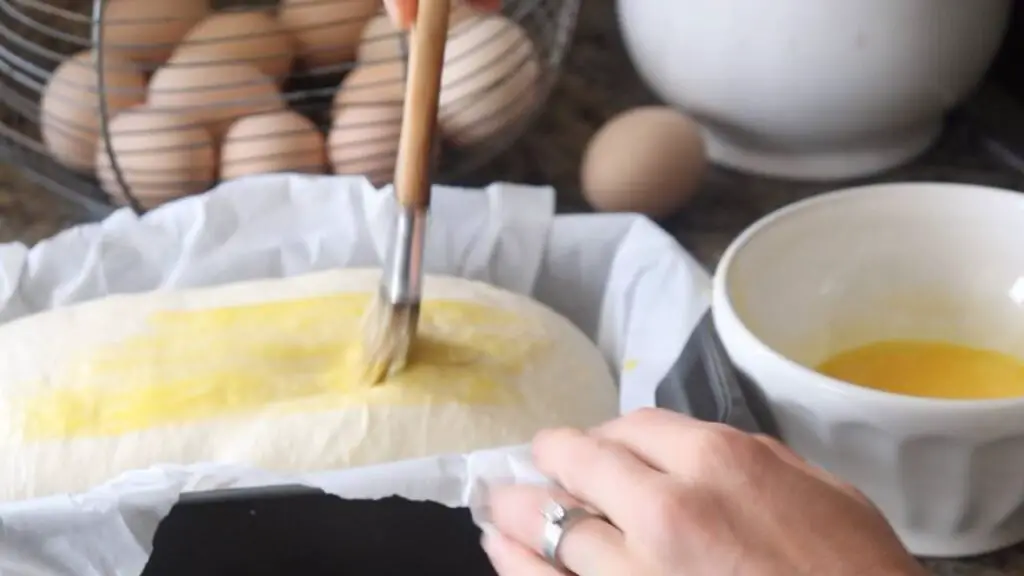
Before baking, brush a whisked egg over the top of the dough to create a delicious egg wash crust.
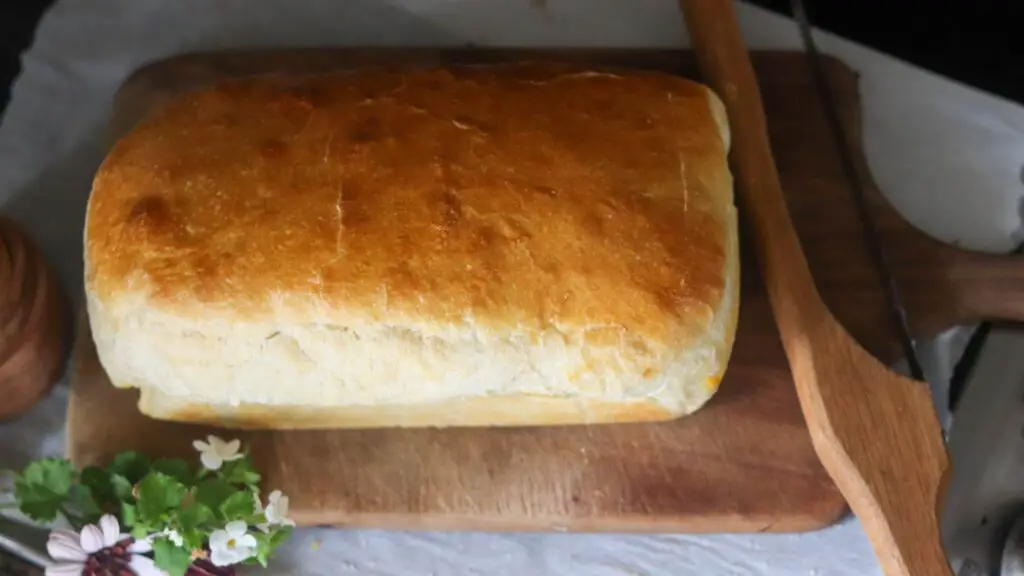
Bake for 35 minutes or until the dough crust is firm. Remove from the oven when finished, transfer to a cooling rack, and let sit for at least 1 hour before cutting (this is the hardest part!).
HOW TO STORE SOURDOUGH SANDWICH BREAD
Keep your sourdough sandwich bread wrapped in plastic wrap and in the fridge for 3-5 days.
If the bread is several days old and you’re looking for ways to use it, my favorite way is to make French toast. Simply add it to a mixture of egg, milk, cinnamon, maple syrup, and salt whisked together and sear it on the cast iron until cooked for a delicious breakfast.
Keep Baking Sourdough!
Cinnamon Raisin Sourdough Einkorn Bread
Easy No-Knead Einkorn Sourdough Bread
Pin it for Later

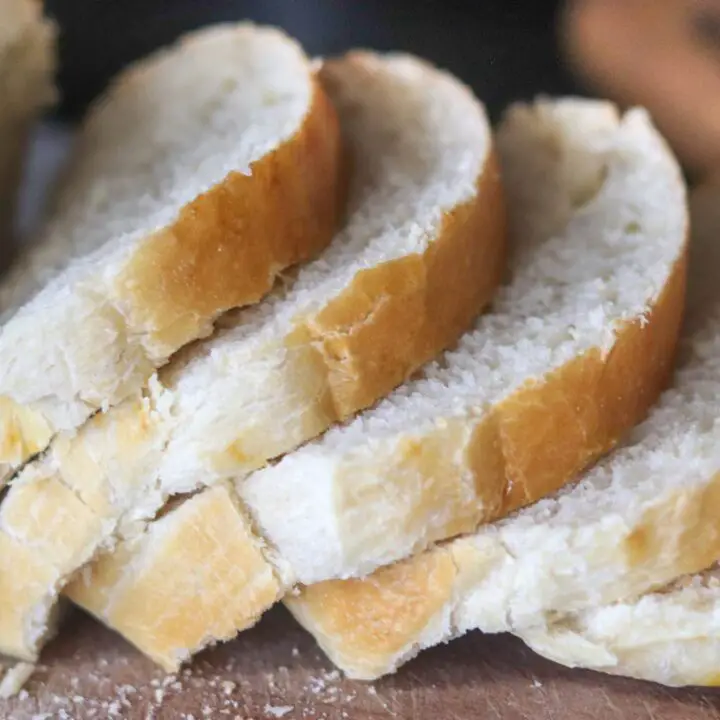
Best Chewy Sourdough Sandwich Bread
This soft, chewy, sourdough sandwich bread is easy to make and beginner friendly, making it the perfect weekly family bread staple. With decadent ingredients like butter and the tangy taste of sourdough, this bread has topped the charts as the new family favorite in our homestead.
Ingredients
- 3/4 cup active, bubbly sourdough starter (I feed my starter with 1 cup flour and 3/4 cup filtered water and let it sit until doubled in size before starting this recipe)
- 1 1/2 cup filtered warm water
- 1 1/2 tsp salt
- 4 tbsp butter, melted and then cooled slightly
- 1-2 tbsp of sugar or honey
- 1 tbsp olive oil
- 4 cups all-purpose or bread flour *see note on measurements below
- 1 egg (optional, for an egg wash on top)
Instructions
PHASE 1: MAKE THE DOUGH
Melt the butter and remove from the heat to let cool slightly. Butter should be slightly warm, but not hot, before adding to the bread dough.
Add all of the ingredients except the flour and egg into a large bowl and whisk together with fork.
Then add the flour and use your hands to combine. To combine, scoop the mixture up on the sides and fold it into the center, slowly incorporating the flour with the wet ingredients. The dough will be choppy and sticky at first, but it will develop into a nice smooth dough later on as it ferments.
Then, cover the bowl with a tea towel and let it sit out on your counter.
PHASE 2: STRETCH AND FOLD
After about 1 hour, perform a stretch and fold. Pull up on one side of the dough with one hand while holding the center of the dough down with the other. Fold the extended dough hand over onto the center of the dough. Then rotate the bowl 90 degrees and do it again. Repeat until all 4 sides of the dough have been stretched and folded into the center. Then, cover the dough bowl back up with a tea towel.
It also helps here to use your fingers to scrape the dough off the sides of the bowl and incorporate it into the main mixture. While you’re doing this, think about lifting and tucking all the sides of the dough into the center so you’re creating a ball shape.
This process of lifting and tucking, or stretching and folding, distributes the gluten and helps create a nice bread that will rise.
PHASE 3: MORE STRETCH AND FOLDS
After the first stretch and fold, you’re going to let the dough sit on the counter for the rest of the day, or another 4-6 hours.
Repeat the stretch and fold process 1-2 more times during this time. This sandwich bread is not picky. So if you do 2 stretch and folds before the long ferment, that will work just fine. Or if you do 4 stretch and folds, that works too! You can really make this work around your schedule just fine.
PHASE 4: LONG FERMENTATION
After about 6 hours of the dough being out, you’re going to let it long ferment in the refrigerator. This helps slow the fermentation down while also developing the gluten nicely so it will rise in the oven the next day.
Cover the dough bowl with plastic wrap over the top to prevent it from drying out, and stick the whole bowl in the fridge over night.
PHASE 5: SHAPE THE DOUGH
The next day, bring the dough out of the fridge and let sit about 30 minutes to 1 hour. Meanwhile, place a sheet of parchment paper in your sandwich loaf tray.
Sprinkle some flour on a clean countertop. Remove the dough from the bowl and place it on the floured surface.
Using your hands, gently stretch all 4 sides of the dough out to create a rectangle shape. Fold the long sides in towards the center, and then the short sides in towards the center.
Then, flip the dough over onto the non-floured part of the countertop. Using your hands, drag it forward and backward on the countertop and encourage it to get more into the rectangular shape. This motion on the clean countertop surface creates friction on the bottom of your dough, almost like you’re making a knot at the bottom.
Once your dough is rectangular, transfer it to the loaf pan (on top of the parchment paper). Cover it with a tea towel and again, let it sit out for 3-6 hours or until doubled in size. Note: the warmer your house is, the faster this will go.
When it’s almost ready to bake, preheat the oven to 350 degrees F.
Before baking, brush a whisked egg over the top of the dough to create a delicious egg wash crust.
Bake for 35 minutes or until the dough crust is firm. Remove from the oven when finished, transfer to a cooling rack, and let sit for at least 1 hour before cutting (this is the hardest part!).
Notes
BAKER’S TIMELINE
Day 1 (morning): feed the sourdough starter (1 cup four + 3/4 cup filtered water)
Day 1 (afternoon): make the dough
Day 1 (evening): stretch and folds
Day 1 (night): long ferment
Day 2 (morning): pull dough out
Day 2 (late morning or afternoon): bake the bread
Note: if you are brand new to sourdough bread making, I highly encourage you to print this recipe out! Save it on your countertop and follow it until you have it memorized. That’s what I did with my first couple of loaves. Now, once you memorize it, this will become second nature and very easy. So, do not let this process intimidate you. If I can do it, you can do it!
HOW TO STORE SOURDOUGH SANDWICH BREAD
Keep your sourdough sandwich bread wrapped in plastic wrap and in the fridge for 3-5 days.
If the bread is several days old and you’re looking for ways to use it, my favorite way is to make French toast. Simply add it to a mixture of egg, milk, cinnamon, maple syrup, and salt whisked together and sear it on the cast iron until cooked for a delicious breakfast.
A NOTE ON GRAMS VERSUS CUPS
Because this recipe is in cups and not grams, there may be a variance in the weight of your ingredients, specifically flour, if you’re using a different flour than I am. My recommendation would not be to try to convert this to grams (I’ve had people say they try that and it just doesn’t work). Instead, watch the video in the recipe card below and try to get your dough to match mine in the beginning.
Ultimately, you just need to learn what the dough consistency should be like. You may need more or less flour than I used, but it will only be about 2 tablespoons of flour in either direction. So, instead of trying to convert the recipe, just follow the above but also leave room for flexibility. And remember, even if a recipe is in grams, it doesn’t mean it will work for you every time. Sourdough takes practice but you WILL get it, so don’t give up, and enjoy your bread each time!




How does this recipe change for using exclusively einkorn flour? Thanks!
I will be posting an einkorn sandwich bread recipe soon. Basically, you need more einkorn flour since the conversion is not 1-to-1.
This sandwich bread is so soft and fluffy!! It was super early to make too! We’ve been making sandwiches all week with it. It works great in a cold sandwich or a hot sandwich like a grilled cheese. This bread will definitely a staple recipe and I’m excited to try more of the sourdough bread recipes from Alexa!
So glad you enjoyed it!
Hi! How much starter do I pour out to feed to the amount your recipe requested?
So I don’t pour any out. I keep my starter in a bowl and it always lives there (I keep 2-3 cups of starter in there at a time). When I want to make a sourdough recipe, I just feed it with 1 cup flour and 3/4 cup water, let it sit until active, and then I take out the desired amount for the recipe.