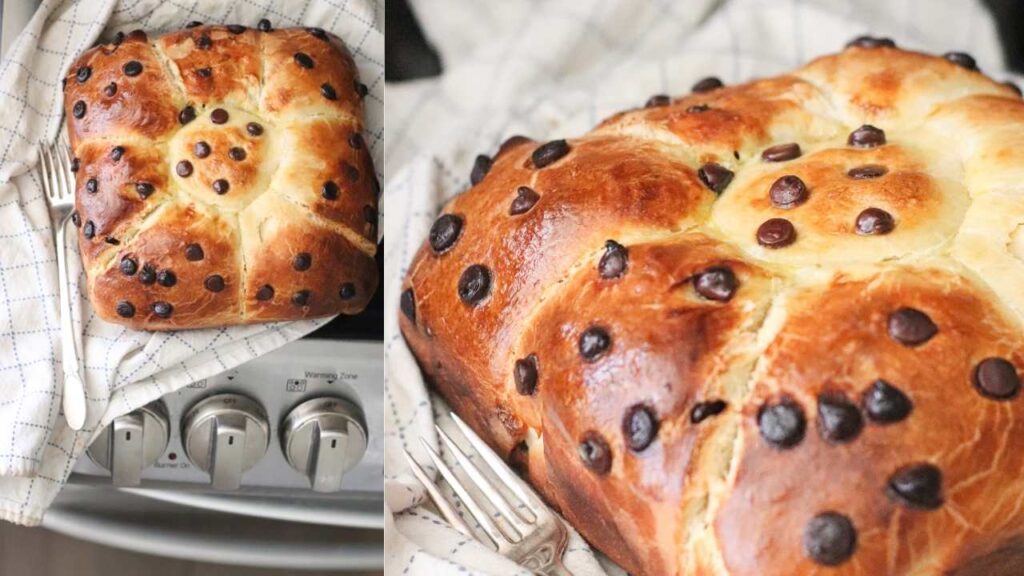
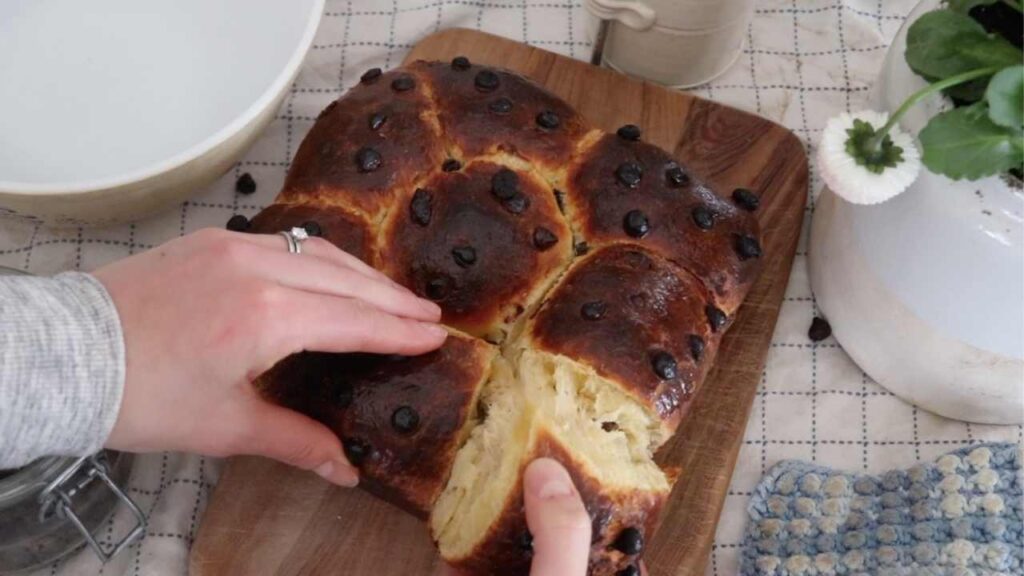
These chocolate chip sourdough brioche rolls are so chewy and soft on the inside, you can just pull them apart right out of the oven. Serve these up with scrambled eggs for an Easter brunch, or store them in the fridge and enjoy them all week long.
This post contains affiliate links, which means I may make a small commission off items you buy at no extra cost to you 😉 As an Amazon associate, I earn on qualifying purchases.
Easter is around the corner, and I’m getting ready with homemade sourdough brioche rolls with chocolate chips. This recipe uses sourdough starter to make a soft, chewy, sourdough brioche roll. The chocolate chips make this extra decadent.
Note: because I kept reheating the brioche rolls so my husband and I could enjoy them, they got a little burnt on the top when I took photos the first time. So I re-shot them another time to show you how they look right out of the oven. When you reheat them, cover with foil to prevent burning.
PIN IT FOR LATER!

Note: because I kept reheating the brioche rolls so my husband and I could enjoy them, they got a little burnt on the top when I took photos the first time. So I re-shot them another time to show you how they look right out of the oven. When you reheat them, cover with foil to prevent burning.
A Time to Cherish
These sourdough chocolate chip brioche rolls are soft and chewy on the inside and make the perfect brunch side dish.
Easter is around the corner and I normally start making hard boiled eggs and my favorite brunch dishes for this special holiday.
It’s always a special time of year when families get together to celebrate the rising of Jesus Christ. Easter also comes with spring time, a time of fresh blooms, baby chicks, kittens, and the turning of cold to warmer weather.
And to me, what better way to celebrate such a time than with a delicious meal.
I hope you and your family enjoy this sourdough brioche recipe and you cherish it this Easter!
All Things Sourdough
If you’ve been around you know that I love making sourdough recipes. If you are brand new to the world of sourdough, let me just tell you that you will love it once you get used to it! Keeping a sourdough starter is really easy. You just feed your starter before you use it, and stick it in the fridge when you don’t.
Whether it’s sourdough bread, sourdough chocolate chip cookies, or homemade sourdough bagels, there’s always something on my counter fermenting for that week’s dough. These brioche rolls, however, are more of a treat for us than a regular staple. The doughy inside with the chocolate chips makes them dessert-worthy, or perfect for a Sunday Easter brunch.
New to Sourdough?
If you are brand new to sourdough, you are going to love using your starter to make tasty breads like this one.
You can learn how to make your own sourdough starter from scratch to make homemade bread, sourdough pizza, bagels, and more.
Put all your sourdough recipes in one spot!
Download and print off this NEW sourdough recipes ebook and keep your favorite sourdough recipes on your counter for easy, every day cooking.


TOOLS NEEDED
Medium sized mixing bowl (for the leaven)
Measuring Cups and Spoons
Stand up mixer (you could also use a large bowl and your hands)
Cutting board (optional, you could also use your countertop)
Sharp Knife
Plastic Wrap
Bread baking dish or cake dish (I use an 8×8 cake dish)
Parchment Paper
Tea Towel
Fork
Food brush (you could also use a paper towel if you don’t have a brush)
Aluminum foil (optional)
SOURDOUGH BRIOCHE INGREDIENTS
(Scroll down to the bottom of this post to see the exact measurements in the recipe card)
Active sourdough starter (find out how to make your own here)
Filtered Water
Organic Unbleached Flour
Raw Honey
Milk
Salt
Eggs
Butter
Chocolate chips (optional)
The Process
This is a three day process. Don’t let that intimidate you though! Most of the time, you only need to touch the dough for a minute or two. The actual manual labor is not much. I will leave two sample timelines below: one is for brioche on Sunday night, and the other is for Sunday morning. They are the same process, the only difference is the timing whether you want fresh brioche in the morning or evening.
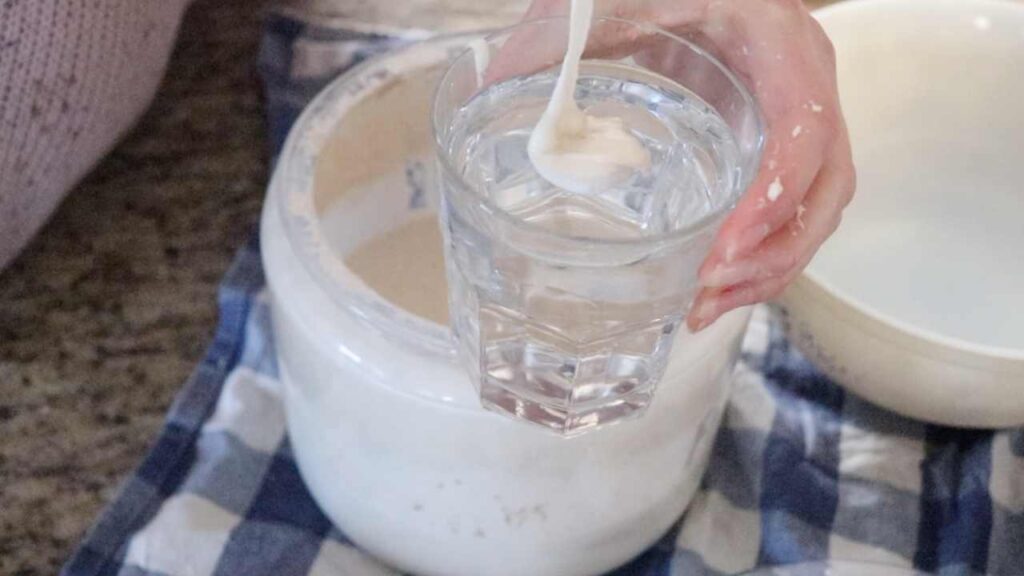
Day 1 (5 minutes active): take your starter out of the fridge and feed it in the morning. You know your starter is ready when it passes the float test (a spoonful floats in a cup of water).
Once the starter is ready, make the leaven in a small bowl. Cover it with plastic wrap and let sit on your countertop all night.
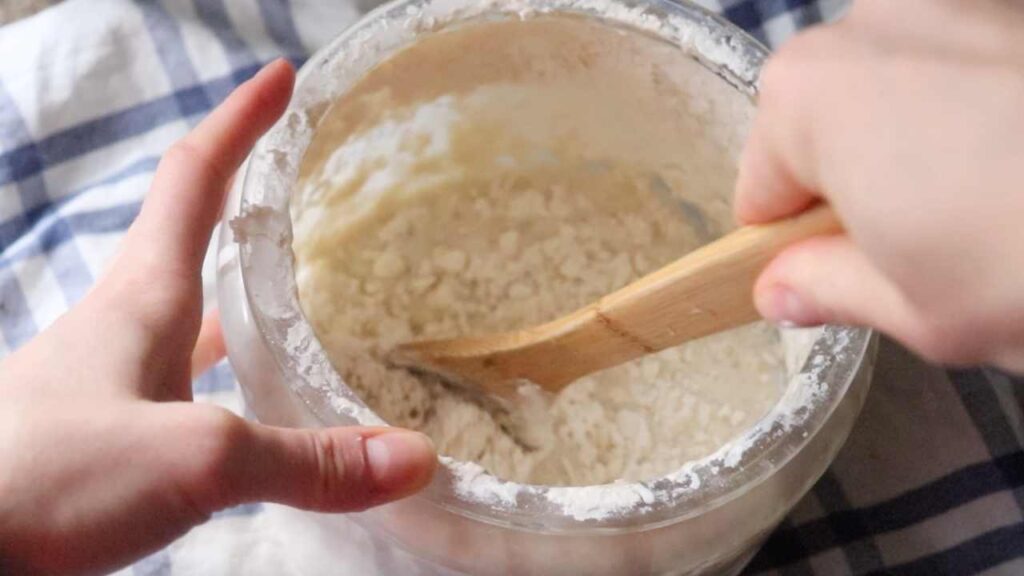
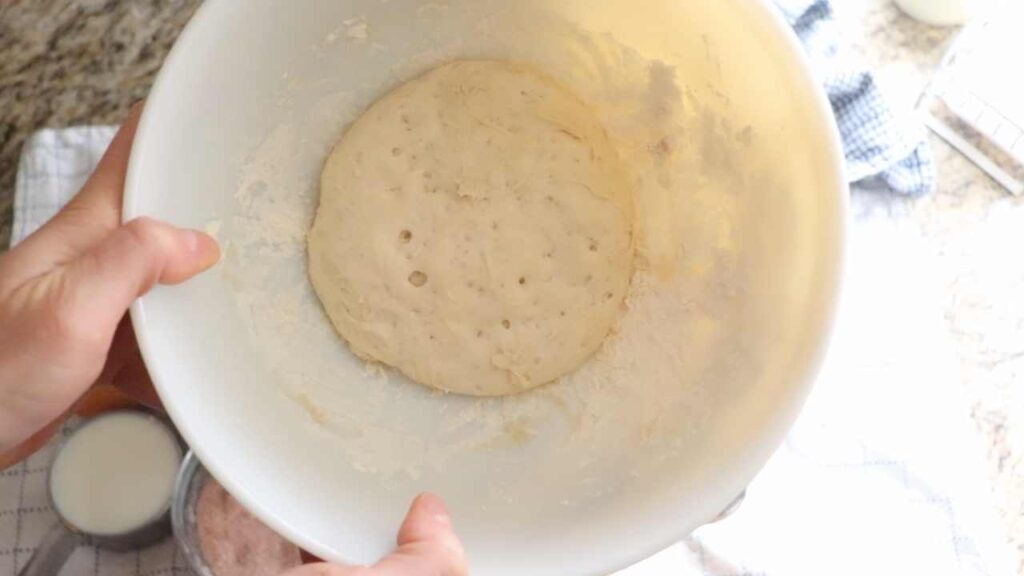
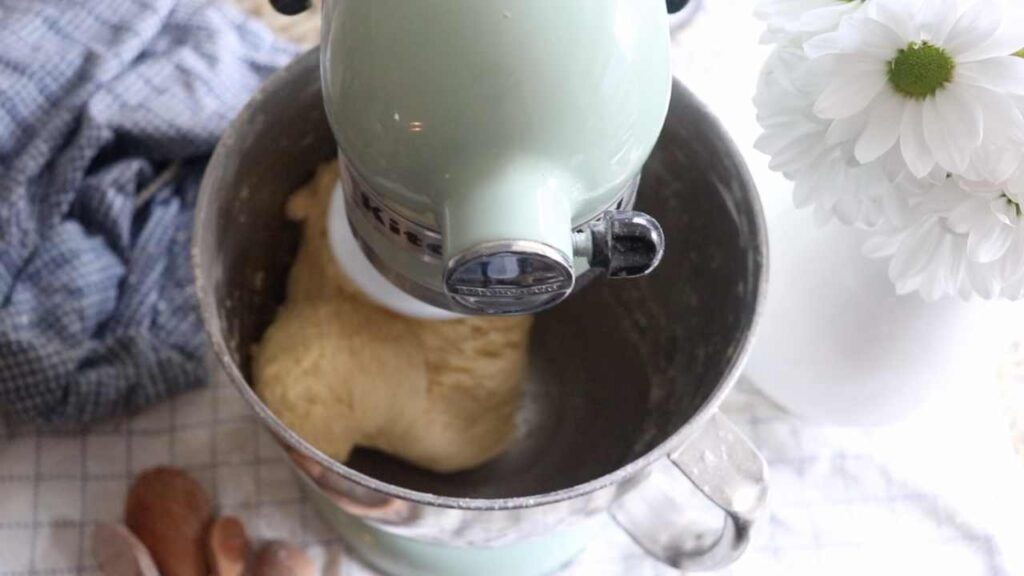
Day 2 (30 minutes active: this is the most work in the whole process): In the morning, add the leaven and all the dough ingredients except the flour and butter to a standup mixer. Mix with a fork until all the eggs are combined. Then add the flour and mix with a dough hook for a few minutes, until a consistent dough is formed.
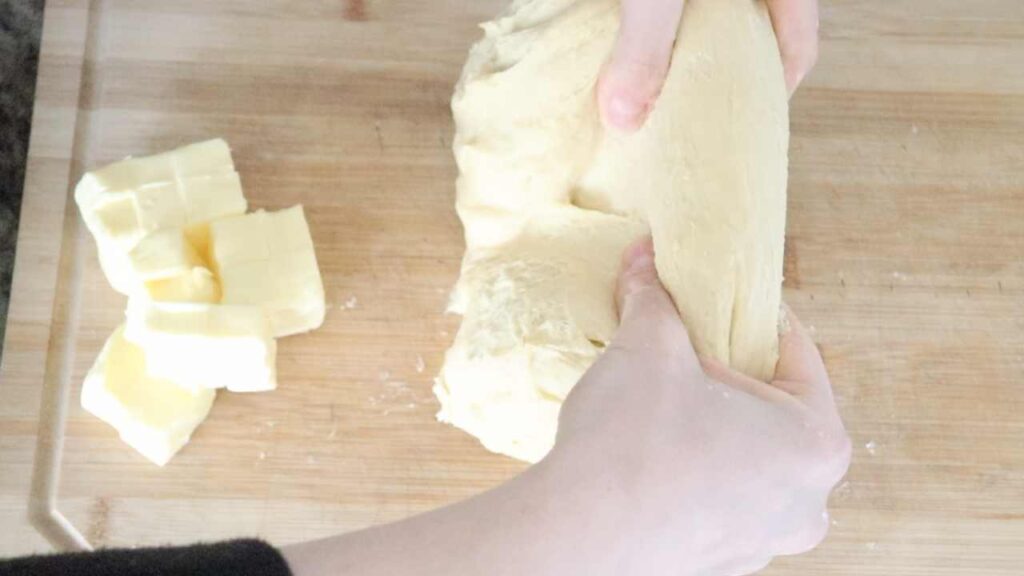
Transfer the dough to a clean countertop surface. Cut the butter into cubes. Incorporate the butter in the dough with your hands a few chunks of butter at a time. Knead and slap the dough on the counter for about five minutes. It will be very sticky!
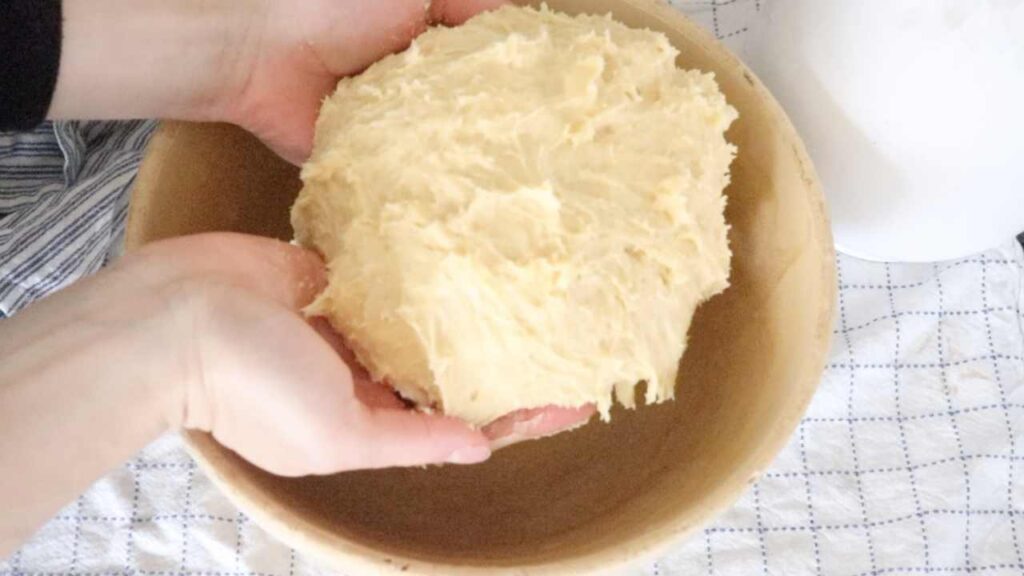
Transfer the dough to a bowl and cover with plastic wrap. Let it sit at room temperature for 4 to 6 hours.
For brioche the next evening, transfer the bowl to the fridge and let sit over night, then follow the below process.
For brioche the next morning, follow the below process after the dough has sat for 4-6 hours.
The Process, continued
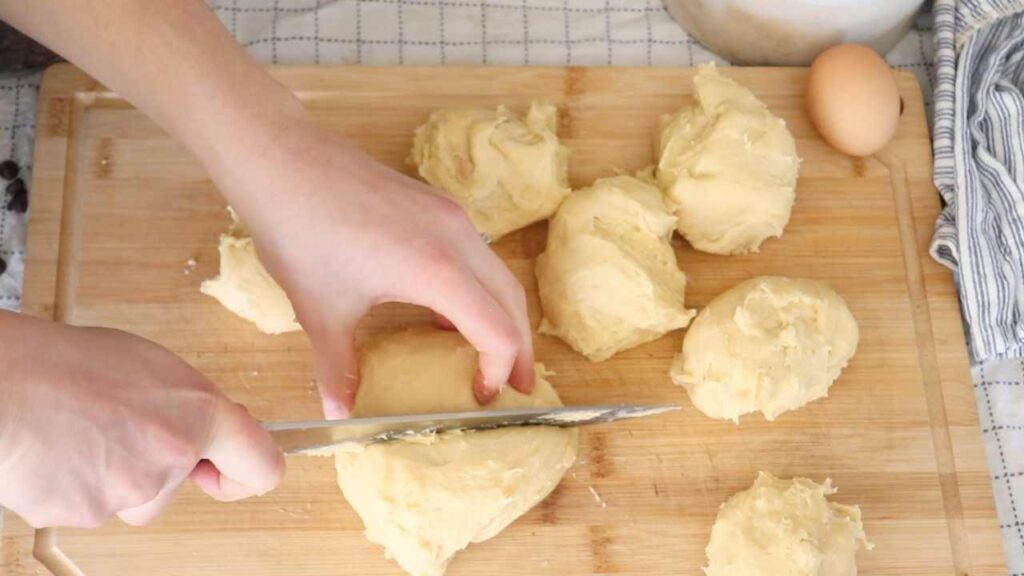
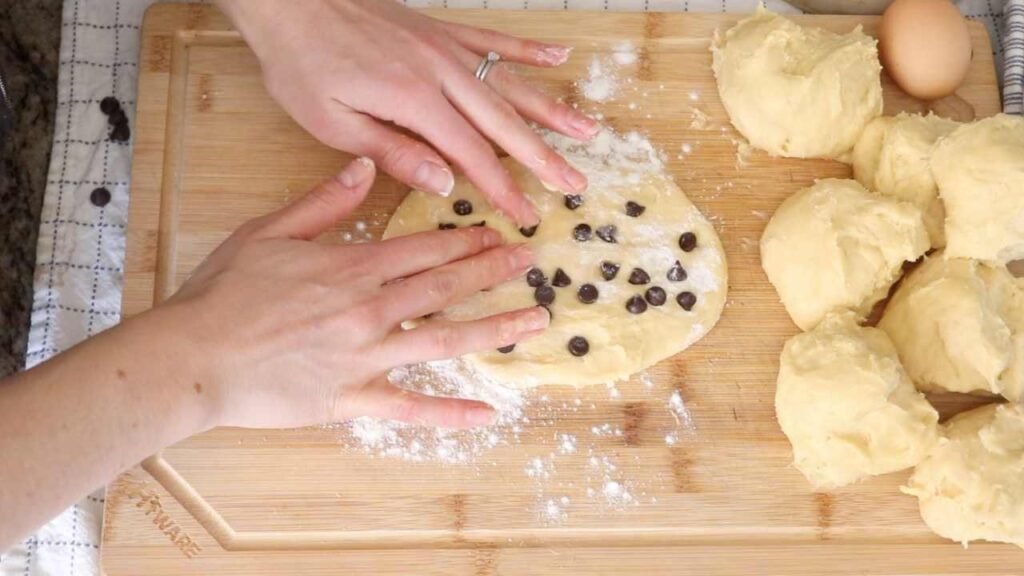
Day 3 (15 minutes active): Transfer the dough to a clean surface. Cut it in half with a sharp knife, or bread cutter, and then cut each half in half again, and half again. So you’ll have eight total pieces. Roll each piece out into a rectangle log shape about 6 inches in length. You might sprinkle a little bit of flour here to make the dough less sticky, but be careful not to over flour. You want the dough to be sticky.
** Note: if you wanted to make a solid bread loaf instead of 8 rolls here, just skip this step.
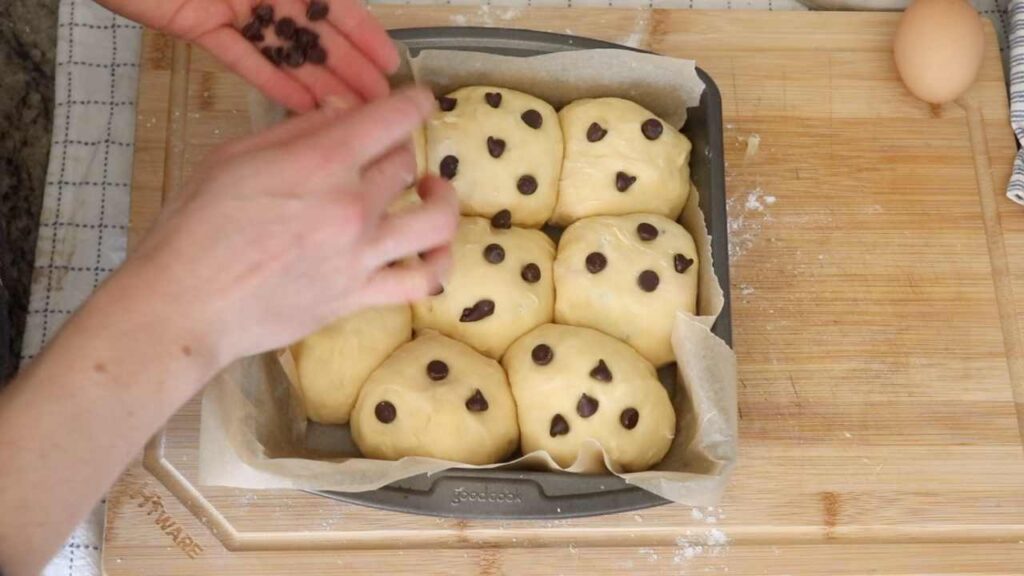
Punch the chocolate chips into the dough. Roll the dough up into a log, and then fold it into a ball. Repeat for all eight pieces.
Line a baking dish (I use an 8 inch cake pan) with parchment paper. You can use a cake tray or bread pan of choice. Place the rolls inside of the tray starting with the center roll first and going around in a circle.
For brioche the next morning, cover the bowl with plastic wrap and let sit on the counter, followed by placing it in the fridge over night.
For brioche that evening, cover with a T towel and let sit on the countertop all afternoon, until doubled in size.
Final step!
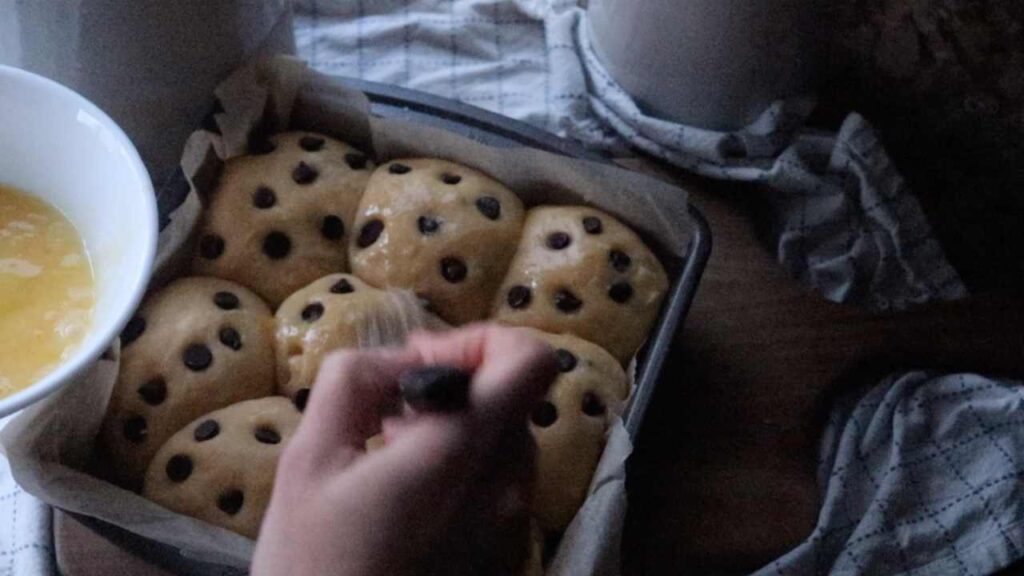
Preheat the oven to 425 degrees F. Meanwhile crack an egg in a small bowl and whisk with a fork. Use a food brush to brush the egg over the top of the dough.
Bake the brioche for 25 minutes total, placing tin foil over the dough about half way through if it’s looking too dark. This helps bake the bread on the inside without burning the outside.
Remove from the oven and dive in! Pulling the brioche apart has to be the most satisfying thing ever. Enjoy!
I hope you and your family love this sourdough brioche as much as we do 🙂
Sample Timeline: Sunday Morning Brioche
This is for if you want to eat the brioche fresh out of the oven on Sunday morning, without any prep work to do that morning. You will just pull it out of the fridge and eat it.
Friday morning (step 1): take sourdough starter out of the fridge and feed it
Friday afternoon/evening: make the leaven
Saturday morning (step 2): make the dough
Saturday afternoon/evening: divide the dough into bread rolls
Saturday evening: transfer to fridge
Sunday morning (step 3): bake the brioche
Sample Timeline: Sunday evening brioche
This is for if you want to eat the brioche fresh out of the oven on Sunday evening, maybe for dessert or serve it without chocolate chips to go with dinner.
Friday morning: take sourdough starter out of the fridge and feed it
Friday afternoon/evening: make the leaven
Saturday morning: make the dough
Saturday afternoon/evening: transfer to fridge
Sunday morning: divide the dough into bread rolls
Sunday afternoon/evening: bake the brioche
Tips for Making Sourdough Brioche Rolls
Keep the eggs, butter, and honey in a warm spot of your house so they can mix easily. Of course if it’s mid-summer and you’re making this while your house is 80 degrees, you would be fine.
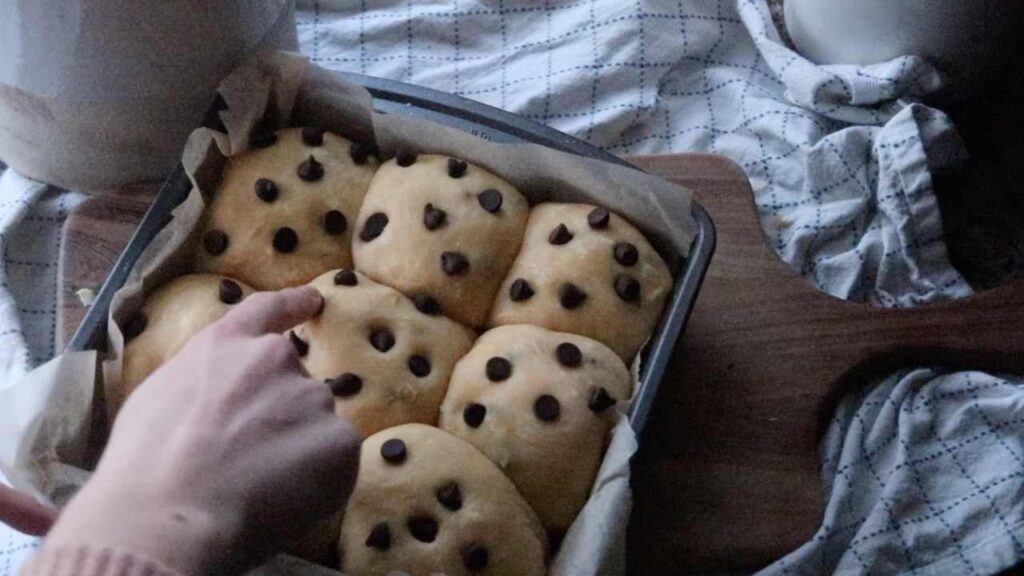
After you’ve put the dough in the baking pan and you let it ferment, you may notice the chocolate chips popping out of the top. This is good, it means your rolls fermented and grew 😉 so just poke them back in gently without deflating the rolls. Then, they’re ready to bake!
This recipe seems intimidating because of the long timeline, but it’s really not. Think of it like first you make a mini dough (the leaven), then you make the main dough, and then with that dough you form rolls. Like all sourdough bread products, the beauty and delicious flavor comes from letting that dough sit and ferment a long time.
Remember that sourdough slows down its fermentation when it’s in the fridge at a cold temp, and it ferments faster with a warm temp. So if your house is particularly warm or cold, that might change how long you leave it out to ferment. For example in the winter time, I feed my starter in the morning and it’s ready to make bread by oh, say, 4pm (about 7 hours of ferment time). Whereas in the summer, I feed my starter in the morning and it’s ready by lunch (about 3 hours of ferment time). Temperature plays a big part.
This recipe is best served right out of the oven. That’s how you get that pull-apart, soft and chewy brioche texture. You can also store it in the fridge and enjoy it the next day. See my storing tips below.
How to Keep and Reheat Sourdough Brioche
I’ll be honest I’ve only tried to store and reheat this brioche bread a few times, because usually we eat it right out of the oven.
If you want to eat this the next day, wrap it tightly with plastic wrap and put it in the fridge. Then to reheat it, I’ve found the best way is to remove the plastic wrap, and cover the bread with tin foil. Place it in the oven on a warm temperature until heated all the way through. You can do this by heating the oven to 350 degrees, and then placing the bread in and turning the oven off. Another way to do this is using a warm function on your oven if you have one. Turning the oven up to 350 will preheat better and faster, but be careful not to over cook or burn the bread (adding tin foil will help prevent that).
Sourdough brioche will last up to 5 days in the fridge, but should really be consumed within 1-2 days for the best flavor.
Our Sourdough Favorites
Getting Started with Sourdough Starter
Sourdough Discard Einkorn Chocolate Chip Cookies

Chocolate Chip Sourdough Brioche Rolls
These super soft sourdough brioche rolls with chocolate chips are a perfect dessert or brunch sourdough rolls recipe.
Ingredients
- --Levain:
- 1/4 cup starter
- 3/4 cup flour
- 3 TB water
- --Dough:
- Levain
- 1/4 cup raw honey
- 1/2 cup milk
- 1 1/2 tsp salt
- 4 eggs
- just under 4 1/2 cups flour
- 2 sticks butter room temp cut in cubes
- --Other:
- 2 cups chocolate chips
- 1 egg for topping the dough
Instructions
Final step!
Preheat the oven to 425 degrees F. Meanwhile crack an egg in a small bowl and whisk with a fork. Use a food brush to brush the egg over the top of the dough.
Bake the brioche for 25 minutes total, placing tin foil over the dough about half way through if it's looking too dark. This helps bake the bread on the inside without burning the outside.
Remove from the oven and dive in! Pulling the brioche apart has to be the most satisfying thing ever. Enjoy!
I hope you and your family love this sourdough brioche as much as we do :)Day 1 (5 minutes active):
Take your starter out of the fridge and feed it in the morning. You know your starter is ready when it passes the float test (a spoonful floats in a cup of water).
Once the starter is ready, make the leaven in a small bowl. Cover it with plastic wrap and let sit on your countertop all night.
Day 2 (30 minutes active: this is the most work in the whole process):
In the morning, add the leaven and all the dough ingredients except the flour and butter to a standup mixer. Mix with a fork until all the eggs are combined. Then add the flour and mix with a dough hook for a few minutes, until a consistent dough is formed.
Transfer the dough to a clean countertop surface. Cut the butter into cubes. Incorporate the butter in the dough with your hands a few chunks of butter at a time. Knead and slap the dough on the counter for about five minutes. It will be very sticky!
Transfer the dough to a bowl and cover with plastic wrap. Let it sit at room temperature for 4 to 6 hours.
For brioche the next evening, transfer the bowl to the fridge and let sit over night, then follow the below process.
For brioche the next morning, follow the below process after the dough has sat for 4-6 hours.
Day 3 (15 minutes active):
Transfer the dough to a clean surface. Cut it in half with a sharp knife, or bread cutter, and then cut each half in half again, and half again. So you’ll have eight total pieces. Roll each piece out into a rectangle log shape about 6 inches in length. You might sprinkle a little bit of flour here to make the dough less sticky, but be careful not to over flour. You want the dough to be sticky.
** Note: if you wanted to make a solid bread loaf instead of 8 rolls here, just skip this step.
Punch the chocolate chips into the dough. Roll the dough up into a log, and then fold it into a ball. Repeat for all eight pieces.
Line a baking dish (I use an 8 inch cake pan) with parchment paper. You can use a cake tray or bread pan of choice. Place the rolls inside of the tray starting with the center roll first and going around in a circle.
For brioche the next morning, cover the bowl with plastic wrap and let sit on the counter, followed by placing it in the fridge over night.
For brioche that evening, cover with a T towel and let sit on the countertop all afternoon, until doubled in size.
Final step!
Preheat the oven to 425 degrees F. Meanwhile crack an egg in a small bowl and whisk with a fork. Use a food brush to brush the egg over the top of the dough.
Bake the brioche for 25 minutes total, placing tin foil over the dough about half way through if it's looking too dark. This helps bake the bread on the inside without burning the outside.
Remove from the oven and dive in! Pulling the brioche apart has to be the most satisfying thing ever. Enjoy!
I hope you and your family love this sourdough brioche as much as we do 🙂
Notes
Sample Timeline: Sunday Morning Brioche
This is for if you want to eat the brioche fresh out of the oven on Sunday morning, without any prep work to do that morning. You will just pull it out of the fridge and eat it.
Friday morning (step 1): take sourdough starter out of the fridge and feed it
Friday afternoon/evening: make the leaven
Saturday morning (step 2): make the dough
Saturday afternoon/evening: divide the dough into bread rolls
Saturday evening: transfer to fridge
Sunday morning (step 3): bake the brioche
Sample Timeline: Sunday evening brioche
This is for if you want to eat the brioche fresh out of the oven on Sunday evening, maybe for dessert or serve it without chocolate chips to go with dinner.
Friday morning: take sourdough starter out of the fridge and feed it
Friday afternoon/evening: make the leaven
Saturday morning: make the dough
Saturday afternoon/evening: transfer to fridge
Sunday morning: divide the dough into bread rolls
Sunday afternoon/evening: bake the brioche
Share it on Pinterest



Leave A Comment