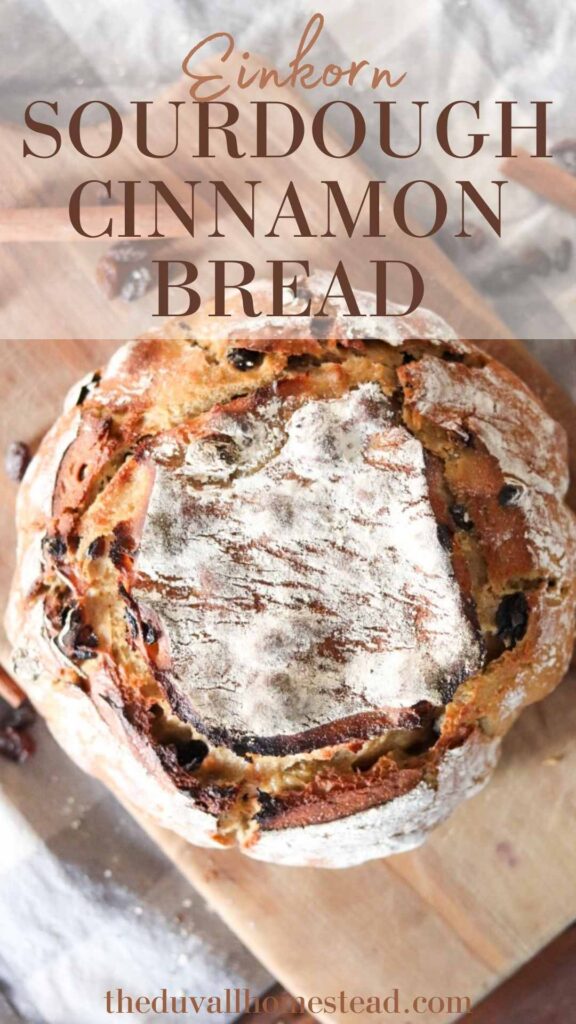
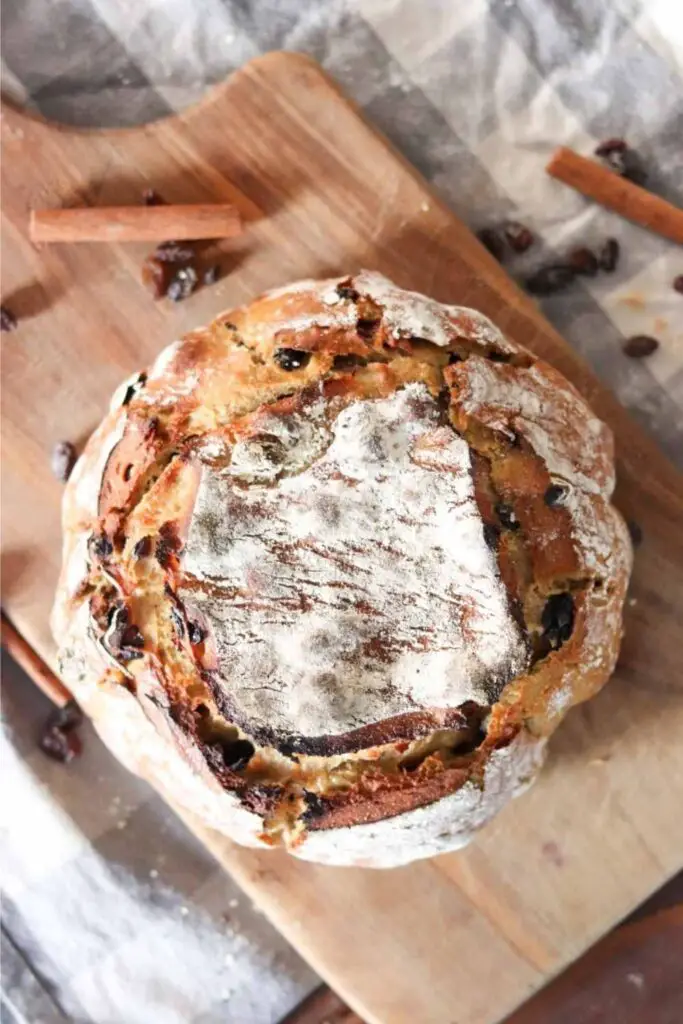
Einkorn sourdough cinnamon raisin bread tastes like fall in every slice. Comforting notes of cinnamon and honey make this the perfect bread loaf to serve at your fall dinner party. Enjoy it with or without raisins for a delicious, flavorful einkorn bread loaf.
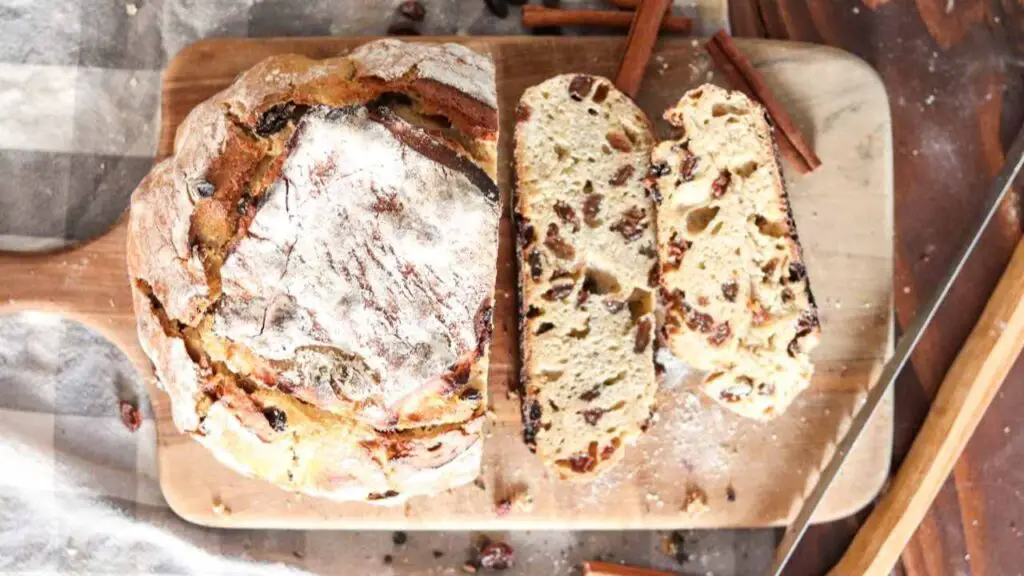
Einkorn sourdough cinnamon raisin bread tastes like fall in every slice. Comforting notes of cinnamon and honey make this the perfect bread loaf to serve at your fall dinner party. Enjoy it with or without raisins for a delicious, flavorful einkorn bread loaf.
PIN IT FOR LATER!
COOKING FOR THE SEASONS
We finally are getting some colder weather around here. It was a long and hot summer, which I thoroughly enjoyed, but now I’m so looking forward to cooler temps and crispy sunny days.
I always like to just take a second and look back on one season before starting the next …
Over the summer we did a CSA (community supported agriculture) pick-up where each week we were blessed to receive fresh veggies from our local farmers. And I had SO MUCH fun cooking with those veggies!
I shared creamy basil pasta, zucchini fritters in the cast iron, homemade sauerkraut, sourdough einkorn peach cobbler, and sourdough pizza with chicken and veggies.
But now that the sun is rising later and setting earlier, and there are pumpkins around every corner, it’s time to ramp up the fall cooking.
I took a few trips to my local farms to pick up fresh pumpkins to make pumpkin puree and butternut squashes for butternut squash soup.
And lastly, it was finally time for me to master einkorn sourdough bread. Because you can’t have those cozy fall soups and roasts without delicious, soft bread alongside!
So I experimented with plain einkorn bread, honey bread, and cinnamon raisin bread. The cinnamon raisin bread was my favorite, so that’s the first recipe I’m sharing with you!
I hope you just relish in the comforting flavors of this sourdough einkorn cinnamon raisin bread. And I hope it becomes a staple in your kitchen like it has in mine.
WHAT IS EINKORN FLOUR?
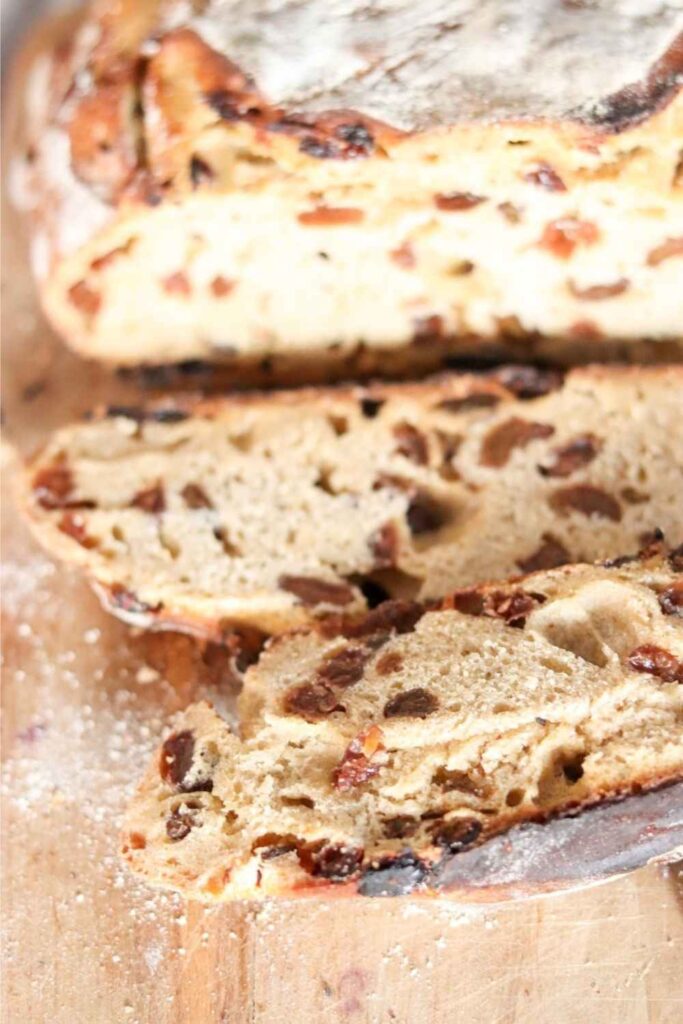
Einkorn flour is an ancient grain, and one that is non-hybridized unlike most of today’s modern wheat.
If you want to understand this process, I suggest watching this YouTube video about it. It was the first video I watched that got me started on understanding today’s wheat manufacturing process.
Basically, hybridization is the process of breeding different types of grain to create a grain that can withstand weather ailments and produce a higher yield crop.
This modern process allows people to get grain who may not be able to otherwise, but it also jeopardizes some of the original qualities of non-hybridized wheat.
Einkorn has 50% more manganese, riboflavin, and zinc, and 20% more magnesium, thiamin, niacin, iron, and vitamin B. Ironically these are same nutrients that are synthetically added back to enriched wheat flour to compensate for what we’ve lost in making wheat a high-yield crop. (source)
Einkorn is also higher in protein, making it a much better source of energy for your body.
However, einkorn flour works differently and tastes slightly different than your regular store-bought flour. But that doesn’t mean it’s not delicious. You just have to get used to working with it. That is why I am starting to convert some of my recipes to einkorn, because it’s a healthier grain for my family.
In order to bring new recipes and techniques to you all, I like to read books like this one. I learn about new cooking methods and ingredients and then practice them in my kitchen before sharing them here on the blog. It’s a great book full of wonderful recipes, so I highly recommend it if you’re interested in einkorn flour!
A NOTE ON SOURDOUGH EINKORN
I am using my sourdough starter for this recipe.
And my sourdough starter is made with regular all-purpose flour, because I do still use regular flour. I don’t cook 100% with einkorn all of the time.
So while this recipe calls for mostly einkorn flour, there is a little bit of regular flour in there because of the starter. In other words, I don’t keep an einkorn sourdough starter (at least not yet).
Einkorn flour and regular flour absorb water differently, so generally speaking you need about 25% more einkorn flour than regular flour if you’re going to convert a regular recipe into einkorn. That’s just what I’ve found to work in my kitchen plus doing the research reading einkorn books, etc.
Ultimately though, the best way to cook with einkorn is to simply practice. Get to know how it works and what it feels and looks like when you’re baking with it. Don’t be intimidated if your first couple of loaves don’t work out, you will get the hang of it!
New to Sourdough?
If you are brand new to baking with sourdough, you’ll love this simple bread recipe.
You can learn how to make your own sourdough starter from scratch to make homemade bread, sourdough pizza, bagels, and more.
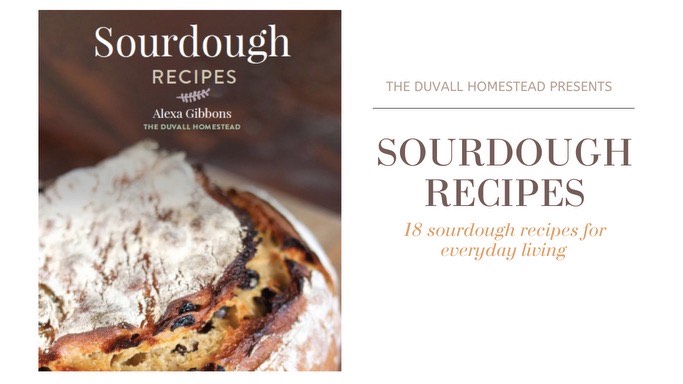
Put all your sourdough recipes in one spot!
Download and print off this NEW sourdough recipes ebook and keep your favorite sourdough recipes on your counter for easy, every day cooking.

TIPS FOR WORKING WITH EINKORN SOURDOUGH
Einkorn flour absorbs water differently than conventional flour. In my experience, it absorbs water slower, and in lesser amounts, than regular flour. So if you’re making regular flour bread, you would combine flour and water into a dough in, say, 30 seconds. But with einkorn it may take 1 minute for the flour and water to form a dough. So you want to let einkorn bread sit longer, and spend more time working with it than regular flour. Let it come together nice and slowly. Have patience!
For every 1 cup regular flour, you want to use about 1 1/4 cup einkorn flour. You can try this experiment at home and see what happens when you mix 1 cup flour + 1/2 cup water, and then 1 1/4 cup einkorn + 1/2 cup water. You should get similar results.
Einkorn flour is very sticky, but that doesn’t necessarily mean you need more flour to get rid of it. I used to add more einkorn flour when my dough was too sticky, but einkorn has a unique, almost nutty, texture to it. So adding more flour can cause it to be quite heavy and dense. Just use your hands or a bench scraper to form the dough and embrace the sticky-ness.
Einkorn flour has a nutty, richer flavor than conventional flour. And this is a really good thing! But, I’ll be honest, I don’t like the taste of plain einkorn flour in my bread. I mean, anything with butter and a fresh egg on top is good in my book. But I find that mixing a sweetener like honey, cinnamon, or maple syrup with your einkorn flour recipes is a great idea. It brings out the natural einkorn flour without leaving it tasting too nutty and dense.
If you are new to einkorn and want to get to know the grain, I suggest starting with this einkorn book. You can buy einkorn flour on Amazon, and I also recommend einkorn pasta (it’s our favorite!). There are lots of ways to replace regular flour with einkorn if you know where to look!
BEST WAYS TO PAIR EINKORN SOURDOUGH CINNAMON RAISIN BREAD
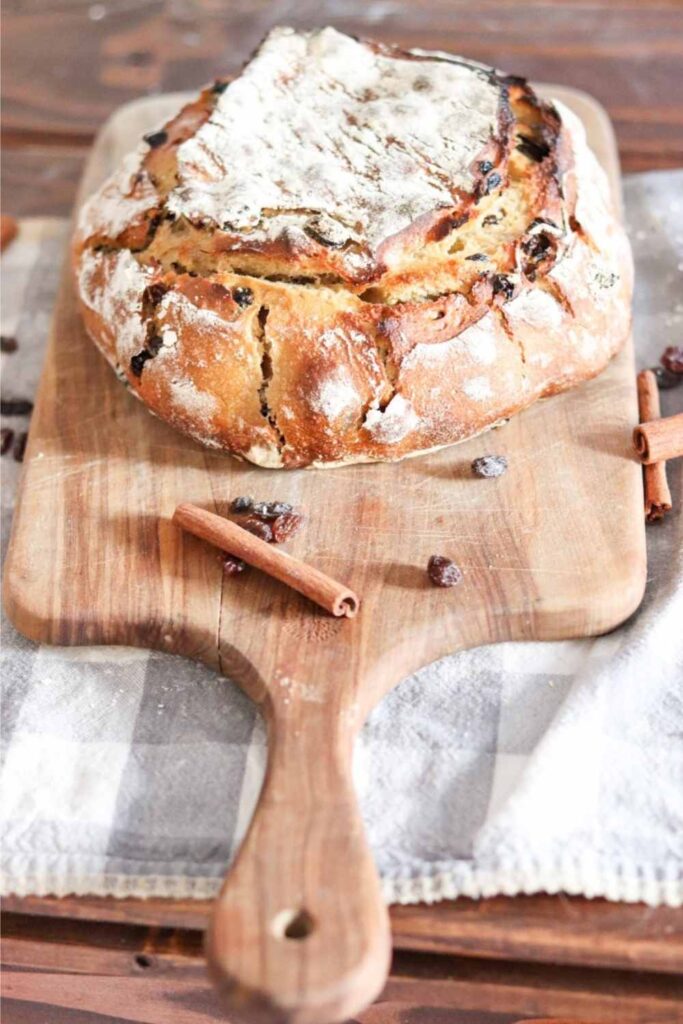
My favorite way is to slice up this loaf of bread, top it with nice farm fresh, grass-fed butter, and add an over-easy fried egg on top. Finish off with fresh-ground salt and pepper. Crack the yolk with a fork and dip the bread in it. So good!
Make a skillet breakfast with sausage, potatoes, and veggies. Try this Cracker Barrel-Inspired skillet breakfast with the einkorn sourdough cinnamon raisin bread for a hearty and delicious winter breakfast.
The cinnamon in the bread loaf will also pair nicely with the cinnamon added to this roasted butternut squash soup with bone broth recipe. Mmmm, I just love these comfort foods and fall flavors!
Another fall favorite soup is this pumpkin chili. Bread is always a good side dish to chili, especially if served to a group of friends and family for a football game!
Or if you’re making this bread in the summer, try dipping it in creamy homemade tomato soup.
This post contains affiliate links, which means I may make a small commission off items you buy at no extra cost to you. As an Amazon associate, I earn on qualifying purchases. See my full disclosure here.
TOOLS NEEDED
Large bowl
Measuring cups and spoons
Plastic, for covering the bowl
Parchment paper
Bread scorer (optional, or use a serrated knife)
EINKORN SOURDOUGH CINNAMON RAISIN BREAD INGREDIENTS
1 cup active, fed sourdough starter (this means that it is bubbly and doubled in size. You know it’s ready when a spoonful of starter floats in a cup of water)
1 1/2 tsp salt
1 1/4 cup water
1/4 cup honey
2 tsp cinnamon
4 1/2 cup einkorn flour
1 cup raisins
THE BREAD MAKING PROCESS
Here are the five phases to making sourdough bread. Please do not be intimidated! Each phase takes less than five minutes of your time. All the magic of making bread happens on it’s own with time.
We love having sourdough bread for Sunday night’s dinner. To do this, follow the below timeline:
Saturday morning: Take starter out from the fridge and feed it. Let sit on the counter all day until a spoonful of starter floats in a cup of water (the “float test”)
On Saturday late afternoon: Phase 1 – Make the Dough
Then Saturday evening: Phase 2 – Lift and Tucks (a.k.a. stretch and folds)
Saturday overnight: Phase 3 – Bulk Rise
Sunday morning: Phase 4 – Second Rise
Sunday afternoon: Phase 5 – Bake the Bread
PHASE 1 – MAKE THE DOUGH (3-5 min active time)
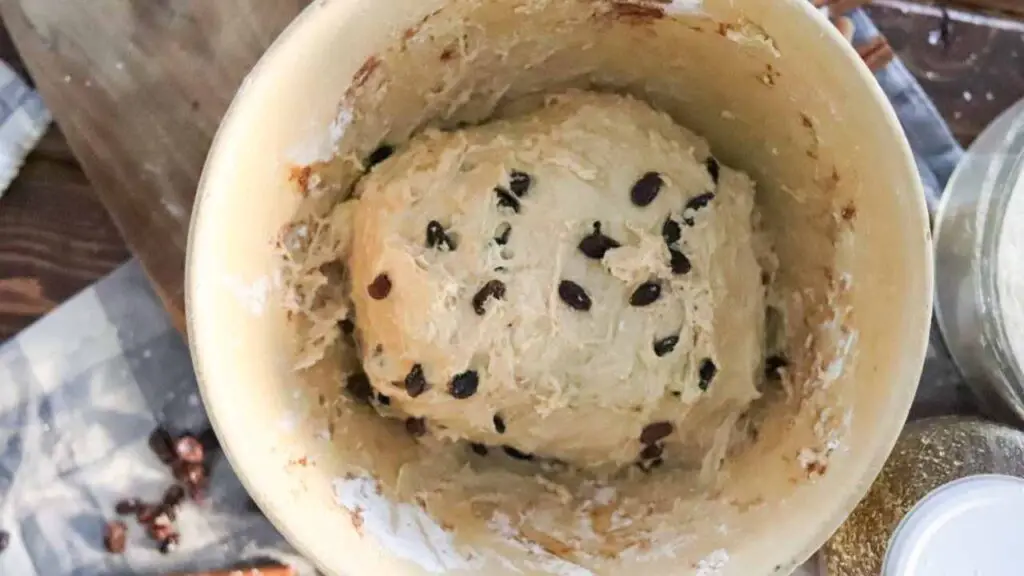
Combine the active sourdough starter, water, salt, honey, and cinnamon into a large mixing bowl and whisk together with a fork. If you’re not sure if your starter is ready, do the “float test” described above.
Next add the flour and combine (I like to use my hands) until a sticky dough is formed. Stretch and massage the dough for 30 seconds – 1 minute (note: be patient! Einkorn flour takes longer to absorb the water) until it becomes somewhat round, but still very sticky. No need to overdo the stretching, just 30-60 seconds is fine here. Note: dough should not be runny, and it also shouldn’t be super stiff.
Let the dough rest. Cover the bowl with a tea towel and let sit on the counter for 30 minutes to an hour.
Before starting the next phase, add the raisins.
PHASE 2 – LIFTS AND TUCKS (1-2 min active time)
Sounds like an exercise routine, but it’s just some hand motions on the dough.
Starting from one end of the dough, lift it up and fold it over itself into the center of the dough. Then rotate the bowl 90 degrees and repeat, until all sides have been lifted, tucked and folded. So, four times total.
I also like to just pick up the whole thing, stretch it out, and fold it into itself. Either way works or a combination of the two 🙂
Cover the bowl and let sit on the counter. Then, repeat the lifts and tucks 3 more times (for a total of 4 times), each about 1-2 hours apart. Now, don’t get too obsessed with this part. This is just creating nice volume in your bread. If you skip one or let 3-4 hours go by instead of 1-2, it’s totally okay. It’s not a rigid timeline, and the more time that goes by the better! Einkorn loaves love to sit out a long time.
PHASE 3 – BULK FERMENT (30 SEC)
The easiest (and most important) phase!
Cover the bowl with saran wrap and then a tea towel on top. Place in the fridge and let sit overnight.
PHASE 4 – SECOND RISE (5 MIN)
The morning of baking, pull the dough out of the fridge. I like to let it sit on the counter for an hour or so to come to room temp (these next steps are easier if it’s warmer, but that’s not necessary if you don’t have the time).
Clear a spot on your countertop. On half the counter, sprinkle some flour and leave the other half clean with no flour.
Remove the dough from the bowl and place on the flour side. Do one more round of the lift and tucks to form your dough.
Remove the dough from the flour side, flip it over, and set it on the non-flour side. Form the letter C with your hands and use a cupping motion around the dough to create a ball. Rotate the ball with short rotations in a circle. You should have a dough ball that is easy to pick up and definitely less sticky now (but still sticky, because einkorn is just that way!).
Grab a sheet of parchment paper and set the dough on the parchment paper.
Pick up the parchment paper and set the dough back in a dutch oven. Cover with a tea towel and let sit on the counter for 2 hours – again, not rigid! I’ve gone for 6 hours before too. Just be careful, especially if your house is warm, because eventually the dough will rise so big and then deflate back down and you don’t want that.
PHASE 5 – BAKE THE BREAD (FINALLY!)
First, take your dough that has risen out of the dutch oven.
Turn your oven on to 450 degrees F and place the dutch oven (empty) into the oven to preheat with it.
Once the oven is preheated, score your dough. Scoring is the process of creating a slit in the dough so that it can breath and rise in the oven. You can buy a special scoring knife to do this (I love this one), or just use a serrated knife from your kitchen.
Create one or two slits in the dough to score it. If you have a scorer, you can do 4 small slits in a square shape, which is what I did here.
Carefully place the parchment paper with the bread on it inside of the preheated dutch oven.
Cover the dutch oven and, with the bread inside, place it in the oven.
Bake for 20 minutes with the lid on, and then another 15-20 minutes with the lid off (15 minutes for a softer crust and 20 for a crunchier crust).
If you’re new to bread making, watch me make bread in this YouTube Bread Tutorial. Sometimes it’s just easier to watch rather than read!
THE LAST STEP IS THE MOST IMPORTANT.
WHEN THE BREAD IS DONE, DO NOT CUT IT. You will be tempted to cut it open right away and devour it. We’ve done it. Don’t do it!
The bread needs to sit for an hour in order to finish cooking. If you place your ear right next to the bread, you can hear it crackling. Transfer it to a cooling rack so it can properly cool. Don’t worry, it will still be hot inside after an hour!
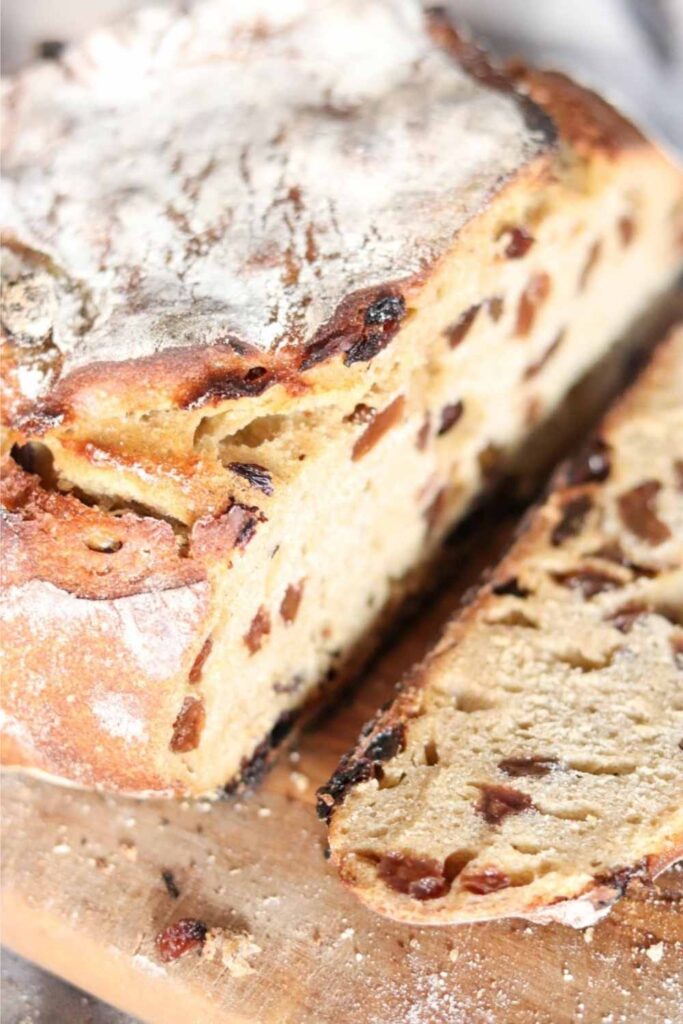
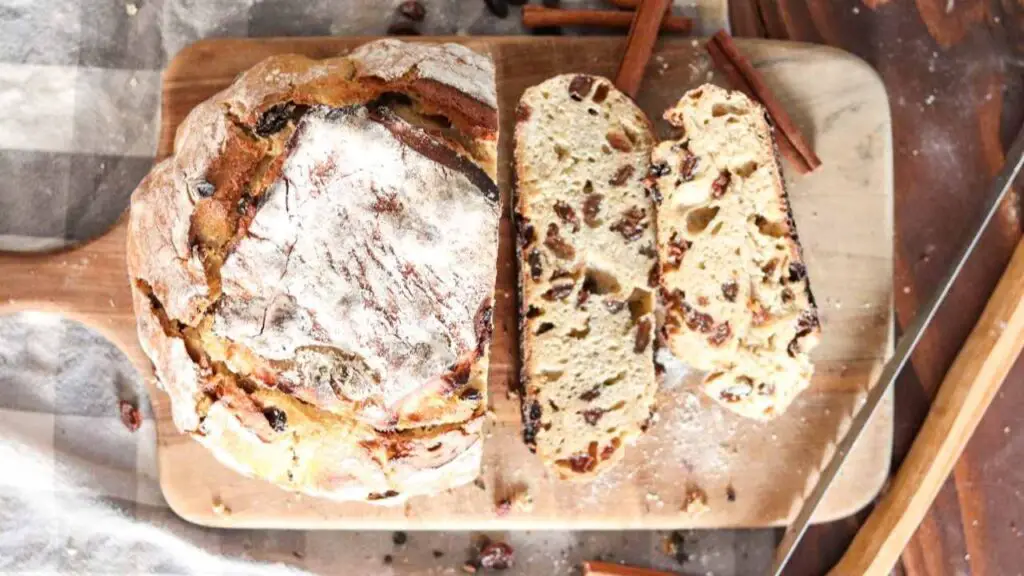
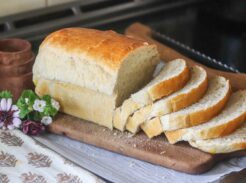
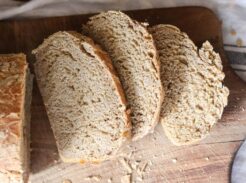
Then, finally, dive in! I like slicing the bread with this slicing knife, or you can use a serrated knife from your kitchen. Top with a big slice of butter for a comfort-filled, mouth-watering einkorn cinnamon raisin bread.
FAQ
How long does homemade cinnamon raisin bread last?
After the bread has cooled completely, wrap it in plastic wrap. The bread loaf will last about 5 days on your countertop, wrapped in plastic, and at that point it stops tasting super fresh. Keep it wrapped in plastic when you’re not eating it to keep it from drying out. You can also slice the bread and then store it in the freezer for delicious toast later on.
Does einkorn dough take longer to rise?
Einkorn dough is going to be much stickier and wetter than when you use all purpose flour, and it can be a little bit surprising when you see that for the first time. So yes, einkorn dough can rise slower than you’re used to, especially if the dough contains ingredients like eggs, milk, butter.
MORE SOURDOUGH RECIPES FROM THE HOMESTEAD
Chocolate Sourdough Cupcakes with Buttercream Frosting
Chewy Chocolate Chip Sourdough Brioche Rolls
English Muffins with Sourdough Einkorn
PIN IT FOR LATER!
Einkorn Sourdough Cinnamon Raisin Bread
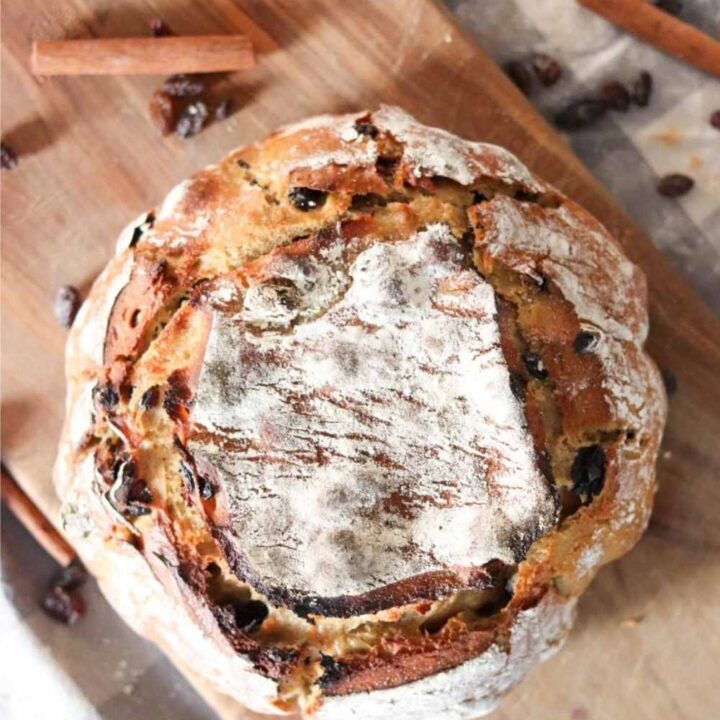
Indulge in this delicious, comforting loaf of sourdough einkorn cinnamon raisin bread. Notes of honey and cinnamon with the fluffy, sourdough interior make this loaf a decadent treat to enjoy all season long.
Ingredients
- 1 cup active, fed sourdough starter (this means that it is bubbly and doubled in size. You know it’s ready when a spoonful of starter floats in a cup of water)
- 1 1/2 tsp salt
- 1 1/4 cup water
- 1/4 cup honey
- 2 tsp cinnamon
- 4 1/2 cup einkorn flour
- 1 cup raisins
Instructions
PHASE 1 – MAKE THE DOUGH (3-5 min active time): Combine the active sourdough starter, water, salt, honey, and cinnamon into a large mixing bowl and whisk together with a fork. If you’re not sure if your starter is ready, do the “float test” described above. Next add the flour and combine (I like to use my hands) until a sticky dough is formed. Stretch and massage the dough for 30 seconds - 1 minute (note: be patient! Einkorn flour takes longer to absorb the water) until it becomes somewhat round, but still very sticky. No need to overdo the stretching, just 30-60 seconds is fine here. Note: dough should not be runny, and it also shouldn’t be super stiff. Let the dough rest. Cover the bowl with a tea towel and let sit on the counter for 30 minutes to an hour. Before starting the next phase, add the raisins.
PHASE 2 – LIFTS AND TUCKS (1-2 min active time) Sounds like an exercise routine, but it’s just some hand motions on the dough. Starting from one end of the dough, lift it up and fold it over itself into the center of the dough. Then rotate the bowl 90 degrees and repeat, until all sides have been lifted, tucked and folded. So, four times total. I also like to just pick up the whole thing, stretch it out, and fold it into itself. Either way works or a combination of the two 🙂 Cover the bowl and let sit on the counter. Then, repeat the lifts and tucks 3 more times (for a total of 4 times), each about 1-2 hours apart. Now, don’t get too obsessed with this part. This is just creating nice volume in your bread. If you skip one or let 3-4 hours go by instead of 1-2, it’s totally okay. It’s not a rigid timeline, and the more time that goes by the better! Einkorn loaves love to sit out a long time.
PHASE 3 – BULK FERMENT (30 SEC) The easiest (and most important) phase! Cover the bowl with saran wrap and then a tea towel on top. Place in the fridge and let sit overnight.
PHASE 4 - SECOND RISE (5 MIN) The morning of baking, pull the dough out of the fridge. I like to let it sit on the counter for an hour or so to come to room temp (these next steps are easier if it’s warmer, but that’s not necessary if you don’t have the time). Clear a spot on your countertop. On half the counter, sprinkle some flour and leave the other half clean with no flour. Remove the dough from the bowl and place on the flour side. Do one more round of the lift and tucks to form your dough. Remove the dough from the flour side, flip it over, and set it on the non-flour side. Form the letter C with your hands and use a cupping motion around the dough to create a ball. Rotate the ball with short rotations in a circle. You should have a dough ball that is easy to pick up and definitely less sticky now (but still sticky, because einkorn is just that way!). Grab a sheet of parchment paper and set the dough on the parchment paper. Pick up the parchment paper and set the dough back in a dutch oven. Cover with a tea towel and let sit on the counter for 2 hours - again, not rigid! I’ve gone for 6 hours before too. Just be careful, especially if your house is warm, because eventually the dough will rise so big and then deflate back down and you don’t want that.
PHASE 5 – BAKE THE BREAD (FINALLY!) First, take your dough that has risen out of the dutch oven. Turn your oven on to 450 degrees F and place the dutch oven (empty) into the oven to preheat with it. Once the oven is preheated, score your dough. Scoring is the process of creating a slit in the dough so that it can breath and rise in the oven. You can buy a special scoring knife to do this (I love this one), or just use a serrated knife from your kitchen. Create one or two slits in the dough to score it. If you have a scorer, you can do 4 small slits in a square shape, which is what I did here. Carefully place the parchment paper with the bread on it inside of the preheated dutch oven. Cover the dutch oven and, with the bread inside, place it in the oven. Bake for 20 minutes with the lid on, and then another 15-20 minutes with the lid off (15 minutes for a softer crust and 20 for a crunchier crust). If you're new to bread making, watch me make bread in this YouTube Bread Tutorial. Sometimes it's just easier to watch rather than read!
Notes
THE BREAD MAKING PROCESS
Here are the five phases to making sourdough bread. Please do not be intimidated! Each phase takes less than five minutes of your time. All the magic of making bread happens on it’s own with time.
We love having sourdough bread for Sunday night’s dinner. To do this, follow the below timeline:
Saturday morning: Take starter out from the fridge and feed it. Let sit on the counter all day until a spoonful of starter floats in a cup of water (the “float test”)
On Saturday late afternoon: Phase 1 – Make the Dough
Then Saturday evening: Phase 2 – Lift and Tucks (a.k.a. stretch and folds)
Saturday overnight: Phase 3 – Bulk Rise
Sunday morning: Phase 4 – Second Rise
Sunday afternoon: Phase 5 – Bake the Bread
If you're new to bread making, watch me make bread in this YouTube Bread Tutorial. Sometimes it's just easier to watch rather than read!


Leave A Comment