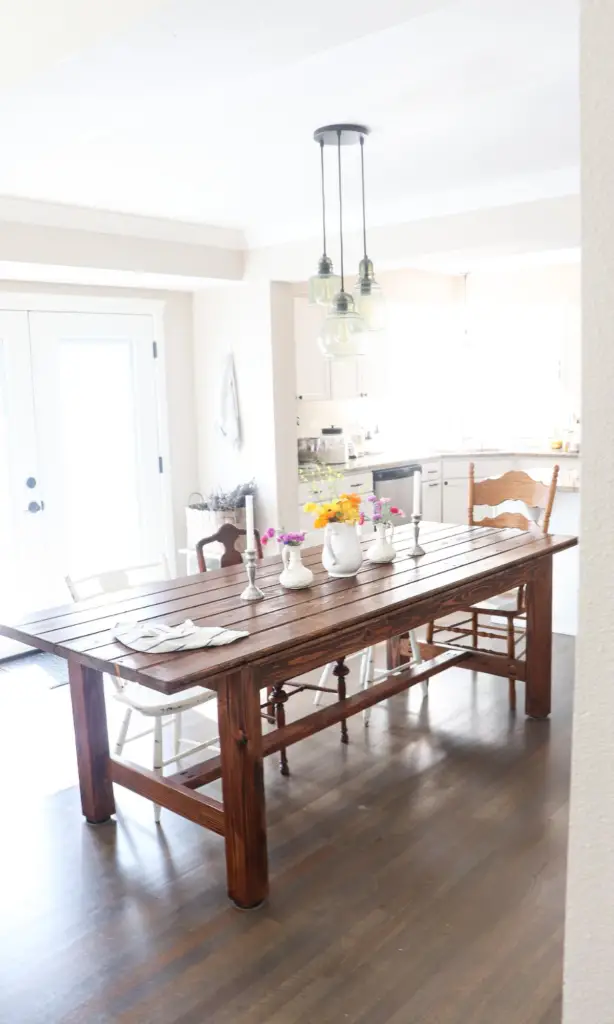
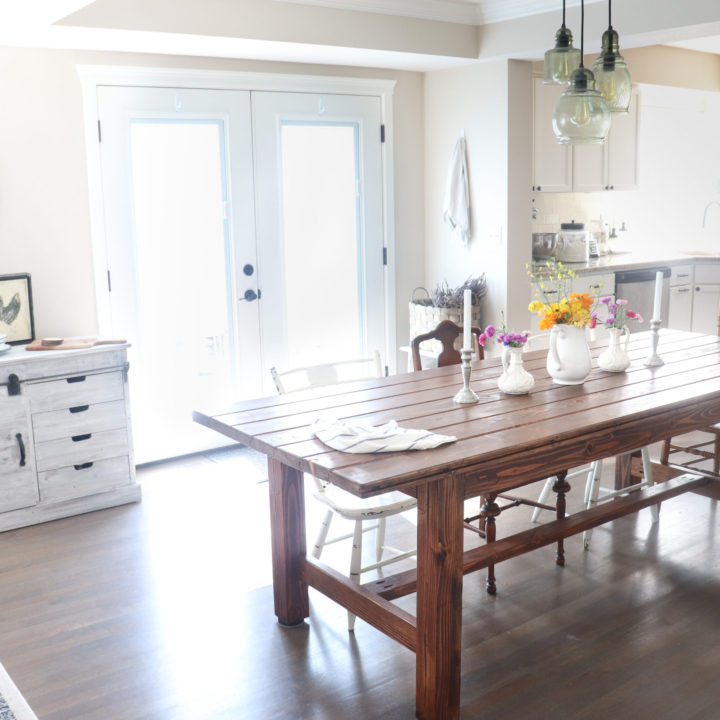
Learn how to build the wood farmhouse dining table of your dreams. Farmhouse dining tables are no new feat, but can be brought into any home to bring a sense of warmth, character, and good ‘ol fashion togetherness. My husband John and I built this 8-foot table because we wanted to be able to use our own hands to build something for our little farmhouse here in the Pacific Northwest.
UPDATE
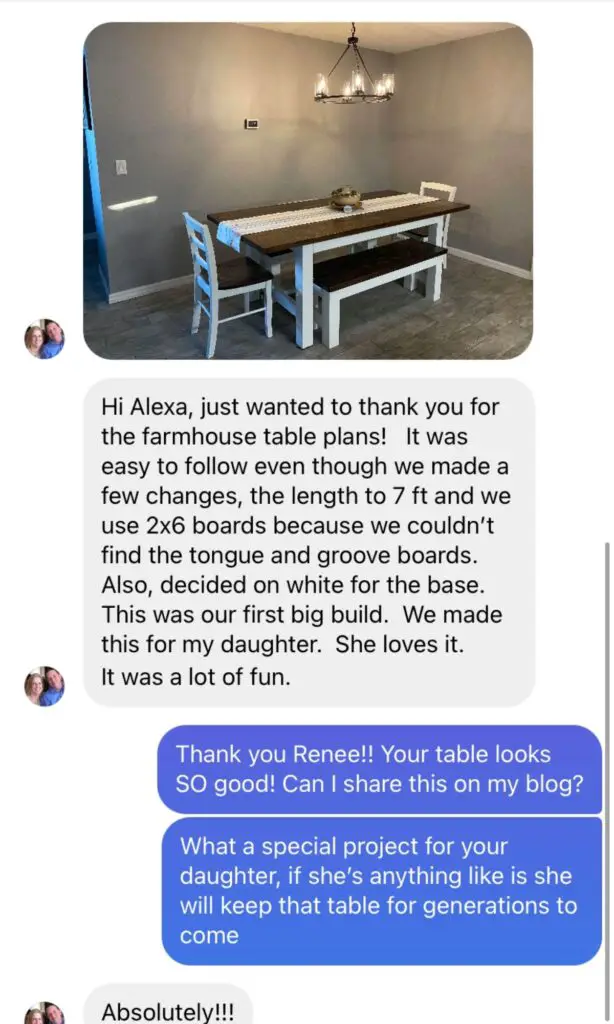
I was blown away by the responses to this original post! It has been shared and built by so many of you, and I especially thank those of you send me messages with your photos. Here’s a photo I just got over the weekend and an awesome review. Thanks, Renee!
Summer is the time for DIYs
We love summertime because the sun doesn’t set until almost 10pm and we have lots of daylight hours for projects and other fun stuff.
This year we’ve built a lot of our household items. Mostly outdoor stuff, like our custom garage shelf and a stand for our raised garden trough planter box.
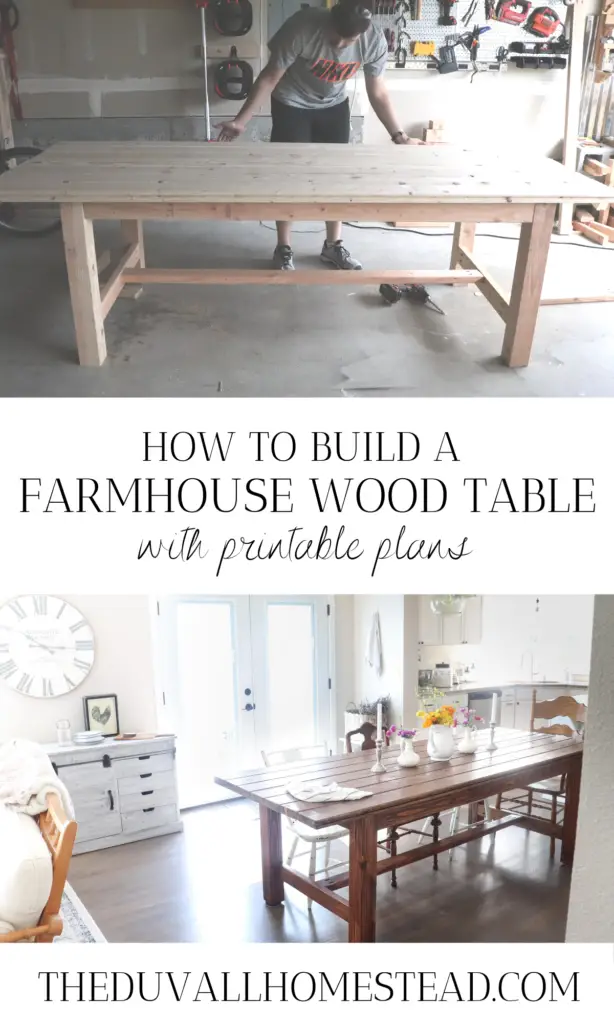
Pin it for Later!
And be we, I mean mostly my husband John with my help (I provide the food!). Actually, I do a little bit of DIY too, like this farmhouse accent table and refinished dresser.
This farmhouse dining table was one of the more difficult projects, but mostly because we just wanted it to be perfect. Everything else was “eh, it’ll be outside anyway…” kind of thing.
The matching bench was easy to make though. You can find plans for that here after you finish the table.
With that said, though, we are definitely not expert wood workers. You can be a beginner to moderate wood worker and build this table too.
This post contains affiliate links, which means I may make a small commission off items you buy at no extra cost to you.
Why we Wanted a Big Farmhouse Dining Table
The dining room table is one of the most important tables of the house. It’s our only table (some people have a kitchen table, for example, we just have this one). Everyone gathers here on weekends when family comes over and we sit down over food and drinks.
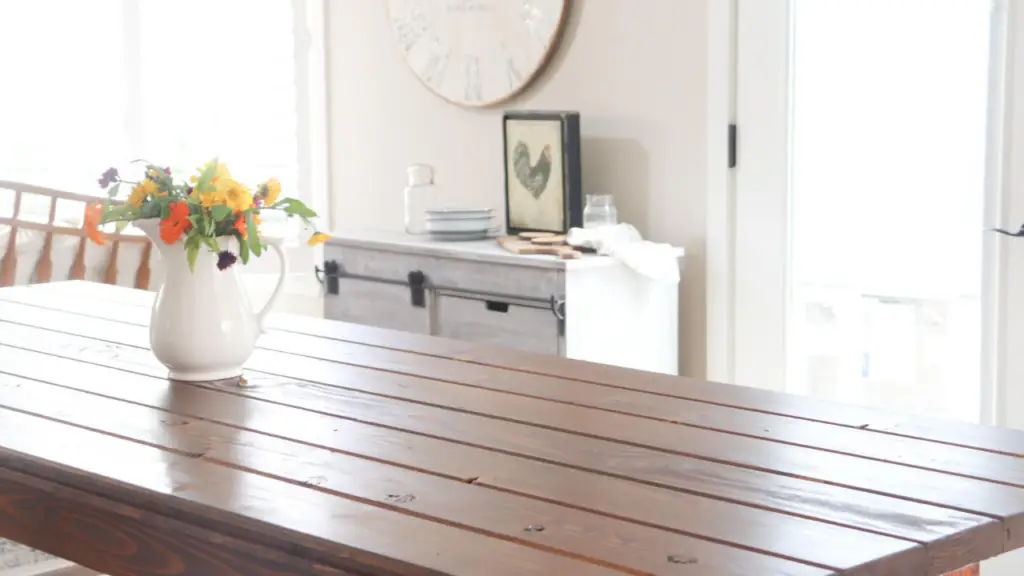
It’s also a working station. Although we try to not do actual work on this table (we have an office for that) we do other work. I write my blog recipes and cook on this table. John maps out his projects while sipping my homemade iced vanilla latte on a hot afternoon. When I was a kid my mom used to give us flour to play with on the table and I imagine our kids will do the same one day.
So, knowing that this table would be used for many years to come, we built it with that in mind. We may have done one too many pocket holes or one too many support beams, but that’s all so that this table can last a generation or maybe two.
Inspiration from Restoration Hardware Farmhouse Table
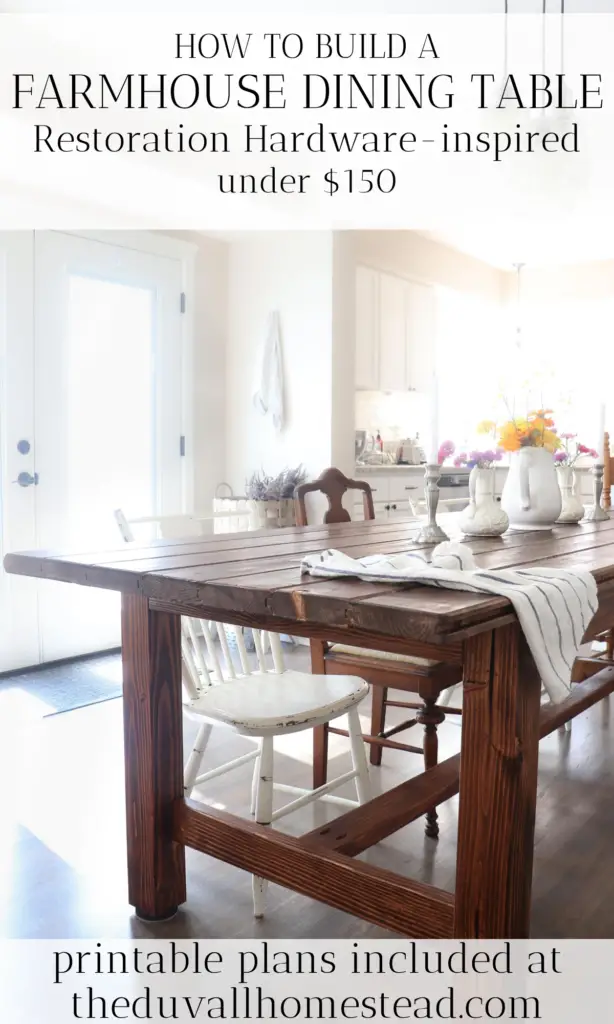
We were inspired by this Restoration Hardware table that is over $3,000. John and I were determined to build this table ourselves under $150 instead.
We changed a few things from this original table layout.
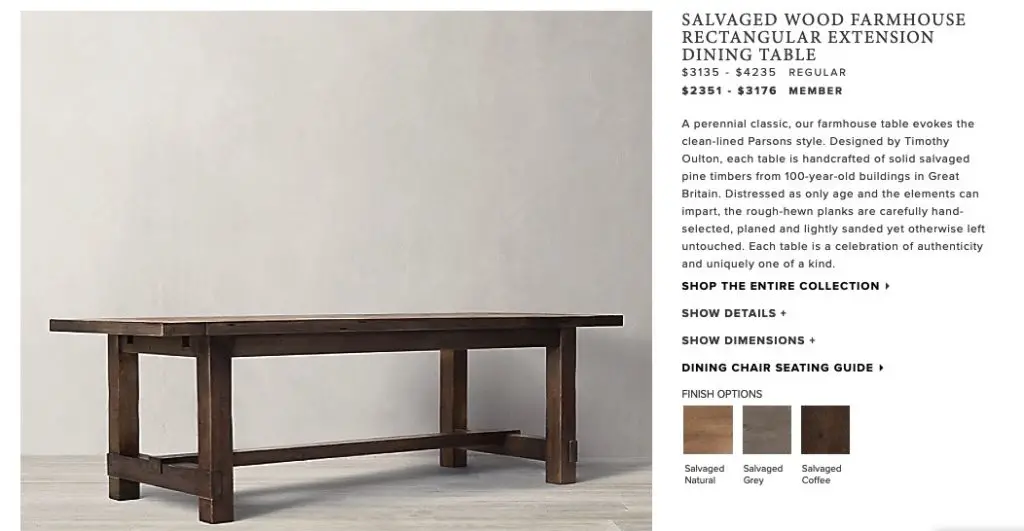
First, we decided not to do dado joints, and instead do pocket holes, to make construction easier. Dado joints look pretty cool, yes, but it was just a decision to save time and effort on our part. Check out the video to see us practicing the dado joints to get an idea of what they require.
Second, we used long wood boards for the top instead of doing the center horizontal board with two vertical boards for “book-ends”.
Standard Safety Procedures
Make sure you follow standard safety procedures when working with wood and paint. Always wear eye and ear protection and a mask when sanding or painting. Make sure your garage is level and your working space is clean.
Watch: How to Build a Farmhouse Table
Tools Needed
Kregg 2.5 in pocket hole screws
Pre-Stain Wood Conditioner
Wood Stain (we used Red Mahogany)
Polyurethane (we used this water-based wipe on)
Wood Stain wool applicator
Table Measurements
Scroll down for the complete cut list and free printable directions!


How to Build a Farmhouse Table Process
Step 1 – Buy and cut the wood
First, buy the wood listed above from your local hardware store and start planning your cuts. You can either have the hardware store cut it or you can yourself. Sometimes, the guys at the hardware stores don’t do the best cuts, so do them yourself if you can.
If you’re doing the cuts yourself, start off by taking 1/10th inch cut on each end of wood except for the tongue and groove. This allows you to have a clean cut to work with when measuring. Measure out and pencil in where you will make your cuts on each piece of wood for the frame.
Step 2 – Build the Table Frame
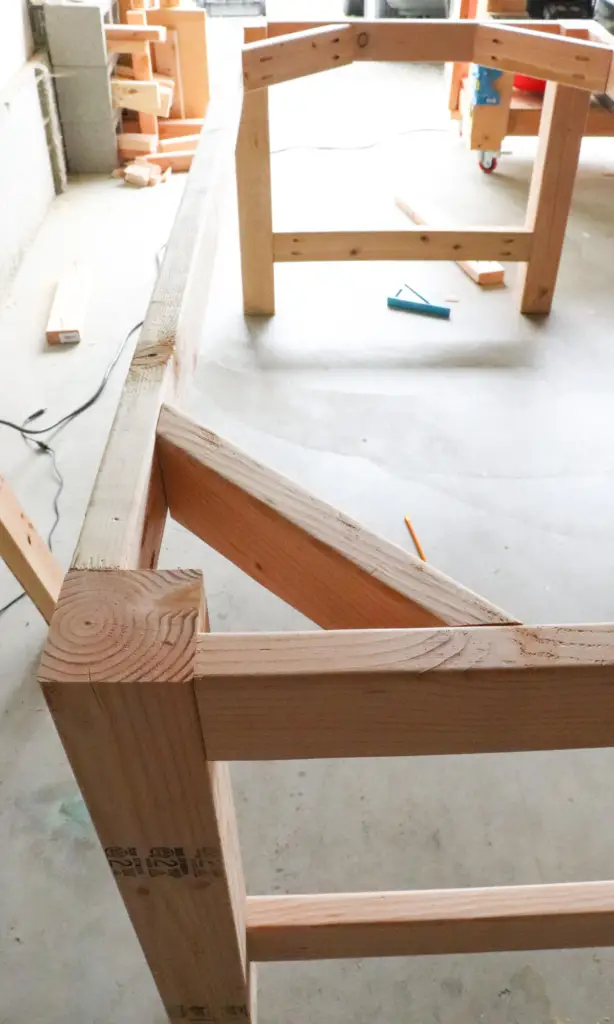
Once the cuts are complete, start piecing together the table frame. Use your kregg jig to make pocket holes on the 2×4 pieces where they will attach to the 4x4s. Use a layer of wood glue when fastening together. I used 2 ½ inch kregg screws for the pocket holes. Set your drill to a low torque setting ~60-70 before setting the screws. Once the length sides are complete do the same for the width.
Next, attach the length wise middle board runner. We chose to do this so that we would have a foot rest when sitting at the table.
After you’ve installed the middle board runner, use your miter saw to create a 45 degree angle for each of the corner supports. I used pocket holes to attach these pieces to the frame for more support.
The final step to making the frame is to add support beams. Attach two middle supports for the frame and make sure the frame is level with a leveler on each end.
Step 3 – Build the Table Top
Now attach the tongue and groove boards to the table frame. Simple lay them out on the table and use a circular saw to cut the ends off on each side to the length you want for your table.
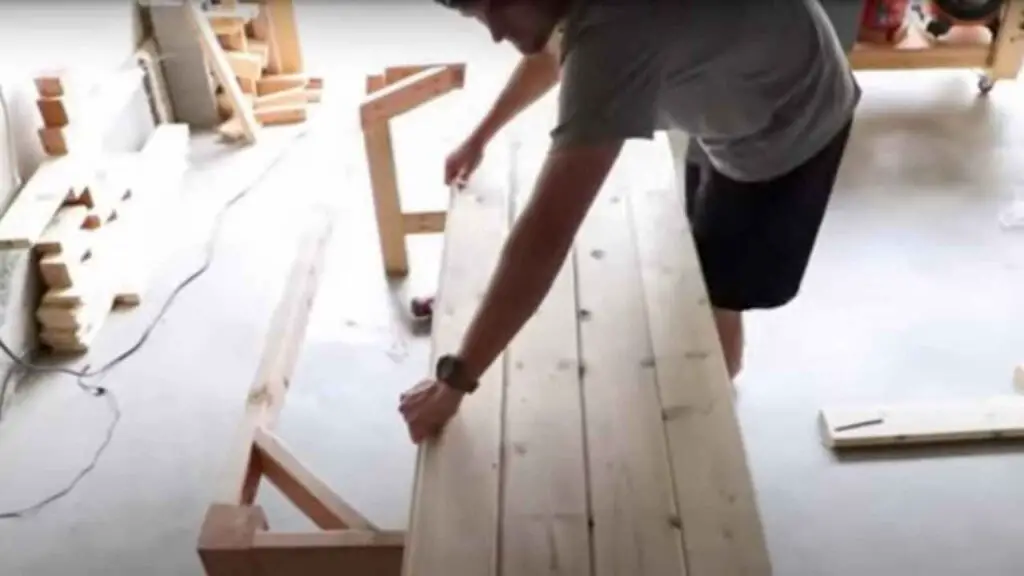
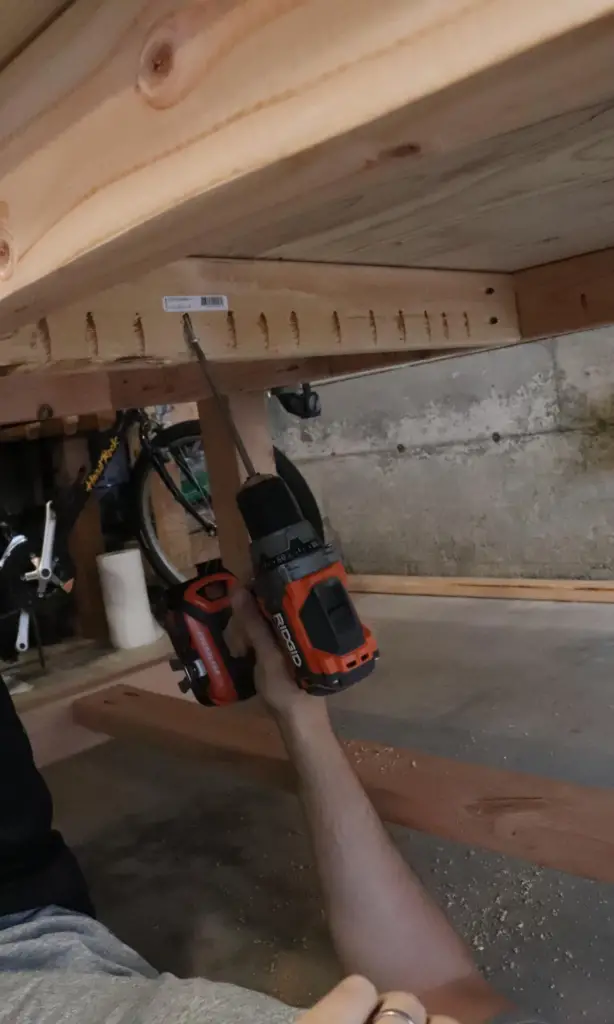
I used pocket holes drilled into the center frame supports and ends to attach the tongue and groove to the frame. You could also use brad nails if you want.
Step 4 – Sand, Stain, and Seal
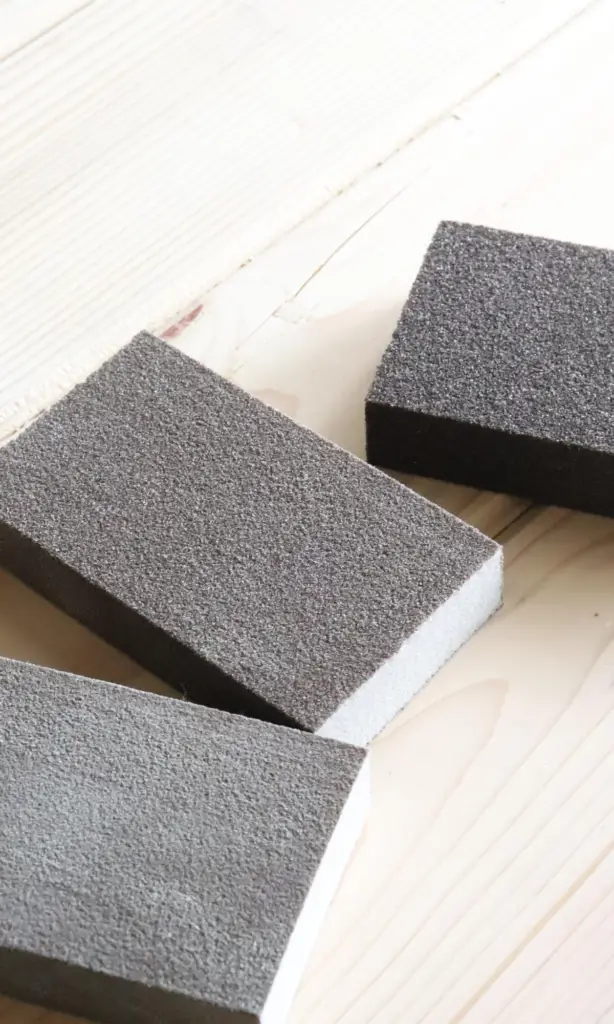
To sand, use lower to higher grit sandpaper all over the table. You can find these at your local hardware store. I also used a Dewalt orbital sander and jimmy rigged a vacuum attachment (see video) to catch the dust.
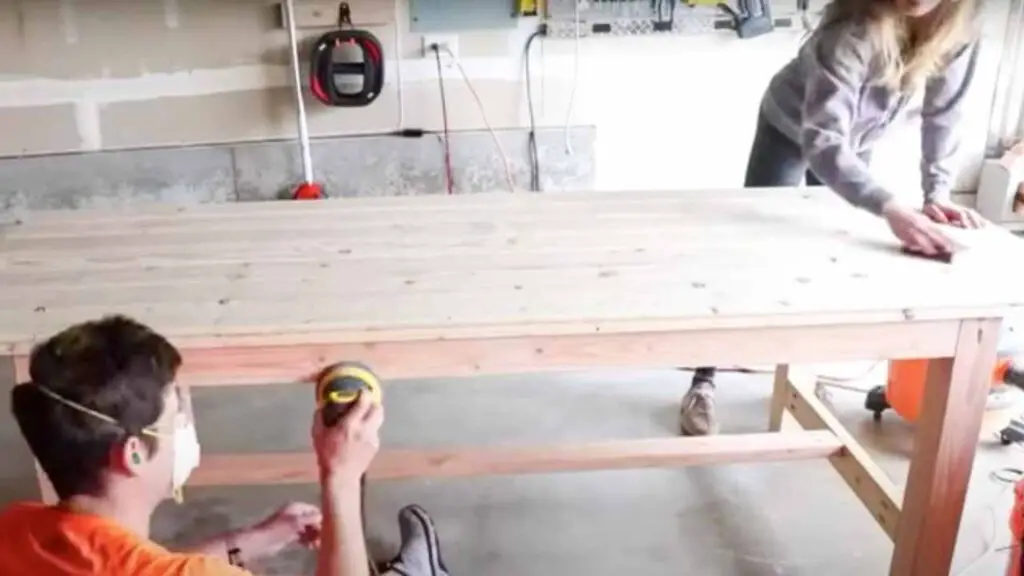
Next before we started the stain we used a Minwax wood conditioner. We wanted to do this because pine is a soft wood and the table will inevitability get liquid spilled on it.
Then we applied stain. We used Varathane Red Mahogany stain and a wool applicator. Let it sit and cure for the recommended time between layers, for us it was over a day or two.
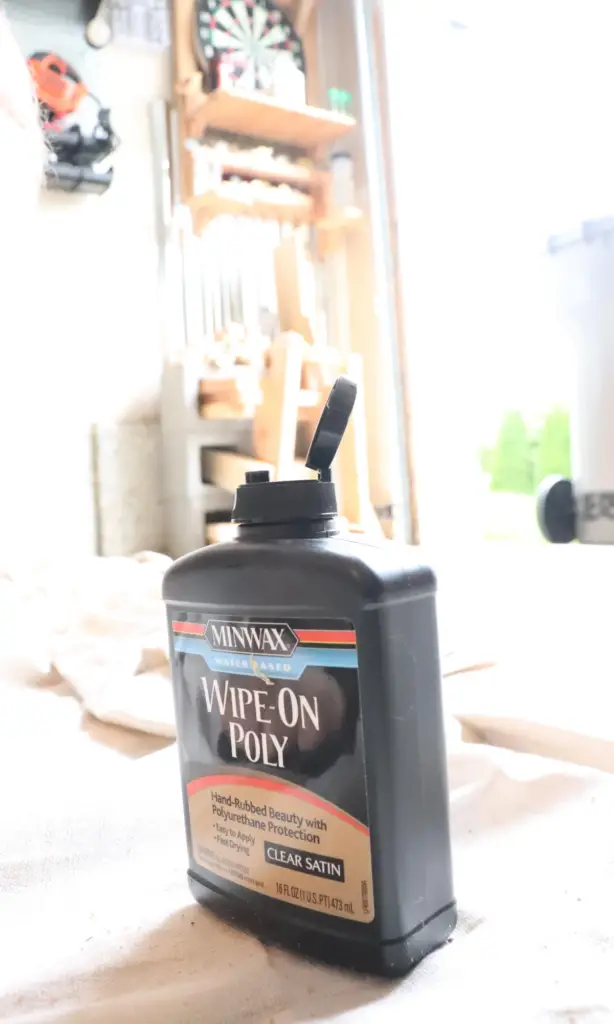
Lastly we applied polyurethane to seal it all in. We used a water-based wipe on polyurethane with a satin finish and applied with white rags. We used 3 full coats, which was about 1.5 bottles worth, and allowed 6-ish hours between drying times.
Pro tip: Make sure you shake the bottle well between application if you are using a satin finish. Otherwise you may get a dull, off-color finish. This is because manufacturers use a material to cut the natural gloss of polyurethane finish for satin finishes. If the bottle isn’t shaken the chemical can settle at the bottom of the bottle.
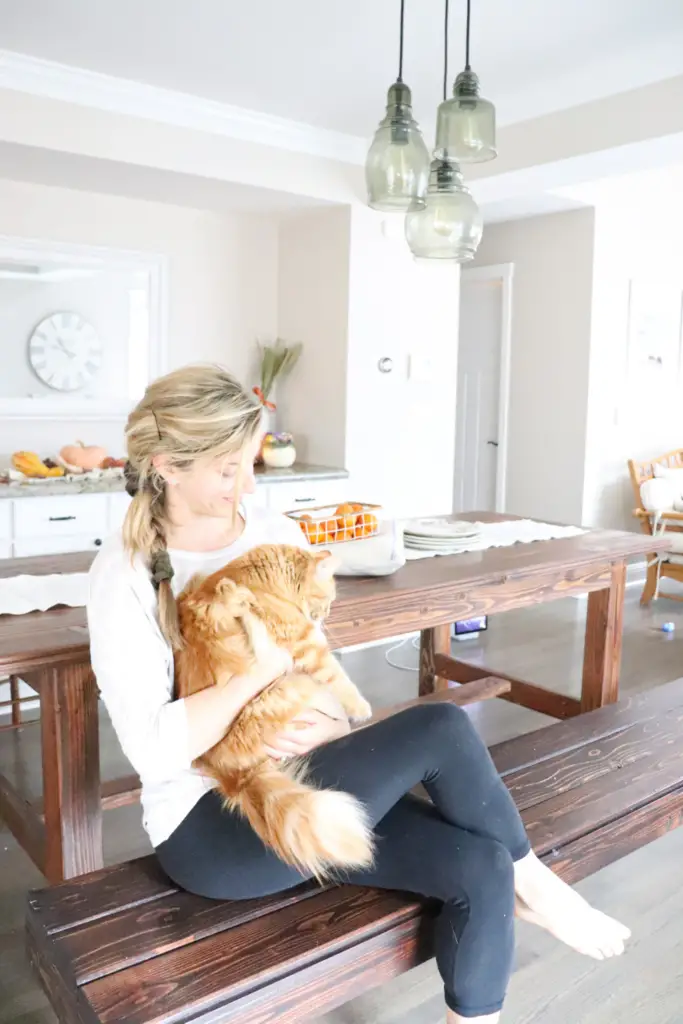
That’s all! Then, you get to take pictures and be happy that you spent less than $200 for something that would cost over $3,000 at Restoration Hardware.
Tips for Building a Farmhouse Dining Table
Sometimes, the guys at the hardware stores don’t do the best cuts, so do them yourself if you can.
Shake the polyurethane bottle well between applications if you are using a satin finish. Otherwise you may get a dull, off-color finish. This is because manufacturers use a material to cut the natural gloss of polyurethane finish for satin finishes. If the bottle isn’t shaken the chemical can settle at the bottom of the bottle.
Some farmhouse table plans online just show a frame and a table top without added support at the corners and sides. We wanted the extra support so that the table could support a lot of weight.
We experimented with dado joints but decided against it because of the added complexity to the project.
When measuring, pay attention to the play on the end of the tape measure. It could add about a tenth of an inch to your cut.
Use a blue triangular measuring device to draw straight exactly lines with a pencil on the wood before cutting.
If you’re not using tongue and grove, you may need wood clamps to hold a 2x6x8 board, which we estimated would cost about $65. We looked at some specialty wood as well and decided against it because of the cost.
Use a stop block so you can feed wood in and cut the same length without remeasuring.
FAQ:
HOW MUCH DOES IT COST TO BUILD A FARMHOUSE TABLE?
It costed us $150 for the supplies to build a farmhouse table. Assuming you have the tools needed, a farmhouse table should not cost more than that to build. As you can see, you can save a lot of money building your own farmhouse table!
What kind of wood should I use to build a farmhouse table?
We used tongue and grove wood to build our farmhouse table. This is because the pieces fit together like a puzzle piece, so the top of the table was super easy to put together.
Is it cheaper to build your own table?
Yes, if you want a new table with a beautiful look it’s far cheaper to build your own. The table we built costed us $150 while the same table at Restoration Hardware is over $3,000. Now of course you have to have the tools, space, and time. And if you’re thrifty you may be able to find a table at a thrift shop or garage sale for less than $200, but it would take some digging for sure.
Grab the Plans for the Wood Bench too!
I finally got the bench plans written up, so if you want the matching bench you can find out how we did that in this post here.
Join the simple living community!
HOW TO BUILD A FARMHOUSE DINING TABLE | RESTORATION HARDWARE INSPIRED
Build the farmhouse dining table of your dreams with this simple Restoration Hardware-inspired farmhouse dining table plans. This table is 8 feet long and seats 8-10 with a bench and chair combo which is what we are doing. Plans for the bench will come to the blog shortly after this one!
Materials
Tabletop
- Seven 2x6x8 tongue-and-groove pine wood
Table Legs
- Four 4x4x8 pine wood, cut into 29 inches length
Table Frame (Diagram 1)
- Two 2x4x8, cut into 67 in. length
- Four 2x4x8, cut into 27 in. length
- Four 2x4x8 cut into 13.5 in pieces.
- Note: Combine the wood based on the"Cut List" below.
Top & Bottom Support Beams (Diagram 2 and 3)
- Top: two 2x4x8 pine wood cut into 30.5 in length
- Bottom: one 2x4x8 pine wood cut into 67 in length
CUT LIST
- For the tabletop, you will need seven pieces of 2x6x8 tongue-and-groove pine wood. We kept the length 8 feet, and just sanded down each side to make it straight.
- You will need five total pieces of 2x4x8 raw pine wood for the table frame and beams. If you are unsure about your precision cutting ability, maybe get six to have extra. Cut list for the 2x4x8s:
- Three 67 inch pieces
- Four 27 inch pieces
- Two 30.5 inch pieces
- Four 13.5 inch pieces
- You will need 2 total 4x4x8s for the table legs. Cut list for the 4x4x8s:
- Four 29 inch pieces
Tools
- Kregg Jig
- Kregg 2.5 in pocket hole screws
- Tape measure
- Speed Square
- Circular Saw
- Miter Saw
- Power Drill
- Wood Glue
- Pre-Stain wood conditioner
- Wood Stain (we used Red Mahogany)
- Polyurethane (we used water-based wipe on poly)
- Wood stain wool applicator
Instructions
- Measure how long you want your table to be, or if you are going with an 8' table, go to the next step.
- Buy and cut the wood based on the "cut list" above.
- Build the table frame. Use a Kregg Jig to make pocket holes on the 2x4 pieces where they will attach to the 4x4s. Use a layer of wood glue when fastening together. We used 2 ½ inch kregg screws for the pocket holes. Set your drill to a low torque setting ~60-70 before setting the screws. Once the length sides are complete do the same for the width.
- Attach the length wise middle board runner. We chose to do this so that we would have a foot rest when sitting at the table.
- After you've installed the middle board runner, use your miter saw to create a 45 degree angle for each of the corner supports. We used pocket holes to attach these pieces to the frame for more support.
- The final step to making the frame is to add support beams. Attach two middle supports for the frame and make sure the frame
is level with a leveler on each end. - Now attach the tongue and groove boards to the table
frame. Simply lay them out on the table and use a circular saw to cut the ends off on each side to the length you want for your table. We used pocket holes drilled into the center frame supports and ends to attach the tongue and groove to the frame. You could also use brad nails if you want - To sand, use lower to higher grit sand paper all over the table. You can find these at your local hardware store. I also used a Dewalt orbital sander and jimmy rigged a vacuum attachment (see video) to catch the dust.
- Next before we started the stain we used a Minwax wood conditioner. We wanted to do this because pine is a soft wood and the table will inevitability get liquid spilled on it.
- Then we applied stain. We used Varathane Red Mahogany stain
and a wool applicator. Let it sit and cure for the recommended time between layers, for us it was over a day or two. - Lastly we applied polyurethane to seal it all in. We used a water-based wipe on polyurethane with a satin finish and applied with
white rags. We used 3 full coats, which was about 1.5 bottles worth, and allowed 6-ish hours between drying times. - Admire your work and know that you spent less than $150 for a table that would have costed $3,000!


Notes
Follow safety precautions like wearing eye and mouth protective gear, making sure you're cutting and drilling in a safe area, etc. No cut fingers in here!
Add to your Pinterest Board!



This table is soooo beautiful!!! I love doing DIY farmhouse decor. Lovely post!!
Thank you SO much Jen, you know how much hard work goes into these projects and the posts!
What a beautiful table. And what a great post. I am sure you will love for all the years to come!
Thank you so much 🙂
This table came out stunning! I absolutely love it!