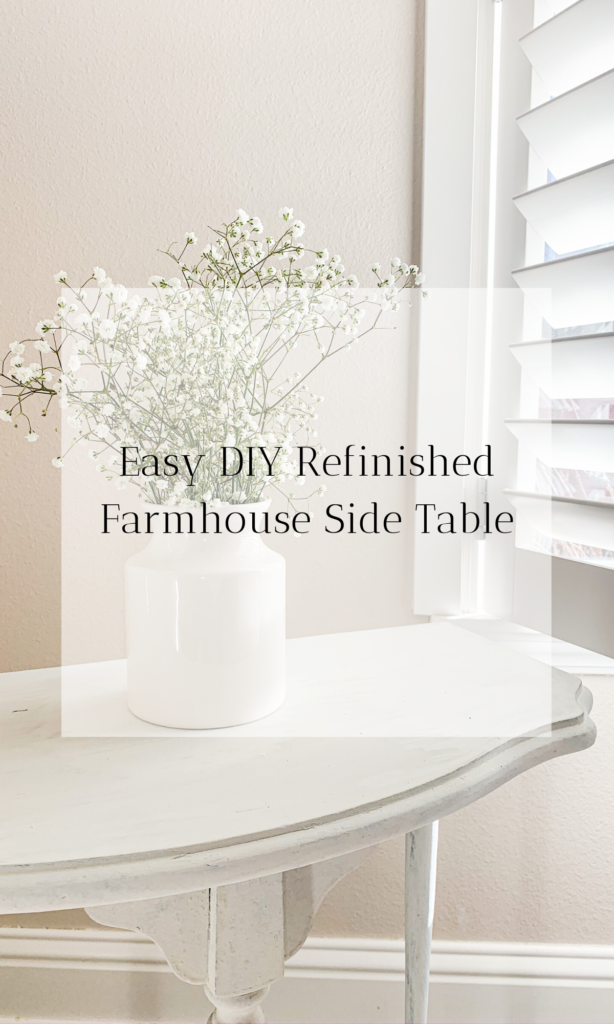
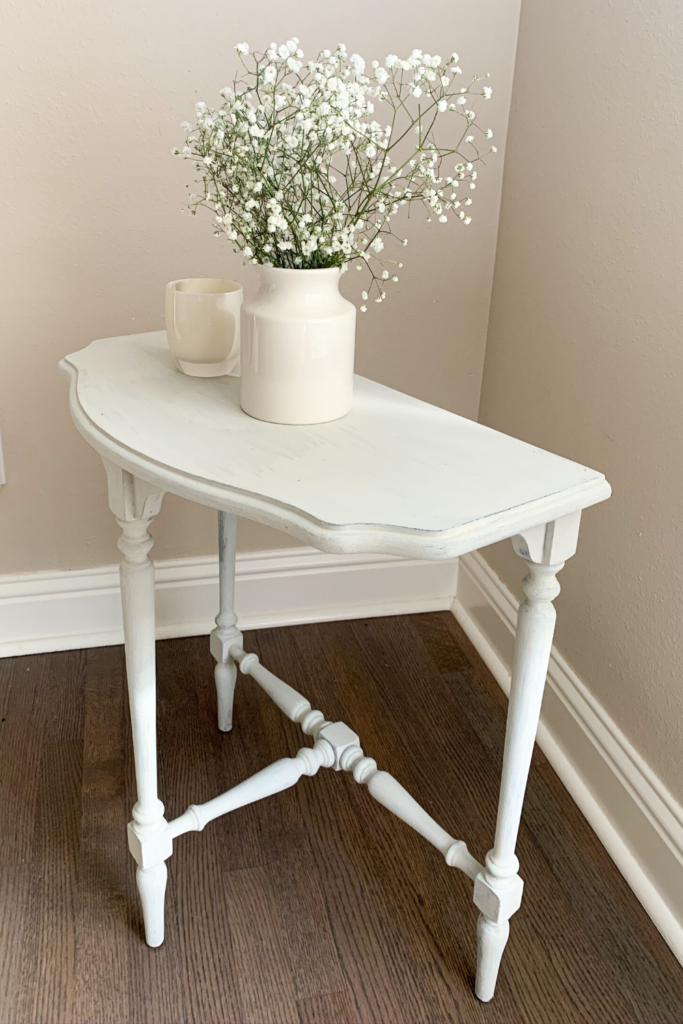
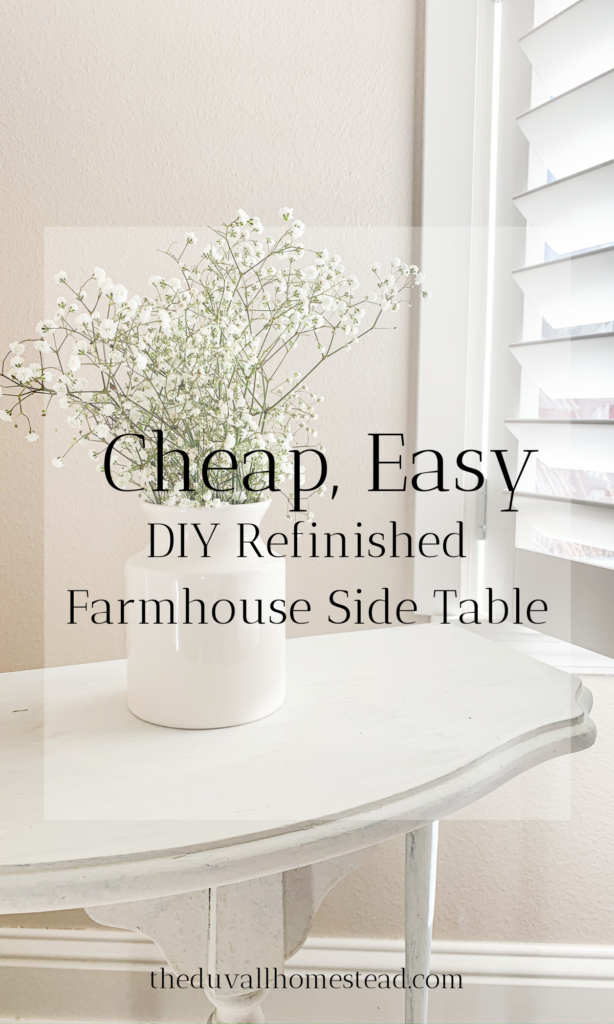
When our local coffee store posted on Instagram that they were giving away a free side table, I immediately thought of the perfect DIY project. I think that’s called having a DIY brain. Well for a few dollars worth of paint and not even an entire afternoon, I had myself a sweet vintage side table. If you’ve never refinished wood before, it’s easy! Keep reading to see how we did this DIY refinished antique side table for $10 and only a couple hours!
Note: This post may contain affiliate links, which means I earn a small commission off of items you purchase at no cost to you.
When the local coffee shop posted on Instagram that they had this old farmhouse side table free for pick up, I couldn’t resist! I mean, I love free stuff. Anyone else like that? When you see something for free you immediately think of ways to use it.
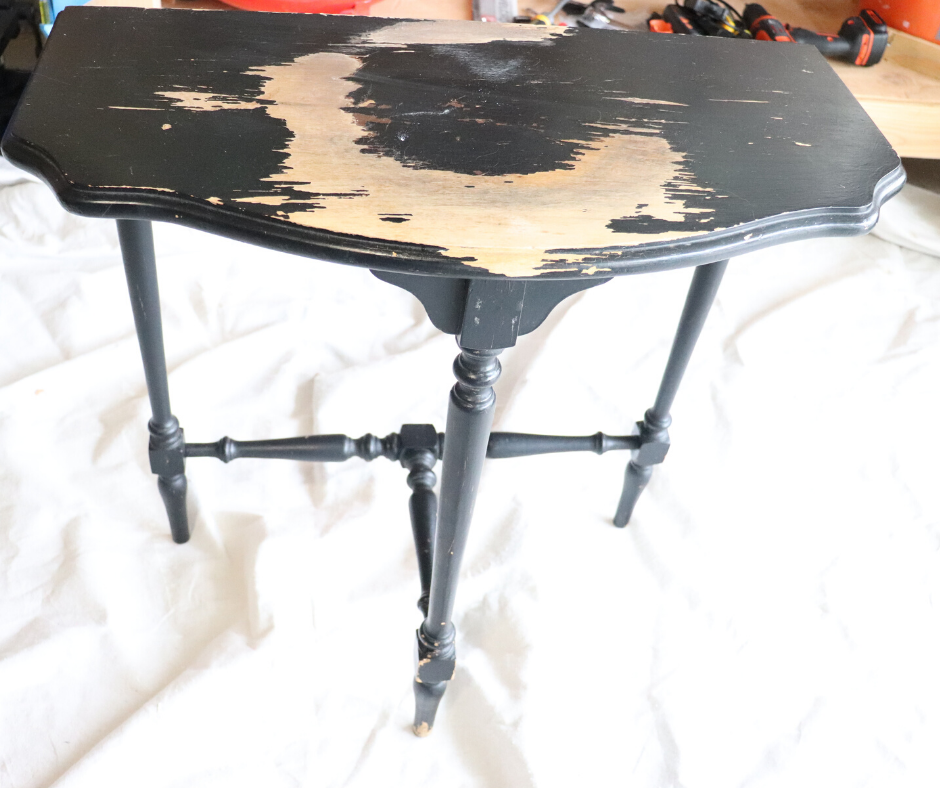
Here’s a little before and after:

Working in the garage is not scary!
I love doing DIY projects in our garage. My husband built this really awesome tool bench and set up that he doesn’t mind me using while he’s at work (it’s probably good that I use it while he’s gone…). But for this project, all I needed was a handheld sander, some paint, and a paint brush.
I’ll admit that I’m the kind of person who will spend $0 and figure out a way to make something to work. For example, I was going to sand down this table with a nail file, until John told me we have a sander to do that. If you are an experienced DIY-er, you probably think that sounds ridiculous. It’s just that how my brain works by default. I always try to do something without asking for any help whatsoever.
My husband John does most of the DIYs and woodworking around here, but every now and then I like to take my hand at the tool bench too. Check out the DIY Farmhouse Table and matching bench he made too!
Why a refinished side table?
Refinishing old stuff is one of the best (and cheapest!) ways to get good expensive pieces in your home without buying them. The other benefit of DIY furniture is you get to choose the color. So for me, this refinishing process was two simple steps of sanding and painting.
The Process:
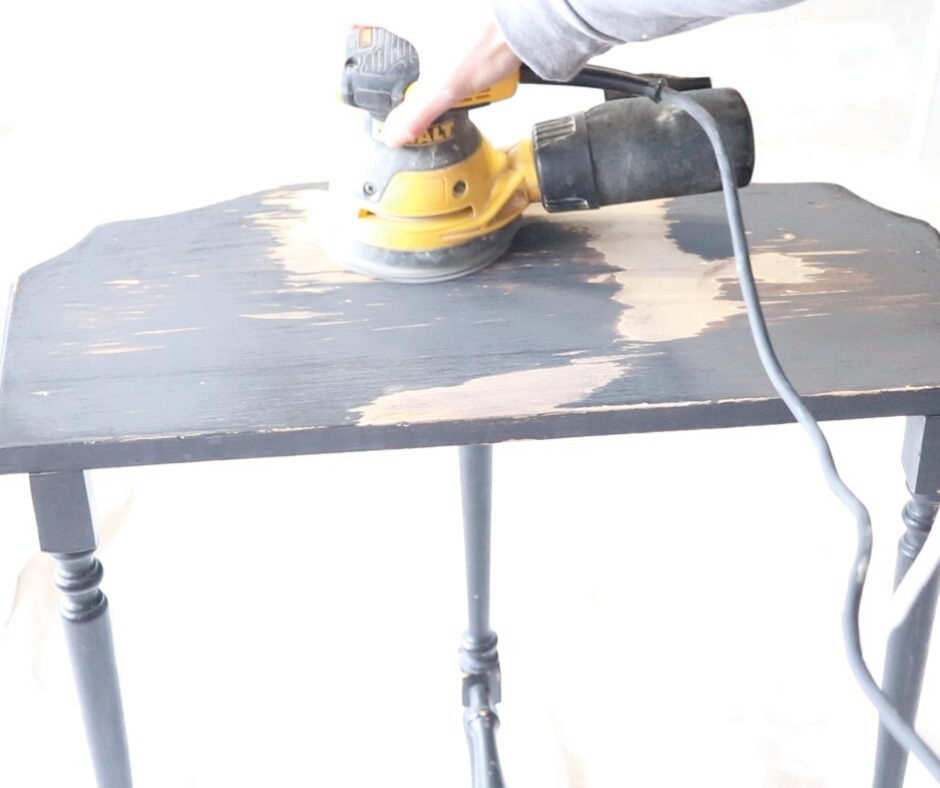
Using a hand sander, gently sand the surface of your project with small circular motions. Make sure you are wearing a mask/eye glasses if necessary and you have the air catching bag in the sander. Do not press too hard on the wood, just your arm weight is sufficient.
Keep sanding until you have a smooth surface. Or, if you want to keep going, you can sand the wood down as if you were stripping it.
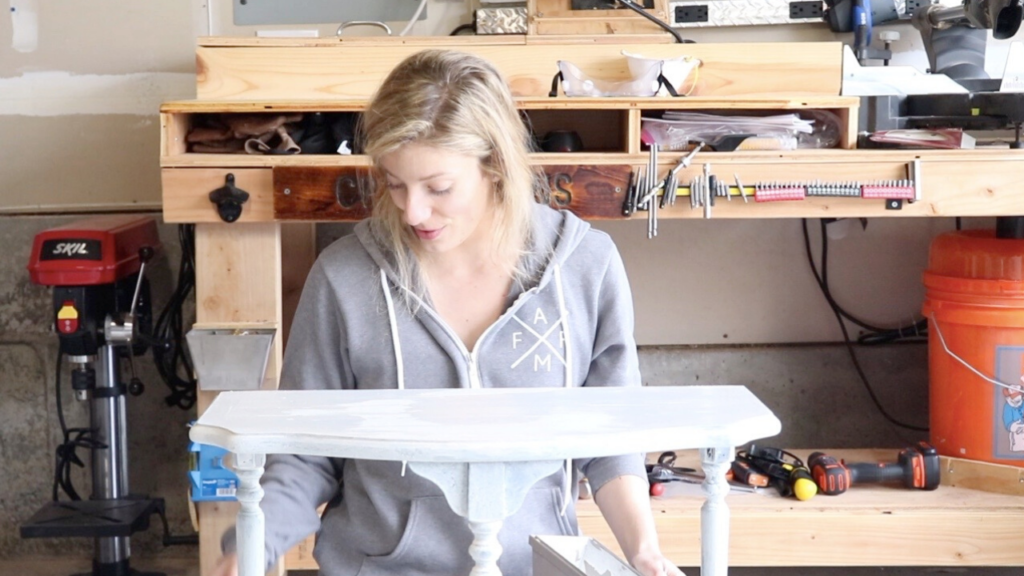
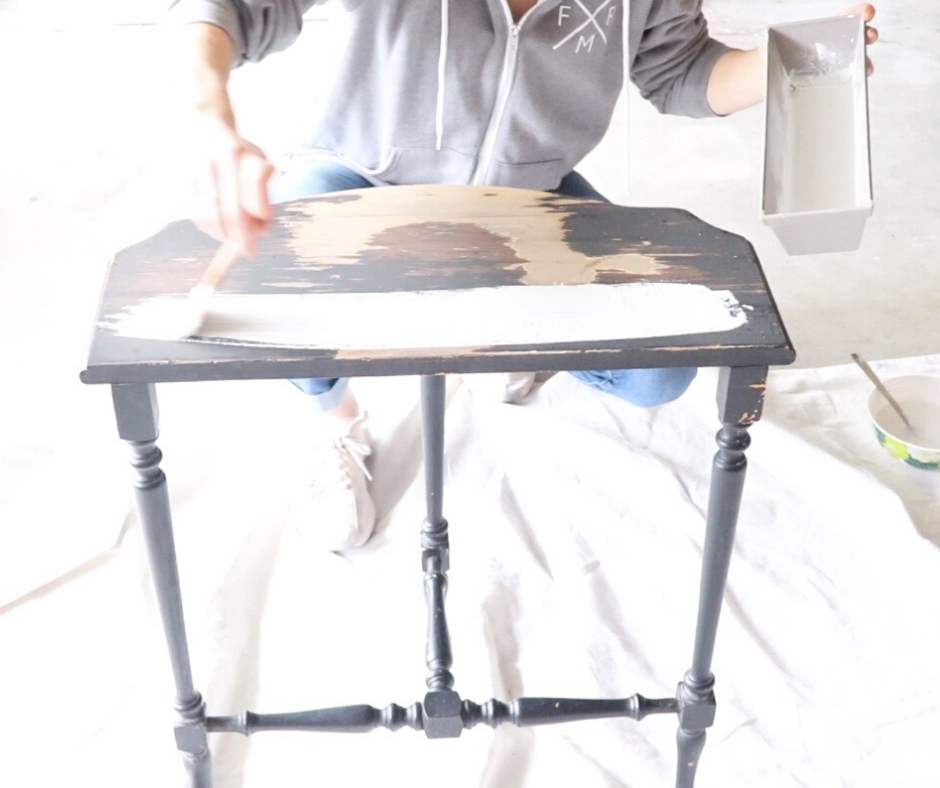
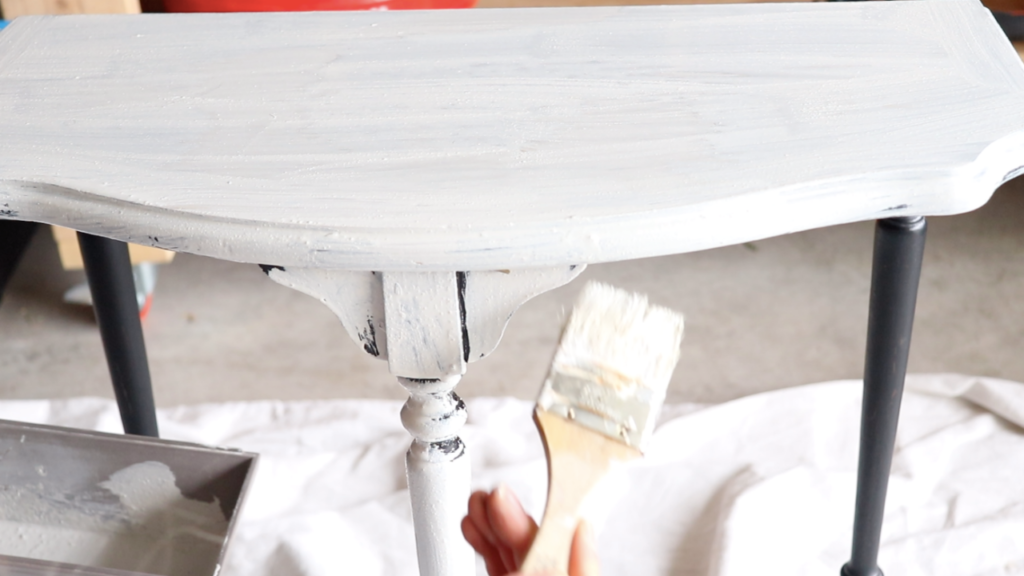
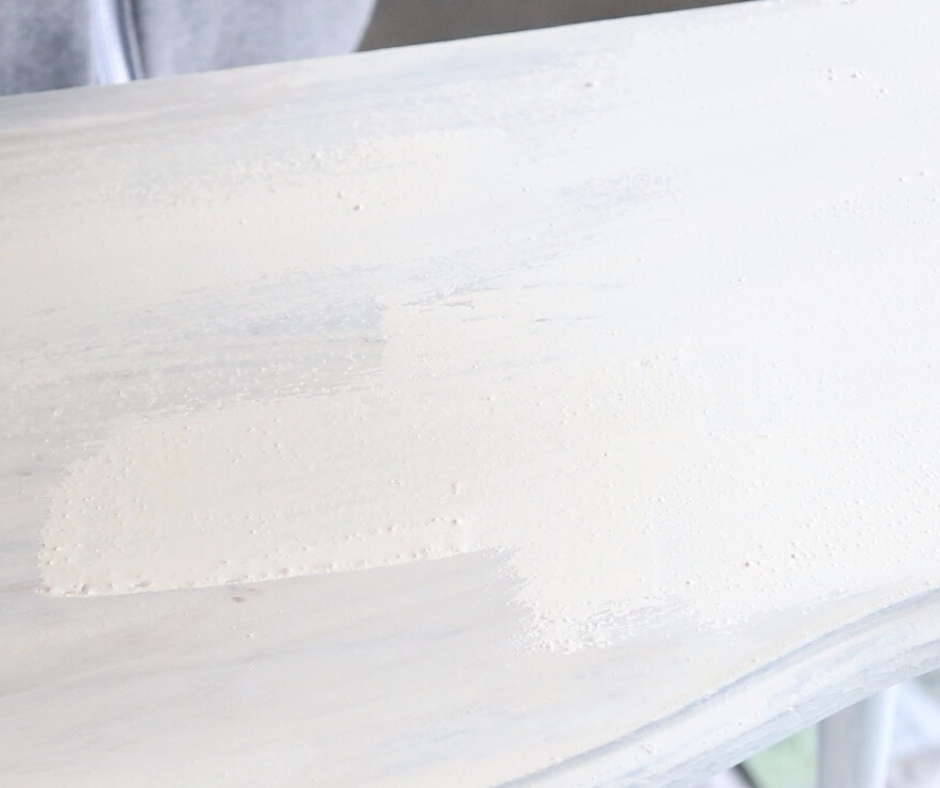
Paint your project. For raw wood, you can use Miss Mustard Seed Milk Paint if you like the look of an authentic wood finish. This paint is easy to use on raw wood and you don’t even need to use a primer or finish if you don’t want to. You may have to do several layers of paint.
Last layer of sanding: you can do a final layer of sanding once your paint is dry to smooth the surface.
How to use a Hand Sander for refinishing – also not scary
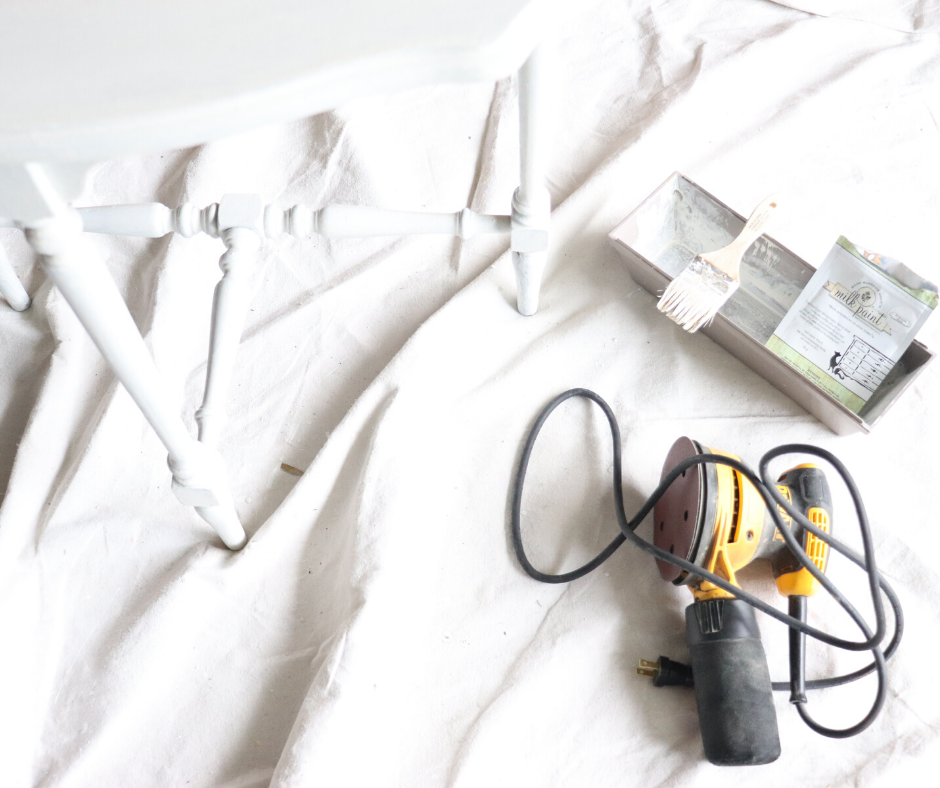
Here is the DeWalt Hand Sander that we used.
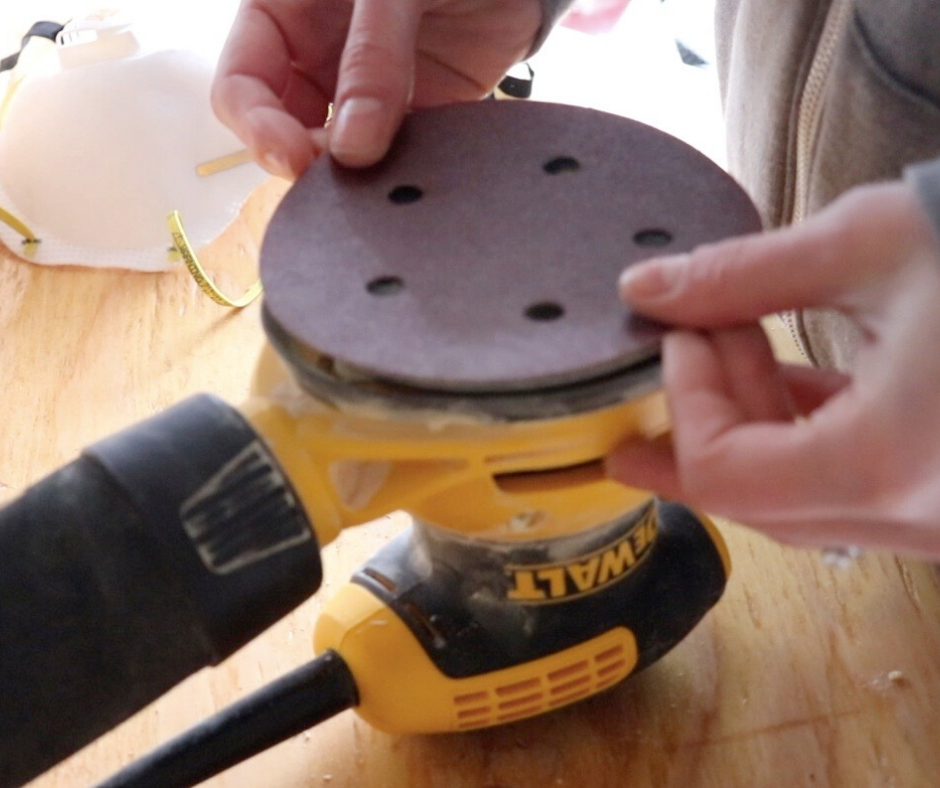
First, remove the circular sanding pad from a previous project, if you had one. Make sure the sander is unplugged, of course.
Next, add the new sanding pad to the sander. I like how easy this is, right? I mean I can handle velcro…
Then, do some safety checks before plugging the sander in. My husband recommends eye goggle and a face mask. Also check that the dust catching bag is attached properly. Theoretically, the dust should go in that bag, but the face protection is just in case. With such a small table and quick sand job that I did, this probably wasn’t completely necessary.
Next plug the sander in and turn it on with the switch on top. Move the sander in medium sized circles across your surface continuously. You do not need to apply intense pressure. Just the weight of your arm should be enough.
Keep going until the whole surface is sanded. You know when it’s done when you run your hand across the surface and it’s perfectly smooth. This is my favorite part!
Pro Tip:
For a precise sanding job, draw a squiggly line with a pencil across the top of the wood surface. Then, as you sand, you can see the line disappear and that’s how you know you’ve done an even job. Unless you’re like me and just wanted to get this thing smooth, perfection was not my goal, so I just went for it.
Here’s a helpful how-to guide on using handheld sanders.
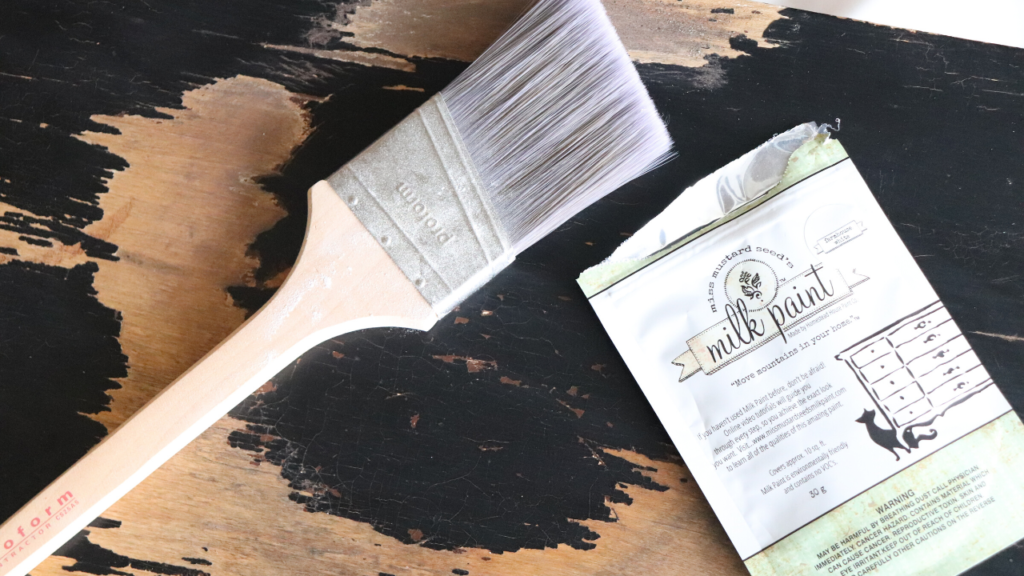
All about Milk Paint
I used the Miss Mustard Seed Milk Paint called “Farmhouse White” to get that natural and aged wooden farmhouse look on the side table. I like the idea of preserving what was once a beautiful wooden piece, so I don’t want to cover up too much of that natural beauty. If you’re doing a paint project on raw wood, Miss Mustard Seed Paint is a good option. It’s specifically designed for raw wood.
The other thing I like about this paint is that it’s made with only a few ingredients – milk protein, chalk, clay, limestone, and natural pigments. Commercial paint can contain a lot of toxic components and chemicals, so any chance to avoid all that sounds good to me.
Lastly this paint is really easy to use. It comes in powder form and you simply add water. Also you can buy it in pretty small sizes, which saves you from wasting any product or spending too much on something you don’t like.
Here‘s a great resource if you’re brand new to Milk Paint.

Milk Paint Process for DIY Refinished Antique Side Table
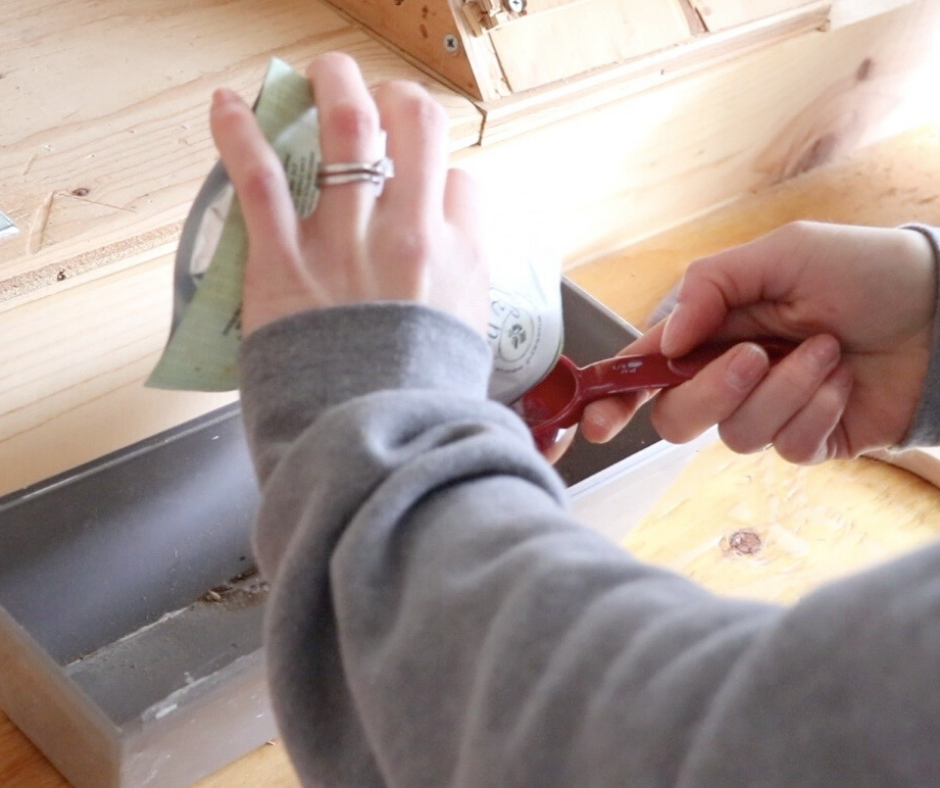
First, you can buy the Miss Mustard Seed Milk Pant from Amazon depending on the size you want. I bought the 30g packet for this project, which was enough for two coats. And it was only $10! In hindsight I should have probably done a few more coats because I was painting white on black, but I’m totally happy with how it turned out. In the description of the item it says how many square feet the paint should cover.
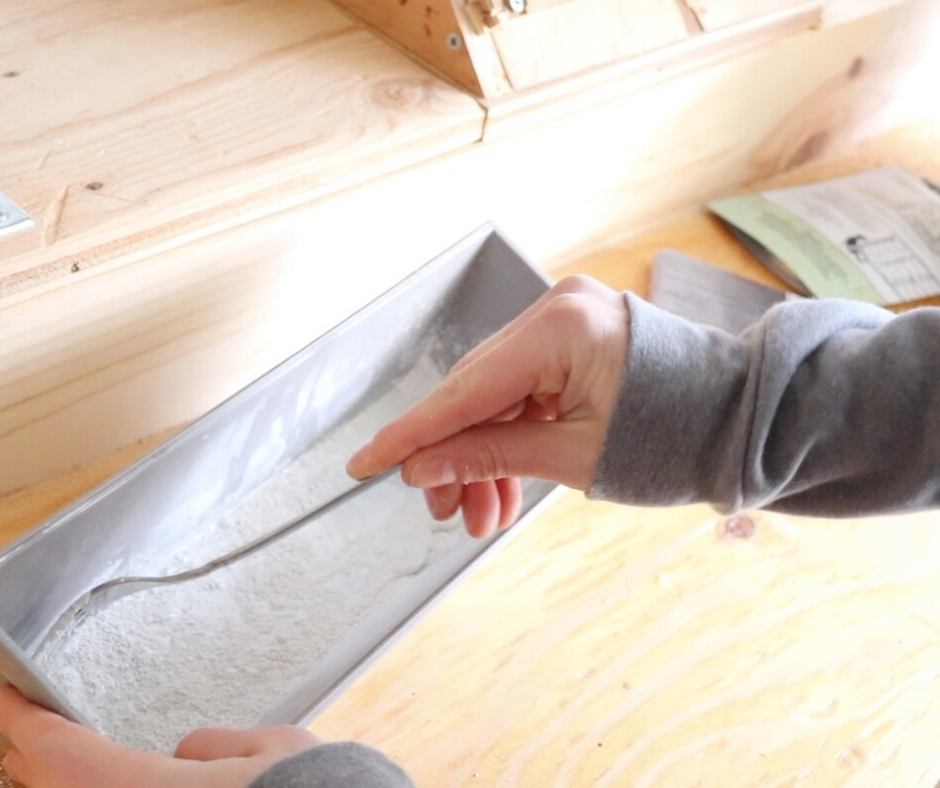
Next pour the powder into a paint dish and stir with a fork. You’re just breaking up some of the big clumps here.
Next add water using a one-to-one ratio. I recommend adding less water first, stirring, and then determining if you need to add more for consistency.
The Miss Mustard Seed website recommends letting your paint sit for 15-20 minutes to absorb completely before painting.
The rest is pretty straight forward – just start painting! Now one thing I noticed was I was worried I wouldn’t have enough paint just by looking at my paint tray. But I totally had enough for two whole coats. So just know that a little bit goes a long way with this paint.
Watch: How to do a DIY Refinished Wood Farmhouse Side Table
Pint it for Later
MORE FARMHOUSE DIYS
Farmhouse Dining Table with Plans
How to Build a Farmhouse Bench


Leave A Comment