Make postpartum recovery a breeze with these delicious and nourishing 5 make-ahead freezer meal prep recipes. Join me as I meal prep before baby at our homestead. If you haven’t heard, we’re expecting our baby any day now. So I thought it’d be a good idea to make some freezer meals that we can easily pull out, thaw out, and enjoy with the baby. Or enjoy these recipes any time, not just after a baby comes!
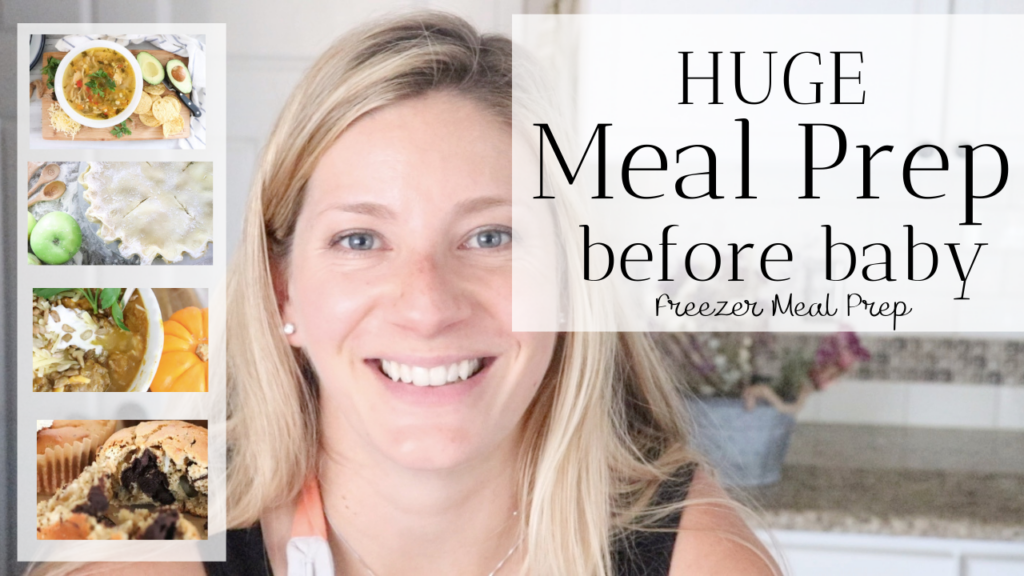
Share it to Pinterest!
Freezer Meal Prep before Baby
I wasn’t sure I would get around to doing any meal prep because after all you never know when your baby is going to come. Luckily the baby hasn’t come yet which allowed me to do some meal prep. It’s always good to have food in the house that you can thaw out and eat at a later time.
You can make four easy freezer meal prep recipes in one day before your baby gets here. Of course these are also great recipes for any other time such as before a holiday or when you’re having company over at your house.
My goal with these recipes was to make nourishing food for me and the baby. In my first, second, and third trimester update blog posts I talk a lot about nutrition and how important that is to me during pregnancy. Well the same goes for postpartum. Gotta keep up that breastmilk!
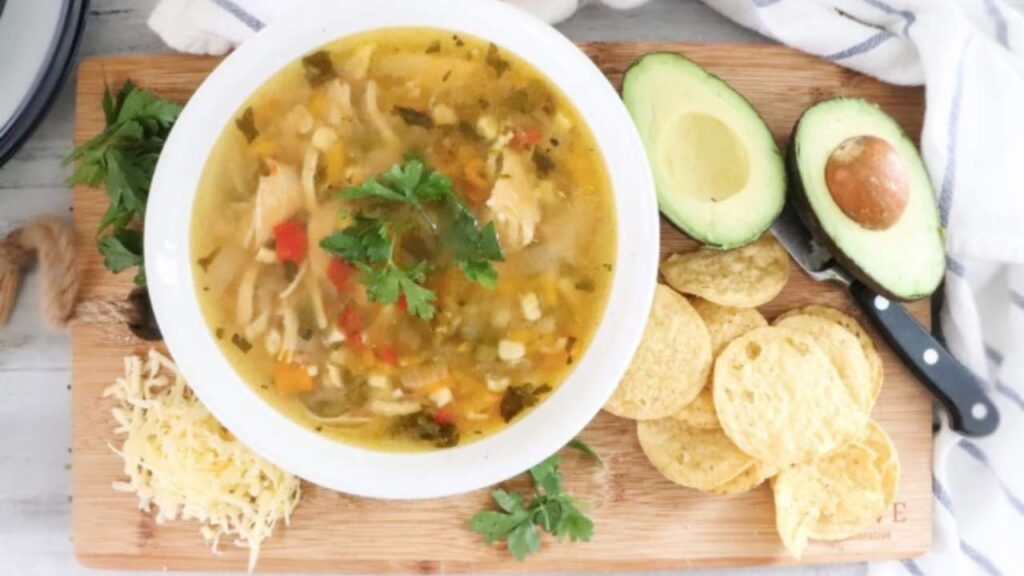
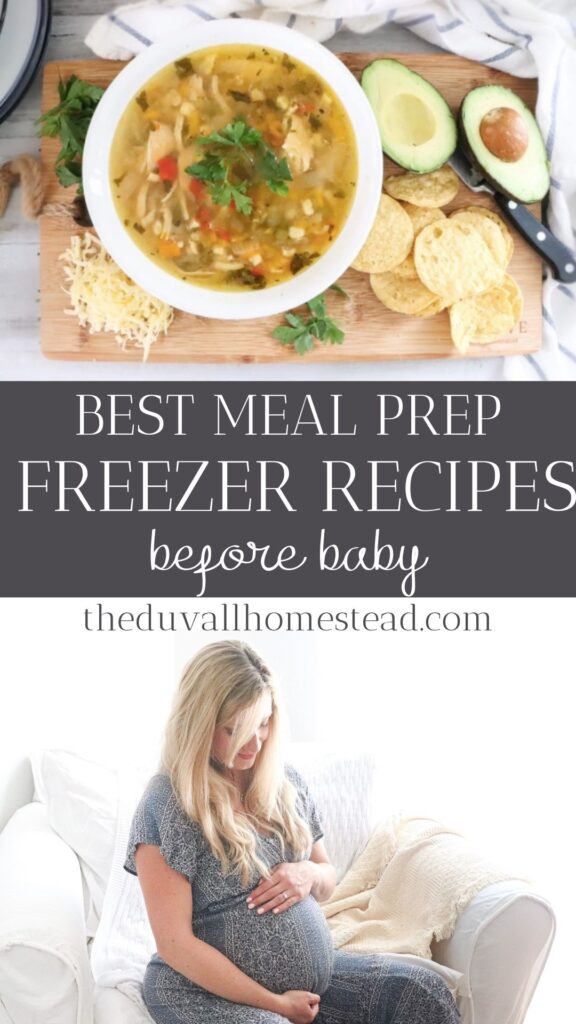
Chicken Tortilla Soup
This recipe is a delicious and hearty soup that tastes like a taco in a bowl. It’s packed with nutrients making it nourishing for a new mom and family. And, it’s super easy to freeze and thaw out later.
For this recipe you will need:
- 1 ½ pounds boneless skinless chicken breast fresh or frozen
- 2 quarts homemade bone broth
- 1 onion, chopped
- A whole head of garlic
- 2 bell peppers, chopped
- 2 cups frozen corn
- One cup frozen peas
- 1 tablespoon salt (note: if you’re using store-bought bone broth, add less salt)
- one teaspoon pepper
- 1 Tsp cumin
- 1-2 drops oregano essential oil (or dried oregano)
- 3 TBSP chopped cilantro (you could use parsley too)
- Juice from 1 lime
- Crushed tortilla chips
- Sour cream
- Avocado
- Shredded cheddar cheese
Instructions:
- Chop the onion, peppers, and garlic.
- Turn the Instant Pot on to “saute” function and add some avocado oil. Add your onions and peppers and saute for a few minutes.
- Next add the garlic, followed by the chicken, bone broth, corn, and peas.
- Add your seasonings – the salt, pepper, cumin, and oregano.
- Close the Instant Pot and turn the knob to “sealing”. Then, press the “meat/stew” function and press start.
- When the soup is done, shred the chicken apart with a fork. It should easily shred apart, this is the best part!
- Next, add the lime and cilantro and stir.
- For the toppings, add shredded cheese, avocado, sour cream, and crushed tortilla chips. Enjoy!
Get more tips for this recipe in this post.
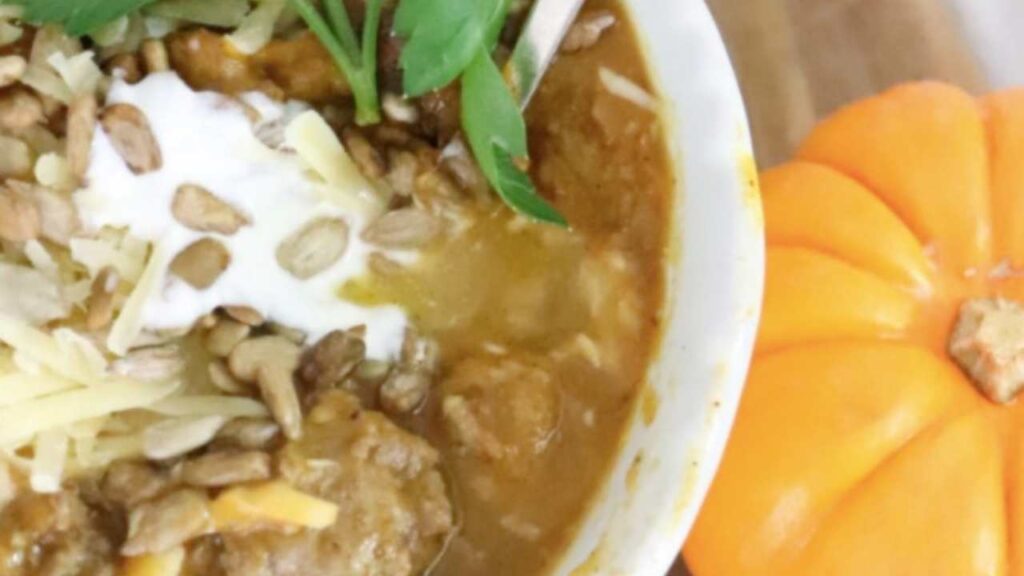
Pumpkin Chili with Lamb
This is a great chili recipe for fall time or any time of year. It uses lamb but you could also use beef or your favorite meat. You get all the benefits of pumpkin, veggies, and bone broth with this soup and it really makes you feel warm and cozy!
For this recipe you will need:
- 1 pound grass fed ground lamb
- One onion
- 1 whole head of garlic
- One can pumpkin puree, or half a pumpkin chopped and roasted
- One can of white cannellini beans, strained and rinsed
- 5 small to medium carrots, chopped
- 3 cups of bone broth, or more depending on how thick you like it
- Two teaspoons salt
- One teaspoon pepper
- 1/4 tsp cumin
- 1/4 tsp ginger
- Fresh parsley
- Grated cheddar cheese
- Sour cream (optional)
- Pumpkin or sunflower seeds (optional)
- Pinch turmeric (optional)
Instructions:
- Cut an onion in half and shave the top off of a whole head of garlic. Place on a baking tray with some parchment paper. Drizzle some olive oil on top and bake at 375 degrees F for 30 minutes.
- Meanwhile, brown the ground lamb in a cast iron until cooked. This helps the lamb brown fully and keep its flavor, instead of just throwing it in the soup uncooked.
- Add the onion and garlic to an Instant Pot, then add the pumpkin and bone broth. Using an immersion blender, blend them all together until smooth and thick.
- Add the beans, carrots, lamb, salt, pepper, and spices. Pressure cook for at least 30 minutes.
- Before serving, drizzle with sour cream, pumpkin seeds, and freshly grated cheese. Scoop out the pumpkin chili in a bowl and savor on a cold fall night.
See the full blog post on pumpkin chili here.
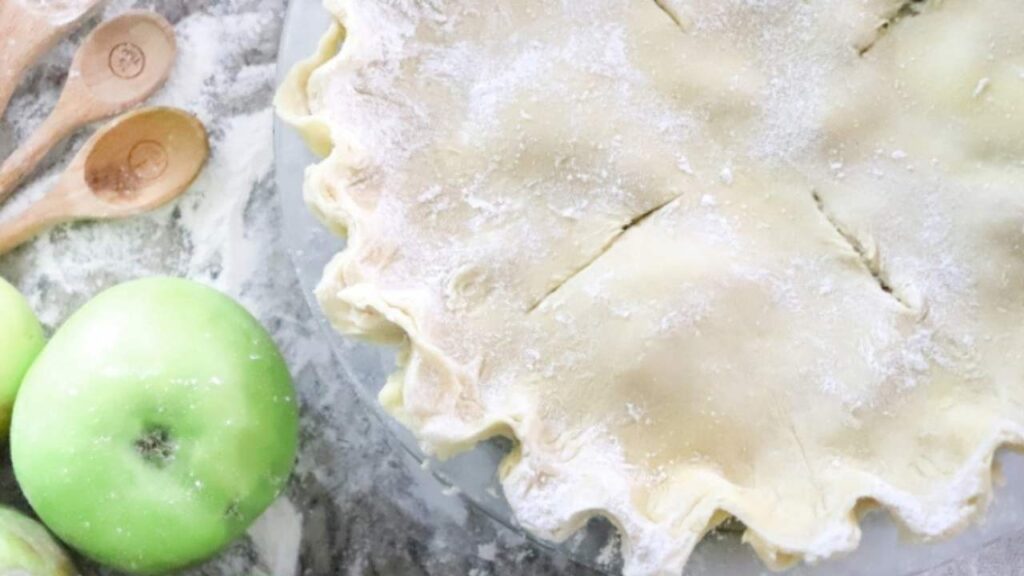
Naturally Sweetened Sourdough Apple Pie
I couldn’t help it, I had to make a pie for our newborn baby! Did you know pie freezes really well and makes a great meal-prep dessert?
In tis recipe I make a sourdough pie crust with a naturally sweetened apple pie filling.
Once again wanting to eat delicious food but make it good for us, I love that this recipe uses fermented sourdough pie dough and naturally sweetened filling. Learn the benefits of sourdough here.
Ingredients and directions for homemade pie crust here.
How to Make Apple Pie Filling
Four to six apples, depending on size, peeled and sliced
5 TB butter
A quarter cup wild honey
Juice from half a lemon. optional: zest from half lemon
One teaspoon cinnamon
Half teaspoon nutmeg
1 tsp vanilla extract
2 TB water
Two tablespoons flour
1 egg (whisked for on top of the pie crust)
Instructions:
In a dutch oven or stainless steel pot, combine the apples, butter, honey, lemon, and spices. Stir and saute on medium heat for a few minutes, until fully combined.
Preheat the oven to 350 degrees F.
Add the water and flour and stir to combine. Let sit on the heat for another 5 to 10 minutes, until you can see the juices from the apples start to come out and a thick apple filling is formed. The goal here is not to cook the apples yet, but to just get a nice juicy flavorful filling.
Remove the apples from the heat and let cool for 5-10 minutes. Prepare your pie crust. We like sourdough pie crust best here at our house, but you can use store bought too.
Pour the apple mixture into the pie crust and prepare your crust how you like it. I always brush a whisked egg over the top of the pie crust because it gives it that nice glazed and buttery finish.
Bake at 350 degrees for 60 minutes. Now this part is very important: about halfway through baking (so at 30 minutes), put an aluminum foil cover over the top of the pie. This allows the pie to continue baking evenly and not burn the pie crust edges.
Read my tips for making the perfect pie here.
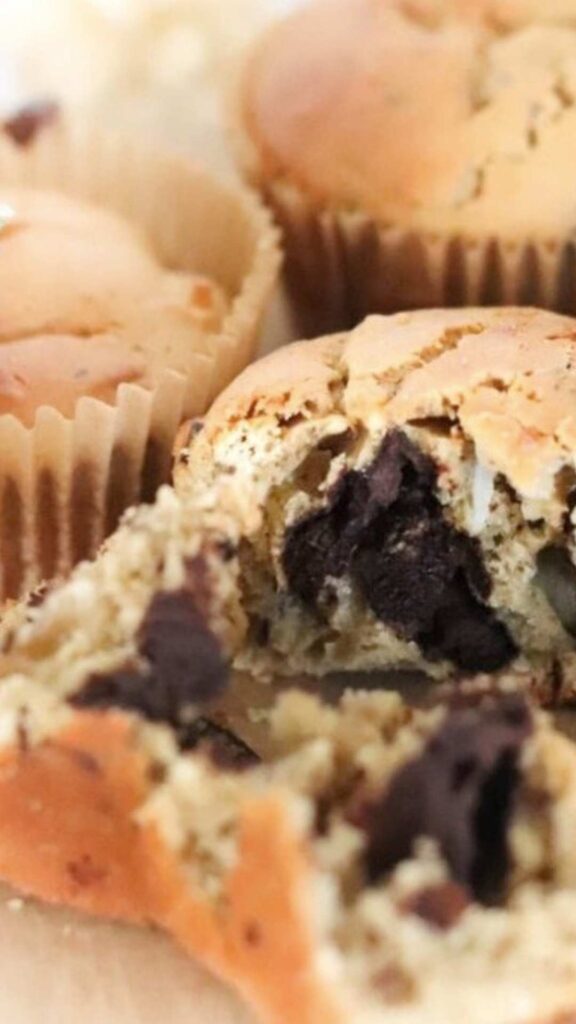
Protein Muffins for Maternity | Pregnancy and Postpartum Snack
Packed with protein and yummy toppings, these muffins are the perfect pregnancy and postpartum snack. I was always looking for more sources of protein during my pregnancy and these muffins made the perfect snack.
Enjoy these muffins for breakfast or a snack. When you thaw them out after freezing them, add some butter in the middle for a melt in your mouth treat.
You will need:
DRY INGREDIENTS
- 3/4 cup organic unflavored protein powder (we like this one)
- just over 3/4 cup einkorn all purpose flour
- 1 tsp baking powder
- 1 tsp cinnamon
- 1/2 tsp salt
WET INGREDIENTS & SUGAR
- 2 eggs
- 1/4 c maple syrup
- 1 tsp vanilla extract
- 1/4 cup yogurt
- 4 tbsp melted butter
- 1/4 cup white sugar
FOLD-IN INGREDIENTS
- 3/4 cup chopped chocolate or chocolate chips
- 1/2 cup raisins
- 1/2 cup coconut flakes
Instructions;
- First, combine the dry ingredients in a medium size bowl.
- Add the wet ingredients and sugar to a mixing bowl and mix on medium speed until smooth.
- Slowly add the dry ingredients to the wet mixture, about 1/3 at a time.
- Using a wooden spoon, fold in the chocolate, raisins, and coconut.
- Line a cupcake pan with parchment liners and spoonful the dough into the mold.
- Bake at 350 degrees for 30 minutes, or until the top of the muffins start to brown.
Read the full blog post on protein pregnancy muffins here.
FAQ:
When should you make freezer meals before baby?
The earlier the better! I’m lucky I made these meals just days before our baby was born. In hindsight, making freezer meals around 33-35 weeks would probably be smarter than waiting to week 38. I’m so glad I made these meals and can’t imagine what we would have done without them! They also helped me heal faster because they are high quality. Whereas if we didn’t have these prepped, we would have ordered take out for the first day or two. Not the kind of thing I want in my body right after giving birth!
What should I stock my freezer with before baby?
Stock the fridge up with nourishing food like homemade bone broth, eggs, cheese, high quality meats, etc. If you have the time, make some meals that you can easily freeze and then pull out when the baby is born. If you don’t have time (or you just don’t have energy, let’s be honest) to go to the grocery store you can do a healthy online grocery haul before the birth. Whatever you do just don’t let the fridge get too empty at any point in time, so you at least have some food for whenever the baby decides to come.
Should you meal prep before baby?
If you want good food after you deliver your baby, then yes! Even if you are delivering in a hospital, you can pack your bag with some of your prepped food (or use a cooler) so you’re giving your body the best food possible after birth. Personally I couldn’t wait to have some bone broth and hearty meals the day of the birth. Check out the recipes in this post for 5 freezer meal prep ideas that are perfect for after the baby comes.
Join the simple farmhouse community:
PIN IT FOR LATER


Leave A Comment