Learn how to make no-knead sourdough einkorn bread. Einkorn is a healthy ancient grain, that is higher in protein and lower and gluten. If you have an established sourdough starter you can make your own einkorn bread at home with this easy recipe and tutorial.
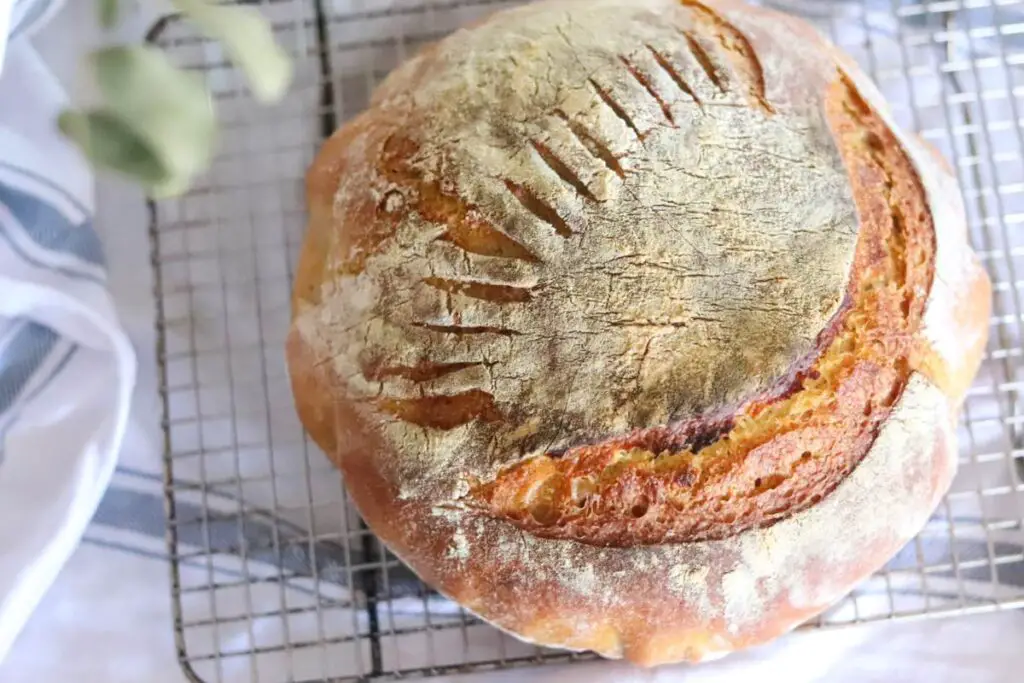
If you are looking to cook more with ancient grains, learning how to make no-knead sourdough einkorn bread is a great place to start. Einkorn, a nutritious and protein-rich ancient grain, is known for its lower gluten content compared to modern wheat varieties. By using your existing sourdough starter, you can easily create your own delicious einkorn bread at home.
This post contains affiliate links, which means I may make a small commission off items you buy at no extra cost to you. As an Amazon associate, I earn on qualifying purchases. See my full disclosure here.
My Sourdough (and Einkorn) Discovery Story
As of this year, I’ve been making sourdough bread for 6 years. In the beginning, I experimented with using my sourdough starter in different recipes like pancakes, pizza, and of course, rustic sourdough bread.
I learned about hydration, stretch and folds, gluten development, and all the details of how to make those sourdough cultures thrive and rise your bread.
A couple years later, I started using einkorn flour. I took a health coaching certification course back in the day and learned about how different food groups affect our bodies in different ways. For example, eating a meal with protein and carbs (like eggs and bread) will stabilize your blood sugar a lot better than just carbs (bread only). This blood sugar stabilization causes us to feel good, have high energy, and avoid a blood sugar crash later on.
I found this idea very interesting, and started implementing that strategy in my day-to-day life. Every day, I would look at my plate and see if there was a protein, a vegetable, and a grain.
Meals with all 3 of those macronutrients caused me to feel good and energetic for several hours after the meal. On the other hand, when I took away 1, or 2, of those components, I felt either less good or I felt really bad. This made me realize how important these nutrients are.
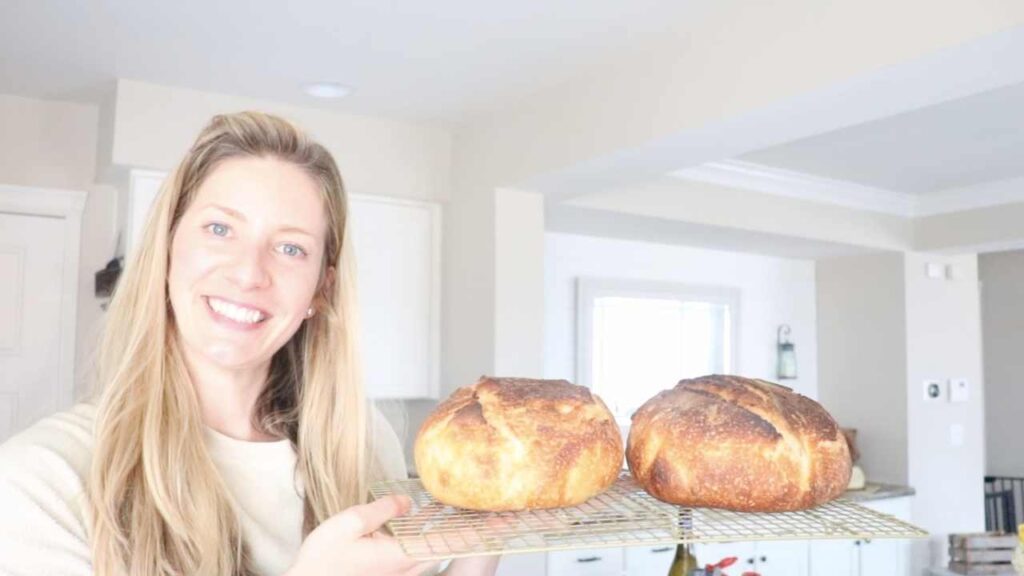
My Story, Continued
So, I realized two things: one, I loved bread. But I would often eat bread or pasta on its own, and it caused me to not feel good afterwards. Now I knew why.
And two, in order to enjoy bread the way I wanted to, I needed to add protein and vegetables.
In walks einkorn flour! Finally, a grain that is higher in protein and lower in gluten. I notice a big difference in how I feel after I eat einkorn bread compared with traditional flour bread. I still eat regular flour, but there is a difference.
If you struggle with blood sugar crashes or stabilization issues, you may really like einkorn flour. Now I’m not saying you shouldn’t also eat protein and vegetables with your bread, but the higher protein content does help.
I hope you and your family enjoy this homemade no-knead sourdough einkorn bread recipe!
Pin it for Later!
Benefits of Einkorn
Einkorn is an ancient grain that hasn’t been hybridized like most of today’s highly processed grain.
Hybridization is the process of breeding different types of grain to create a grain that can withstand weather ailments and produce a higher yield crop. This modern process allows people to get grain who may not be able to otherwise, but it also jeopardizes some of the original qualities of non-hybridized wheat.
Einkorn has 50% more manganese, riboflavin, and zinc, and 20% more magnesium, thiamin, niacin, iron, and vitamin B. Ironically these are same nutrients that are synthetically added back to enriched wheat flour to compensate for what we’ve lost in making wheat a high-yield crop (source).
Einkorn is also higher in protein, making it a much better source of energy for your body.
Benefits of Sourdough
When you feed your starter with flour and water, the live cultures are feeding off the sugar in the gluten. As they do this, something called phytic acid is being reduced. This is the acid that exists on non-fermented grains that can make grain difficult to digest.
This goes for all fermented foods like fermented milk kefir, soaked oats, sauerkraut, etc.
You Will Need
Large Bowl
Fork
Dutch Oven
Parchment Paper
Wire Cooling Rack
Sourdough Einkorn Bread Recipe
Note: because this recipe is in cups and not grams, you may have to adjust slightly (think 1-2 tablespoons of flour in either direction). As with all sourdough recipes, experimentation and practice are needed in order to get that perfect loaf. Or, you may get lucky on the first try! Be patient and keep trying either way!
1 cup fed, active einkorn sourdough starter (note: if you are using a regular flour sourdough starter, use slightly less starter, about 3/4 cup). The einkorn sourdough starter is fed with 1 cup einkorn flour and 1/2 cup filtered water before starting this recipe.
1.5 cups warm filtered water
1.5 tsp coarse sea salt
4 cups einkorn flour (we like the Jovial brand)
Two pinches of extra flour, to be used in the shaping and baking process
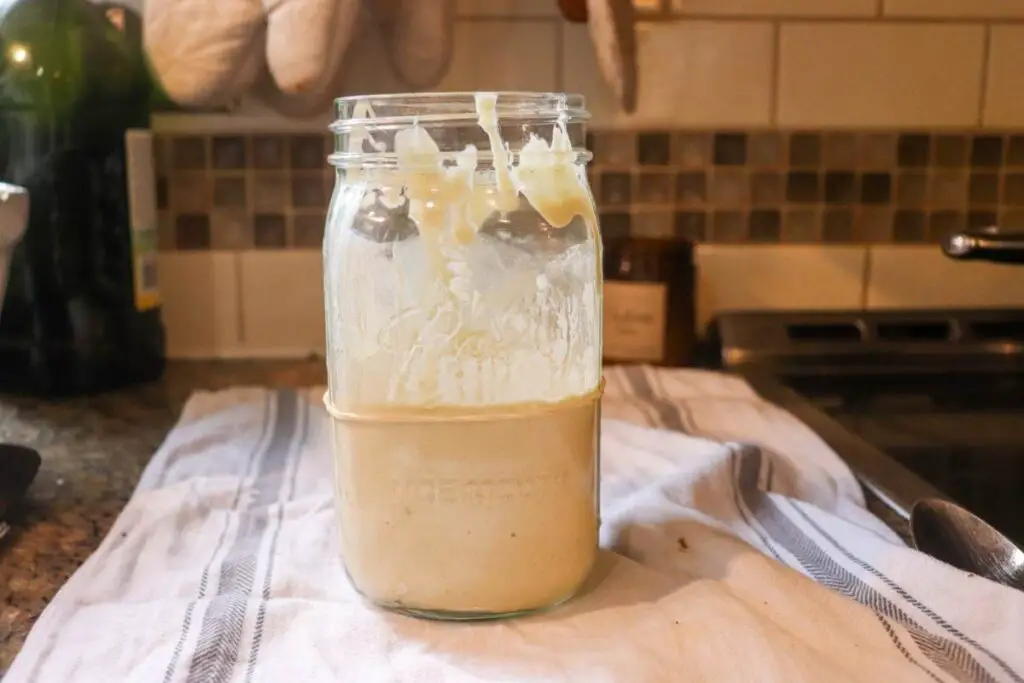
HOW DO I KNOW MY STARTER IS READY FOR BREAD MAKING?
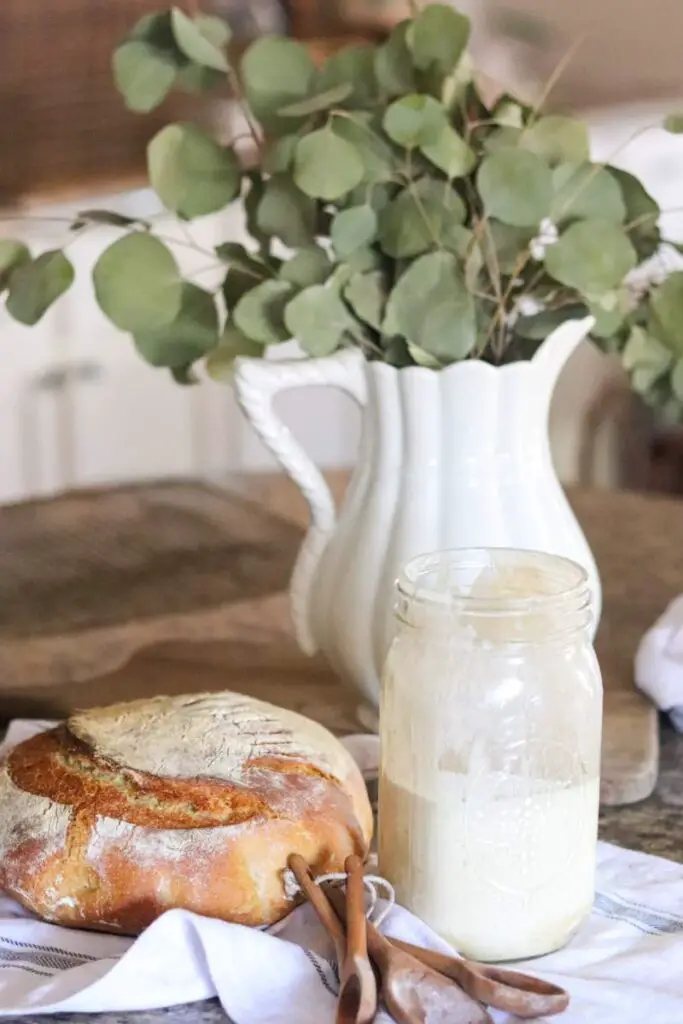
You know your starter is ready after it’s been fed, sat out at room temp for several hours, has large, lumpy bubbles on top, and smells like sourdough.
There is also something called the “float test” you can do if you are still not sure. Simply fill a mason jar with water and take a small spoonful of starter and dump it in. If it floats, your starter is ready!
Note: if your starter was fed and has been sitting out to ferment, don’t stir it. This may break up the air bubbles and cause it to look not active. Before doing the flat test, pull from the not-stirred starter.
New To Sourdough?
If you are just getting started on your sourdough journey, you are in for a treat!
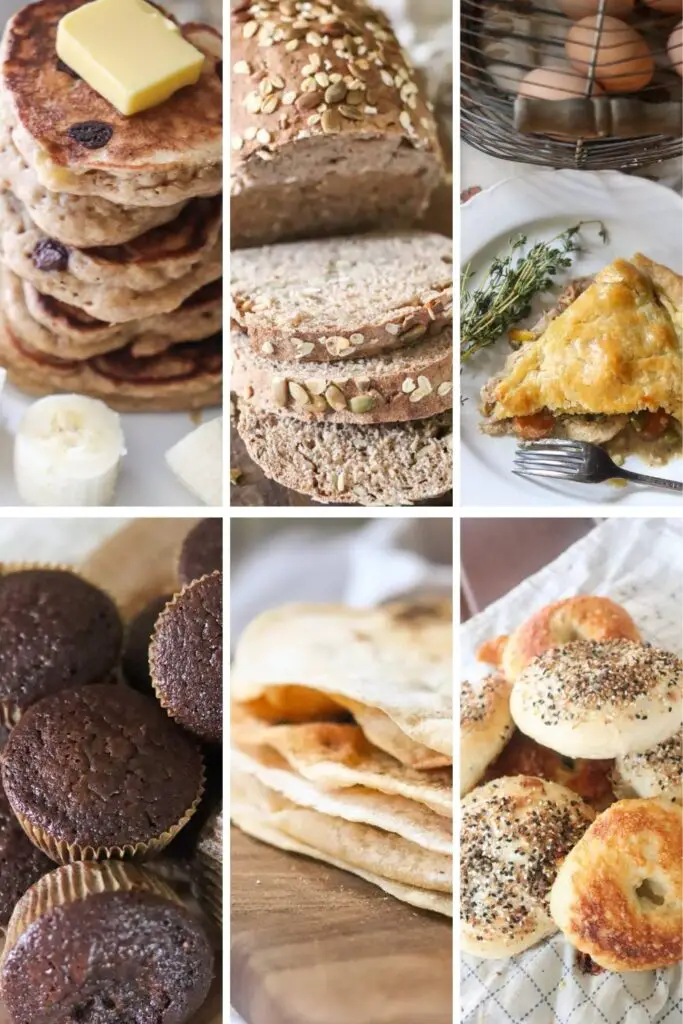
You can learn how to make your own sourdough starter from scratch to make homemade bread, sourdough pizza, bagels, and more.
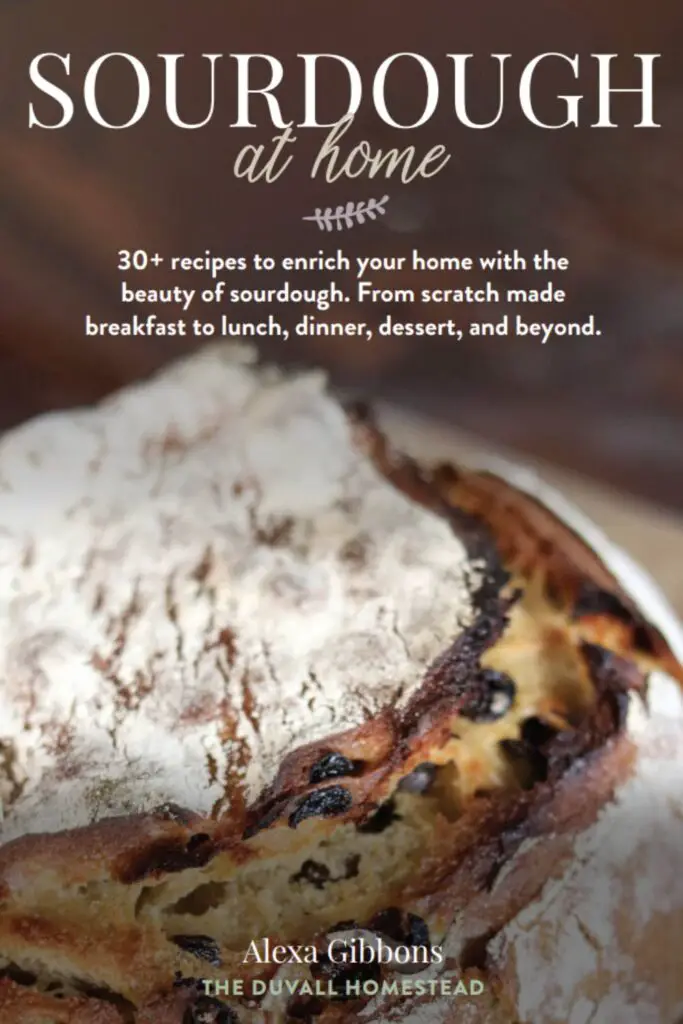
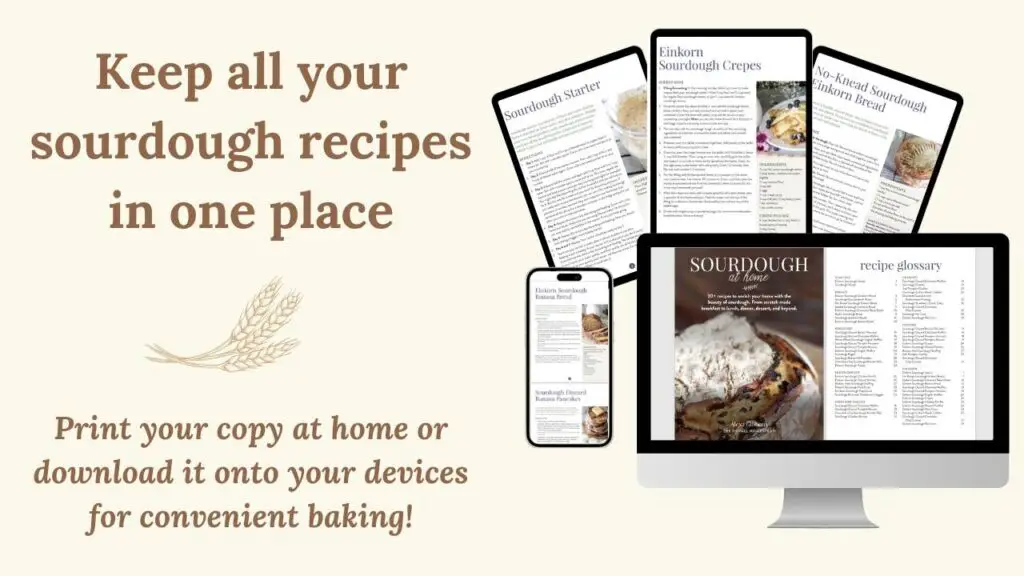
Put all your sourdough recipes in one spot!
Download and print off this NEW sourdough recipes ebook and keep your favorite sourdough recipes on your counter for easy, every day cooking.


Baker’s Timeline
Here are the five phases to making sourdough bread. Now do not be intimidated. Each phase takes less than 5 minutes of your time. All the magic of making bread happens on its own with time!
We love having a sourdough loaf for Sunday night’s dinner. To do this, follow the below timeline:
Saturday morning: Take starter out from the fridge and feed it. Let sit on the counter all day until it passes the float test.
On Saturday late afternoon: Phase 1 – Make the Dough
Then Saturday evening: Phase 2 – Lift and Tucks
Saturday overnight: Phase 3 – Bulk Rise
Sunday morning: Phase 4 – Second Rise
Sunday afternoon: Phase 5 – Bake the Bread
How to Make No-Knead Einkorn Sourdough Bread Step by Step
PHASE 1 – MAKE THE DOUGH (3 MIN)
Pour the fed and active einkorn sourdough starter and water into a large mixing bowl and whisk together with a fork. If you’re not sure if your starter is ready, do the “float test” described above.
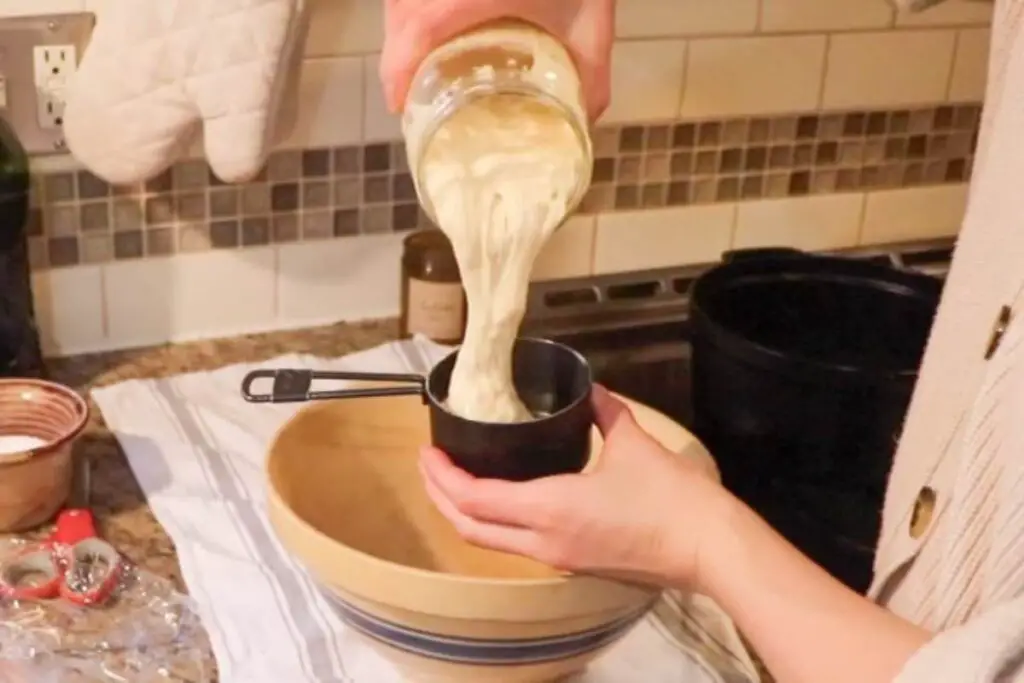
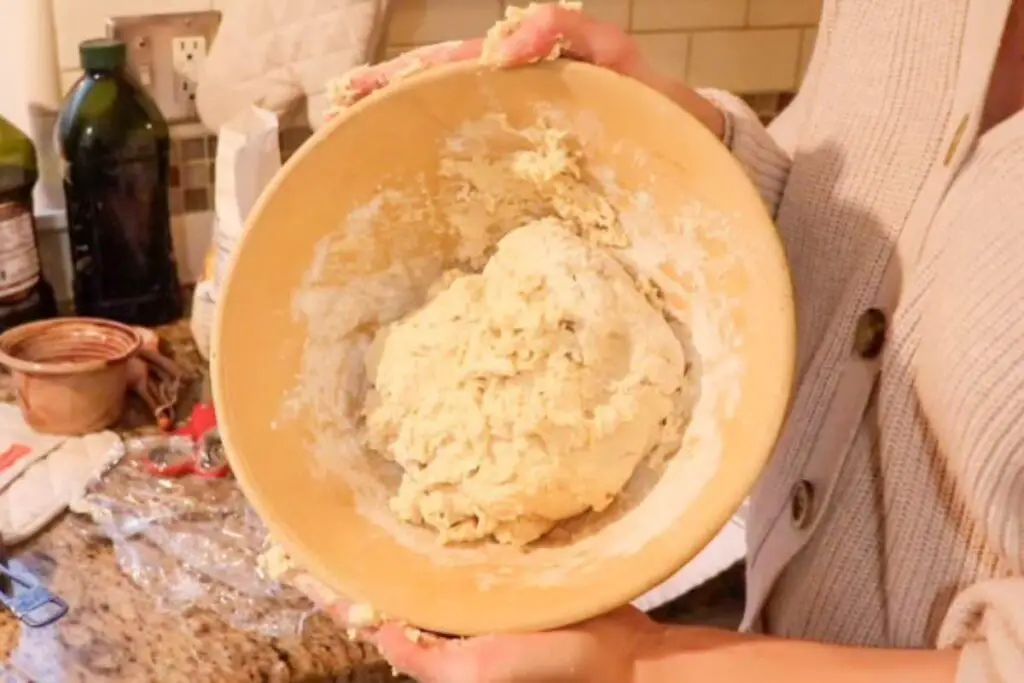
Add the einkorn flour and salt. With clean hands, combine all ingredients for about 20 seconds until all the flour is cleaned off the sides of the bowl. The dough will feel sticky. Do not overdo it here.
Let the dough rest. Put a tea towel on top of the bowl and set on the counter for 30 minutes to an hour.
PHASE 2 – LIFTS AND TUCKS (1 MIN)
Sounds like an exercise routine, but it’s just some hand motions on the dough.
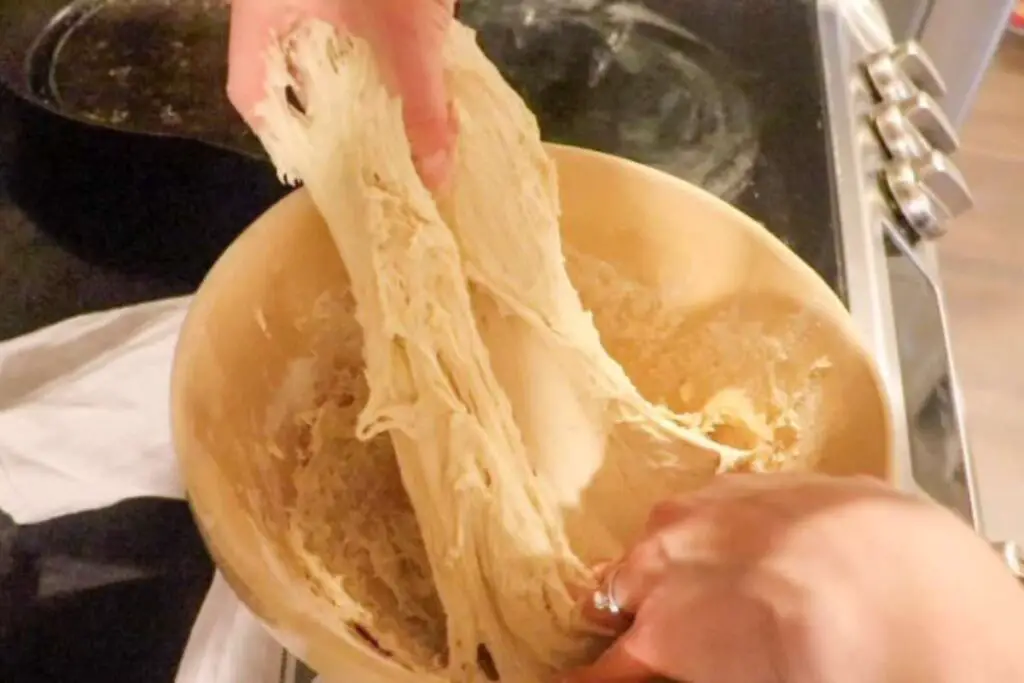
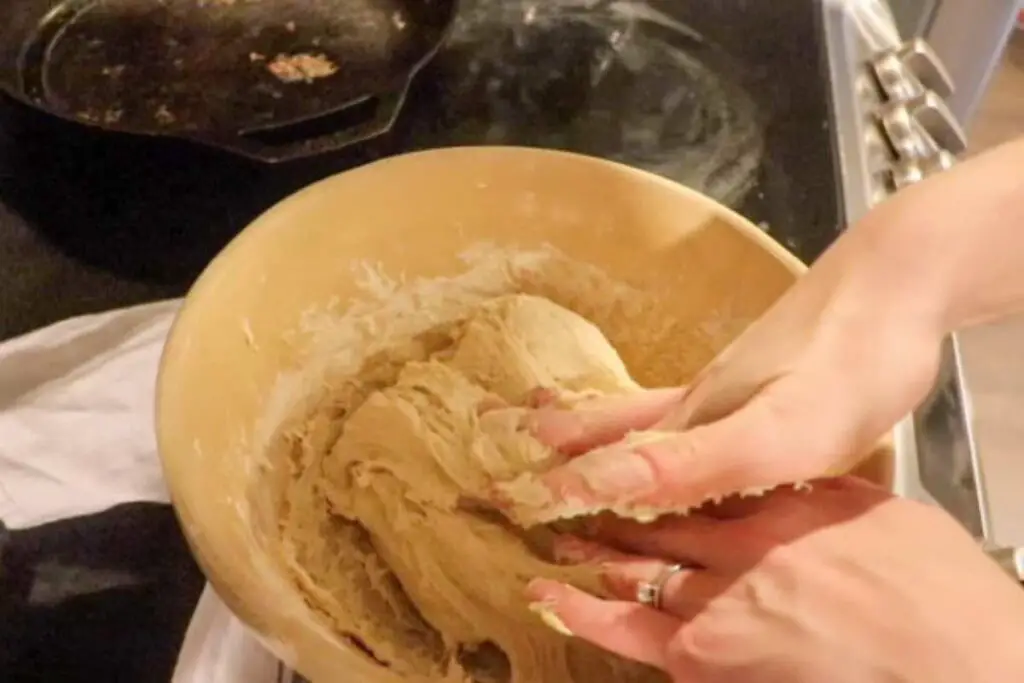
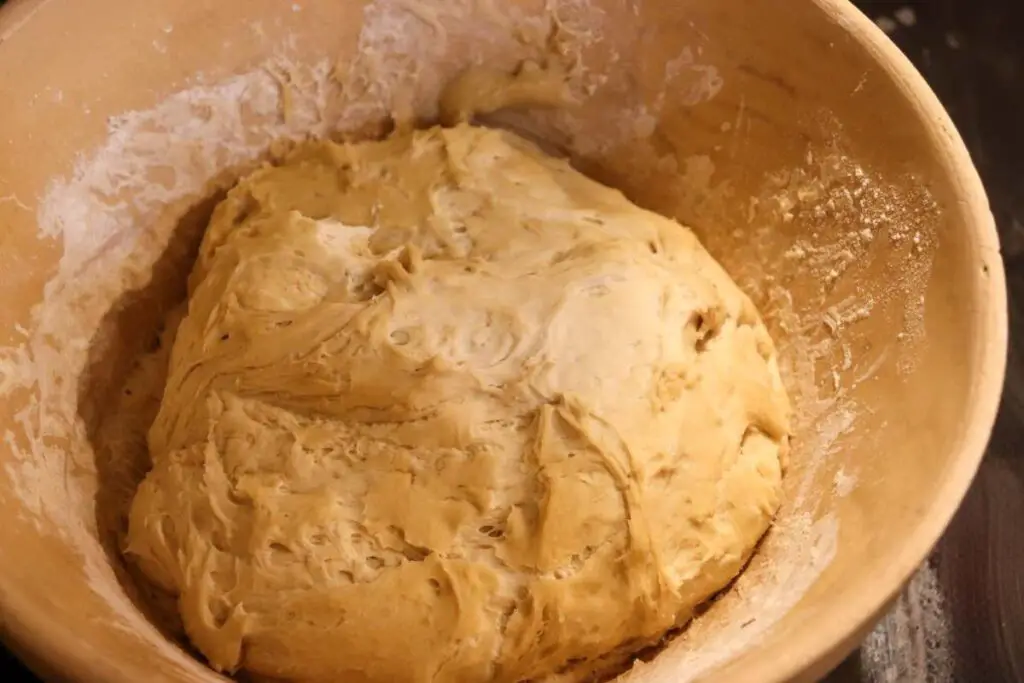
Starting from one end of the dough, lift it up and fold it over itself into the center of the dough. Then rotate the bowl 90 degrees and repeat, until all sides have been lifted, tucked and folded. So, four times total.
Cover the bowl and let sit on the counter. Then, repeat the lifts and tucks 2 more times (for a total of 3 times), each about one hour apart. Now, don’t get too obsessed with this part. This is just creating nice volume in your bread. If you skip one or let two hours go by instead of one, it’s totally okay.
PHASE 3 – BULK FERMENT (30 SEC)
The easiest (and most important) phase!
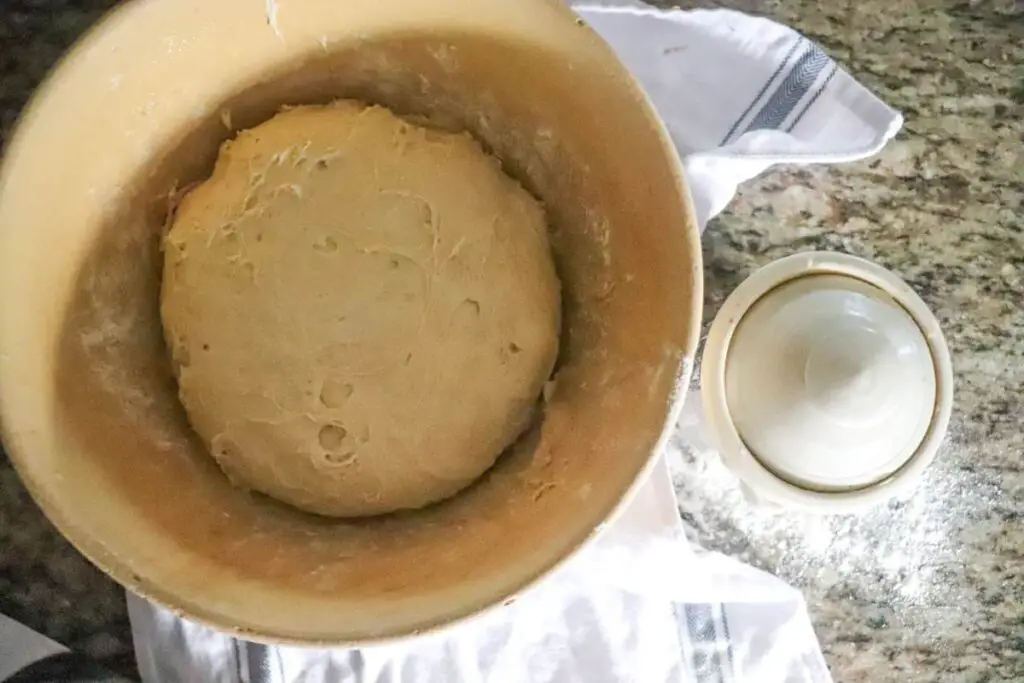
Cover the bowl with saran wrap and then a tea towel on top. Place in the fridge and let sit overnight.
PHASE 4 – SECOND RISE (5 MIN)
Pull the dough out of the fridge and clear a spot on your countertop. On half the counter, sprinkle some flour and leave the other half clean with no flour.
Remove the dough from the bowl and place on the flour side. Do one more round of the lift and tucks to form your dough.
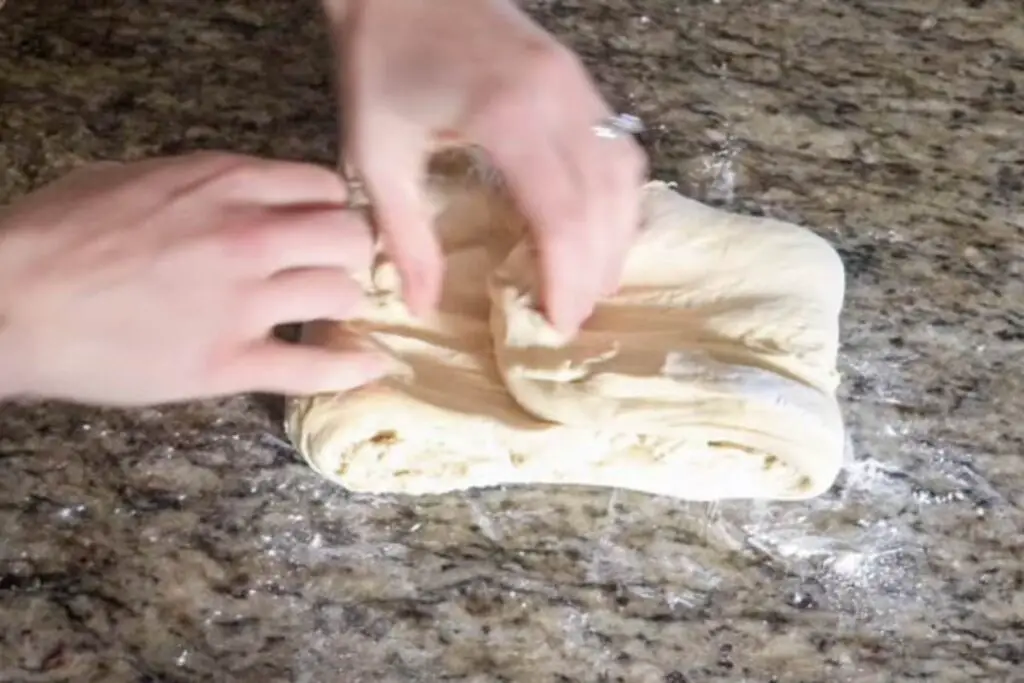
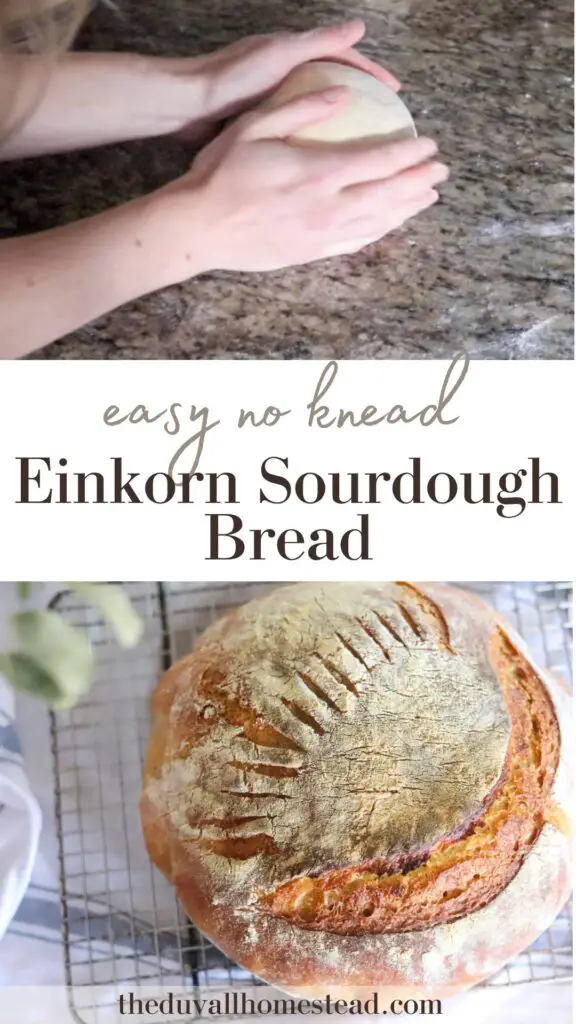
Remove the dough from the flour side, flip it over, and set it on the non-flour side. Form the letter C with your hands and use a cupping motion around the dough to create a ball. Rotate the ball with short rotations in a circle. You should have a dough ball that is easy to pick up and not sticky now. Add more flour if the dough is too sticky.
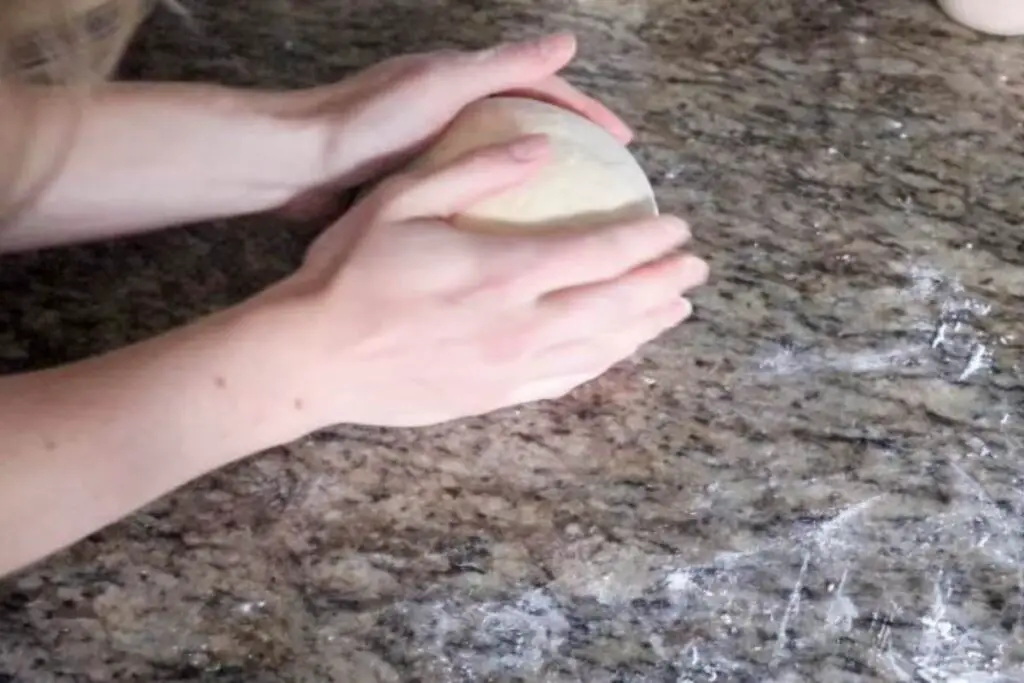
Grab a sheet of parchment paper and set the dough on the parchment paper.
Pick up the parchment paper and set the dough in a dutch oven. Cover with a tea towel and let sit on the counter for at least 2 hours.
PHASE 5 – BAKE THE BREAD (FINALLY!)
First, take your bread that was rising in the dutch oven out of the dutch oven.
Turn your oven onto 450 degrees F and place the dutch oven (empty) into the oven to preheat with it.
Once the oven is preheated, score your bread. Scoring is the process of creating a slit in the dough so that it can breath and rise in the oven. You can buy a special scoring knife to do this, but we just use a serrated knife and it works perfectly.
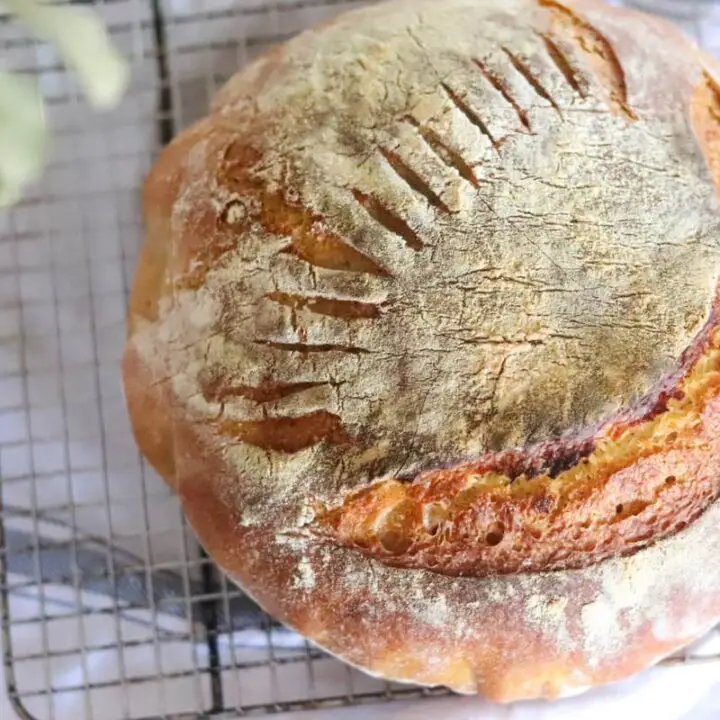
Create one or two slits in the bread with a serrated knife or bread lame. Or, try your own design. Here I did one large slit on one side followed by several tiny lines on the other side.
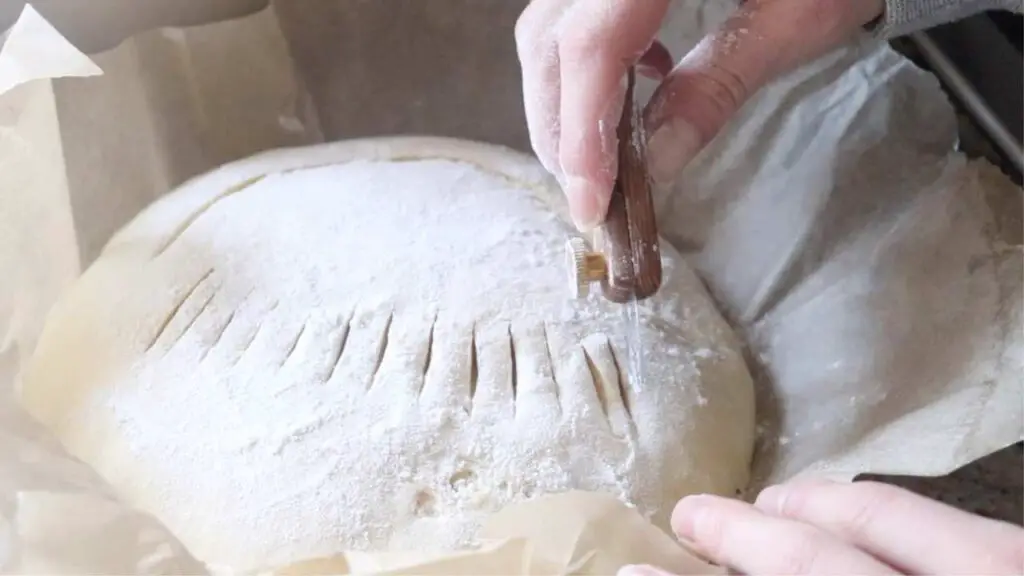
Carefully place the parchment paper with the bread on it inside of the dutch oven.
Cover the dutch oven and, with the bread inside, place it in the oven.
Bake for 25 minutes with the lid on, and then another 20 minutes with the lid off. Note: this time can vary depending on your oven and how crispy you like the outside of the bread. For less crispy, try 20 minutes lid on and 15 minutes lid off. Experiment until you get it just right!
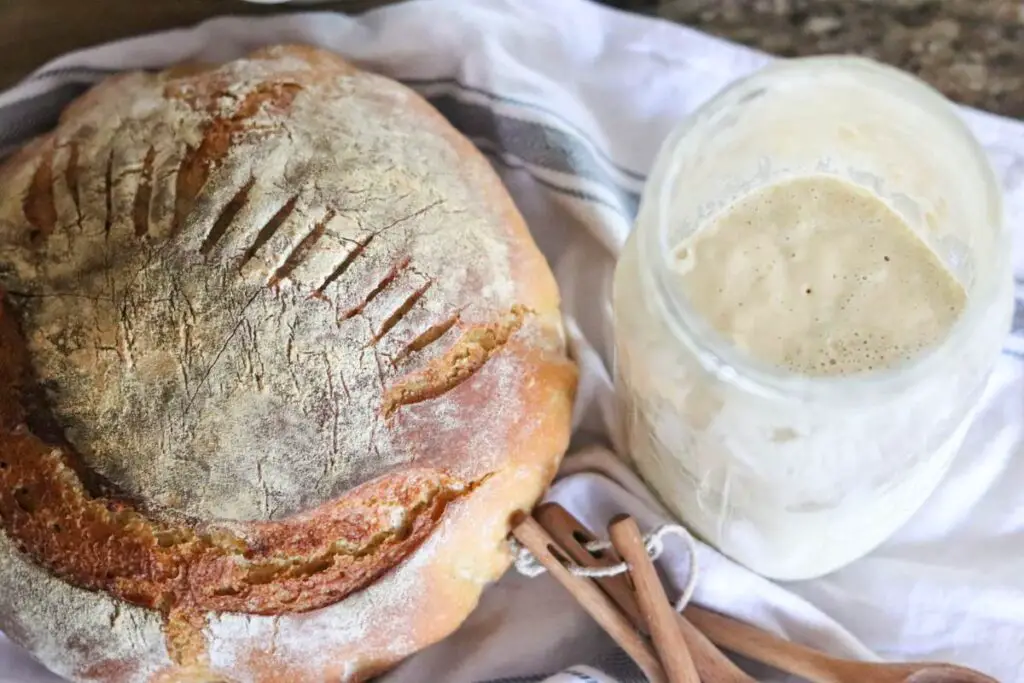
THIS LAST STEP IS THE MOST IMPORTANT.
WHEN THE BREAD IS DONE, DO NOT CUT IT. You will be tempted to cut it open right away and devour it. I know the smell of freshly baked bread can be hard to resist, but don’t do it. We’ve done it and learned from our mistakes.
The bread needs to sit for an hour in order to finish cooking. If you place your ear right next to the bread, you can hear it crackling. Transfer it to a cooling rack so it can properly cool. Don’t worry, it will still be hot inside after an hour!
FAQ
Is einkorn sourdough bread healthy?
Einkorn sourdough bread is very healthy. Einkorn is an ancient grain that was never hybridized, so it is in it’s original form. The ancient grain is higher in protein and lower in gluten, making it easier to digest for many people. Some people exclusively eat einkorn flour. And, when made with at home with sourdough starter, you get the benefit of long-fermented grain. Keeping the loaf homemade also allows you to control the ingredients and avoid sugars or artificial ingredients that may be found in store-bought loaves.
Can einkorn flour be used in sourdough?
Yes! You can make your own einkorn sourdough starter at home to use in this recipe. Einkorn can be used just like any other flour in sourdough. However, because of its lower gluten content, it doesn’t rise in the same way as traditional flour. It generally has a more nutty and rich flavor, which I really enjoy as well. Working with einkorn may take more practice but it is well worth it for the health benefits as taste.
Also, as a side note, you do not have to use 100% einkorn in your recipes. Sometimes combining einkorn flour with regular flour or another variety can produce great tasting loaves as well.
Why isn’t my einkorn sourdough bread rising?
If your einkorn sourdough isn’t rising, make sure you are using an active einkorn sourdough starter. It should be thick and bubbly, and pass the float test (a spoonful of starter should float in a cup of water). Before starting a bread recipe, feed your starter with 1 cup einkorn flour and 1/2 cup filtered water, let it sit, and wait until it passes the float test before starting bread.
Also, it is worth noting that einkorn flour generally doesn’t rise as much as regular flour bread does. This is due to the lower gluten content in the grain.
Is einkorn OK for gluten intolerance?
Many people can tolerate einkorn flour but not regular flour. That doesn’t mean that it’s OK for all gluten intolerant people. Always ask your provider what works for you and give einkorn a try if you are sensitive to gluten. It works for some people!
More einkorn recipes from the homestead
Sourdough Einkorn Peach Cobbler
Sourdough Discard Chocolate Muffins with Einkorn Flour
Pin it for Later
No-Knead Einkorn Sourdough Bread Loaf
Learn how to make no knead sourdough einkorn bread. Einkorn is a healthy ancient grain, that is higher in protein and lower and gluten. If you have an established sourdough starter you can make your own einkorn bread at home with this easy recipe and tutorial.
Ingredients
- 1 cup fed, active einkorn sourdough starter (note if you are using a regular flour sourdough starter, use slightly less starter, about 3/4 cup). The einkorn starter is fed 1 cup einkorn flour and 1/2 cup filtered water before starting this recipe.
- 1.5 cups warm filtered water
- 1.5 tsp course sea salt
- 4 cups einkorn flour
- Two pinches of extra flour, to be used in the shaping and baking process
Instructions
PHASE 1 – MAKE THE DOUGH (3 MIN)
Pour the fed and active einkorn sourdough starter and water into a large mixing bowl and whisk together with a fork. If you’re not sure if your starter is ready, do the “float test” described above.
Add the einkorn flour and salt. With clean hands, combine all ingredients for about 20 seconds until all the flour is cleaned off the sides of the bowl. The dough will feel sticky. Do not overdo it here.
Let the dough rest. Put a tea towel on top of the bowl and set on the counter for 30 minutes to an hour.
PHASE 2 – LIFTS AND TUCKS (1 MIN)
Sounds like an exercise routine, but it’s just some hand motions on the dough
Starting from one end of the dough, lift it up and fold it over itself into the center of the dough. Then rotate the bowl 90 degrees and repeat, until all sides have been lifted, tucked and folded. So, four times total.
Cover the bowl and let sit on the counter. Then, repeat the lifts and tucks 2 more times (for a total of 3 times), each about one hour apart. Now, don’t get too obsessed with this part. This is just creating nice volume in your bread. If you skip one or let two hours go by instead of one, it’s totally okay.
PHASE 3 – BULK FERMENT (30 SEC)
The easiest (and most important) phase!
Cover the bowl with saran wrap and then a tea towel on top. Place in the fridge and let sit overnight.
PHASE 4 – SECOND RISE (5 MIN)
Pull the dough out of the fridge and clear a spot on your countertop. On half the counter, sprinkle some flour and leave the other half clean with no flour.
Remove the dough from the bowl and place on the flour side. Do one more round of the lift and tucks to form your dough.
Remove the dough from the flour side, flip it over, and set it on the non-flour side. Form the letter C with your hands and use a cupping motion around the dough to create a ball. Rotate the ball with short rotations in a circle. You should have a dough ball that is easy to pick up and not sticky now. Add more flour if the dough is too sticky.
Grab a sheet of parchment paper and set the dough on the parchment paper.
Pick up the parchment paper and set the dough in a dutch oven. Cover with a tea towel and let sit on the counter for at least 2 hours.
PHASE 5 – BAKE THE BREAD (FINALLY!)
First, take your bread that was rising in the dutch oven out of the dutch oven.
Turn your oven onto 450 degrees F and place the dutch oven (empty) into the oven to preheat with it.
Once the oven is preheated, score your bread. Scoring is the process of creating a slit in the dough so that it can breath and rise in the oven. You can buy a special scoring knife to do this, but we just use a serrated knife and it works perfectly.
Create one or two slits in the bread with a serrated knife or bread lame. Or, try your own design. Here I did one large slit on one side followed by several tiny lines on the other side.
Carefully place the parchment paper with the bread on it inside of the dutch oven.
Cover the dutch oven and, with the bread inside, place it in the oven.
Bake for 25 minutes with the lid on, and then another 20 minutes with the lid off. Note: this time can vary depending on your oven and how crispy you like the outside of the bread. For less crispy, try 20 minutes lid on and 15 minutes lid off. Experiment until you get it just right!
THIS LAST STEP IS THE MOST IMPORTANT.
WHEN THE BREAD IS DONE, DO NOT CUT IT. You will be tempted to cut it open right away and devour it. I know the smell of freshly baked bread can be hard to resist, but don’t do it. We’ve done it and learned from our mistakes.
The bread needs to sit for an hour in order to finish cooking. If you place your ear right next to the bread, you can hear it crackling. Transfer it to a cooling rack so it can properly cool. Don’t worry, it will still be hot inside after an hour!
Notes
Sample Baker's Timeline
Saturday morning: Take starter out from the fridge and feed it. Let sit on the counter all day until it passes the float test (when a spoonful of starter floats in a cup of water).
On Saturday afternoon: Phase 1 – Make the Dough
Then Saturday lafter afternoon/evening: Phase 2 – Lift and Tucks
Saturday over night: Phase 3 – Bulk Rise
Sunday morning: Phase 4 – Second Rise
Sunday afternoon: Phase 5 – Bake the Bread

Leave A Comment