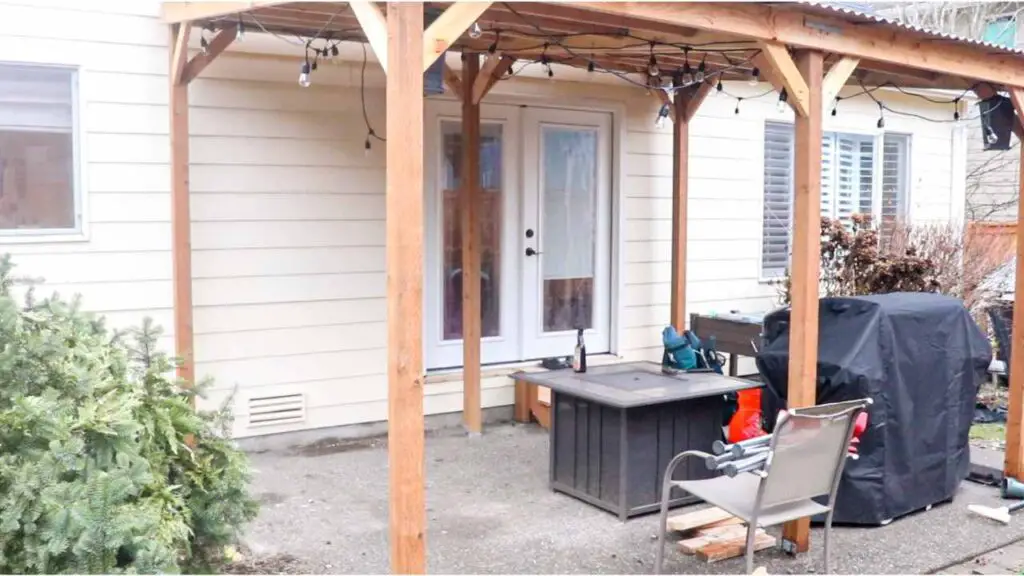
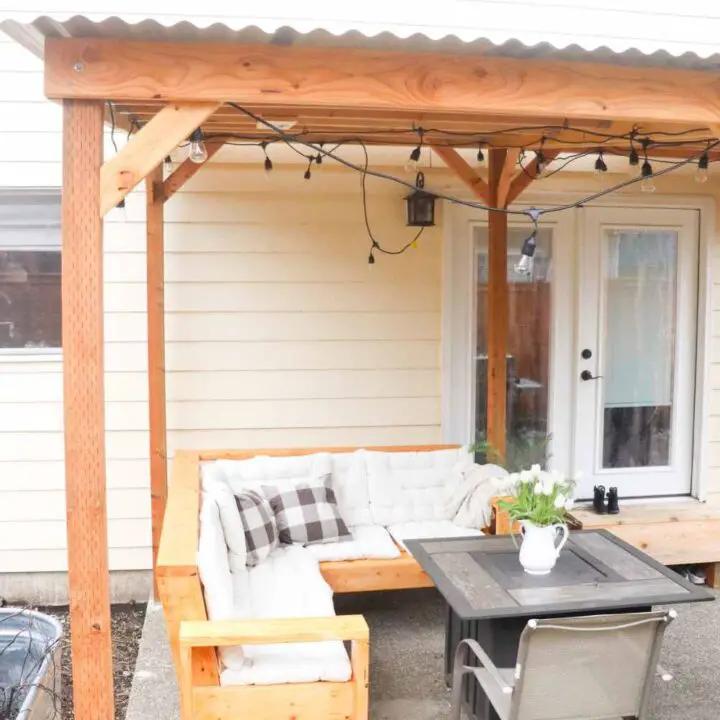
In this tutorial I’ll show you how we built our DIY freestanding wood patio cover. We needed this cover to be free standing and not attached to the house, but still close enough to keep us dry every time we opened our back door.
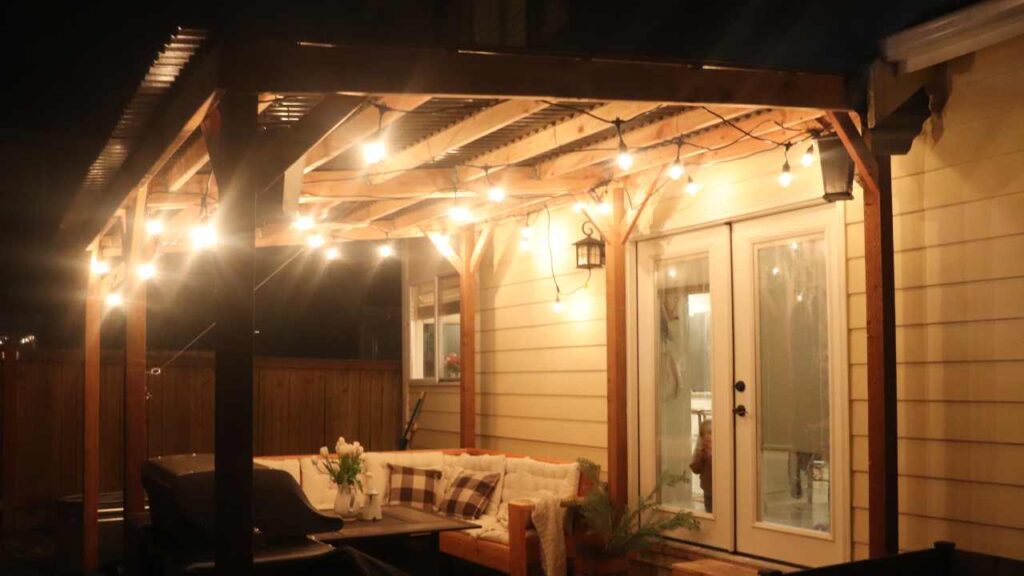
Read on to see how we built this freestanding patio cover!
PIN IT FOR LATER!
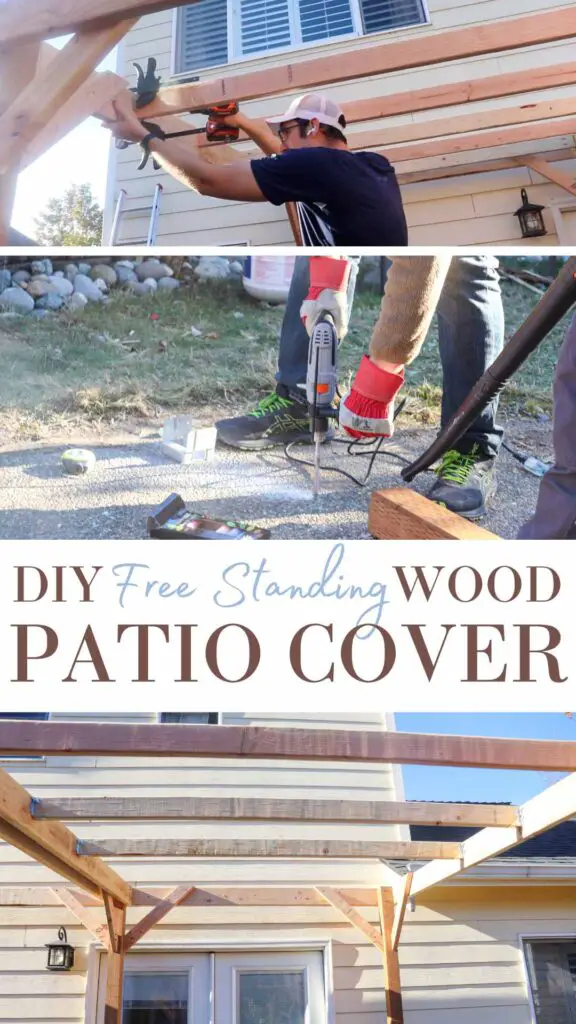
TURNING A DREAM INTO A REALITY
It’s a cold, rainy Tuesday evening as I write this and I’m looking outside our back windows onto the patio. Previously we had a poorly built wood deck back there (another story for another time), and there was no roofing or any water resistant cover whatsoever over it.
Long story short, we had to remove the deck entirely and found several things wrong with the backside of our house. The first project we had to tackle was rotten siding that needed replacing. Check out my YouTube channel to see how we did our DIY house siding replacement.
Then we noticed a large gap due to erosion underneath the concrete. So, John had to figure out a way to fill that before we could proceed with building the patio cover. Here’s our video of how to fix erosion gap under concrete.
Thinking of our end goal – our dream patio – helped us get through these unexpected projects. We looked forward to being able to open our back door and 1) not get rained on, 2) be able to barbeque in the snow or rain, and 3) be able to keep things like shoes and a firepit outside without having them exposed to weather and the elements.
The other big requirement with our new wood patio cover was that it could not be attached to our house. Attaching it would require us going to the county for permits, which is a much more complicated process.
INTERESTING HOME QUIRKS
The biggest problem with our current setup is that we don’t have a mudroom. So the door that opens to the patio also opens inside to the dining room/kitchen area. Meaning, if you come in through the outside door into the house with shoes on, you’re stepping directly into the kitchen and bringing mud and chicken coop scraps with you. That’s gross. There has to be some intermediary between the outside and in the inside, right?
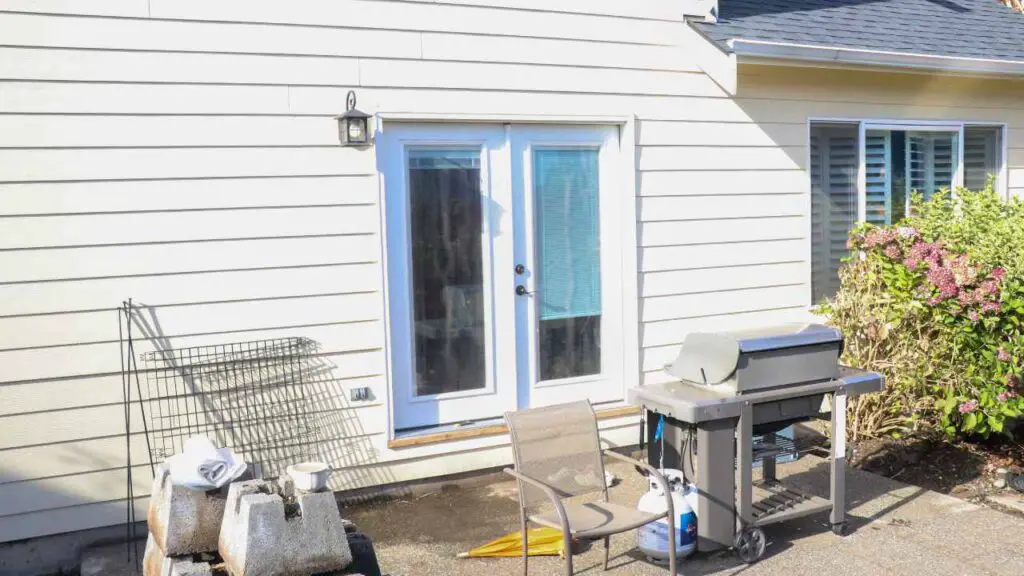
In my opinion, the fact that our house was even built without a covered back door and/or mudroom really confuses me. I mean, who likes to open their back door only to get rained on? You need some kind of water resistant cover just to keep your shoes dry, at least. And how is a family, especially with kids, supposed to function without a room to keep shoes and jackets in? These are the questions it’s best to just not ask yourself! 😉
FOLLOW ALONG WITH THE PATIO MAKEOVER SERIES
Our first step in the patio makeover was to remove the existing rotten deck.
Once we removed the deck, we noticed rotten and destroyed siding on the side of our house. After getting quoted $30,000 to redo our siding, we decided to just do it ourselves. Check out my post on How to Remove and Replace Siding.
Just when we thought we were ready to start building the wood patio cover, we noticed a large gap under our concrete. We had someone out to look at it and they said it was due to erosion. So we figured out a way to fill the gap with poly foam. Here is a post on how to fix gap under concrete due to erosion.
We were finally ready to build the patio cover, but our city does not allow anything to be built/attached to the house without a permit. The exception to this is if it is not attached to the house. So we decided to go this route. That brings me to this blog post, the first building project: our DIY freestanding patio cover!
The next thing on the list is DIY couches. So there’s your spoiler alert, that’s coming next week!
This post contains affiliate links, which means I may make a small commission off items you buy at no extra cost to you. As an Amazon associate, I earn on qualifying purchases. See my full disclosure here.
Materials & Plans
3/8 inch soft wood drill bit (for the lag screws)
Exterior galvanized decking screws
TOOLS NEEDED
Working gloves (John’s favorite are an impact-resistant glove from our local Ace Hardware)
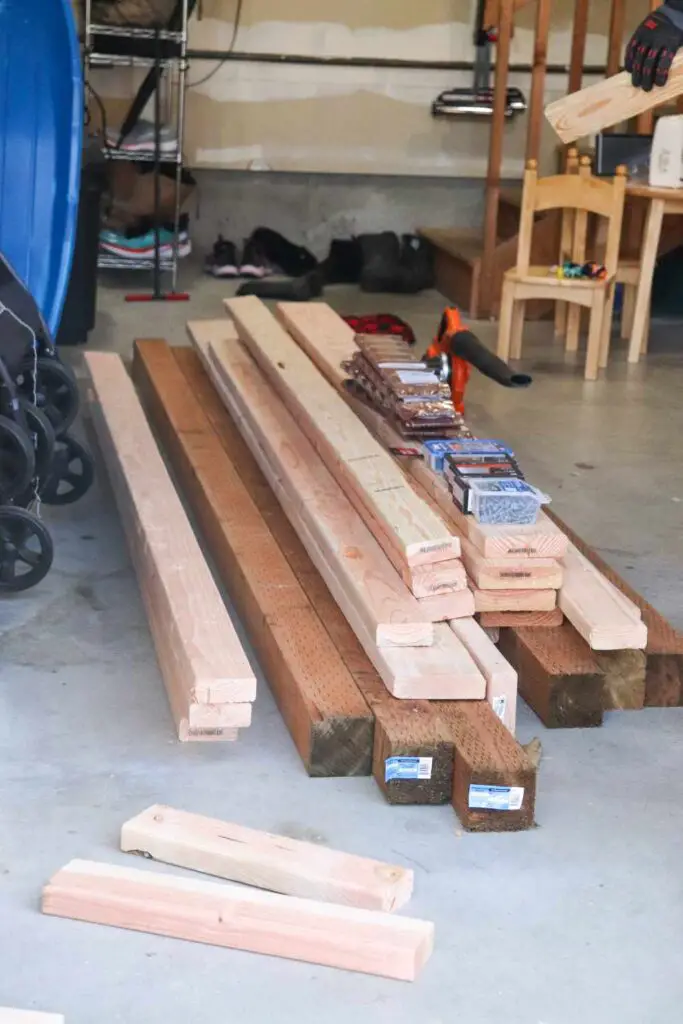
HOW TO BUILD A FREESTANDING PATIO COVER
There was an existing concrete aggregate slab patio, most likely poured when the house was built. We decided to keep this, and anchor the patio roof to this slab in order to make it more secure and wind resistant.
First, measure the dimensions of where you want the patio base frame to sit. We used a pre-templated plan from Etsy, so we already knew the dimensions we were working with.
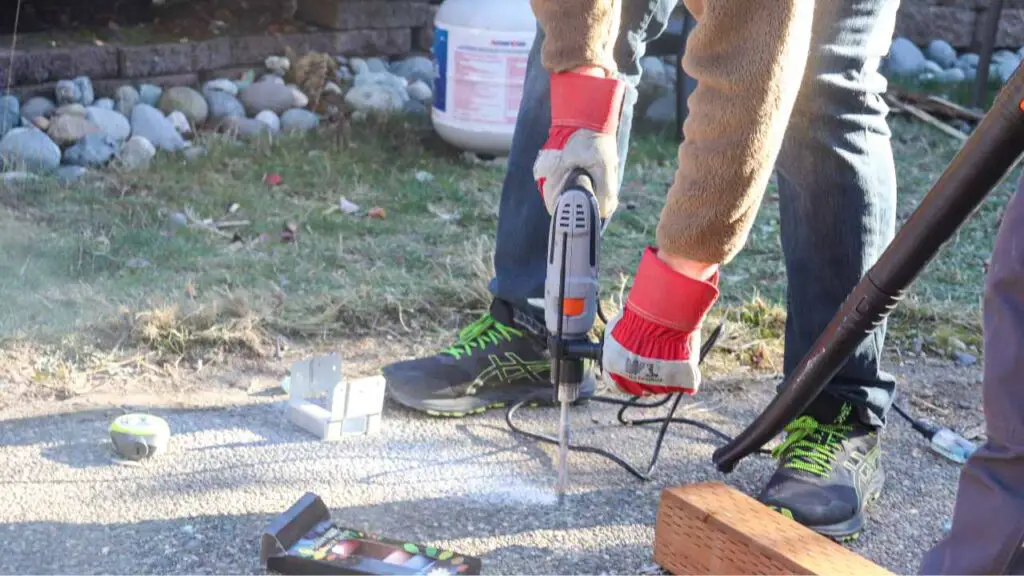
Mark the location of the frame posts on the aggregate slab with chalk. Measure again.
Use a hammer drill with a 1/2″ masonry bit to drill holds into the concrete where the center of each post will go (make sure this is correct, as you only get 1 shot to make it right!).
When drilling, back your drill out every pass. It helps to wear a mask, gloves, and goggles, and have someone hold a leaf blower to blow the dust away from the hole.
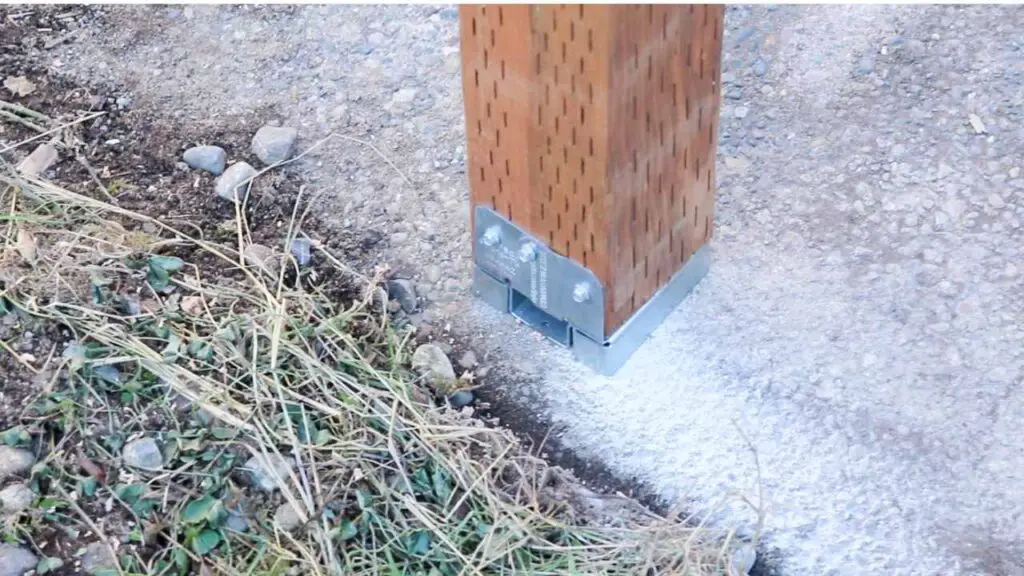
Once all the holes are drilled, place your Zmax 4×4 post holders in each location. Next grab your 3″ length 5″ diameter concrete anchors and hammer these into the center of each Zmax post holder. Leave a little bit of room at the top for the nut you’ll need to fasten, using a socket wrench to synch the post holder into place. The length of the concrete anchors you buy will be dependent on the depth of the concrete slab you have at your house. We just matched up the depth of the slab to the length of the anchor we needed.
DIY Patio Cover Tutorial, Cont.
Build your patio cover. These are the plans we used on Etsy.
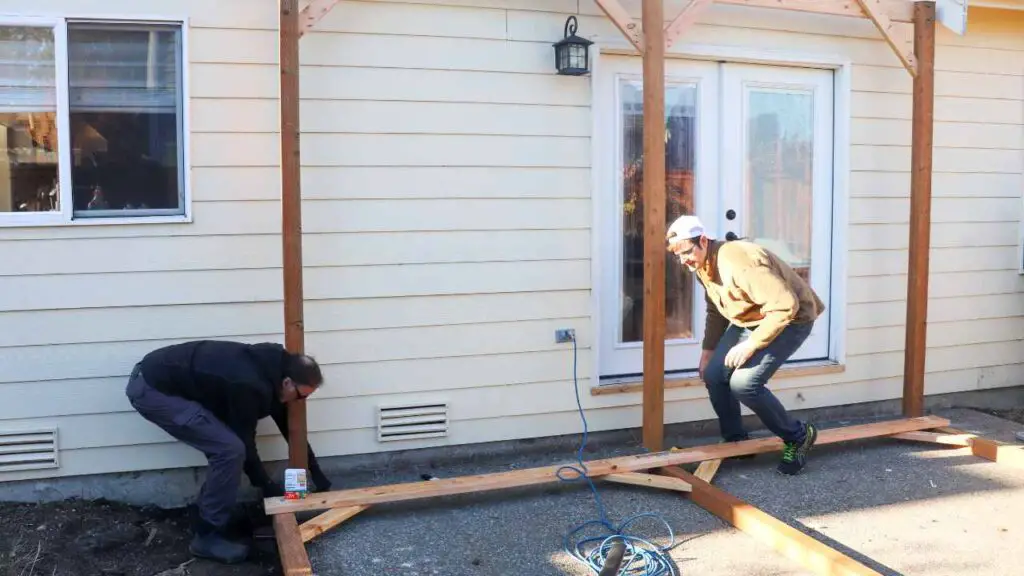
Once all the post holders are anchored, its time to frame up your patio cover. Here is where it helps to have two sets of hands to make sure everything is framed, and leveled correctly. I choose to add extra layers of safety to the plans we bought. At each frame joint I added a 3/8 lag screw for additional holding power. Additionally at every purlin location I added a Zmax rafter 2×4 hanger. I did this because we experience some snow occasionally and I wanted to make sure the roof was extra safe.
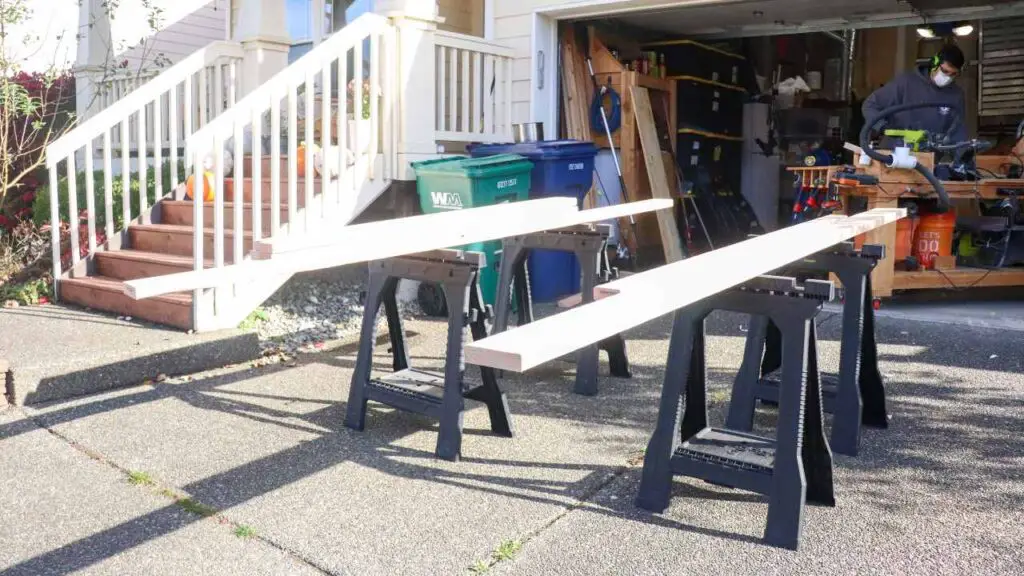
After all of the framing is complete its time to add the roof.
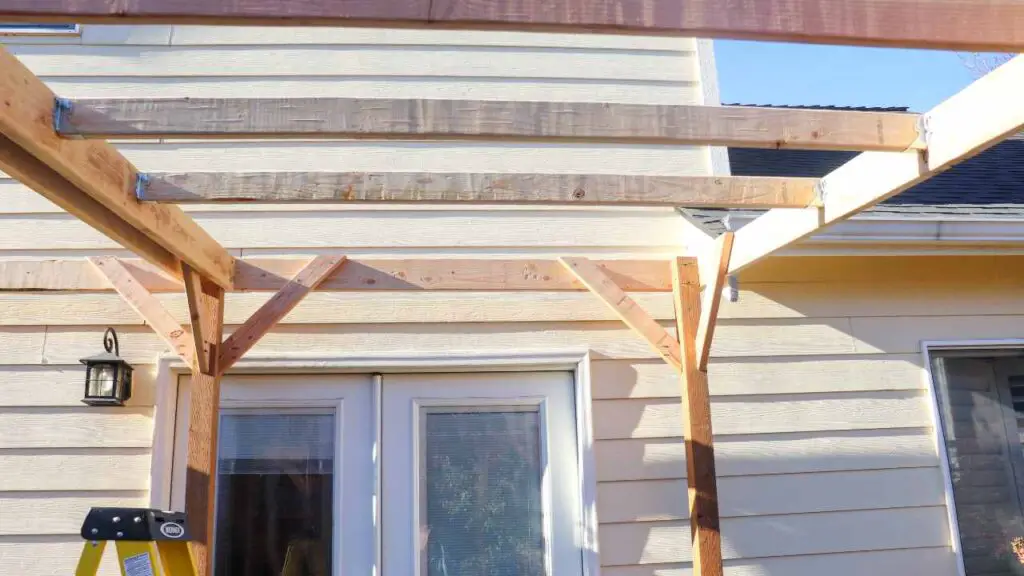
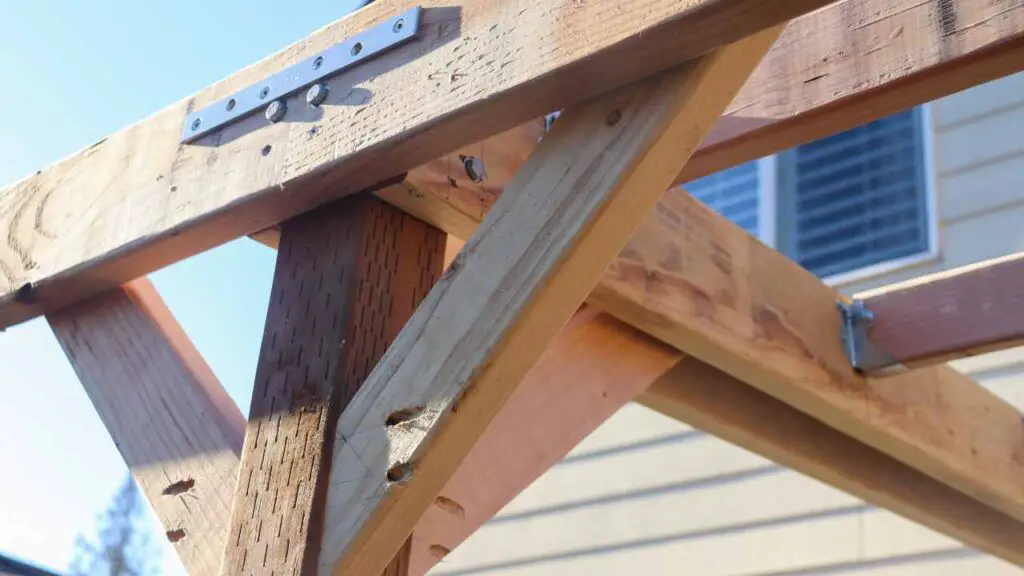
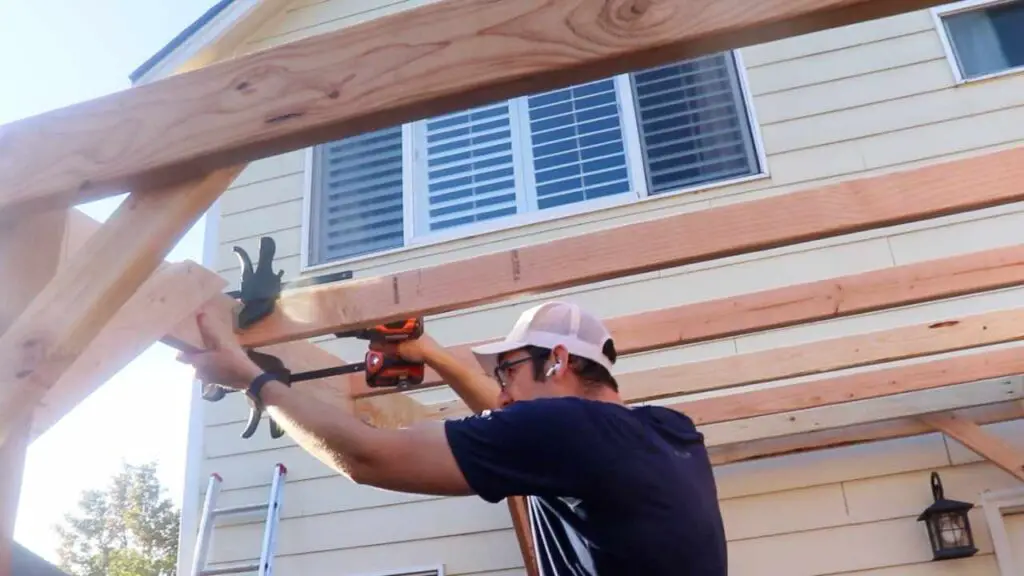
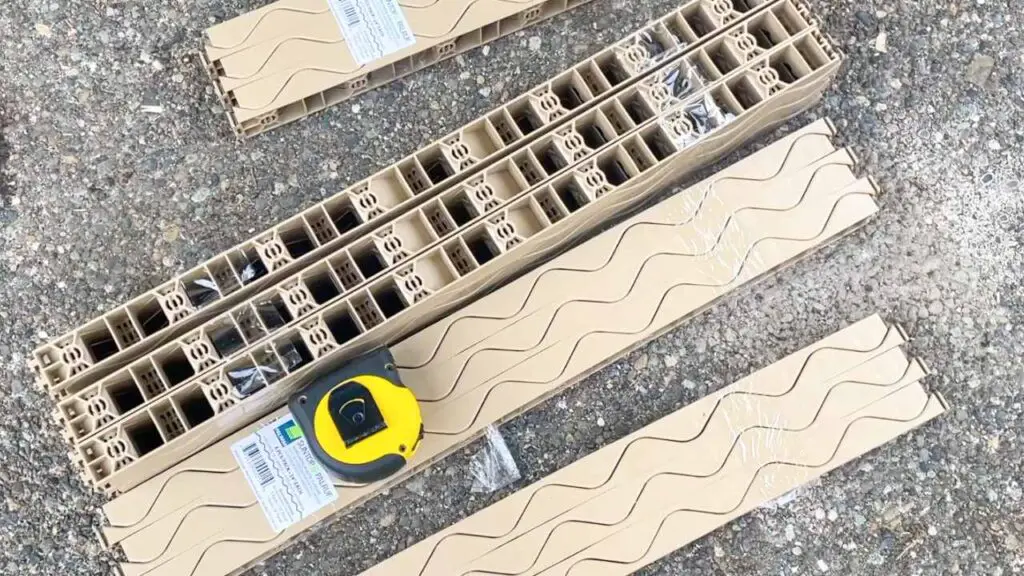
We went with a polycarbonate roofing panels from Home Depot. You’ll need to overlap the panels about 7″, so account for this in planning for how much material you need. The roof manufacturer had screws we could use as well as spacers to place on the purlins to make sure the roof was fastened and lined up correctly. We bought all of these materials at Home Depot.
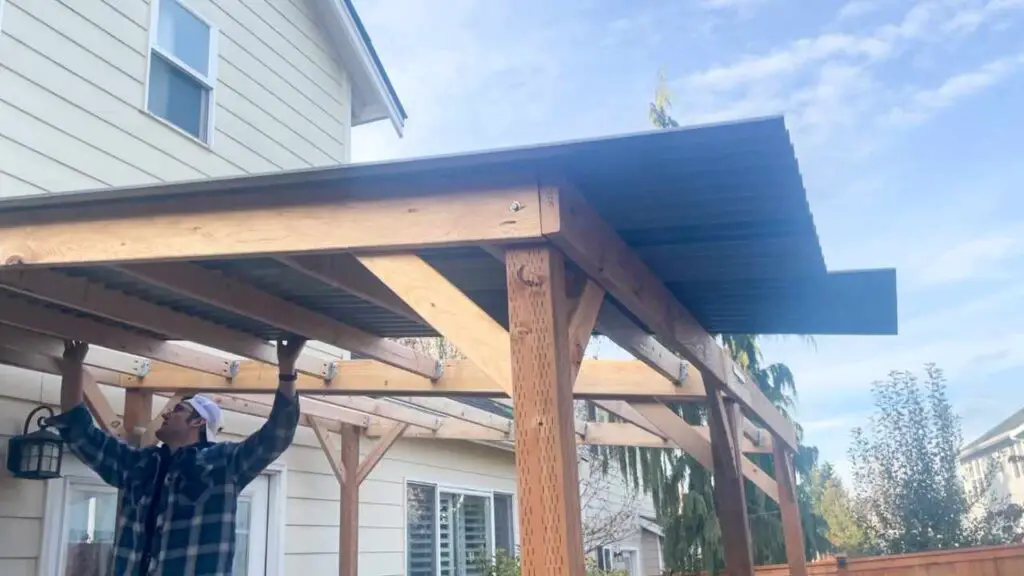
We also got these roofing panel spacers, which help keep the panels spaced appropriately.
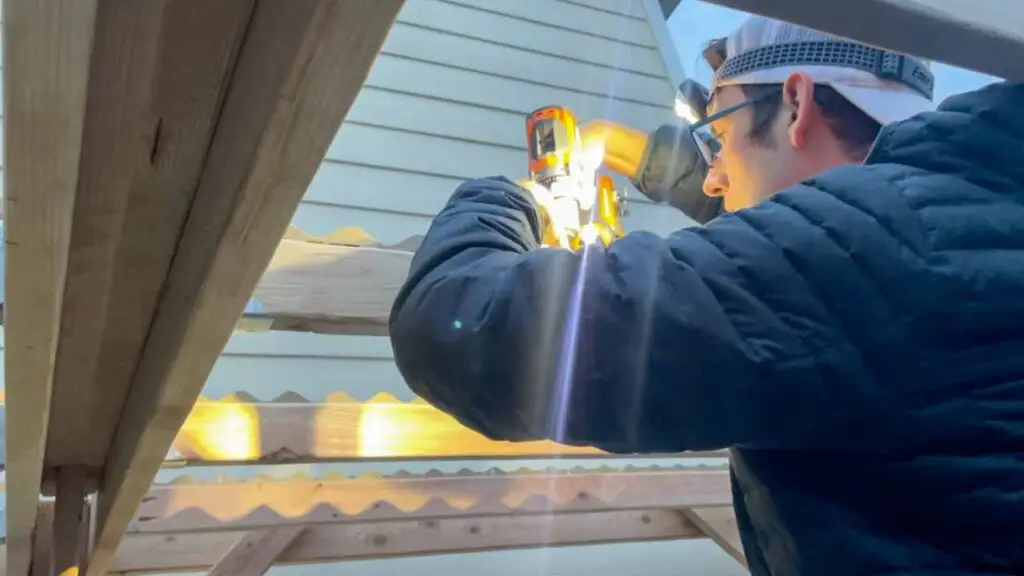
Once the roof is on, it’s time to seal any exterior facing soft wood using linseed oil. We did this to extend the life of the roof, as we experience a lot of wet weather where we live.
FAQ
What is the cheapest way to cover a backyard patio?
The cheapest way is to build a patio cover yourself. We looked online at Home Depot and Costco patio covers and found that they were thousands of dollars. You can find a built-it-yourself gazebo from Costco for about $2,000, and at Home Depot they are $3-4,000. Yikes! And a pergola may be less expensive, but it doesn’t provide as much protection from the elements. So yes, no doubt the cheapest way is to build one yourself.
Now you can also search Amazon for patio covers and there are some tent-like structures you can get. We looked in to these and found that they just weren’t going to last throughout the seasons. We didn’t want something that had to be taken down every winter. In fact part of the reason we needed the cover was to protect us during winter (as opposed to a sun shade type cover). So for us, we knew we needed a more permanent structure.
The only cost of this patio cover was the materials and plans, which were very cheap. Even if we did buy one of the cheap Amazon covers, it would still be a couple hundred dollars. So we would rather spend that money on materials for a permanent structure.
PIN IT FOR LATER!
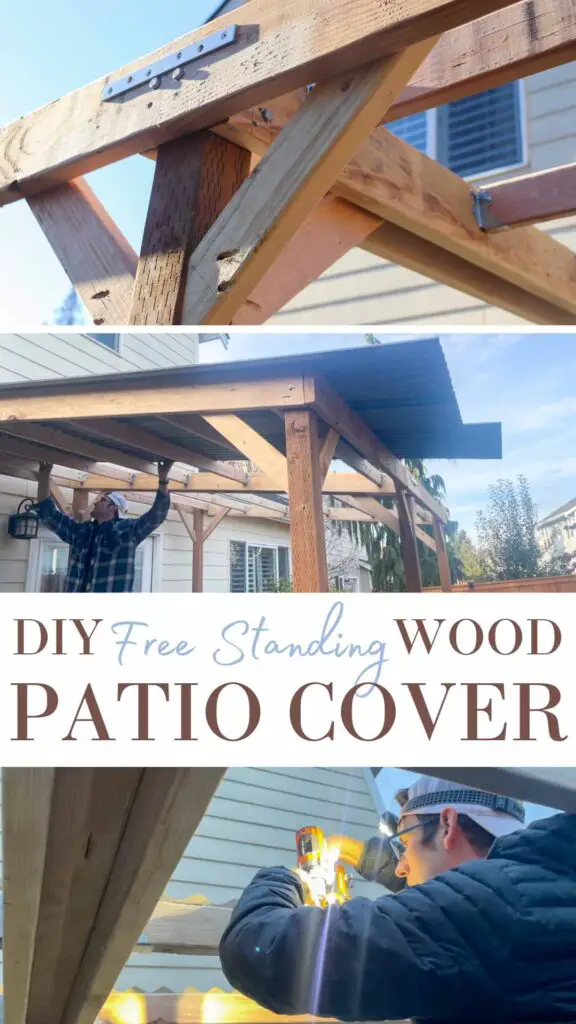
DIY FreeStanding Patio Cover
You save thousands of dollars by building your own patio cover, so it's definitely economical. Learn how to build a DIY freestanding patio cover in this simple tutorial.
Materials
- Patio Roof Plans
- Zmax 4x4 post anchors
- Zmax 2x4 rafter hangers
- 3/8 inch soft wood drill bit (for the lag screws)
- 1/2 inch masonry bit
- Pocket hole screws
- Exterior galvanized decking screws
- Poly carbonate roofing panels
- Roofing panel spacers
Tools
- Hammer drill
- Power Drill
- Miter saw
- Working gloves (John’s favorite are an impact-resistant glove from our local Ace Hardware)
Instructions
- Measure the dimensions of where you want the patio base frame to sit. We used a pre-templated plan from Etsy, so we already knew the dimensions we were working with.
- Mark the location of the frame posts on the aggregate slab with chalk. Measure again.
- Use a hammer drill with a 1/2" masonry bit to drill holds into the concrete where the center of each post will go (make sure this is correct, as you only get 1 shot to make it right!).
- When drilling, back your drill out every pass. It helps to wear a mask, gloves, and goggles, and have someone hold a leaf blower to blow the dust away from the hole.
- Once all the holes are drilled, place your Zmax 4x4 post holders in each location. Next grab your 3" length, 5" diameter concrete anchors and hammer these into the center of each Zmax post holder. Leave a little bit of room at the top for the nut you’ll need to fasten, using a socket wrench to synch the post holder into place. The length of the concrete anchors you buy will be dependent on the depth of the concrete slab you have at your house. We just matched up the depth of the slab to the length of the anchor we needed.
- Build your patio cover. These are the plans we used on Etsy.
- Once all the post holders are anchored, its time to frame up your patio cover. Here is where it helps to have two sets of hands to make sure everything is framed, and leveled correctly. I choose to add extra layers of safety to the plans we bought. At each frame joint I added a 3/8 lag screw for additional holding power. Additionally at every purlin location I added a Zmax rafter 2x4 hanger. I did this because we experience some snow occasionally and I wanted to make sure the roof was extra safe.
- After all of the framing is complete its time to add the roof.
- We went with polycarbonate foam roof panels from Home Depot. You’ll need to overlap the panels about 7", so account for this in planning for how much material you need. The roof manufacturer had screws we could use as well as spacers to place on the purlins to make sure the roof was fastened and lined up correctly.
- We also used roofing panel spacers, which help keep the panels spaced appropriately.
- Once the roof is on, it’s time to seal any exterior facing soft wood using linseed oil. We did this to extend the life of the roof, as we experience a lot of wet weather where we live.


Leave A Comment