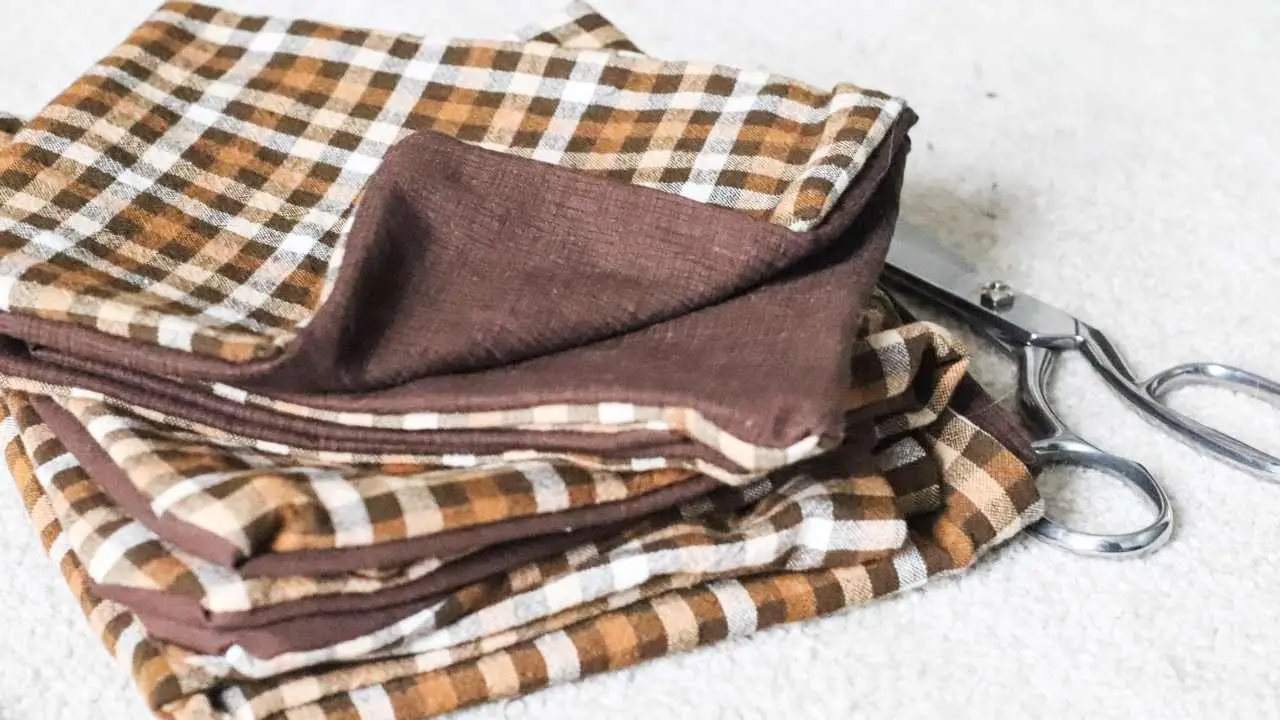
I am surprisingly confident about sharing this beginner cloth napkin sewing tutorial since I only starting sewing about a year ago. Never did I think I would be blogging about sewing, but it turns out it’s just not as hard as I made it out to be. You can make these beautiful and classic handmade napkins for your Thanksgiving table, too! Join me as I share with you this easy double sided cloth napkin tutorial.
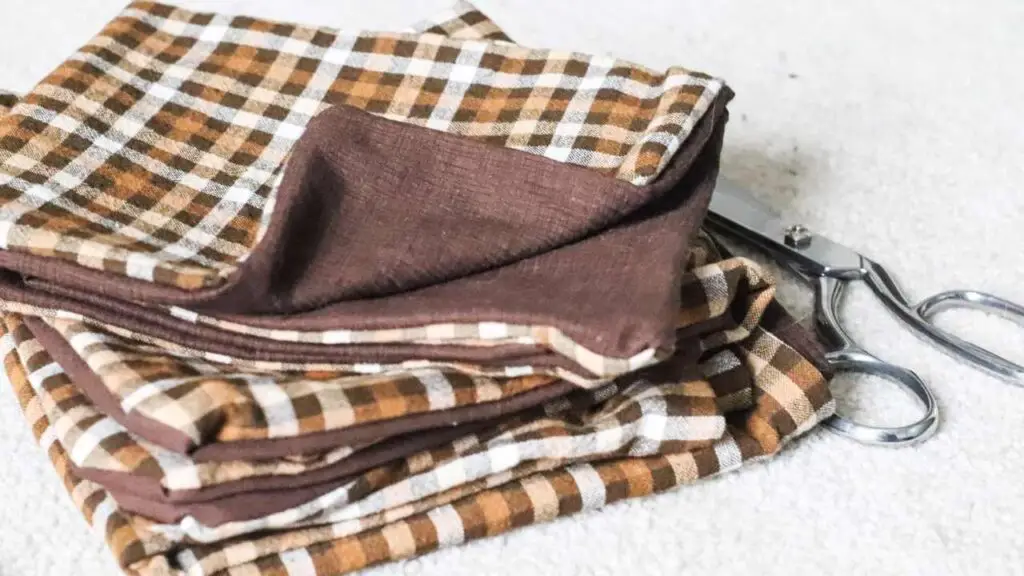
II am surprisingly confident about sharing this beginner cloth napkin sewing tutorial since I only starting sewing about a year ago. Never did I think I would be blogging about sewing, but it turns out it’s just not as hard as I made it out to be. You can make these beautiful and classic handmade napkins for your Thanksgiving table, too! Join me as I share with you this easy double sided cloth napkin tutorial.
This post contains affiliate links, which means I may make a small commission off items you buy at no extra cost to you 🙂 As an Amazon affiliate, I earn on qualifying purchases.
Pin it for Later!
A Time to be Thankful
I am always trying to make sure I get my priorities in line on a daily basis. Sometimes I feel like work gets the upper hand, and other times I feel like the house chores take over. So occasionally I like to stop and think about what needs my attention the most at this moment.
Today as I type this it’s currently Veteran’s Day! And I had one of these moments today because my husband, John, served 8 years in the military. He was stationed out in the East Coast shortly after we met and we were friends while he served 2 deployments (actually we were married for one of them).
So before typing this blog post (of course, blogging is a priority for me too these days), I made up a really cute Happy Veteran’s sign to tape to his computer. I included a couple pictures from when I welcomed him home from a deployment (his last one ever) and from some military balls. One of those moments that brings a tear to your eye but also thankful that you are in a better place now.
So a bit of a sentimental tangent but all of this to say that I am incredibly thankful for every aspect of my life. Sometimes I think about how thankful I am for my husband John but I don’t actually tell him, so I need to be more vocal about that more often.
What are you thankful for this Thanksgiving? Let me know in the comments below!
Fabrics Used
Sewing Equipment Needed
Standard Sewing Machine (I have this one)
Iron
How to Sew Double Sided Cloth Napkins
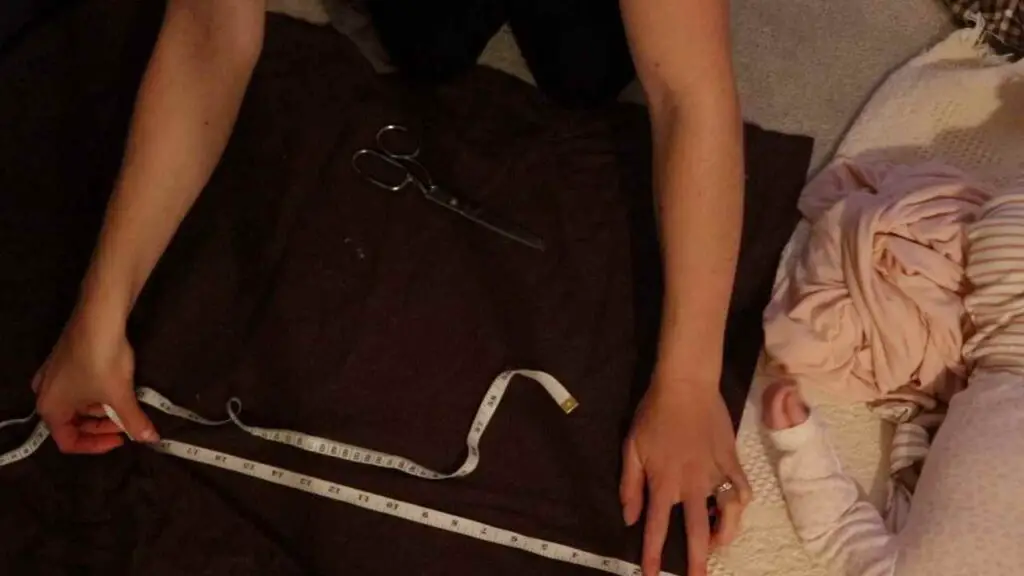
Cut your fabric squares. I used a standard 18″ by 18″ square measurement, but you could also customize that. Since each napkin has two fabrics and I’m making four napkins, I cut out 8 total squares at 18×18 inches.
Place one square from fabric 1 on top of the square from fabric 2, putting the “right sides” facing each other. If you’re a new sewer, the “right sides” are the two sides that will eventually face outwards. In other words, right now your napkin is inside out.
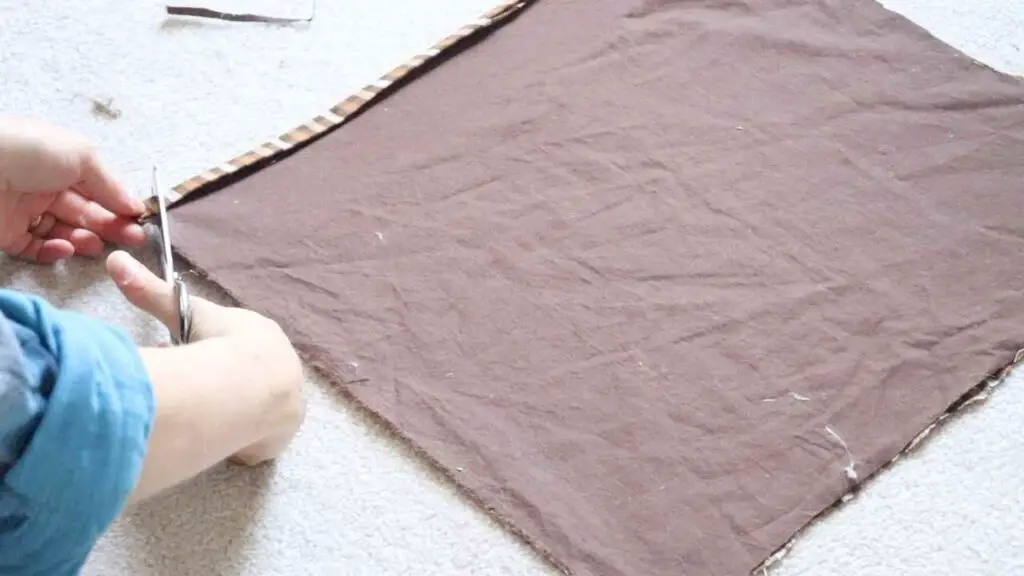
Trim off any excess fabric around the edges so you have clean lines. (I don’t know about you but my lines are never that clean!)
Cut the corner edges off of all 4 corners. This is optional, but it allows the napkin to fold better and lie more flat once you’re done.
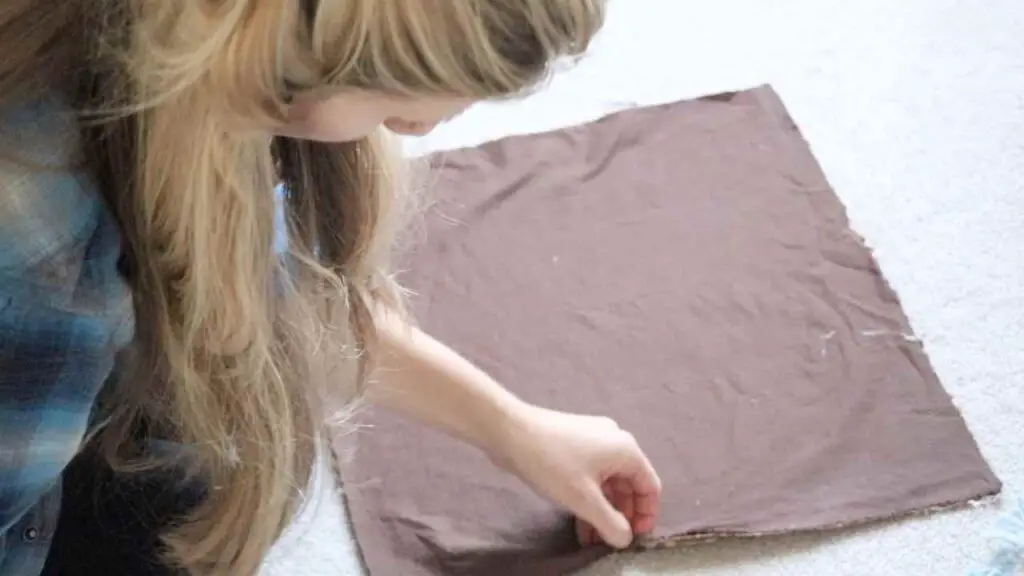
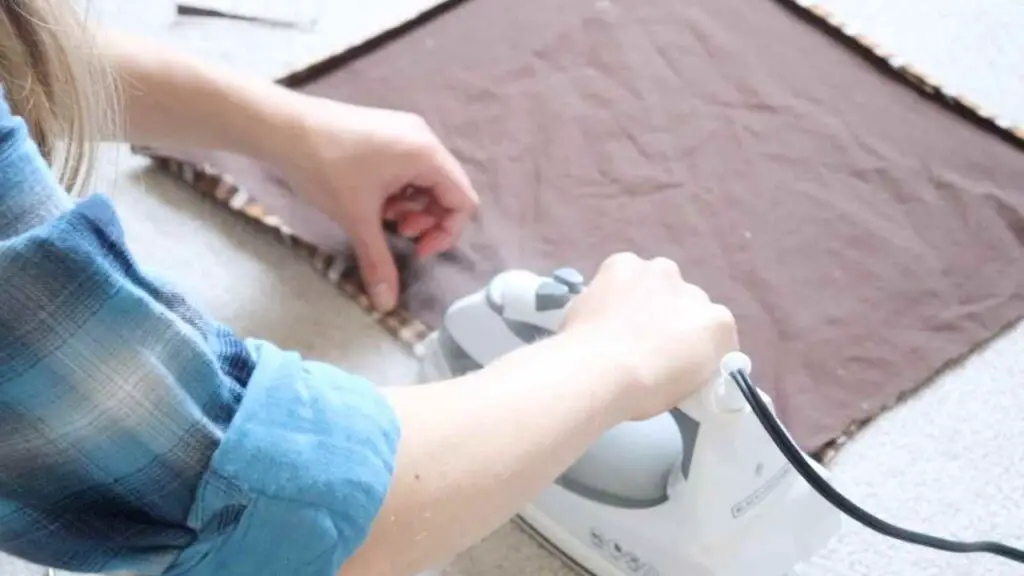
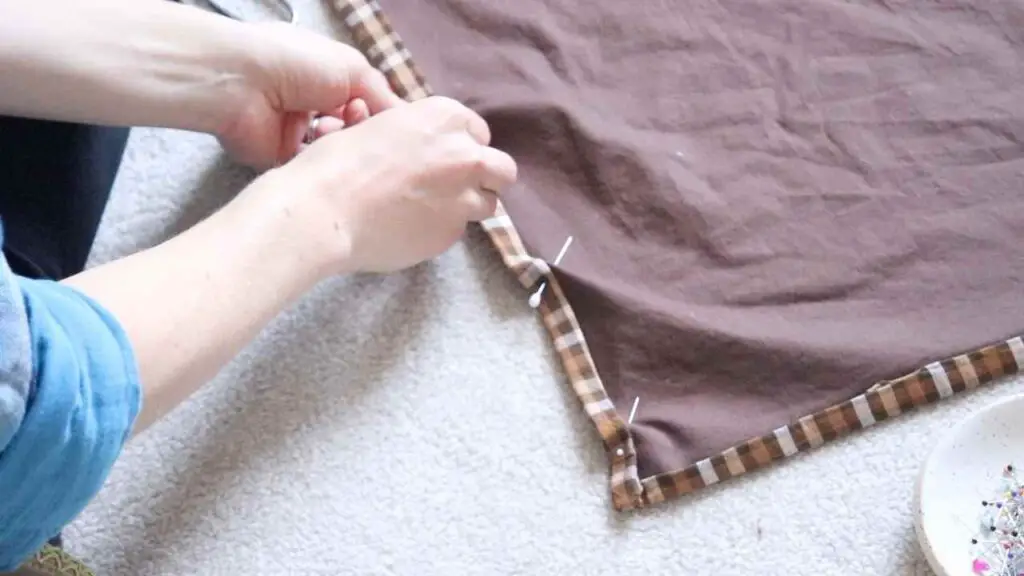
Fold over each edge a quarter inch, and then another quarter inch. Use an iron to flatten as you fold. Pin the edges in place all around the napkin.
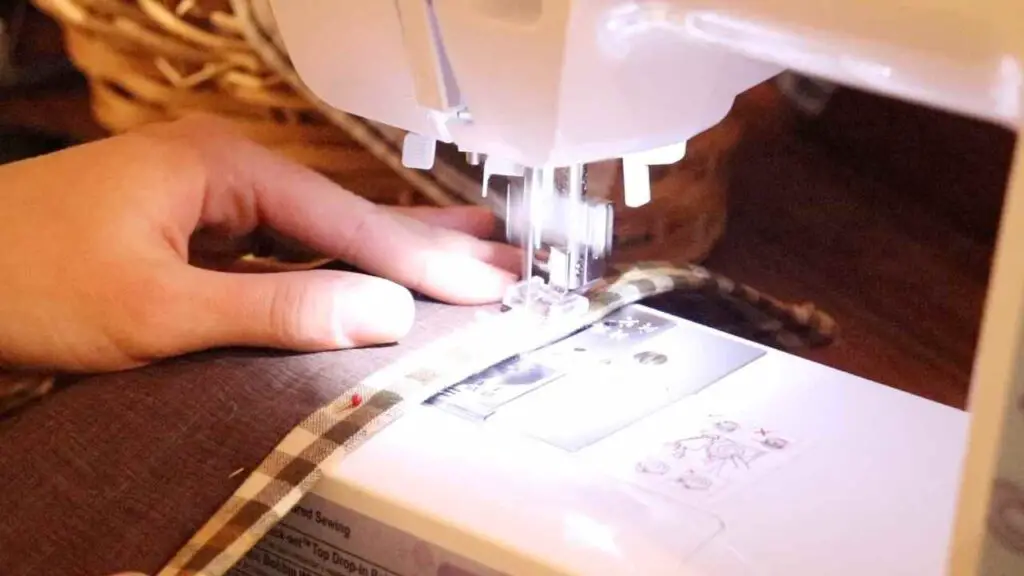
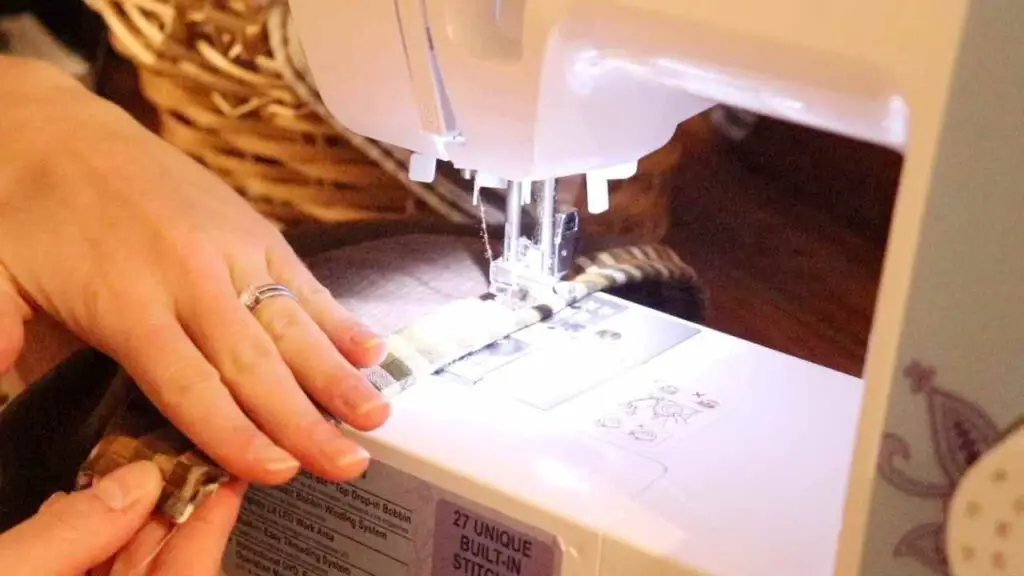
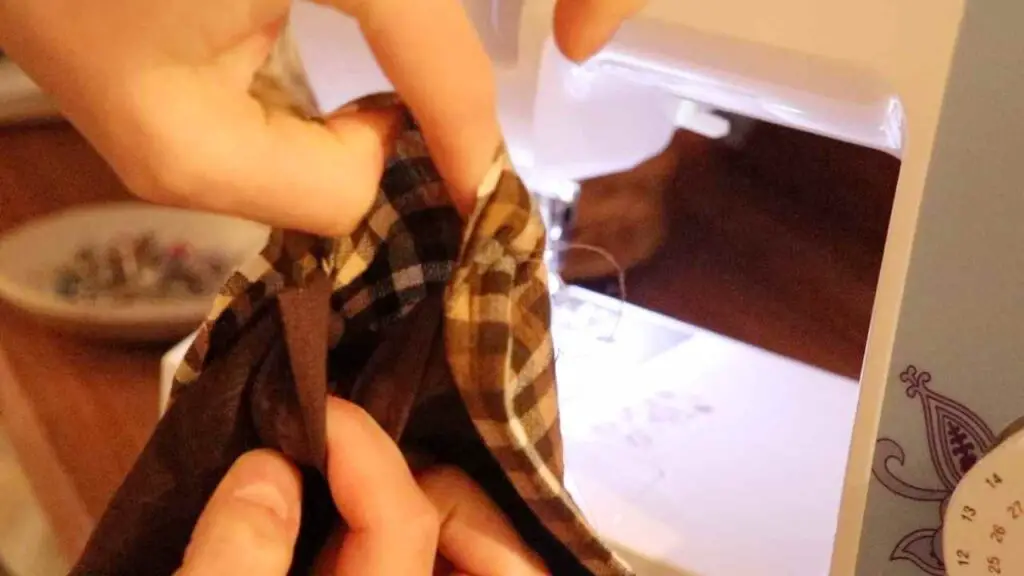
Sew along three edges, removing the pins as you go. Make sure you backwards and forwards stitch at the beginning and end to seal in the stitches. When you get to the 4th edge, stop about 3/4ths of the way down. Leave the remaining un-sewn (it should be about 4 fingers worth of un-sewn edge) Reach inside and flip your napkin inside out.
To close the napkin now, topstitch along the unfinished edge. Topstitching is basically just sewing over part of the “right side” of the fabric. In this case you will see the stitches on the outside of the napkin.
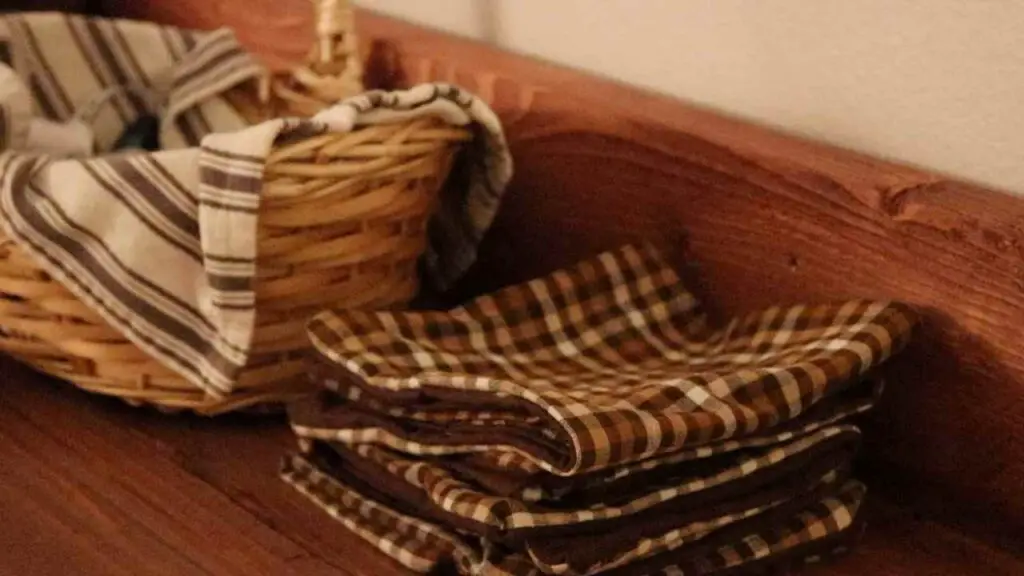
Repeat the above steps to create the remaining 3 napkins.
Tips for Sewing Cloth Napkins
Be sure to wash and dry your fabric before sewing. This helps prevent the project from shrinking at different rates later on, especially if you’re using two different fabrics.
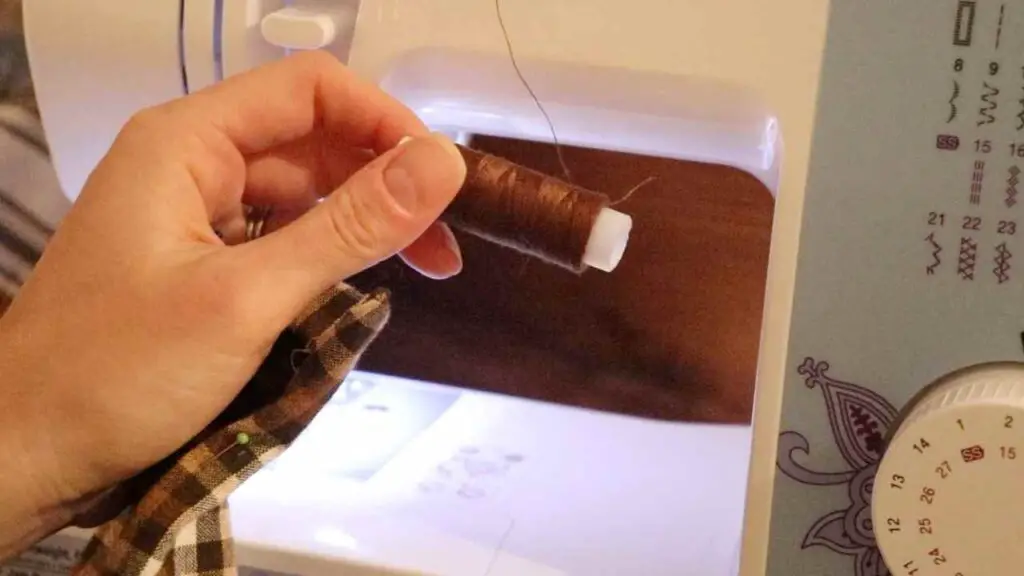
Use a thread color that matches your napkins. I’m the kind of person who sews with white thread no matter what color my project is because it’s just easier. But for these napkins I didn’t like how the topstitch looked, so I changed to the brown thread. Remember to swap the thread out on top and on your bottom bobbin, or else you’ll see your old bobbin’s thread poke through on the under side of your stitches.
If you’re in a pinch for time (or you can only sew when your baby is sleeping like me!), you can break the project up into steps. For example, cut all your fabric on one day, then pin it the next. Then do the sewing during your next free hour. That’s how I get basically all of my projects done 😉
More DIYs from the Farmhouse
How to Refinish an Antique Dresser
DIY Farmhouse Dining Table with Plans
Simple Farmhouse Thanksgiving Tablescape
An Old World Farmhouse Christmas Tour
Easy Double Sided Cloth Napkins
These handmade double sided cloth napkins are the perfect touch to your farmhouse table. Choose two of your favorite fabrics to make these napkins for yourself or as a gift this holiday season!
Materials
- Two Patterns of fabric, 4 squares in each pattern, each square cut into 18x18 inch pieces
- Brown Solid Fabric i used
- Brown Plaid fabric I used
Instructions
- Cut your fabric squares. I used a standard 18" by 18" square measurement, but you could also customize that. Since each napkin has two fabrics and I'm making four napkins, I cut out 8 total squares at 18x18 inches.
- Place one square from fabric 1 on top of the square from fabric 2, putting the "right sides" facing each other. If you're a new sewer, the "right sides" are the two sides that will eventually face outwards. In other words, right now your napkin is inside out.
- Trim off any excess fabric around the edges so you have clean lines. (I don't know about you but my lines are never that clean!)
- Cut the corner edges off of all 4 corners. This is optional, but it allows the napkin to fold better and lie more flat once you're done.
- Fold over each edge a quarter inch, and then another quarter inch. Use an iron to flatten as you fold. Pin the edges in place all around the napkin.
- Sew along three edges, removing the pins as you go. Make sure you backwards and forwards stitch at the beginning and end to seal in the stitches. When you get to the 4th edge, stop about 3/4ths of the way down. Leave the remaining un-sewn (it should be about 4 fingers worth of un-sewn edge) Reach inside and flip your napkin inside out.
- To close the napkin now, topstitch along the unfinished edge. Topstitching is basically just sewing over part of the "right side" of the fabric. In this case you will see the stitches on the outside of the napkin.
- Repeat the above steps to create the remaining 3 napkins.
Notes
Be sure to wash and dry your fabric before sewing!
Share it on Pinterest!
Leave A Comment