I meant to write this post a long time ago, but you know I just kind of procrastinated and here we are. Lots of people ask about this chicken coop so I’m excited to write a post about it. Learn how to build a chicken coop that meets all your small farm dreams, and the girls love it too.
Watch: How to Build a Cute Backyard Chicken Coop
Add to your Pinterest Board!
The Story of our Chickens
I will never forget the day that I went into my old office in town and saw three beautiful hens in the parking lot looking totally lost.
We still don’t know the story behind them, but however they got there sure made us happy because it meant we got three beautiful, healthy birds.
It would have been helpful to know a thing or two about chicken keeping, which neither John nor I did. But hey, that’s huge world called the internet is for right?
So of course this happened during a week when John was traveling for work, so I was by myself and took home three chickens. Never even having touched a chicken before, I was a little nervous but soon realized I had nothing to fear. These were the sweetest animals ever.
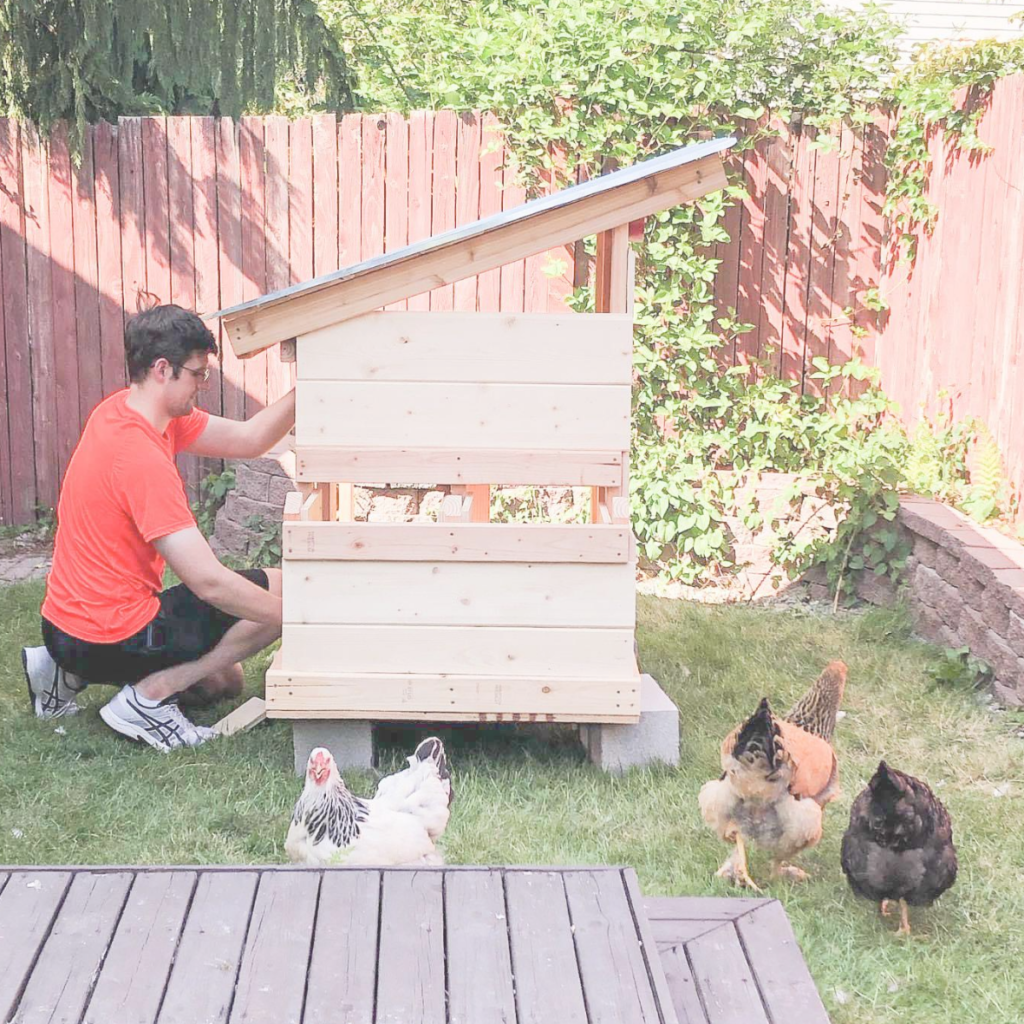
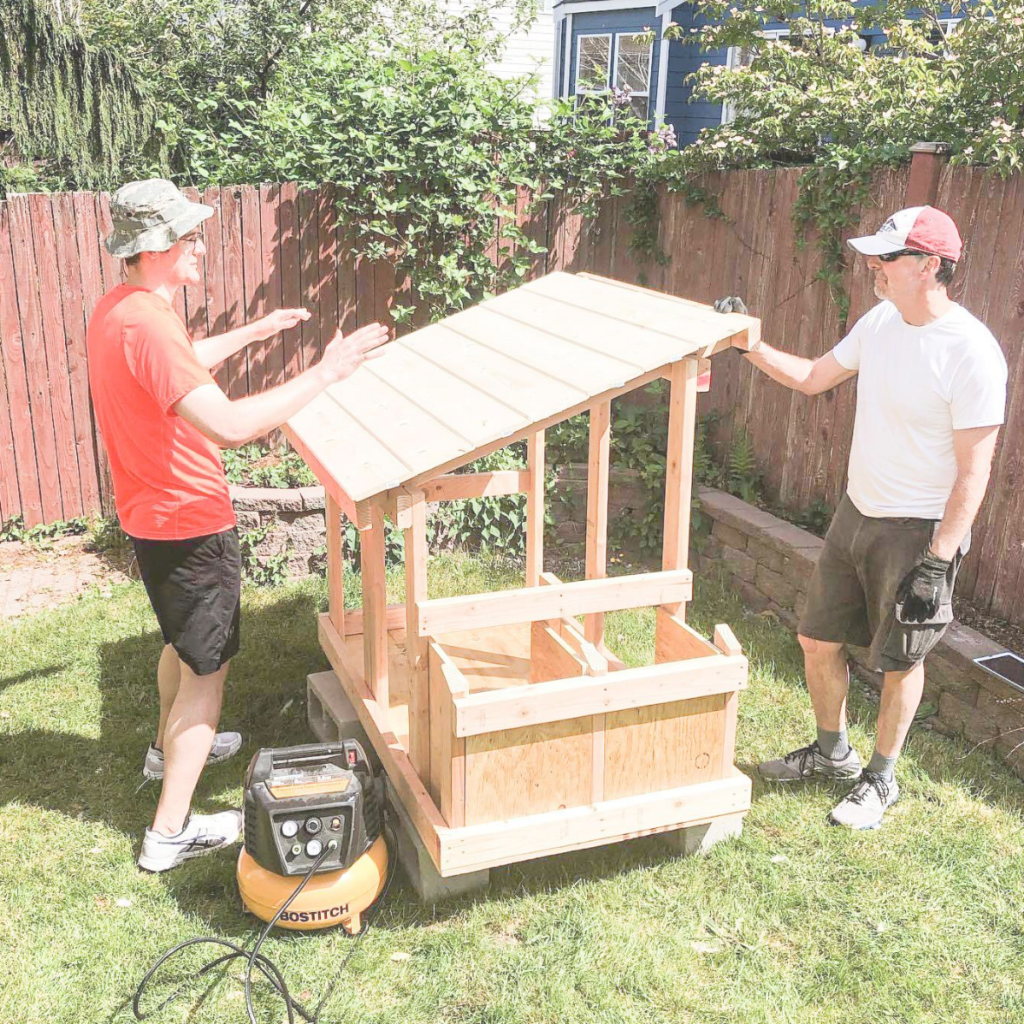
I took care of the chickens in our garage by myself for several days until John could get home and build a chicken coop.

I have to give my husband such major props here. This guy was up for a late night home depot run (still even has his work badge on) and is currently picking up all the fallen over wood from the cart in the parking lot. I am a very lucky gal.
What kind of coop do you need?
Before diving in to how we built this coop with plans we bought on Etsy, I want to say that this coop only holds a few birds. So if you just bought your dream 10 acre lot and want 50 chickens, this probably isn’t the coop for you (although it would be a great house to store baby chicks or sick hens!)
If you’re like us and your city only allows you 3 chickens, so of course you’re going to get 3 chickens, this is a perfect coop for you!
Materials Needed
2×4 wood. Cedar holds up best in all weather, but is more expensive. We use pine, and then added a weather-proof coating to the outside.
Shiplap for decoration
Plywood and metal for the roofing
Chicken wire for air flow into the front window
More 2x4s and chicken wire for the run depending on your custom size
We also used plastic roofing for the run to provide a covered area for rainy or snowy days.
For the finishing touches, we used simple sliding locks from Home Depot to close both doors, and white farmhouse outdoor paint for the wood.
Tools Used
We used a miter saw and circular saw to cut the wood and drill bits for the holes. This project also requires a nail gun in order to attach the wood ship lap to the coop frame.
Changes we made to the Plans
We followed these plans to build our chicken coop.
After the chickens used the coop for a while we realized they weren’t getting up to the roosting bar. We think it’s because they are too big and don’t have enough landing or take off space to fly up to it. So we moved the bar down to about 2 inches off the floor and that works better for us.
The plans call for a side door with a ramp off the side of the coop. We moved the door a little bit more to the middle of the wall and used it as an entrance to our custom run that we built.
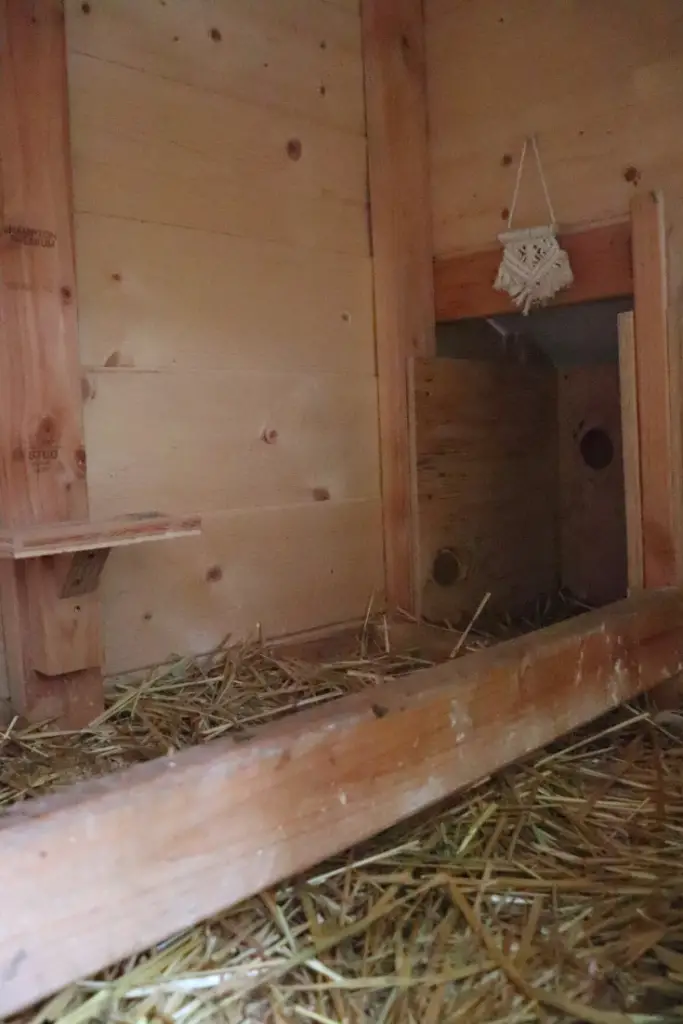
For us, we found the inside of the coop was too small to hold food and water on the inside. Now, not everyone puts their chicken feed inside the coop. Depending on your area it could attract rodents or you could just not want to deal with the mess. For us we decided to add two little wood ledges for the food and water. This works out super well, and no more water spills!
What we love about this Coop
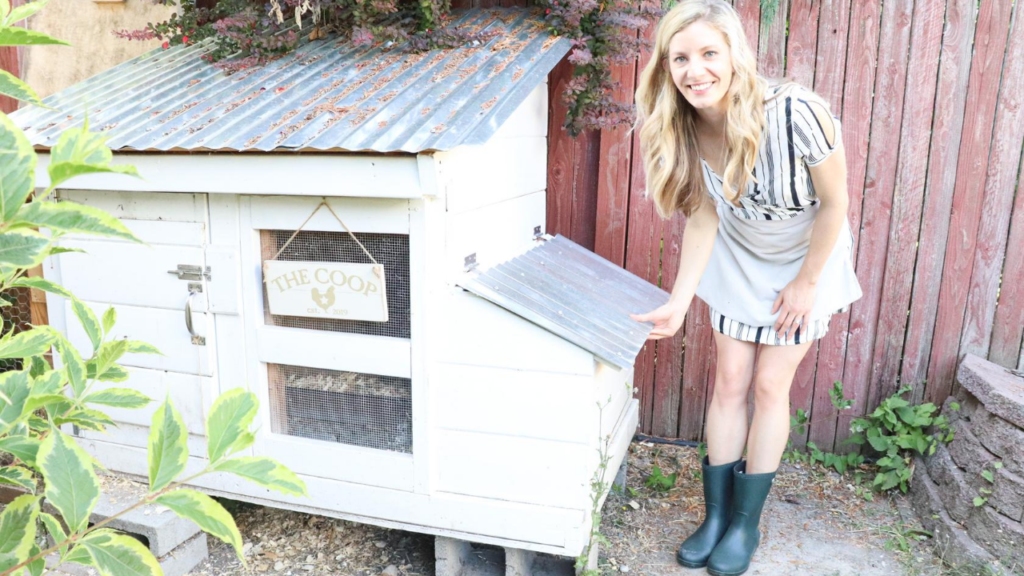
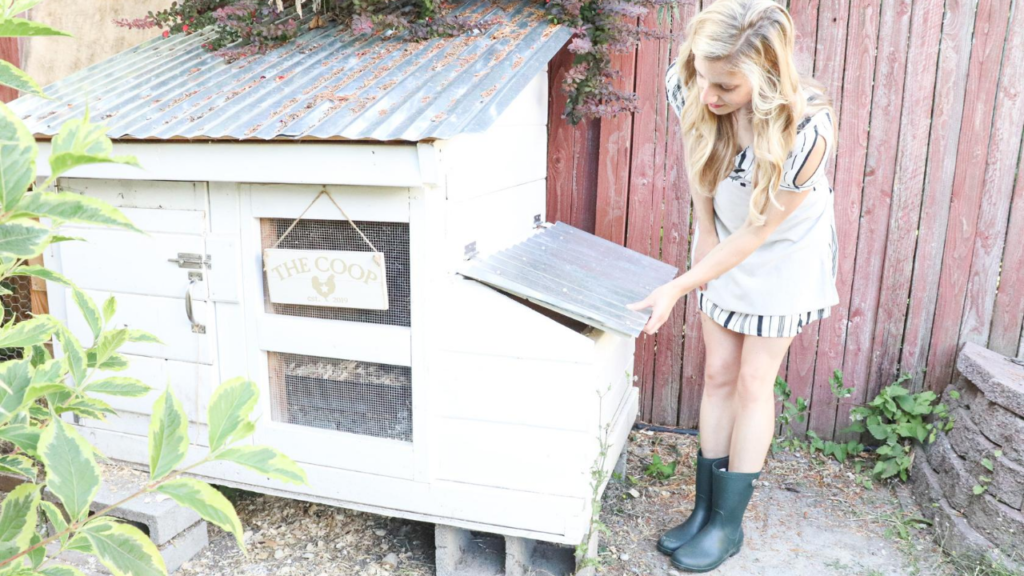
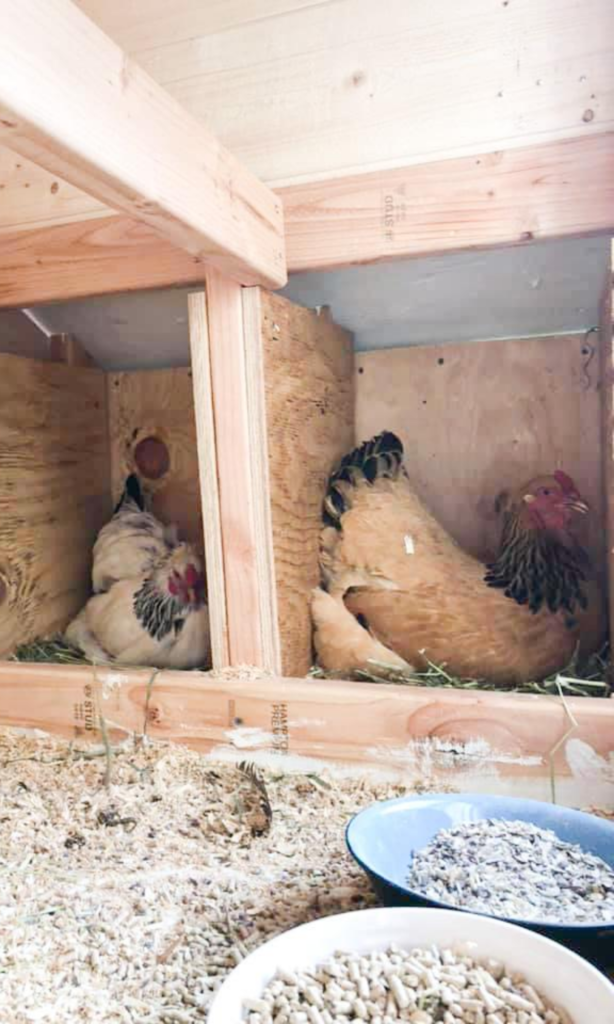
Well first of all, it’s adorable. With the slanted roof, swinging door, window netting, and small nest boxes… I mean, this is what farm dreams are made of.
It’s quite perfect for a small homestead. One day we dream of acreage, but this little lot can do more than it looks right now. And this chicken coop fits perfectly.
Now, we only had 3 chickens at our max, so that’s way easier than 50, but I will say this coop is so easy to clean! I just scoop the poop out every day and then do a deep clean about once a month. I’ve never had an infestation or other problem so far.. knock on wood.
Nice air flow and insulation. The coop is designed to let air flow in through the side window and out the top through the roof slant. In the winter, the double wood panels in the nest boxes keep them extra warm at night.
Downsides
If you have a small flock, there aren’t many downsides to this coop. But here are just a few things we wish we would have known to do differently.
There’s no run. Now obviously we only bought coop plans so of course there was no run with that. But as new chicken owners we really didn’t think through the whole “run” situation. We didn’t even know what a run was, ha. But, there is a second door in the coop that’s meant to go out to a run, so it’s not like the plans don’t include a potential run. You just have to know to expand it and build your chickens a run.
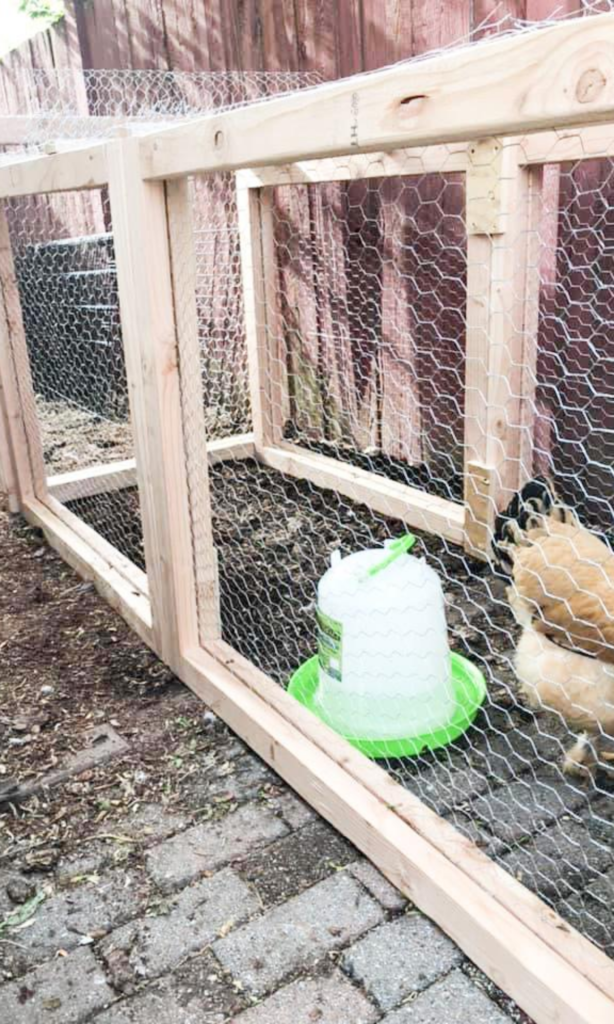
It’s too small to keep the chickens in for long periods of time. Like I said above, you need to build a separate run off this coop in order to keep your hens locked up if they aren’t free roaming. The coop itself is quite small so you wouldn’t want to keep them locked in there for very long.
Like I said above, we have large chickens who couldn’t get up to the roost bar. It was an easy fix, we just took the bar from the plans and lowered it.
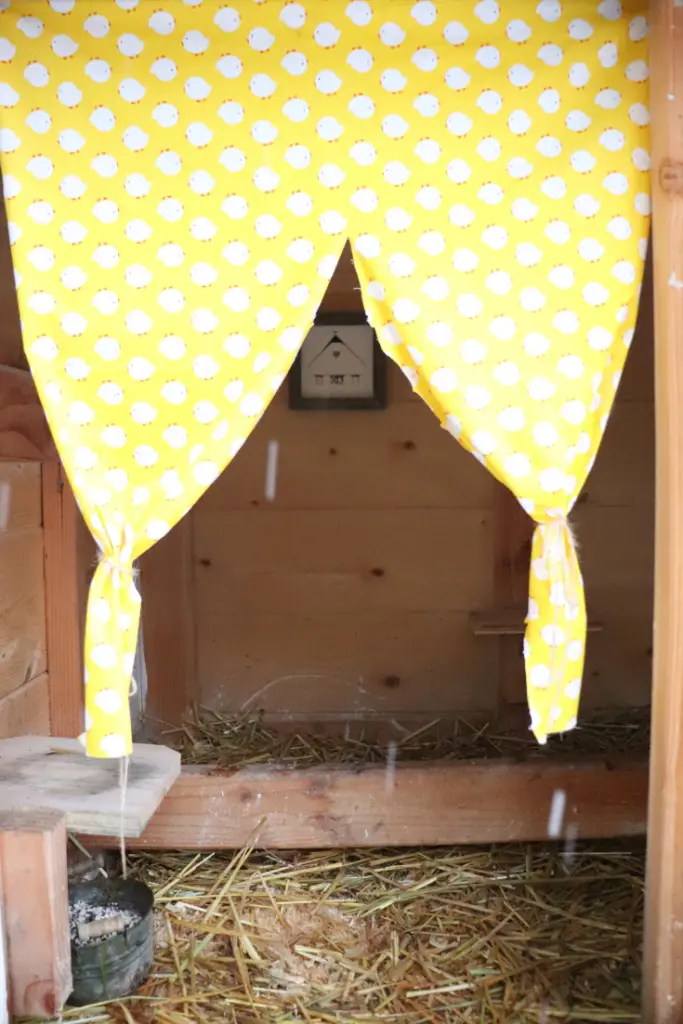
In the cool winter months, the chicken wire window in the front lets in a lot of cool air. This is a good thing because you want good air flow, but I made some quick little curtains so it wouldn’t fly directly into the girls’ faces at night. I’m all about simple solutions 🙂
Read more about how we winterize this chicken coop here.
What to put inside the coop
Once you finish building the coop, it’s time to get it ready for chickens.
For summertime, we use pine shavings for the floor of the coop. This helps absorb the chicken poop and create a nice bed in the nest boxes.

Pine shavings are also nice and cool, as opposed to a straw bedding which we use in the winter. You do NOT want to use hay, as hay contains food and nutrients which can mold and rot over time.
Put a good amount of pine shavings in, at least a one inch layer. The chickens will kick it around so you want there to be enough to keep the floor covered.
We also like to put dried herbs or flowers in the coop. They keep it smelling great and it’s a natural aromatherapy for the ladies! I like CascadeMountainHerbs coop blend, it last us a long time and smells amazing.
Where to Put Food and Water
So the coop we built does not have a spot for food and water. As a new chicken owner at the time we built this, we were confused about where food and water were supposed to go! So I’ll clear that up here now that we’ve had some experience.
The problem with chickens is that they are very messy eaters. You can’t just put a bowl of food on the ground because it’ll get knocked over and kick up immediately. Many people use large feeders and waterers. Some even get fancy and incorporate the feeders into the walls of the chicken coop.
But, we like to make things super easy. So I just make homemade fermented chicken feed, which is soaked in a mason jar in our fridge so they can’t really kick it up.
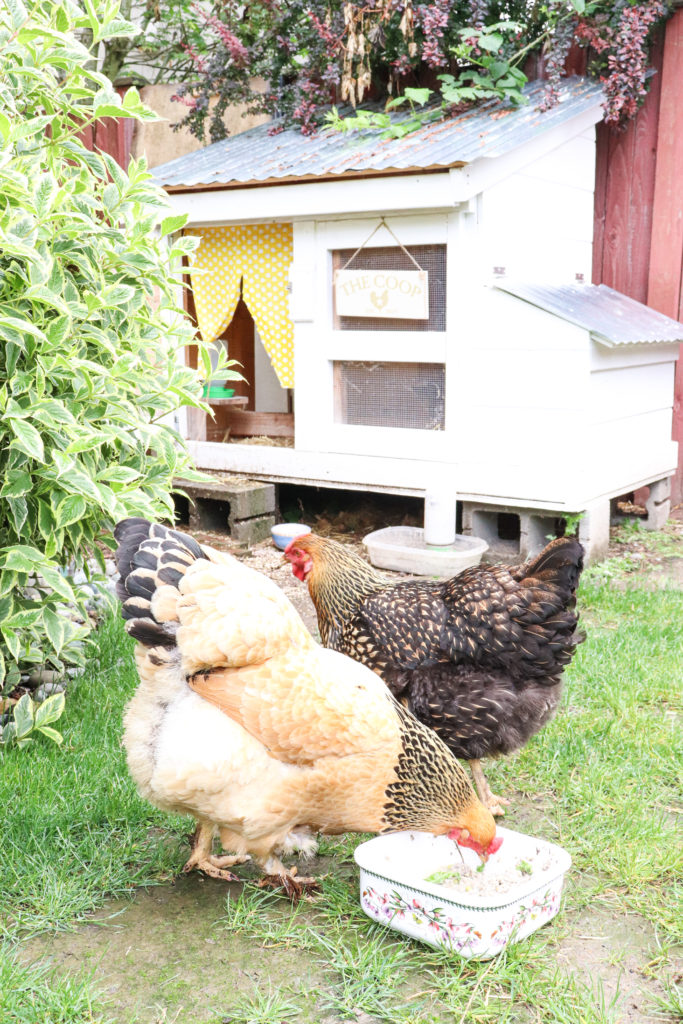
Get the recipe for homemade fermented chicken feed here.
We also built a water stand inside this coop so they can drink without knocking the water over.
Thanks so much for reading!
How to Winterize a Chicken Coop
How to Make Fermented Chicken Feed
All About Using an Automatic Chicken Coop Door
I would love if you would subscribe to my Simple Living newsletter.
Pin it for Later!




This is such a cute chicken coop, Alexa! And even better, it’s small enough to where cleaning won’t be a huge task because of the size, which is a big PLUS! Great job!
Your post will be one of the features this week on our Embracing Home and Family link-up party!! We hope you join us again this Friday!
-Cherelle
Thank you so much Cherelle! It was such a fun coop to build. I’ll be sure to join again!