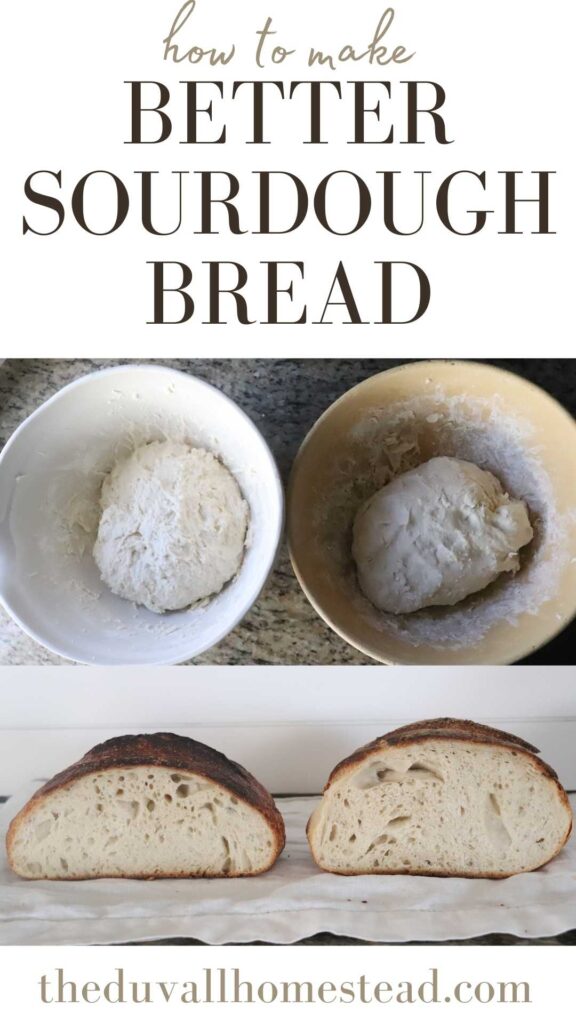
Join me for a post all about making better sourdough bread! We are going to troubleshoot some common sourdough bread questions and I’ll show you an experiment I did with 4 different sourdough loaves.
This post contains affiliate links, which means I may make a small commission off items you buy at no extra cost to you. As an Amazon associate, I earn on qualifying purchases. See my full disclosure here.
PIN IT FOR LATER!
Making Sourdough for your Home
I started making sourdough bread about 3 years ago, and since then I have really grown to love the process. Most of all, I love having a delicious and healthier bread on the table every day for my family.
Aside from that obvious benefit, the process of bread making can be quite… romantic. It brings together the essence of homemaking, cooking, and using your hands to care for your family in a way that is just magical in my opinion.
Even when you get a loaf that doesn’t turn out as well as some you might see on Instagram, it is still your loaf. Maybe it’s just the farm girl deep down in me, but I think making sourdough bread is one of the most rewarding tasks of running a homestead.
Sourdough Troubles on Social Media
Being on all the social media channels for my blogging business, I am very familiar with the fact that sourdough is popular. Everyone loves posting their pretty loaves, but I also see people posting a lot of complaining or “I’m done with this” kind of posts. I guess these people tried to make bread and it didn’t turn out, so they decided to let the world know.
Recently my mom actually started learning sourdough, and helping her with it over the last few weeks gave me a lot of content for this post I’m writing now. She had a lot of questions throughout the process regarding starter, dough, shaping, scoring, proofing, etc. Through helping her I realized that to a beginner, sourdough can be really intimidating.
Sourdough isn’t intimidating because you aren’t a good cook. I think the problem more rests in the fact that people who are good cooks try a sourdough recipe and it doesn’t come out, so they quit. Maybe because in their mind, you should be able to follow a recipe and have your food turn out, right?
But that’s what makes sourdough so interesting. It’s more of a science experiment than a recipe. And that is also why it’s so fun!
I hope that this post helps clear up some beginner sourdough bread making questions!
New to Sourdough?
You can learn how to make your own sourdough starter from scratch to make homemade bread, sourdough pizza, bagels, and more.
Put all your sourdough recipes in one spot!
Download and print off this NEW sourdough recipes ebook and keep your favorite sourdough recipes on your counter for easy, every day cooking.


Sourdough FAQ
How many times does sourdough bread have to rise?
Three times. Sourdough bread uses a natural fermentation process to make it rise. Fermentation is impacted by the ratio of flour to water, the temperature in your house, and the strength of your sourdough starter. So if you have a strong sourdough starter, the right ratio of flour to water, and a warm house, your sourdough bread will go through 3 rise phases (also known as “proofing”). The first phase is on day 1 when you originally make the dough. The second phase is overnight, in the fridge. And the third phase of proofing is right before you bake the loaf in the oven. Typically, the longer the proofing and the warmer your house is (up to a certain point, obviously if it is too warm it will over-ferment the bread), the better your sourdough loaf will come out.
How can I make my sourdough starter rise?
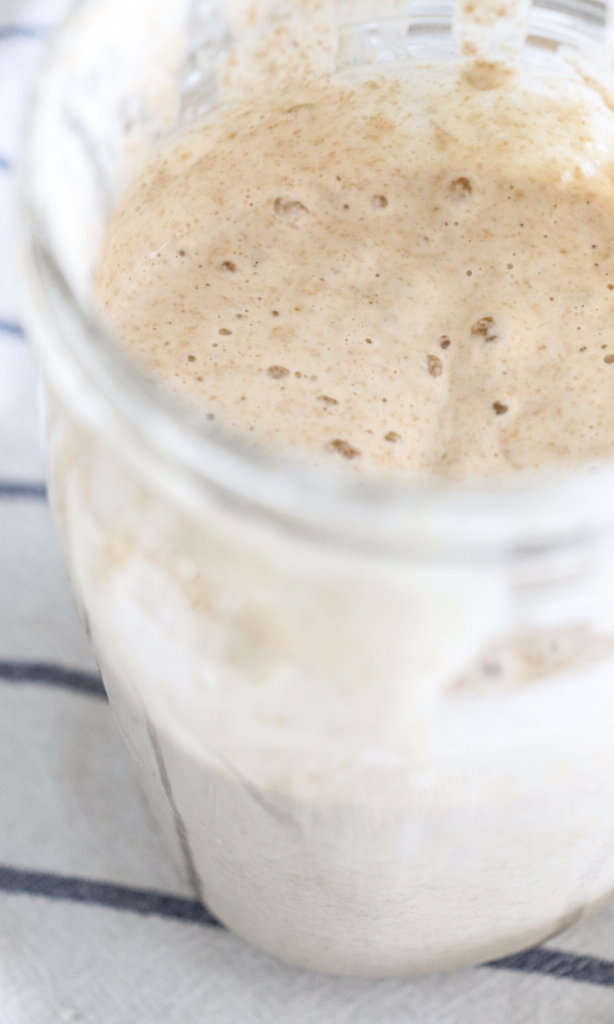
Sourdough starter, also known as a “leaven”, is your active culture that will make your bread rise. It replaces yeast in commercial bread recipes that use yeast. But in order for the starter to work properly, it needs to be active and strong enough to make the bread rise. You have to feed the starter flour and water, for a while, in order for this to happen. I talk about a two week process to making your own sourdough starter from scratch here. You can also buy sourdough starter from a friend or online. Once you have your established starter, you just feed it flour and water and it will rise naturally. See the “float test” picture below to know if your starter is ready for bread making.
Does sourdough bread need kneading?
Kneading is the process of distributing the gluten and natural yeast in your sourdough bread. It also helps the air bubbles form. But if you over-knead the dough, it could deflate those air bubbles and prevent the bread from rising. So you want to knead the dough just enough.
To do this, perform a stretch-and-fold 4 times over the course of about 6 hours after you first make your dough. These stretch and folds are enough “kneading” to get a nice fluffy, bubbly sourdough bread. There’s no “need” to do excessive amounts of “kneading” to your sourdough bread 😉
To find the full process and recipe for a beginner’s loaf of sourdough bread, read this.
How can I make my loaf of bread better?
My mom recently started making sourdough bread for the first time. Because I was able to talk with her about it so much, I wrote down some of the tips that helped her get started. Here’s a summary:
- Try a new recipe. There is no “one way” to make bread. You can find bread recipes that use all sorts of flours, maybe even sugar or olive oil, slicing bread or sandwich bread, a french baguette or a boule. There are literally thousands out there. Also, just because a recipe works for one person doesn’t mean it will work for you! Sourdough is sensitive, and everything from the type of flour, to the house temperature, to the water quality can impact the dough. So keep trying new recipes until you find one that works for you.
- Know that your dough will change over the course of two days. I’m saying this because sometimes people get discouraged early on when they first make the dough because it’s too sticky or doesn’t form well. Your dough will be very sticky the first day, and as you do the stretch and folds and the bulk ferment over night, it will form into a nice dough. Too sticky, however, can be a problem. So you want it to be the right amount of sticky-ness (see experiment photos below for an example).
Tips for Making a Better Loaf, Cont.
- Watch other people’s hands on Youtube. I know this probably sounds funny, but sourdough is just as much of a hand exercise as it is a baking experiment. You just have to get the hang of using your hands and handling the dough. See my sourdough video below for a video illustration of how I use my hands throughout the dough making process.
- Consider the consistency of your starter. If a recipe calls for “1/2 cup starter”, that 1/2 cup starter may not be the same consistency as yours. For example, the person who wrote that recipe may feed their starter a ratio of 1 cup flour to 1 cup water. Or, they may feed it 1 cup flour to 1/2 cup water. So those would be very different starters! I always feed my starter 1 cup flour to 3/4 cup water. You can learn more about how to start and care for a starter here.
- Warm up your house, or use our oven/fireplace. The temperature in your home impacts your starter, dough, and loaf more than you probably know! The ideal temperature for sourdough is about 75 degrees F. We keep our house at 65 degrees though, so in the winter months I have to get creative. I will keep my starter and doughs on my stovetop where there’s room so they get the heat of the stove and oven. Or, I will turn my oven on and then off, and place the starter or doughs in there while the oven is warm. This will speed things up and give you a much better result.
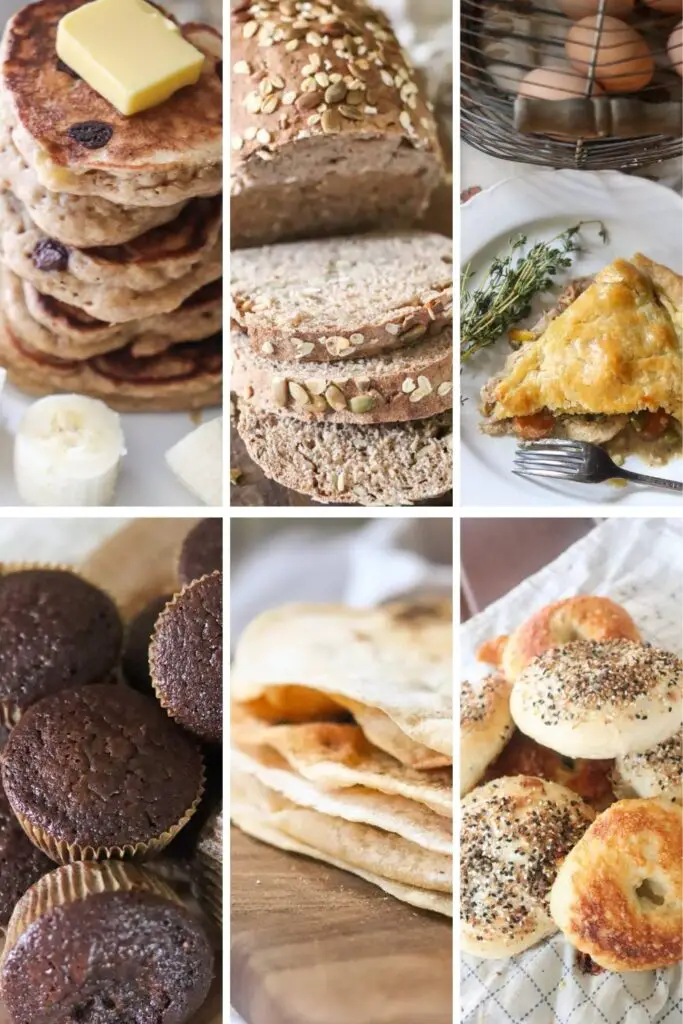
- This is a tip for creating a sourdough “schedule”. A lot of people get intimidated by sourdough because it requires so many days to make something. But try this. Pull your starter out of the fridge on a day you have time, and feed it. Once it’s active and passes the float test, make as many doughs as you have time for. Make a bread dough, pizza dough, bagel dough, and use some starter in cookies as well. Then place them all in the fridge overnight, and pull them out the day you are going to bake them. That’s what I do about once a week!
MY SOURDOUGH EXPERIMENT
I wanted to really pinpoint what causes our sourdough bread loaves to look different from one another. So I did two different experiments and made 4 different loaves of bread. Here are the results!
First Experiment: Dough 1 (dry) versus Dough 2 (wet)
The first dough I made was my regular recipe: 3/4 cup starter, 1 1/2 cup water, 1 1/2 tsp salt, and 4 1/4 cups flour. I call this the “dry” dough.
The second dough I made was a “wet” dough. I used: 3/4 cup starter, 2 cups water, 1 1/2 tsp salt, and 4 cups flour.
I fermented both doughs the same time at the same temperature, and baked them the same day.
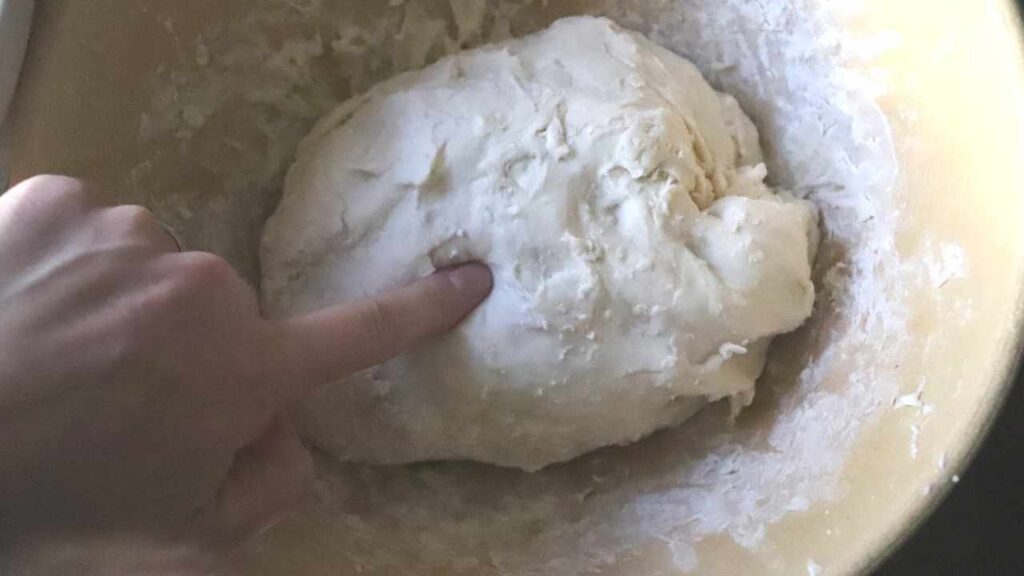
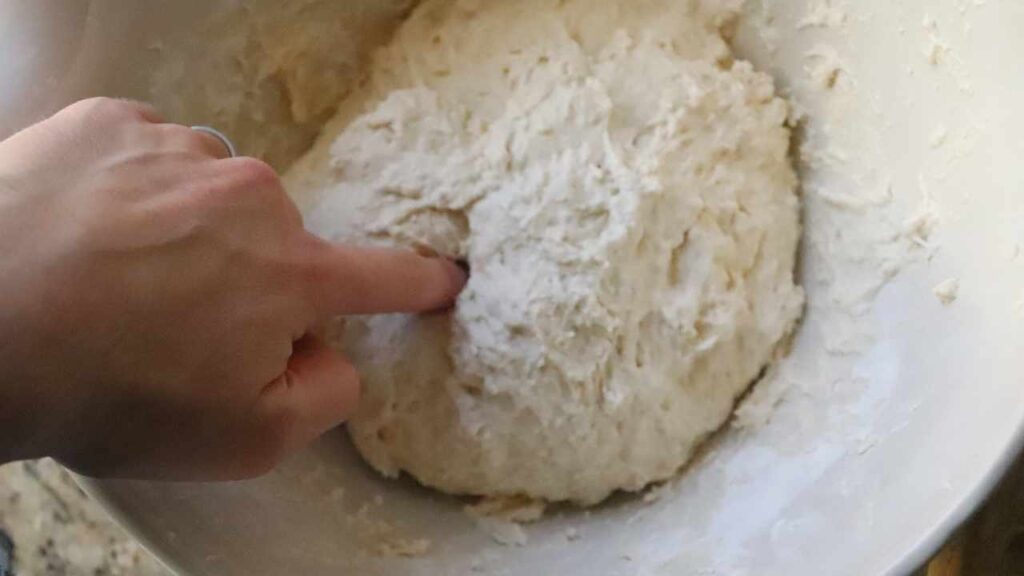

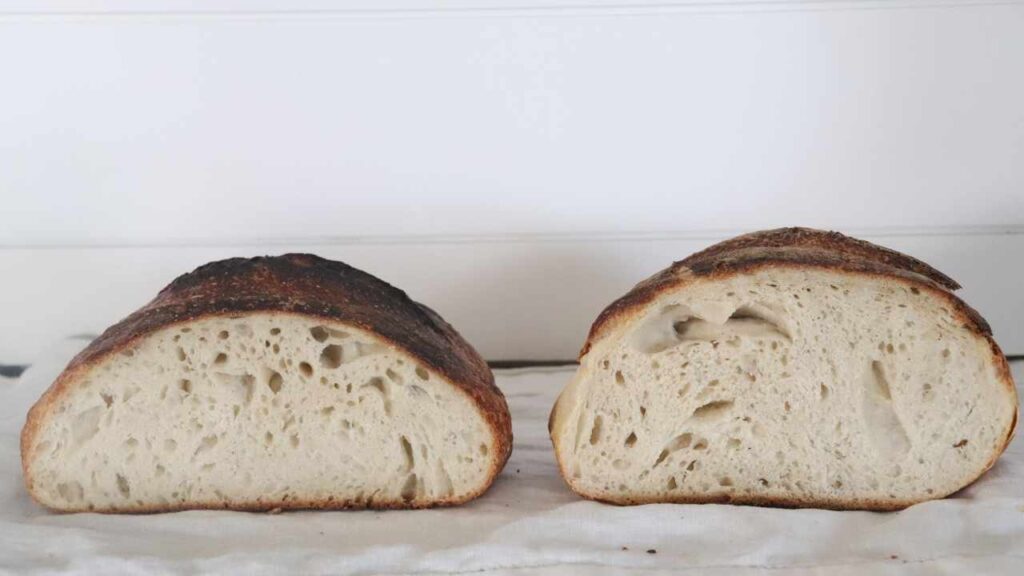
As you can see, the wet dough (left) produced a triangular loaf with good air bubbles. The dryer dough produced a bigger, rounder, and taller loaf, but it was a little more dense. Both loaves tasted amazing though! This is one of those times it really wouldn’t have mattered which recipe I followed, as they both turned out great.
Second Experiment: Warm versus. Cooler Proofing
In this experiment, I made two doughs with the same recipe. I did the same lift and folds at the beginning, and the same overnight proof in the fridge.
The next day before baking, I shaped both doughs and put one in the oven on “proof” (about 85 degrees) and let the other sit on my countertop next to the oven (about 70 degrees).
The results in this experiment weren’t as dramatic as I thought they would be. As expected the warmer proof temperature yielded a larger dough, but both turned out just fine to me. Maybe I’m just not a picky sourdough eater?
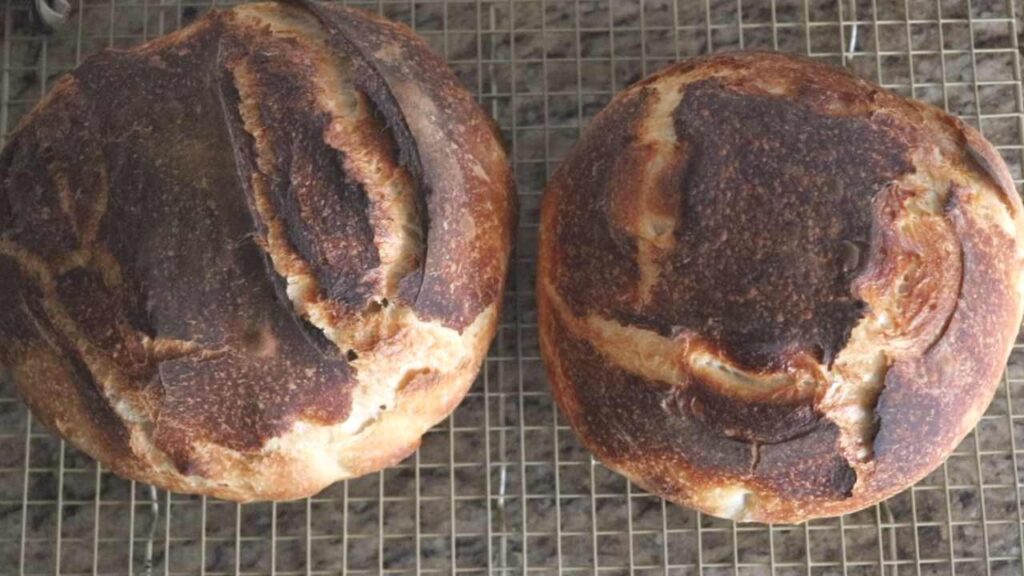
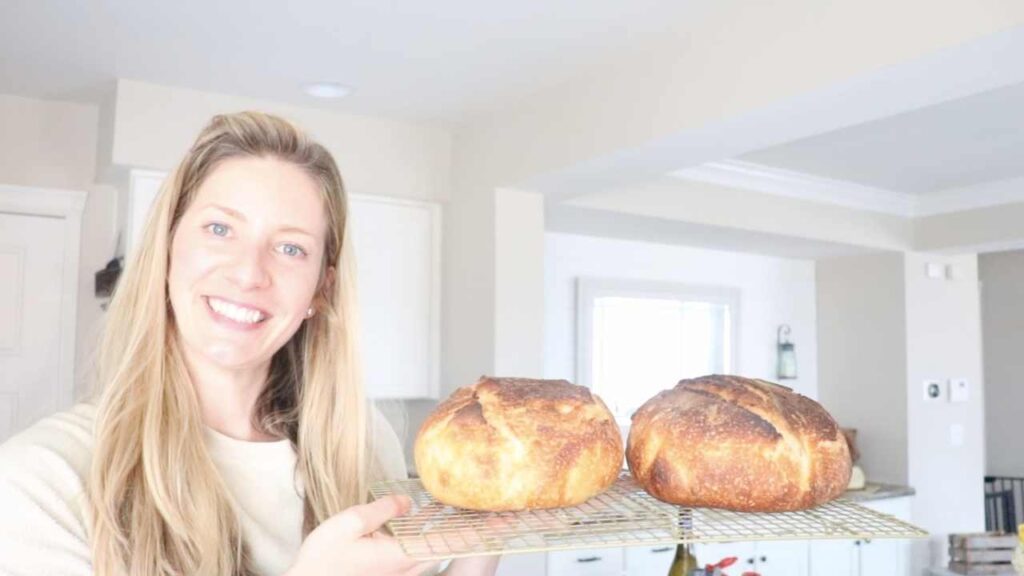
I think one thing to note in this experiment was that both loaves had a similar proof. Even though the colder loaf was at about 70 degrees, it still had a good enough proof to produce a good loaf. I have had loaves come out small after proofing only a couple hours at say 65 degrees. Alternatively, I’ve had loaves that proofed too long in 85 degrees, and they deflated due to over-fermentation.
So all in all, we know that a warmer proof produces a better loaf, but you have to find that sweet spot somewhere between 70-80 degrees for a couple of hours. This sort of testing is all part of the fun!
FAQs from Instagram
I put up a question box on my Instagram stories and a few of you sent in questions! So here they are below.
Why is my sourdough starter dry and falling apart by day 2 or 3?
I was confused when I first read this, because I’ve never heard of this happening! But I can with almost 100% certainty say you just need more water. When you first make sourdough starter, you can feed it 1 cup flour and 1 cup water. Eventually I like to cut that down to 3/4 cup water for a thicker starter consistency, but you should definitely never have a dry sourdough starter. Unless of course you are dehydrating it?
Try reading this post on sourdough starter for more information on creating and maintaining your starter.
How to make sourdough bread less sour?
I personally think this is a good problem to have, haha. You could ferment your bread less time, or ferment it in the fridge instead of the counter if you want it to taste less sour. But if you do that you may not get a very good rise on the bread either, so that might be a challenge.
A video on starting and maintaining a starter. I want to start but am scared.
I do have a video on starting and maintaining a starter. You can find that on YouTube here.
Essentially, you will make a mixture with flour and water every day for about 2 weeks, at which point you will have created cultures that are strong enough to rise bread. Everyone’s sourdough starter process is a little different, and there isn’t one right way to do it. Read how to get started step by step in this tutorial and then you can get started making bread products after that!
Any thoughts and tricks on a gluten free starter?
I haven’t done this yet. But I would use the 1-for-1 gluten free flour if I tried it. I’ve heard of this working from someone else!
Try These Sourdough Recipes from the Homestead
Chewy Chocolate Chip Sourdough Brioche Rolls
Sourdough Einkorn English Muffins
Best Flakey Sourdough Pie Crust
PIN IT FOR LATER!


Leave A Comment