Add some charming shiplap to your old farmhouse or modern day homestead with these easy DIY shiplap accent wall tutorial. In just under a day you can transform your space and make it brighter, and add some traditional farmhouse charm too. Ah, shiplap.
This post contains affiliate links, which means I may make a small commission off items you buy at no extra cost to you 🙂
Pin to your Pinterest Board!
Finally…Shiplap!
We have been wanting to do shiplap for quite some time around here, and we finally got started with an accent wall. I recommend starting with a small, square space if you are interested in doing shiplap. Once you get the hang of it, you can easily continue on with the rest of your house (at least that’s what I want!)
We live in a modern day homestead in the Pacific Northwest, just my husband John and I right now. We want to build our home into something we can grow into and love, so we’ve been adding simple farmhouse touches to it ever since we got here. Now, we both currently work (John is full time, I’m part time), so we mostly get these projects done on the weekends. I wish we could spend more time on them, but we don’t have too much free time.
That is why we pick easy, but meaningful DIY projects. Now, nothing is ever as easy as you think it’s going to be (and things always take longer!). But this project is really do-able for a beginner woodworker, and makes a big difference in your room too.
Where to Buy Shiplap?
You can find shiplap at your most big-box hardware stores. Our local hardware store doesn’t carry wood boards, so we had to drive into town to our local Home Depot. If you don’t have a hardware store nearby, you can look into ordering online at a website like this.
What’s nice about buying shiplap from a place like Home Depot is that they even have different styles. For example, shiplap that is unpainted, or shiplap that is primed and painted already. Assuming you like the color, this could save you some time and money.
Another benefit of buying from the hardware store is you can buy the finish and paint at the same time. You want to buy a specific finish (basically, on a scale of matte to glossy) based on where your shiplap will go. For example, some finish cannot handle water or scuff marks (like matter). Whereas a more glossy finish can handle more wear and tear.
Going into the hardware store and having these conversations with the people in the paint department can be helpful when planning out your projects.
Are shiplap walls still in style?
First of all, shiplap was never really out of style. Shiplap has been around in farmhouses for hundreds of years, long before drywall became the norm. Many homes even covered the boarded up wall planks with wall paper, but still the modern term “shiplap” still existed underneath.
Joanna Gaines installed shiplap in many of her old farmhouse restoration projects, which made it even more popular to modern day designers.
Even if you think shiplap is out of style, certainly white walls are not. White will never go out of style, it’s too good of a color. And who doesn’t like their room feeling bright and white. I mean, I know bright and white is kind of my thing so I am bias, but I just can’t imagine that ever going out of style.
Pictures of Shiplap Walls
Lindsea over at House of Harvest lives in a 1910 farmhouse in the Pacific Northwest (not far from us!). So, naturally I am an awe of every single one of her photos. Here are some of her shiplap accent walls:
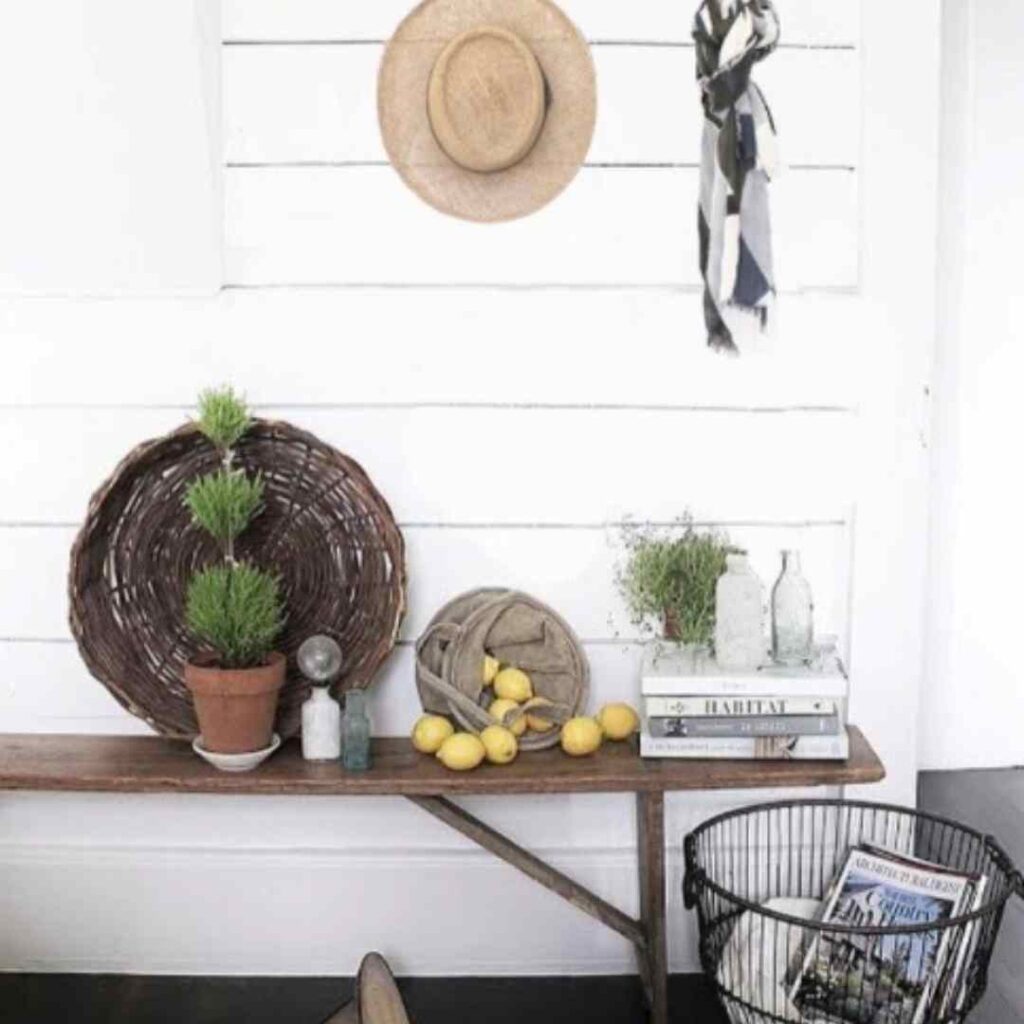
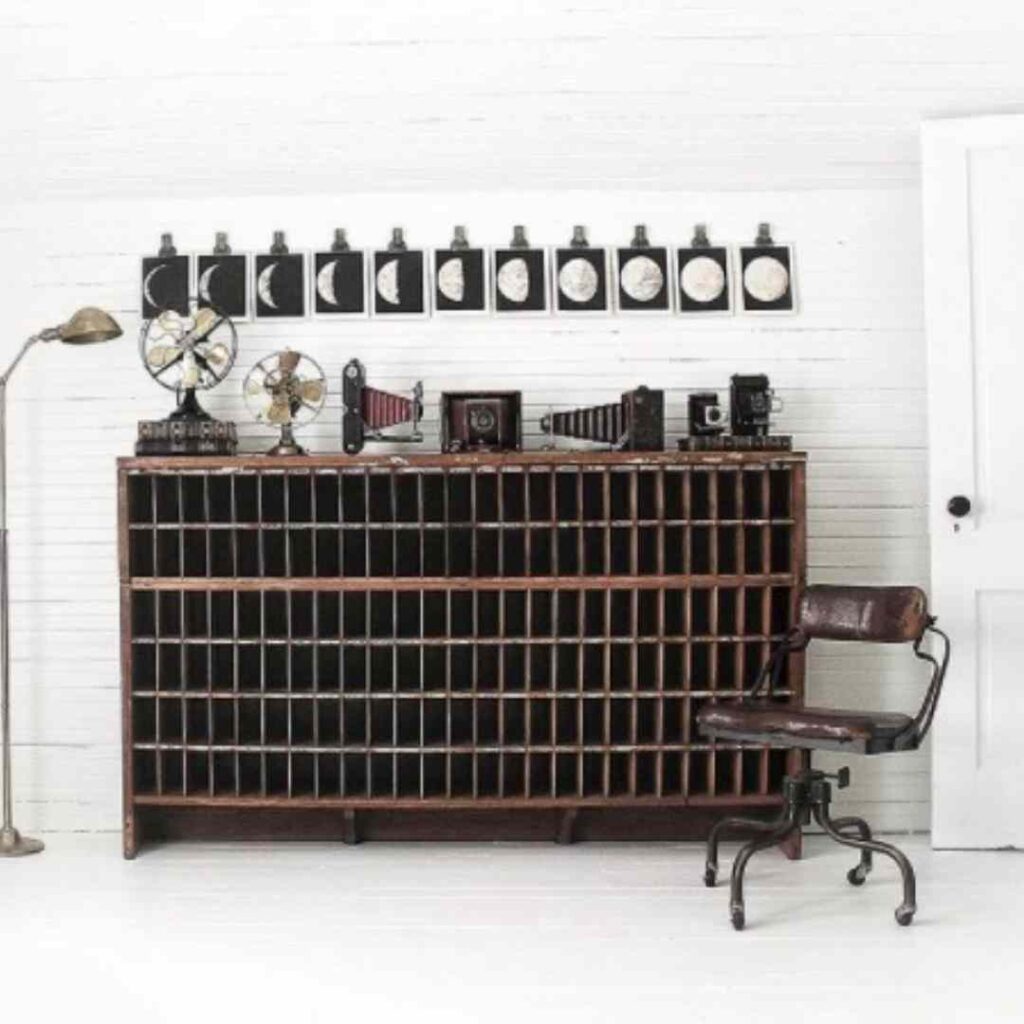
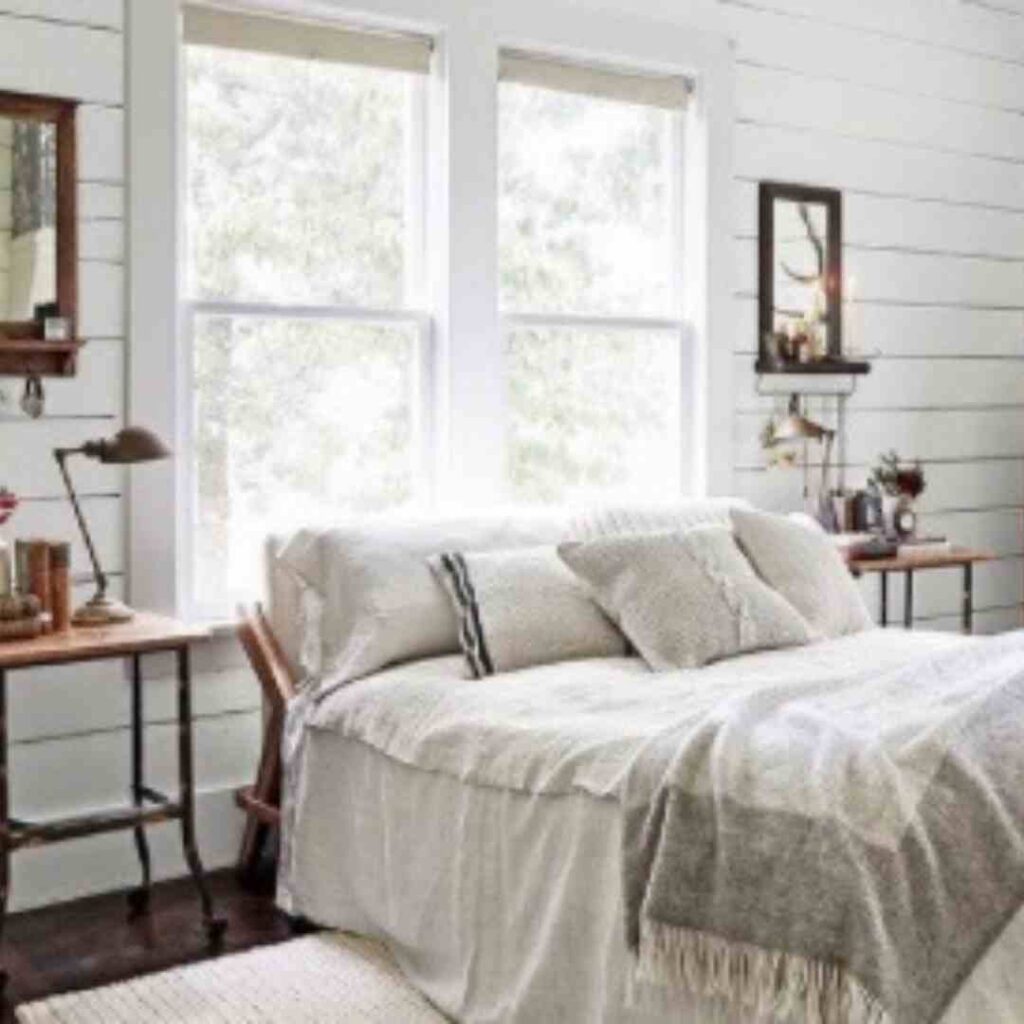
Source: House of Harvest
Kierste over at Old Salt Farm lives in a farmhouse in New York, all the way across the country from us! Her and her husband have built much of their home from scratch, which reminds me of John and I. She has a bright white farmhouse and I just love all of her accent colors.
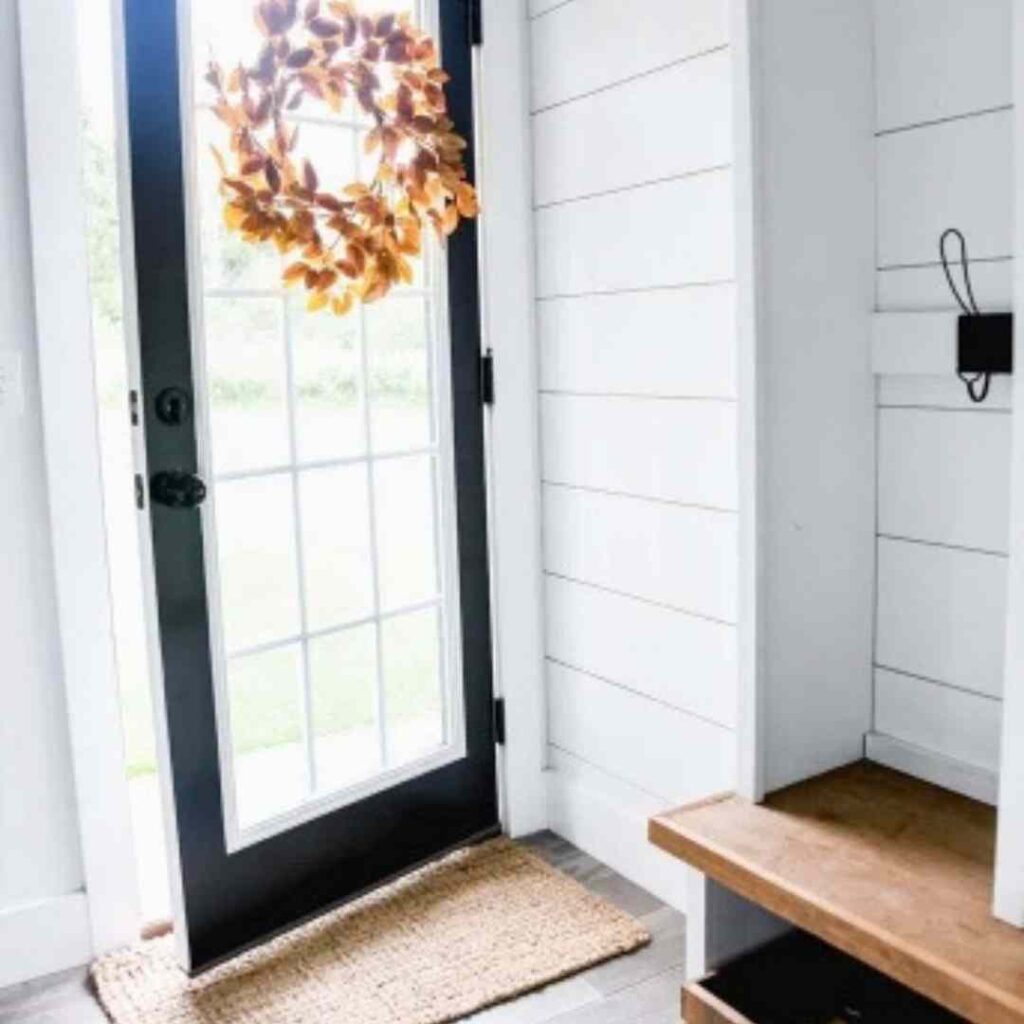
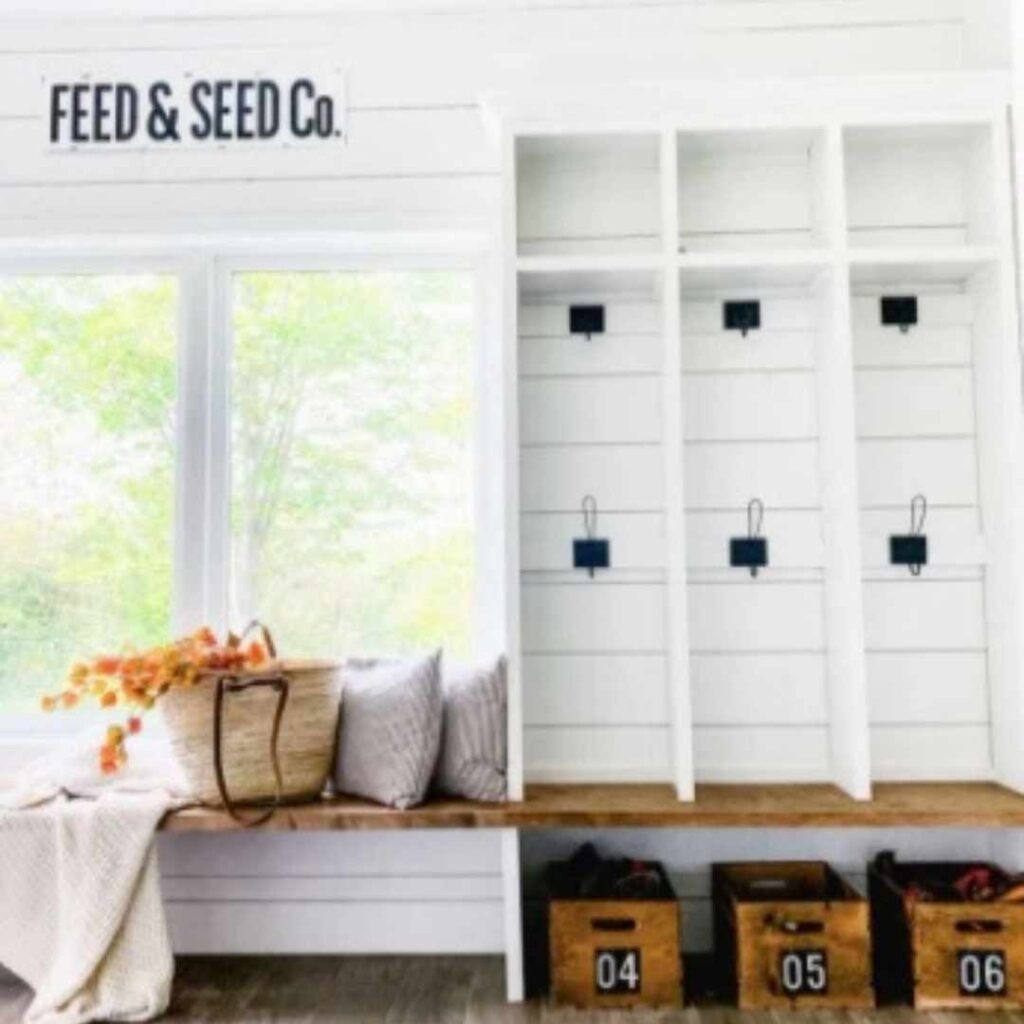
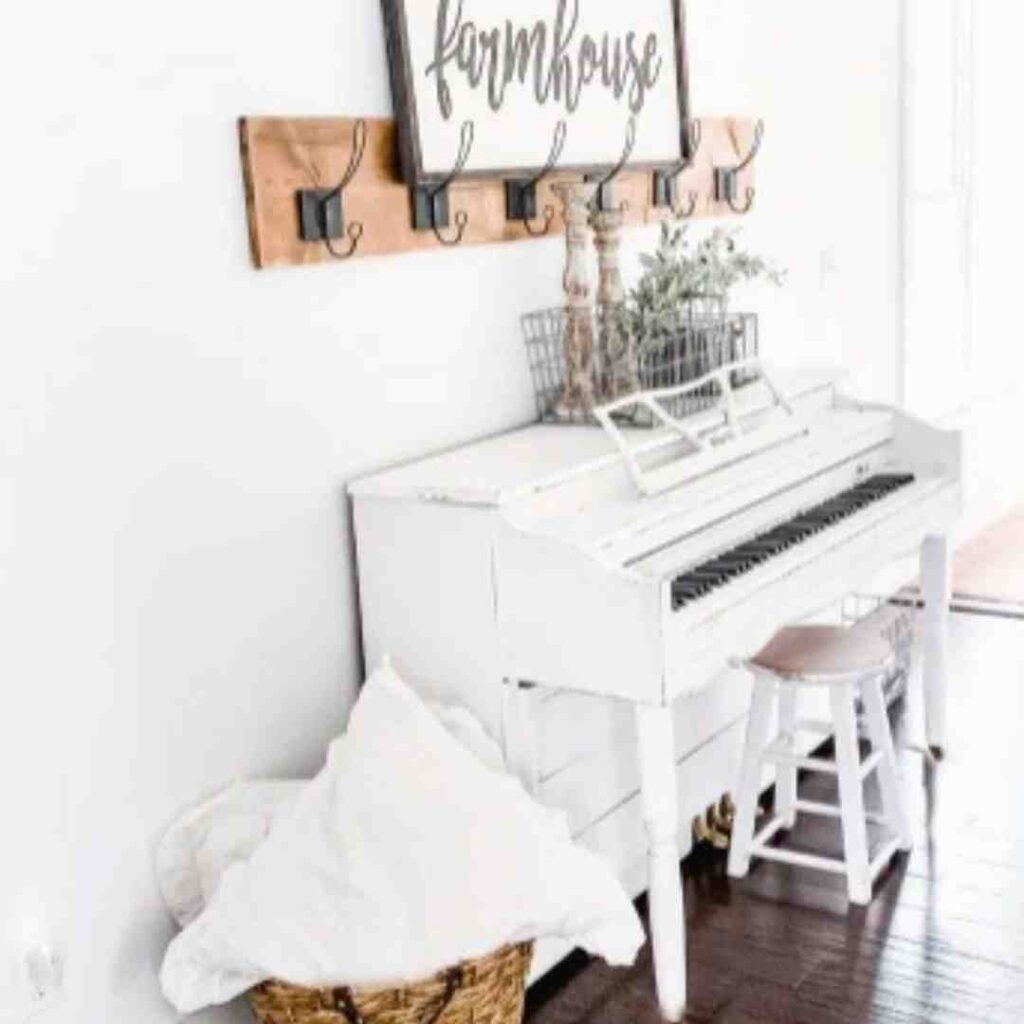
Source: Old Salt Farm
Can’t forget Joanna Gaines, who tweeted this photo of an 1880’s farmhouse:
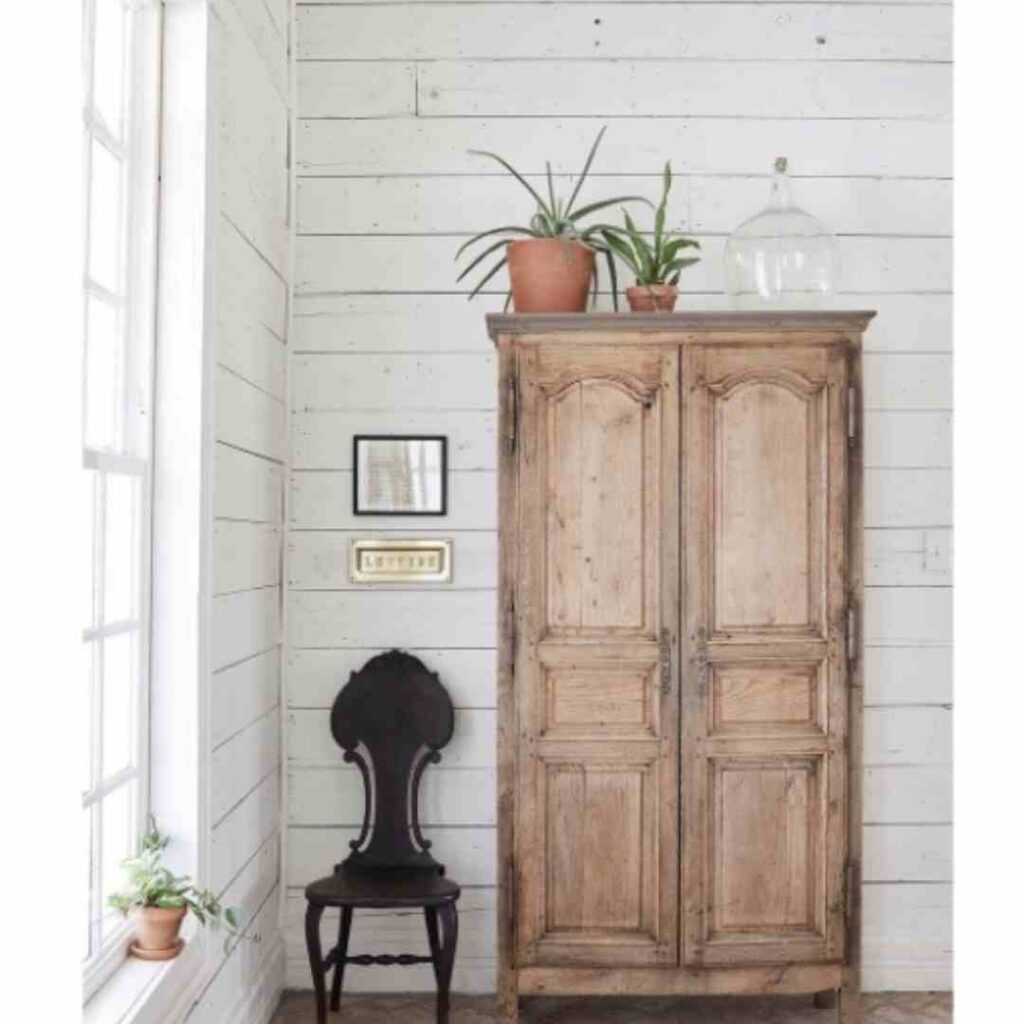
I have lots more shiplap inspiration, so head over to my Pinterest board to see where I keep all my ideas!
Shiplap Accent Wall Paint Colors
You might be wondering, do I need to pain my shiplap?
Some shiplap comes already painted, others do not. While John and I were putting our shiplap up we noticed it was already white, but it really changed it’s appearance once we painted it. It just was dull looking, and honestly without even so much as a finish on it, it wouldn’t have lasted long.
If you want to keep your shiplap free of scuff marks or occassional water stains, it’s best to paint it.
We went with the Behr Paint called Polar Bear White. I had done a lot of research into “best white shiplap paint for farmhouse” and that’s how I chose it. I am no expert when it comes to the bet white colors, but I saw some pictures that I liked and went from there. And I really like how it turned out.
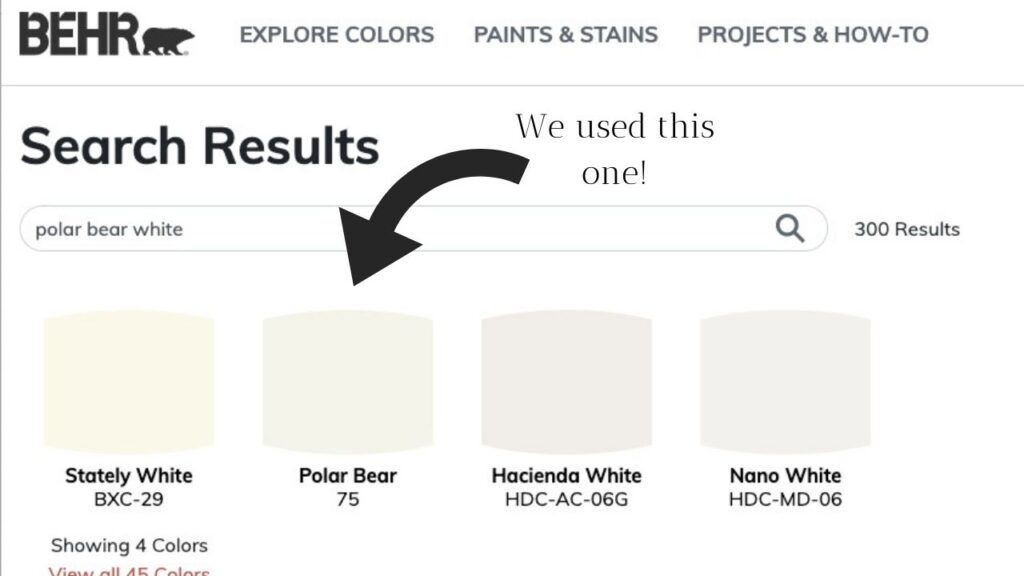
You can learn more here.
Tools Needed to Install Shiplap
Circular Saw (mine currently not available)
Air compressor combo
Ruler
Pencil
18 gauge 2 in nails
For the paint:
Behr polar bear white paint
Frog Tape (painters tape)
Fine rated 6 in roller brush
Small tip painter brush
How to Install a Shiplap Accent Wall
First, buy Shiplap boards from Home Depot according to the length you need them. For our project we used boards to create a covered space that was 8 feet long by 47 in tall. Here’s the shiplap we bought.
Second, re-measure the space you will be covering before you lay each board. The drywall is not perfectly straight so it will lead to a slightly different measurement for each board.
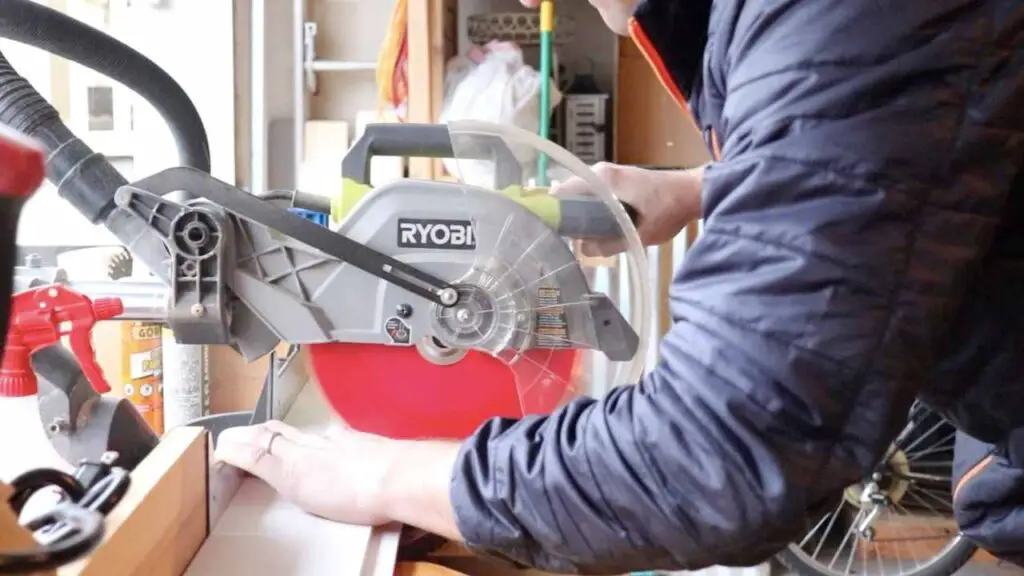
Once you have the measurement use a miter or chop saw with a fine blade to make a straight and clean cut. One tip is to start your cut with the clean face facing up. This will ensure the cleanest cut possible.
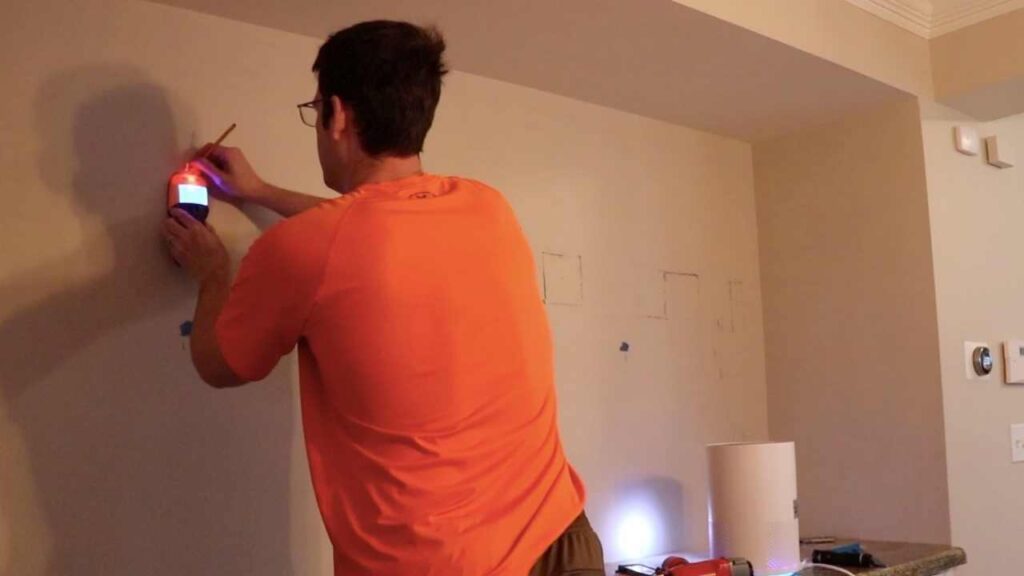
Next go inside and begin prepping your workspace for laying the boards. It is absolutely crucial you invest in a good stud finder and map EVERYTHING behind the wall. If you are even slightly unsure if there is a pipe…remove the drywall to get eyes and hands on. The last thing you want to do is find out about this after you accidentally nail through a pipe (trust me, it’s happened).
Once you have the studs mapped out use a chalk line to map where the studs are. These are what you will nail the ship lap into the wall on.
How to Install Shiplap, cont.
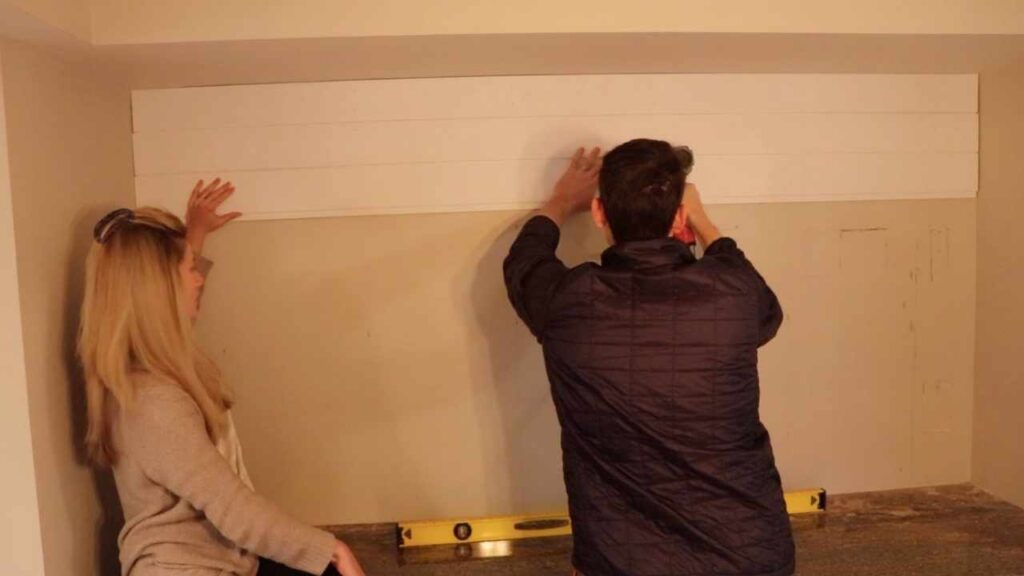
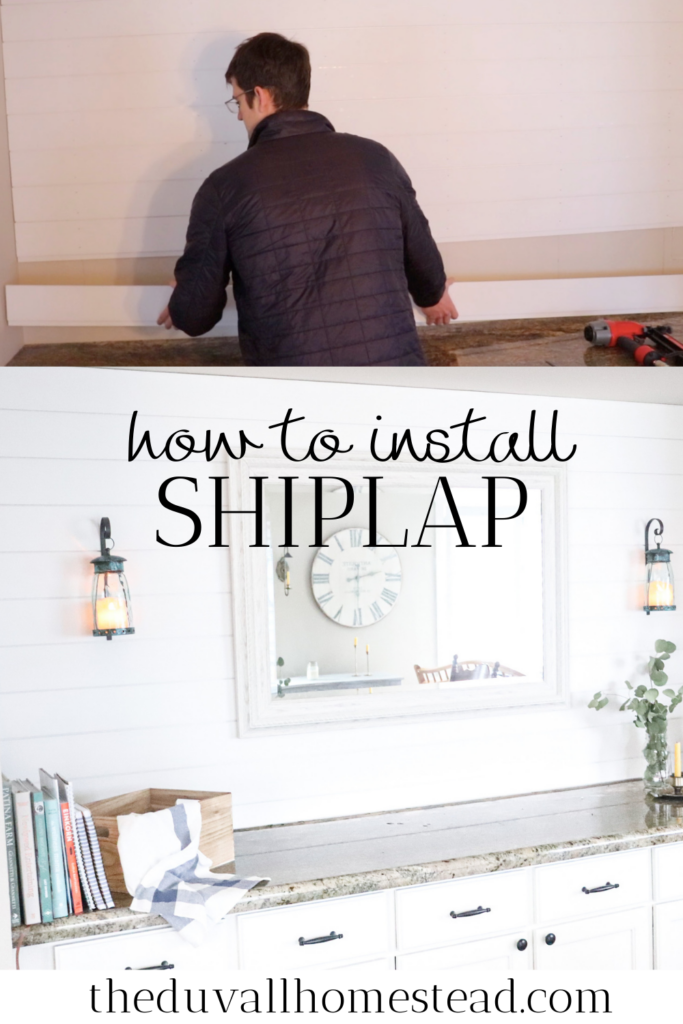
Next get your air compressor, nail gun, and 2″ 18 gauge nails. Place the first board at the top of the wall as this will be the most visible board. Nail two nails vertically where the board overlaps with each stud.
Continue this process until you reach the last board. When you reach the last board you will need to use a special measurement as the space you are covering will likely not be the perfectly natural 6″ board length. Once you measure this special case you can use a circular saw to cut the board to size.
After you get all the boards on the wall you will need to use a dap wood filler to cover over the small inlets where the nails were. This will provide for a more clean and finished look. Once the dap filler is on the boards you can use a sander to smooth out the surfaces.
Following this step you will need to begin prepping the workspace for painting.
How to Paint Shiplap
Use frog tape to cleanly cover all edges and a heavy drop cloth to cover the areas you don’t want to paint. We used Behr Polar Bear White paint from Home Depot. Use a fine rated roller brush to apply the paint.
We applied 2 coats. This will take a total of about 4 hours. Use a small brush to get the edges of the surface where the roller brush does not completely cover.
Once everything is complete remove all the drop cloth and tape.
What to do Once the Shiplap is Up
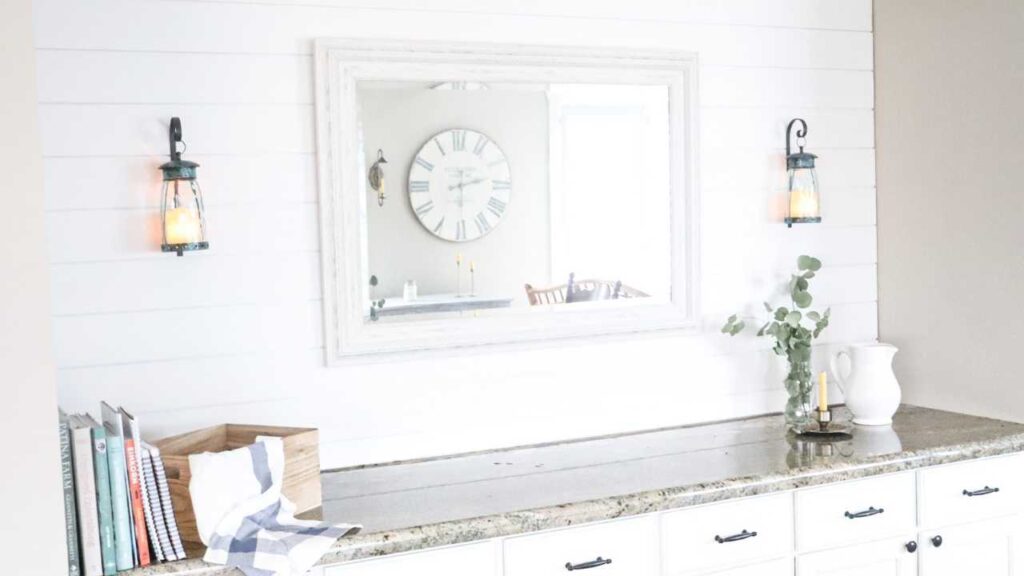
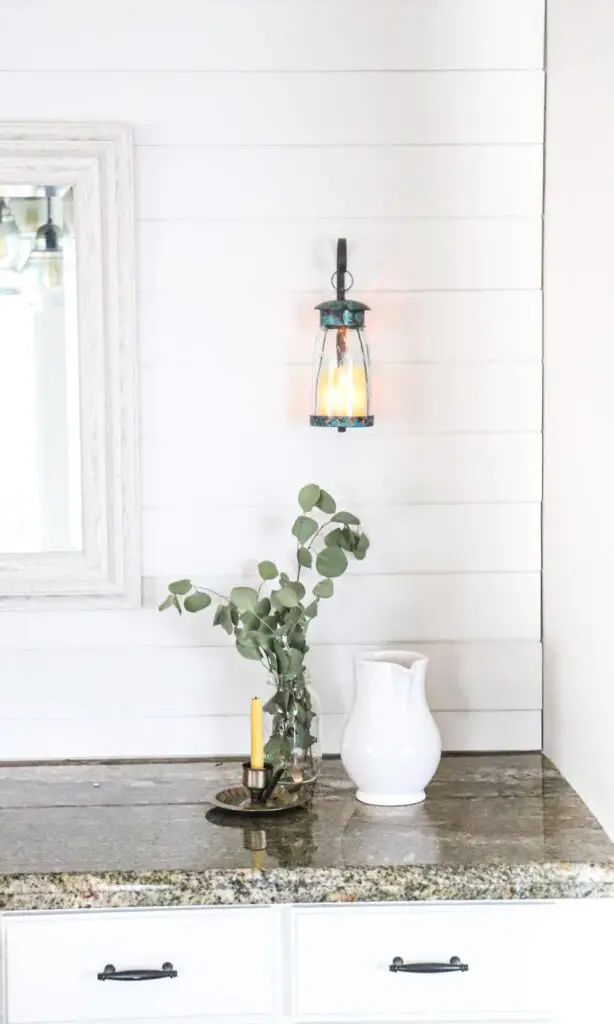
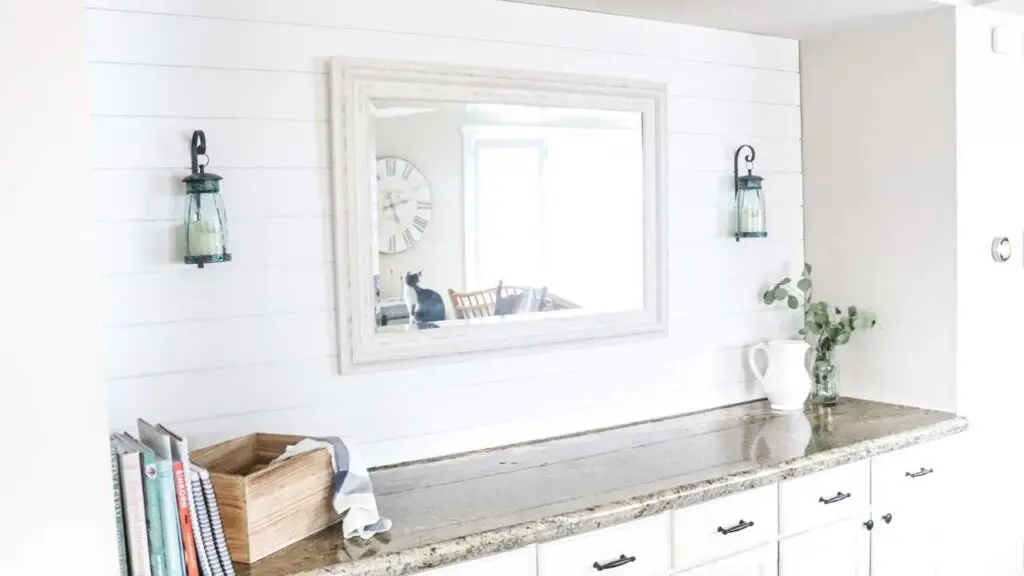
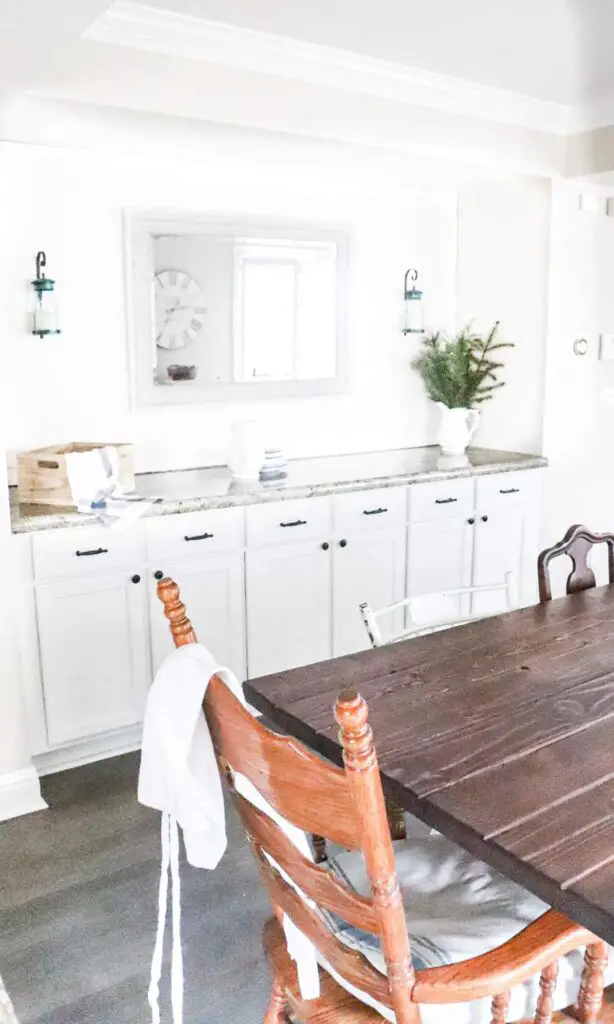
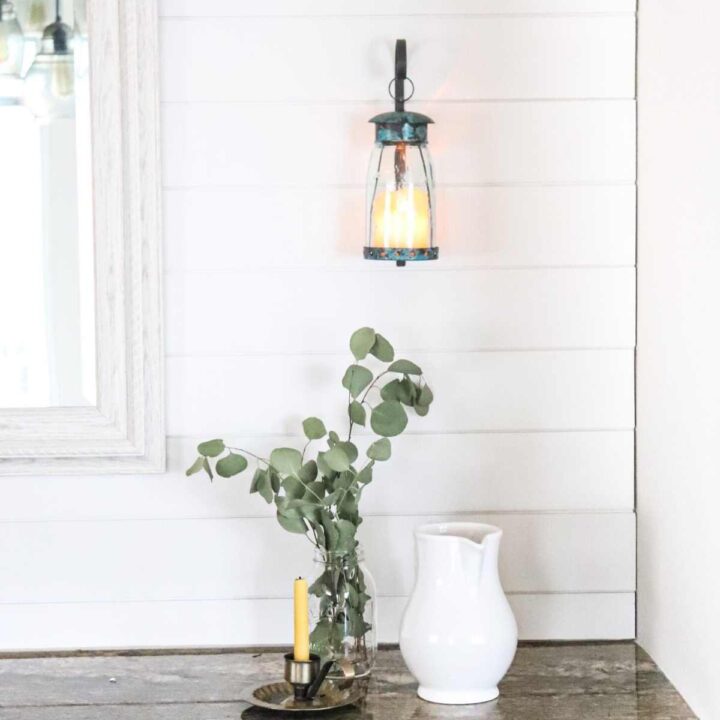
We went on Amazon and found a really cool company called Colonial Tin that specialized in tin works. They made some really cool tin mason jar candle holders that accented the ship lap wall really well. We bought some battery powered candles off Amazon to use in the jars.
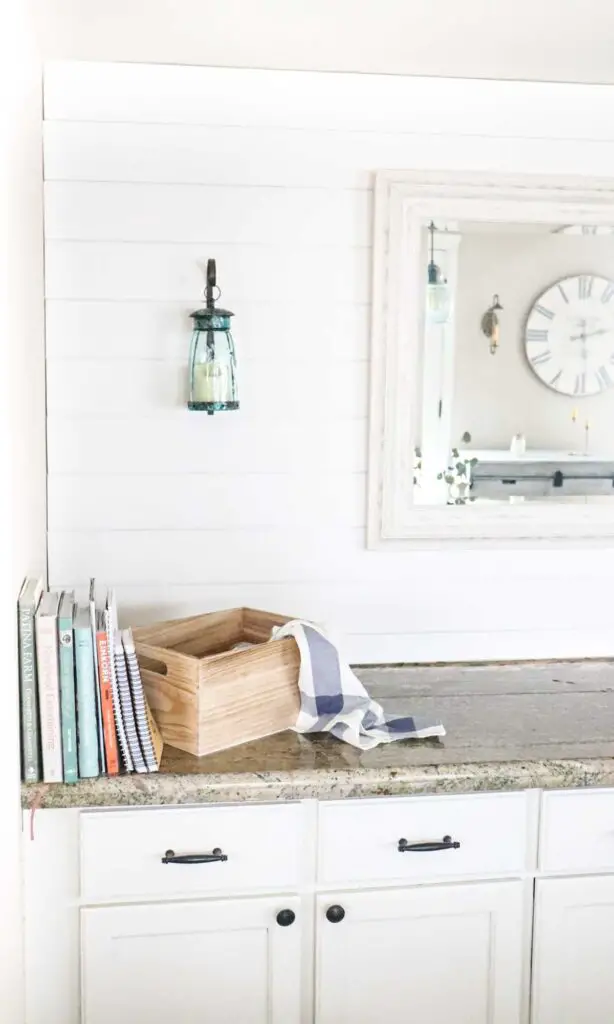
One thing we still need to do is apply some crown molding around the edges. We haven’t completed this yet but really it is a personal choice for this step. Overall we are really happy with the end product and it definitely adds some of that old world farmhouse charm to our dining room.
How to Install Shiplap Accent Wall
This charming farmhouse shiplap accent wall can give any modern home that classic old world farmhouse style. Learn this easy shiplap DIY to turn any wall of your home into charming farmhouse shiplap.
Materials
For the Shiplap:
- Miter Saw
- Circular Saw
- Stud Finder
- Air compressor
- Chalk Line
- Ruler
- Pencil
- Dry Wall saw remover
- 18 gauge 2 in nails
For the Paint:
- Behr Polar Bear White Paint
- Frog Tape (painters tape)
- Heavy Duty Drop Cloth
- Fine rated 6in roller brush
- Small tip painter brush
Instructions
- FOR THE SHIPLAP:
- First, buy Shiplap boards from Home Depot according to the length you need them. For our project we needed 11, 6" width boards boards to create a covered space that was 8 feet long by 47 in tall. Here's the shiplap we bought.
- Second, re-measure the space you will be covering before you lay each board. The drywall is not perfectly straight so it will lead to a slightly different measurement for each board.
- Once you have the measurement use a miter or chop saw with a fine blade to make a straight and clean cut. One tip is to start your cut with the clean face facing up. This will ensure the cleanest cut possible.
- Next go inside and begin prepping your workspace for laying the boards. It is absolutely crucial you invest in a good stud finder and map EVERYTHING behind the wall. If you are even slightly unsure if there is a pipe…remove the drywall to get eyes and hands on. The last thing you want to do is find out about this
after you accidentally nail through a pipe (trust me, it's happened). - Once you have the studs mapped out use a chalk line to map where the studs are. These are what you will nail the ship lap into the wall on.
- Next get your air compressor, nail gun, and 2" 18 gauge nails. Place the first board at the top of the wall as this will be the most visible board. Nail two nails vertically where the board overlaps with each stud.
- Continue this process until you reach the last board. When you reach the last board you will need to use a special measurement as the space you are covering will likely not be the perfectly natural 6" board length. Once you measure this special case you can use a circular saw to cut the board to size.
- After you get all the boards on the wall you will need to use a dapwood filler to cover over the small inlets where the nails were.
This will provide for a more clean and finished look. Once the dap filler is on the boards you can use a sander to smooth out the surfaces. - Following this step you will need to begin prepping the workspace for painting.
- WHAT TO DO AFTER SHIPLAP IS UP:
- Use frog tape to cleanly cover all edges and a heavy drop cloth to cover the areas you don’t want to paint. We used Behr Polar Bear White paint from Home Depot. Use a fine rated roller brush to apply the paint. We applied 2 coats. This will take a total of about 4 hours. Use a small brush to get the edges of the surface where the roller brush does not completely cover. Once
everything is complete remove all the drop cloth and tape. - Lastly we went on Amazon and found a really cool company called Colonial Tin that specialized in tin works. They made some really cool tin mason jar candle holders that accented the ship lap wall really well. We bought some battery powered candles off Amazon to use in the jars.
- One thing we still need to do is apply some crown molding around the edges. We haven’t completed this yet but really it is a personal choice for this step. Overall we are really happy with the end product and it definitely adds some of that old world farmhouse charm to our dining room.
Notes
Check out the video to see how its done!
SAVE TO PINTEREST
Keep Building!
How to Build a Farmhouse Dining Table (with free plans!)
How to Build a Bench for Farmhouse Dining Table
Easy Refinished Antique Dresser
Farmhouse Spring Living Room Refresh


Hi Alexa, your shiplap project turned out great! Thanks so much for sharing some photos of our home in your post! PS I tried to email you back, but it bounced for some reason. Happy homesteading!
Hm that’s strange. I’m glad you liked the post! I’ll see what I can do about my email..