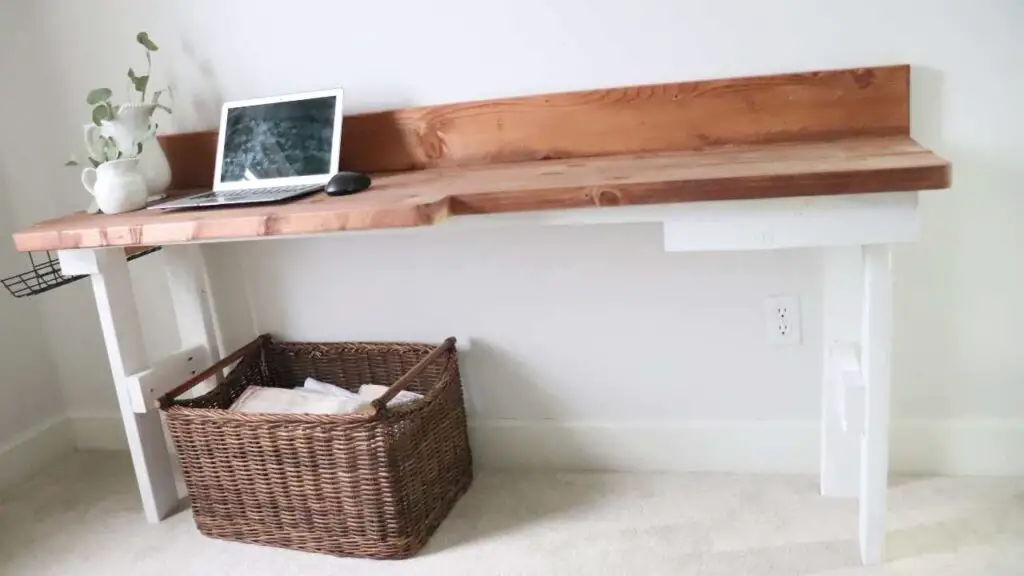
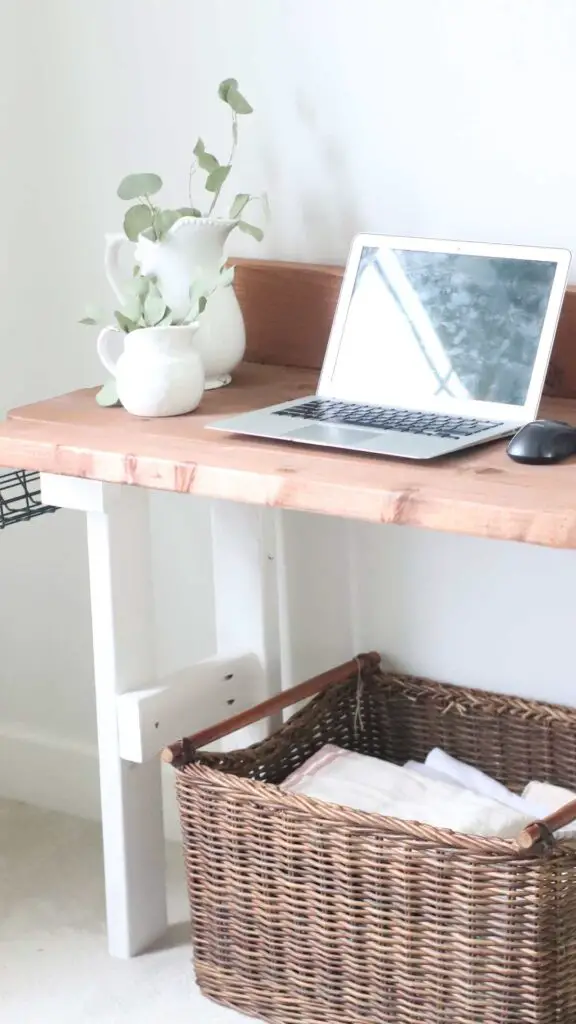
If you work from home you know how important it is to have a good office setup. I am so thankful my husband built this DIY computer desk for me! Learn how to build a computer desk from scratch under $50 with this easy tutorial.
This post contains affiliate links, which means I may make a small commission off items you buy at no extra cost to you 😉 As an Amazon affiliate, I earn on qualifying purchases.
PIN IT FOR LATER!

Why We Built our Own Computer Desk
It is SO important to have a good home office these days.
If you are reading this post I’m sure you are one of the many who started working from home after the pandemic hit. After all, that jumpstarted the whole work from home thing.
I did a lot of research on DIY computer desk ideas and came across a few that intrigued me. The L shaped desk design with drawer slides seemed to be popular, but that’s not the style I was looking for. I settled on a simple, long computer desk. It is simple to build and serves the purpose.
And I’m really glad it did! More and more, John and I are striving to make home the place we spend all of our time. We are both fully remote now, I stay at home with our two children and work on the blog while he works in his office.
Ever since we moved to a farming community a few years back, we’ve been building our homestead one step at a time. And you don’t need a lot of land to do it either. Read about how to get started homesteading, no matter where you live, in this post.
If home wasn’t your favorite place to be before the pandemic, it probably is now! We’ve had this goal in mind for many years now. That is why we built this farmhouse dining table and our own rusting looking bed frame. Slowly but surely, creating one piece of our dream home at a time.
Tools Needed
Mitre Saw or Circular Saw
Kregg Jig
Orbital Sander
Wood Cut List
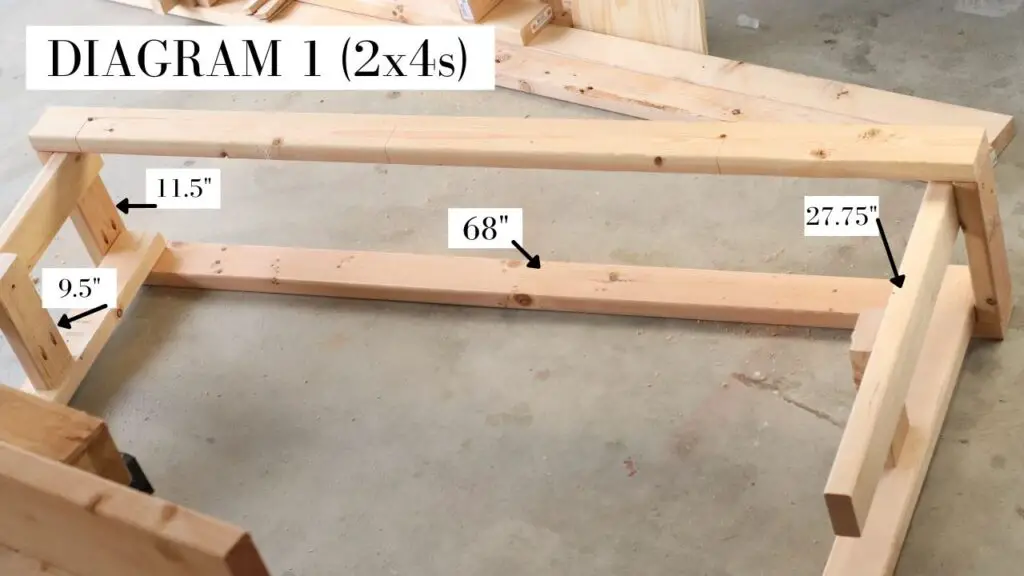
Five 2x4x8s (for table base – see diagram 1) – about $25 – two at 68″, four at 27.75″, two at 11.5″, and two at 9.5″
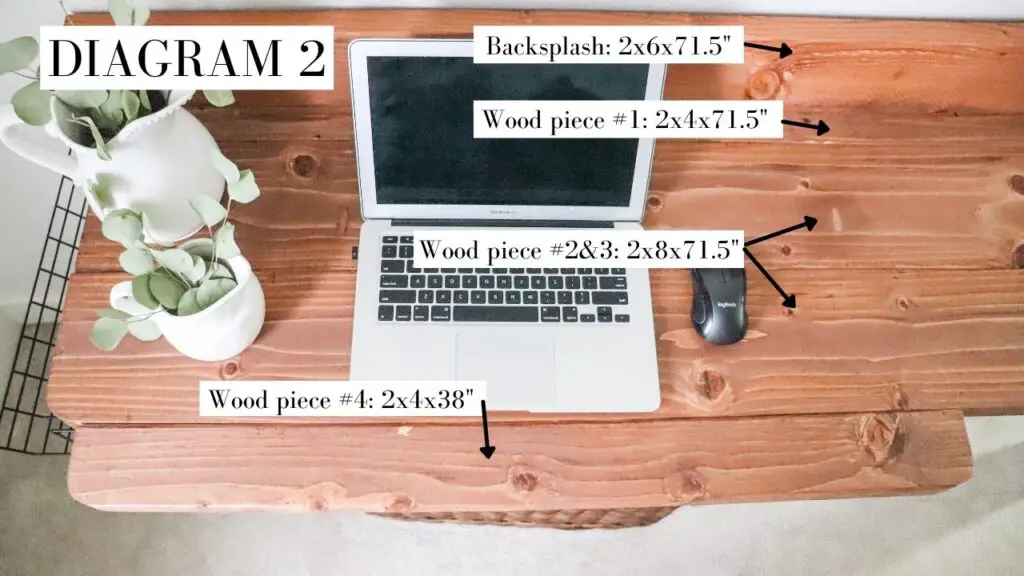
Two 2x8x8s (for the table top) – $16 – two at 71.5″
One 2x6x8 (for backsplash – optional) – $8 – at 71.5″
Approximate cost $50 for the wood pieces (assuming you already have the rest of the tools and materials on hand). What’s nice about this is you can use any leftover paint or stain you may have on hand.
Other Materials Needed:
2 1/2 inch decking screws
2 1/2 inch interior kregg jig decking screws
Stain of choice (we used one coat of Red Mahogany)
Wood finish – we used a wax rub.
White paint for table legs
Work from Home Desk Accessories


How to Build a Computer Desk from Scratch
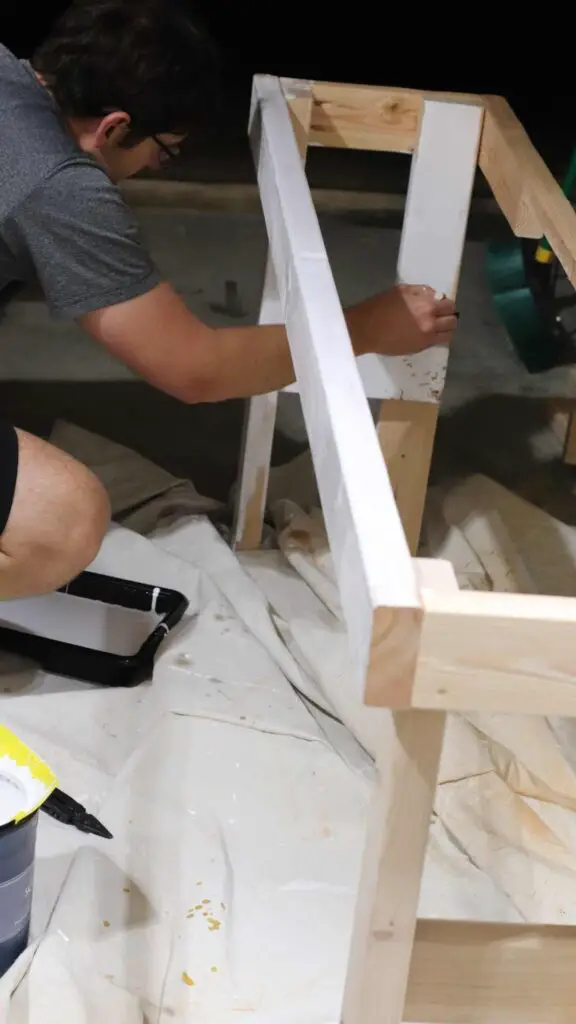
You’re going to build the desk frame and legs first, then the table top, and you’ll stain and paint them separately. Then, after they dry, bring them up to the room you’re going to install them in and attach them together there. This keeps the weight down for carrying and allows the desk to be more maneuverable.
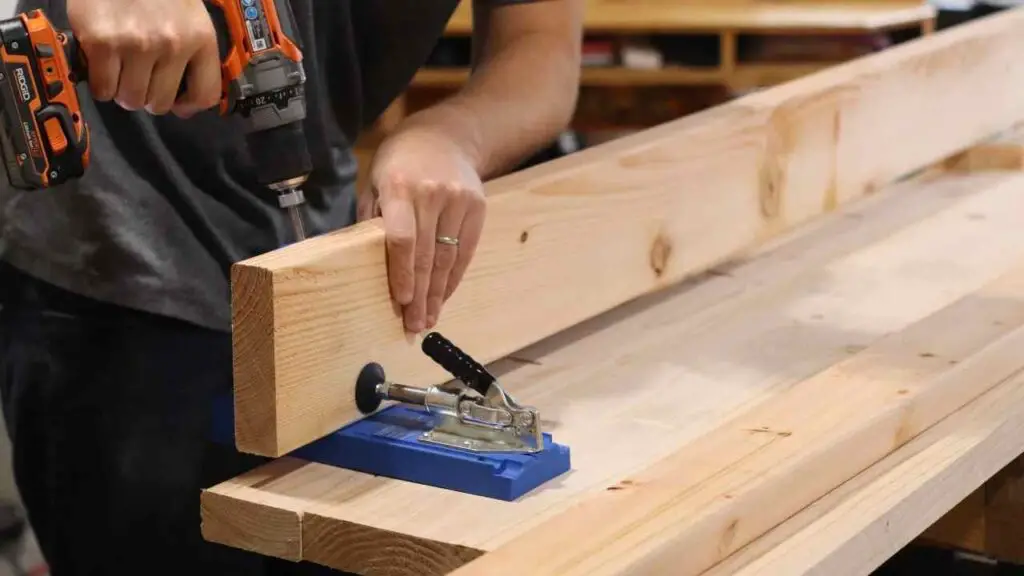
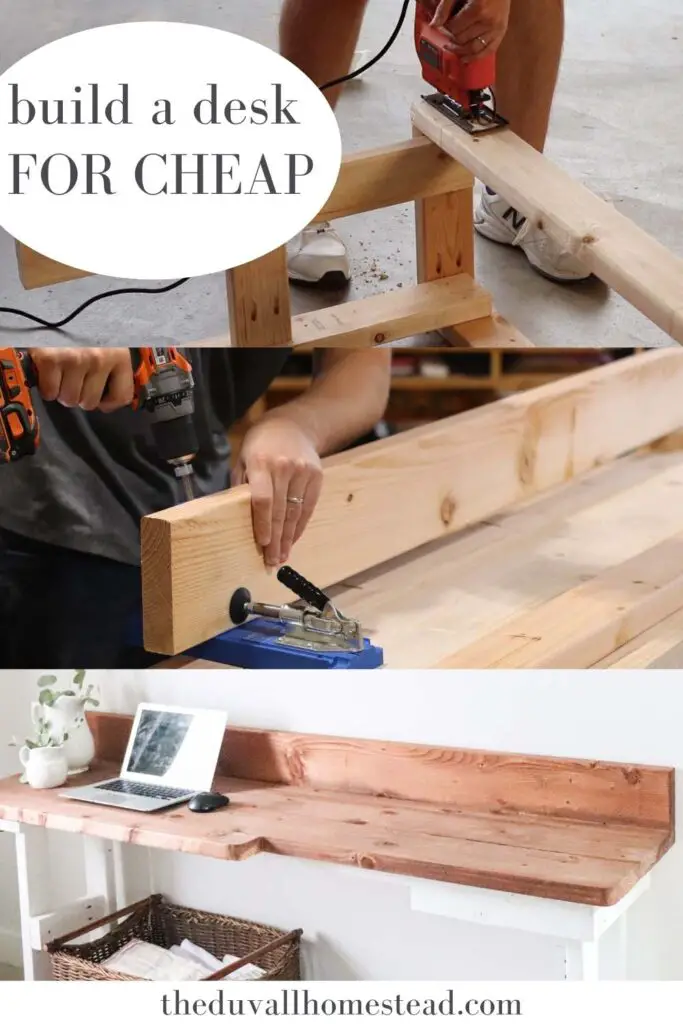
First, build the frame and desk legs. Use the 2x4s and a mitre or circular saw to cut the square and leg pieces. Use a Kregg Jig to drill the pocket holes (see diagram 1)
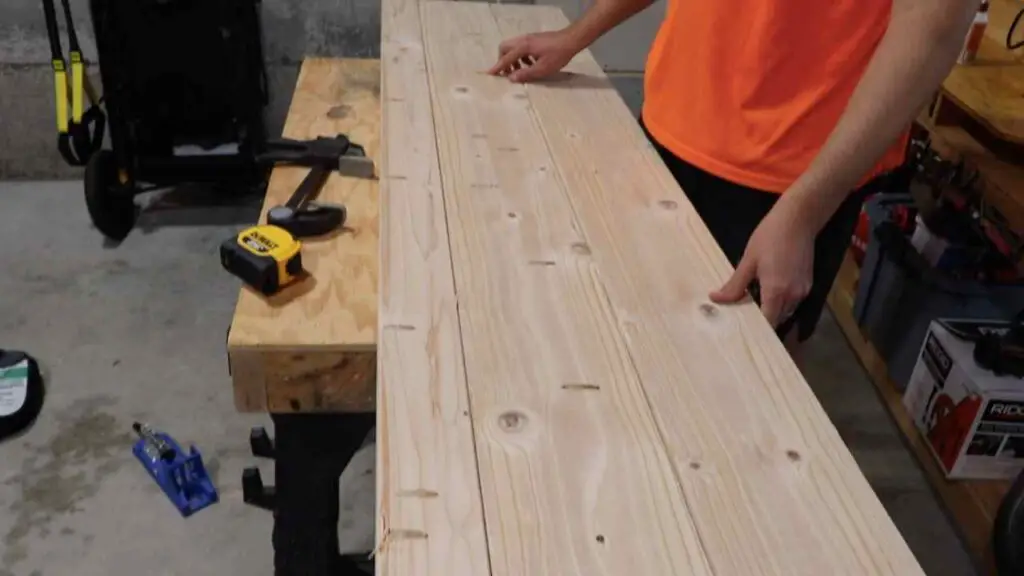
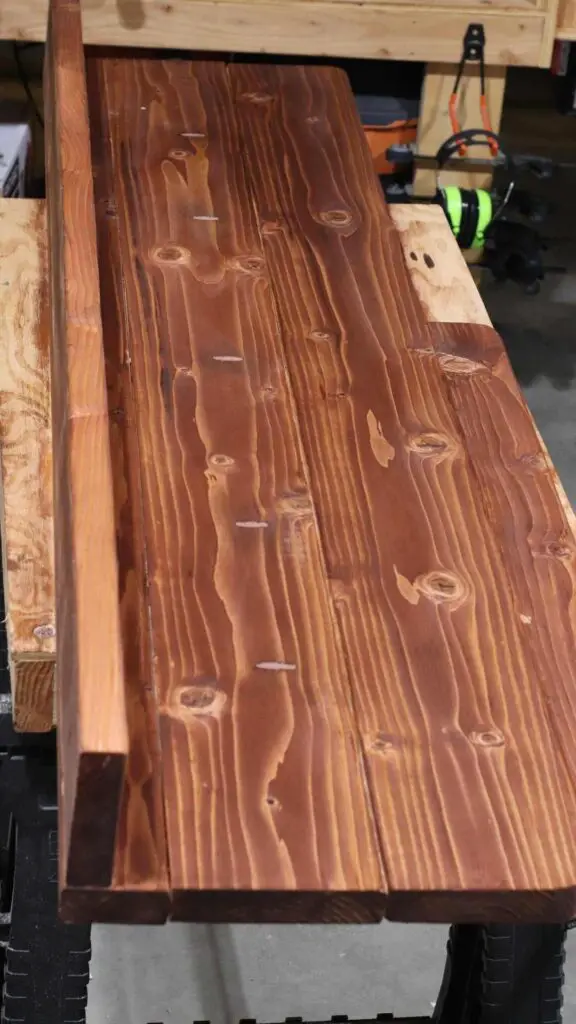
Next build the desk surface. Use the 2x8s and cut them to length (see diagram 2). Join the 2x8s and 2x4s together with pocket holes (6 across the surface) and gorilla wood glue.
Add the backsplash (optional) to the 2×4. You can also add the keyboard piece like we did with a 2×4.
Round the corners with a jigsaw (optional, if you have little ones running around 😉
Sand wood with an orbital sander (we used 120 bit grit).
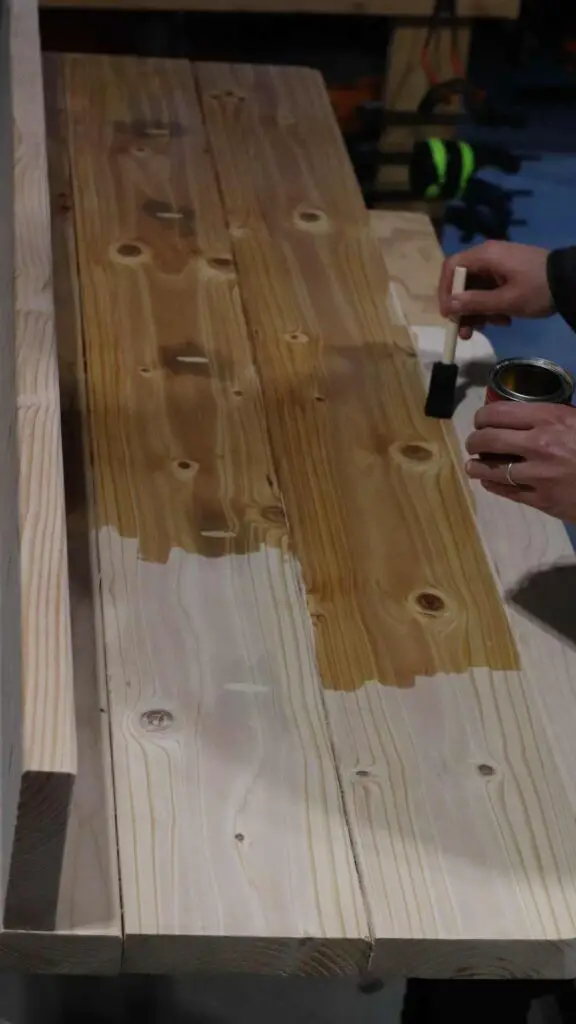
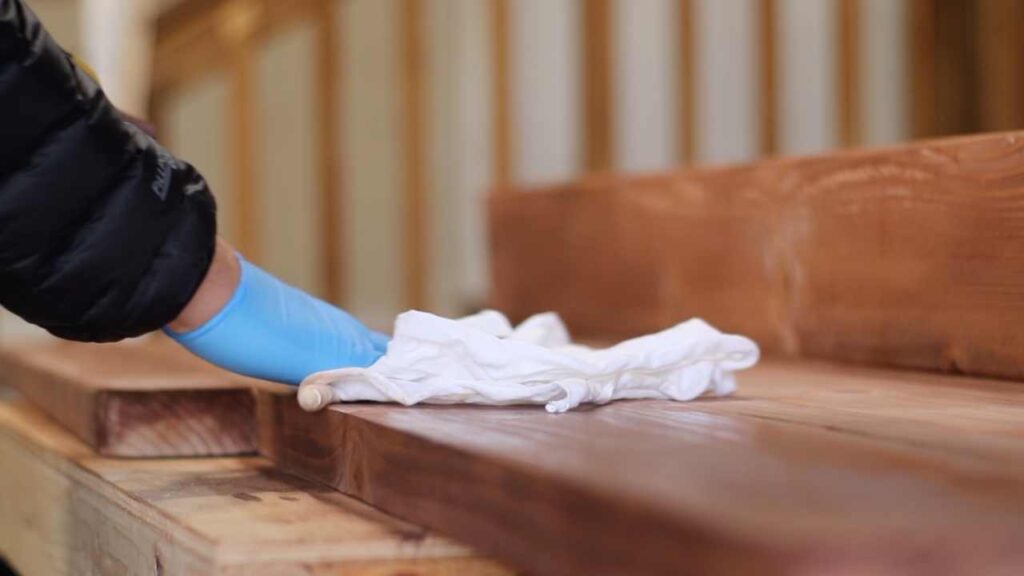
Apply pre-stain wood conditioner. Let dry for 2 hours, then apply the wood stain. Lastly we used a wax finish over top of the stain. This did a great job of sealing it all in. We chose to also paint the table legs white.
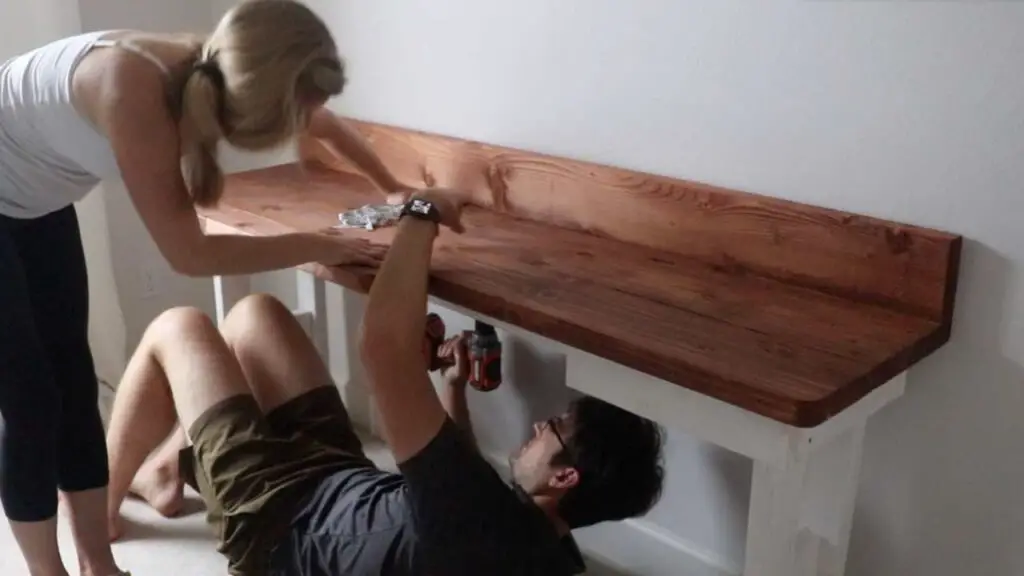
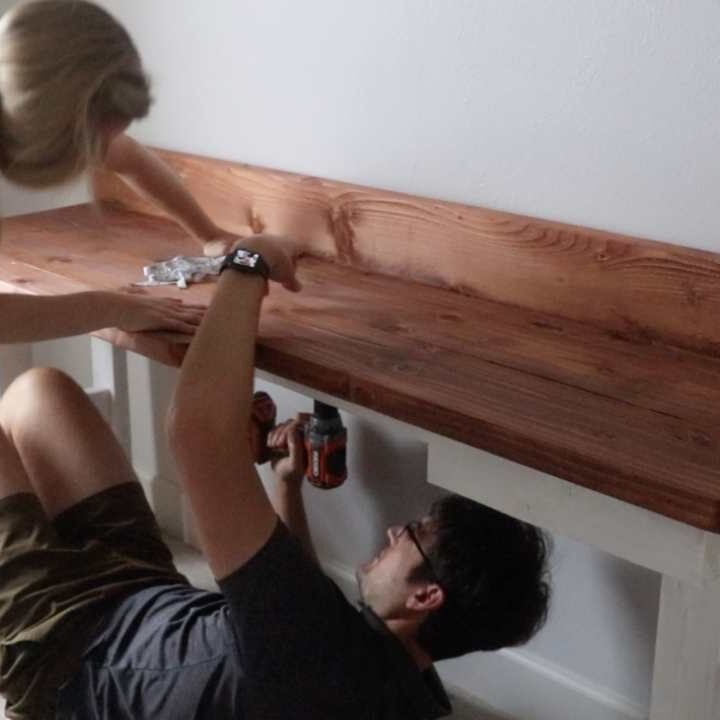
Once the stain and pain is dry, bring the two finished pieces up to the office you’re going to install them in. Carefully set the table top on top of the foundation, making sure it’s centered properly. Connect the two pieces with pocket holes, three on each side front and back.
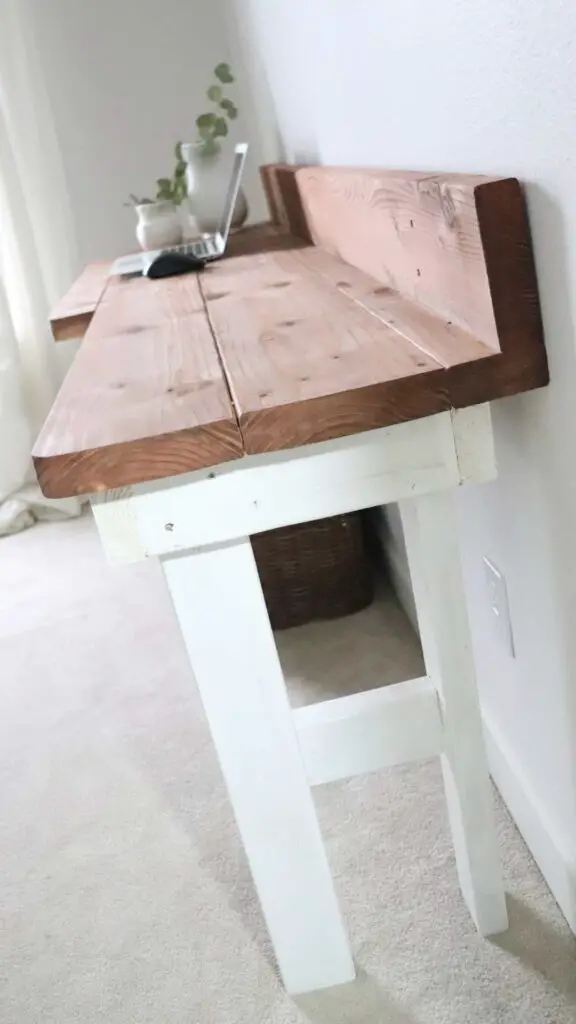
If you feel like the desk is a bit tippy, use a long screw to reach into the wall stud behind the desk and drill the desk into the wall. The other option is to make the desk wider, but we couldn’t do that because we had a small space.

Tips for Building a Custom Computer Desk
You’ll want to keep the table frame and legs (diagram 1) and the table top (diagram 2) separate until you install it in the room. This keeps the weight down and allows the desk to be more maneuverable.
Try sealing the wood in with a wax instead of a polyurethane. Either one works, but the wax gives the wood a really soft and smooth finish, which is nice for typing hands.
Add this easy to install cord holder to help organic your cords. There’s nothing worse than cords spread out all over the desk, so this handy cord rack really helps.
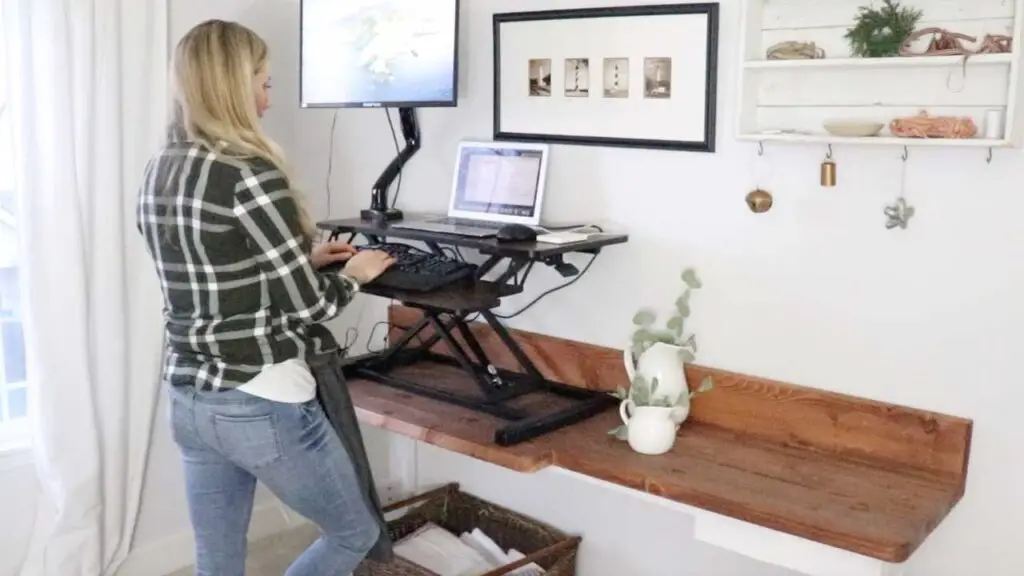
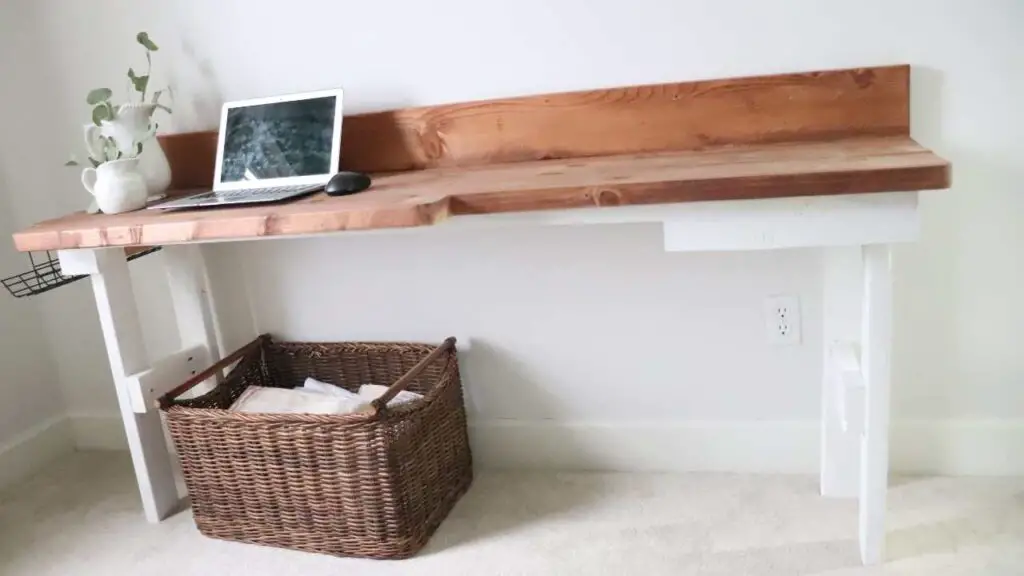
As you can see from the photos, we added another 2×4 to expand the width on one side of the desk. This allowed me to put a standing desk and a keyboard tray on the one side. If you plan on using a stand up desk too, make sure you measure it and test it out on the wood top before finishing the desk. You want to make sure there is plenty of room for it to expand and collapse back down.
Add another 2×4, 2×6, or 2×8 to the tabletop for a wide desk if desired. We had a really small room we were fitting this desk in, so our desk is narrow on purpose.
The downside to a narrow desk is it can get tippy and feel like it’s going to fall over. So to counter this, we drilled the backsplash into the studs of the wall behind the desk. It’s all about just figuring out how to fit in your own space.
FAQs:
Is it cheaper to build your own desk?
Yes. We made our DIY desk out of 8 pieces of wood for a total of about $50. For a wood desk, you won’t find that cheaper than $50.
For reference, this desk on Amazon is $66, but it’s much smaller and not made of wood either. This larger desk from Wayfair is $120. So yes, it’s much cheaper to build our own desk.
Now this is assuming you have tools to work with at home. Obviously if you have no wood working tools this is going to cost you more. We also reused old paint and stain which saved some money.
Can I build my own computer desk?
Yes, just get the wood cut to the dimensions specific below and start drilling. Measure your space and make sure you’re building to your exact needs. Then just sand, stain, and install. Very easy process!
How do I build a cheap computer desk?
Build a cheap computer desk by only buying the wood needed for the project and reusing any paint and stain you have leftover. In this tutorial we built a wood desk for about $50 worth of new materials.
Keep on Building…
Keep building with these easy and free tutorials:
How to Build a Removable Countertop over Washer and Dryer
How to Install a Shiplap Accent Wall
DIY Bed Frame – How to Make New Wood Look Old
How to Build a Long Computer Desk from Scratch under $50
Learn how to make a long computer desk from scratch and under $50 with this simple tutorial. Perfect for working or crafting from home.
Materials
- Five 2x4x8s (for table base - see diagram 1) - two at 68", four at 27.75", two at 11.5", and two at 9.5"
- Two 2x8x8s (for the table top) - two at 71.5"
- One 2x6x8 (for backsplash - optional) - at 71.5"
- 2 1/2 inch decking screws
- 2 1/2 inch interior kregg jig decking screws
- Pre-Stain Wood Conditioner
- Wood Glue
- Stain of choice (we used one coat of Red Mahogany)
- Wood finish - we used a wax rub
- White paint for table legs
Tools
- Mitre Saw or Circular Saw
- Kregg Jig
- Orbital Sander
Instructions
- First, build the frame and table legs. Use the 2x4s and a mitre or circular saw to cut the square and leg pieces. Use a Kregg Jig to drill the pocket holes (see diagram 1)
- Next build the tabletop. Use the 2x8s and cut them to length (see diagram 2). Join the 2x8s and 2x4s together with pocket holes (6 across the surface) and gorilla wood glue.
- Add the backsplash (optional) to the 2x4. You can also add the keyboard piece like we did with a 2x4.
- Round the corners with a jigsaw (optional, if you have little ones running around 😉
- Sand wood with an orbital sander
- Apply pre-stain wood conditioner. Let dry for 2 hours, then apply the wood stain. Lastly we used a wax finish over top of the stain. This did a great job of sealing it all in. We chose to also paint the table legs white.
- Once the stain and pain is dry, bring the two finished pieces up to the office you're going to install them in. Carefully set the table top on top of the foundation, making sure it's centered properly. Connect the two pieces with pocket holes, three on each side front and back.
- If you feel like the desk is a bit tippy, use a long screw to reach into the wall stud behind the desk and drill the desk into the wall. The other option is to make the desk wider, but we couldn't do that because we had a small space.
Notes
We estimated the cost of the wood from Home Depot or Lowes to be about $50. We had the remaining materials on hand from other wood projects. What's nice about this project is you can reuse old materials if you have them to keep the cost down.
SHARE IT ON PINTEREST!



Leave A Comment