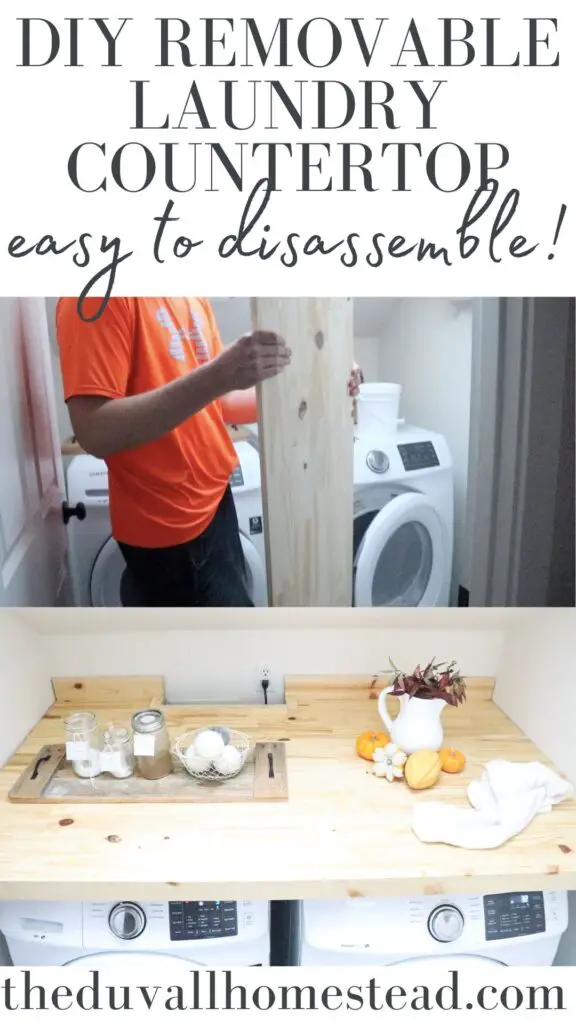
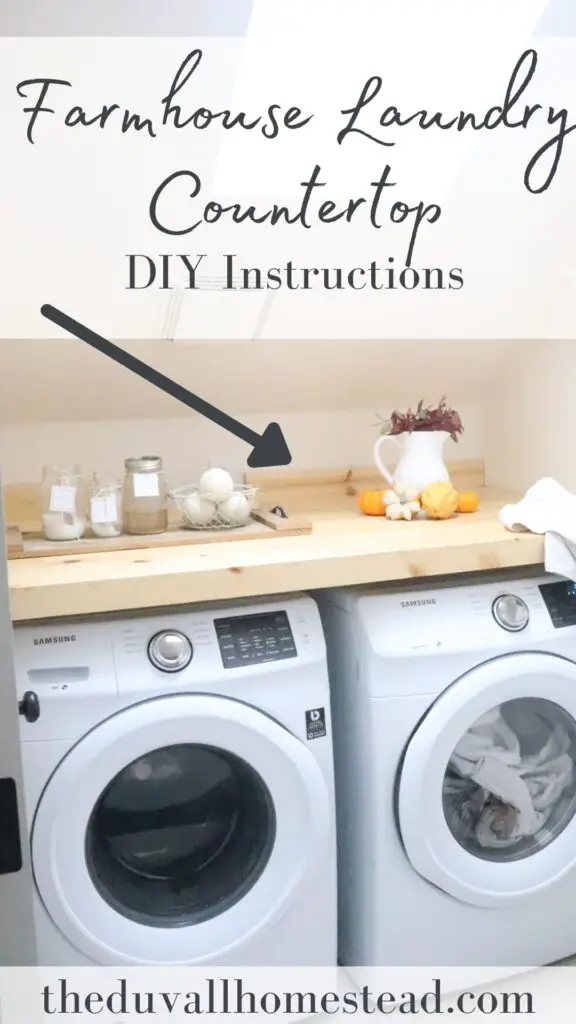
Learn how to build a removable countertop for the washer and dryer. We have a small laundry room, so this allows us to easily fold clothes on top of the washer and dryer instead of on the floor. Also it’s fully removable, so it’s easy to assemble and take down if needed. A quick DIY that makes a lasting impact in our homestead!

Our laundry room is pretty small, so John got the idea to build a countertop over the washer and dryer. We searched the internet and found a few designs, but none of them were removable and easy to disassemble. So with the help of my husband and some solid naps from Allison, we figured out how to build a DIY removable laundry countertop.
This post contains affiliate links, which means I may make a small commission off items you but at no extra cost to you. As an Amazon affiliate, I earn from qualifying purchases.
Pin it for Later!
2023 UPDATE:
Wow! I’ve gotten so many of you on the blog here and on Youtube who have built this countertop. I’m so happy you all are enjoying it. If you have any questions feel free to leave them in the comments below or on youtube. We, too, couldn’t find plans for a removable countertop over the washer and dryer so we’re very happy John figured something out. Enjoy!
DIY Removable Laundry Countertop for Washer Dryer
If you have a tiny laundry room, you know how hard it is to find storage space for supplies and folding clothes. The fact is you probably don’t even have any space for folding clothes or storing laundry baskets. And you probably keep your supplies right on top of the washer and dryer.
That was our scenario too until just recently when my husband, John, (thank goodness for him!) built us a countertop to go over the washer and dryer.
We have a front-load washer dryer which basically means I have a really strong back from bending over and taking out clothes every day. I know the front-loaders wash clothes better than top-loaders, but it’s definitely more work getting things in and out.
And now that I’m carrying baby Allison around in the front wrap, it’s harder for me to do laundry while bent over. At least not as fast as I used to 😉
So as you can see the removable laundry countertop over front loading washer and dryer solves a lot of problems for us. And I’m assuming it will for you too if you are reading this post!

Looking to spruce up your laundry room even more? Download these FREE printable laundry labels and start organizing your laundry products!
Why we Love this Laundry Countertop
First, it’s easy to make. You just need a few wood panels, some wood for stringers, and basic garage tools. No table saw needed for this. And it’s broken down into three pieces so it’s easy to assemble once finished.
Second, you can assemble and disassemble it. One of the biggest questions we had about a laundry room countertop was, how do we remove it if we need to get back behind the machines? Most of the tutorials we found online were permanent fixtures, and we didn’t want that. So John created this module design that pieces together kind of like shiplap, so you can easily access your water and electrical lines.
And last but certainly not least, the counter space makes folding clothes so much easier! I was using the top of the washer dryer before, and things would fall through the cracks or get knocked off when the cycles were running. This shelf provides so much counter space, I don’t even know what to do with it. I don’t need that much space actually! But I’ll take it, especially since I wash a lot of cloth diapers and homemade baby wipes these days 🙂
Tools Needed
Tape Measure
Drill
Speed Square
Brad Nailer + Nails
Materials Needed
3 pine panel boards (at least 6 feet, but measure your space first in case your machines are different sizes than ours)
2 1×1.5 inch pine strips
1 1×2.5 inch wood board (at least 8 feet) for the backsplash and front lip
2 1/2 in deck screws
Brad nails
Wood filler
Minwax natural coat stain
Polycrylic
Minwax wood conditioner
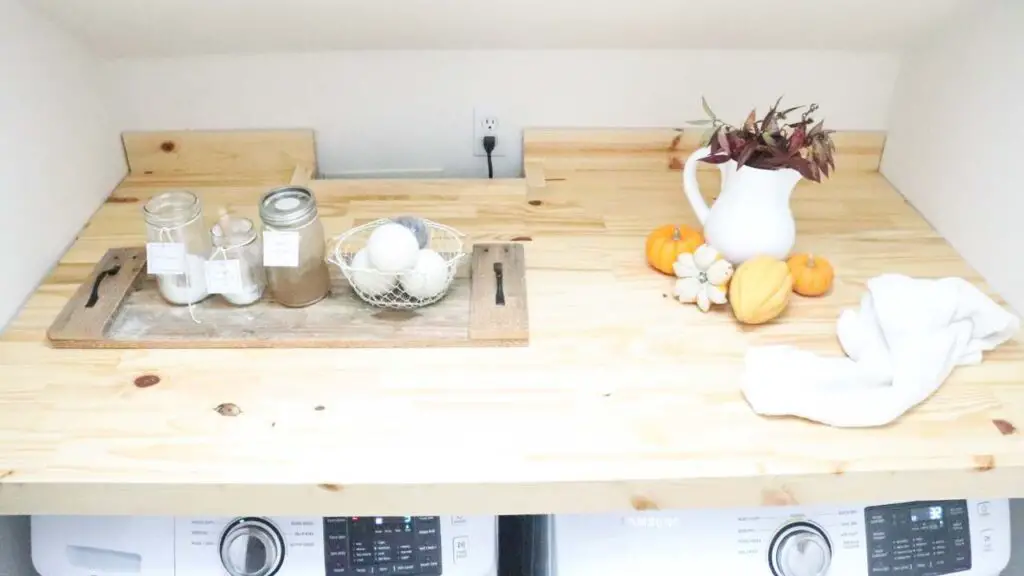
How to Build a Removable Countertop over Washer Dryer
First measure the laundry room space.
The laundry shelf works well in a small, boxed-in laundry room like we have. However you could of course customize the shelf to the dimensions of your room.
Our shelf ended up being 65 1/2 inches wide by 36 inches deep (plus a 3/4 inch backsplash). This covered both the washer and dryer.
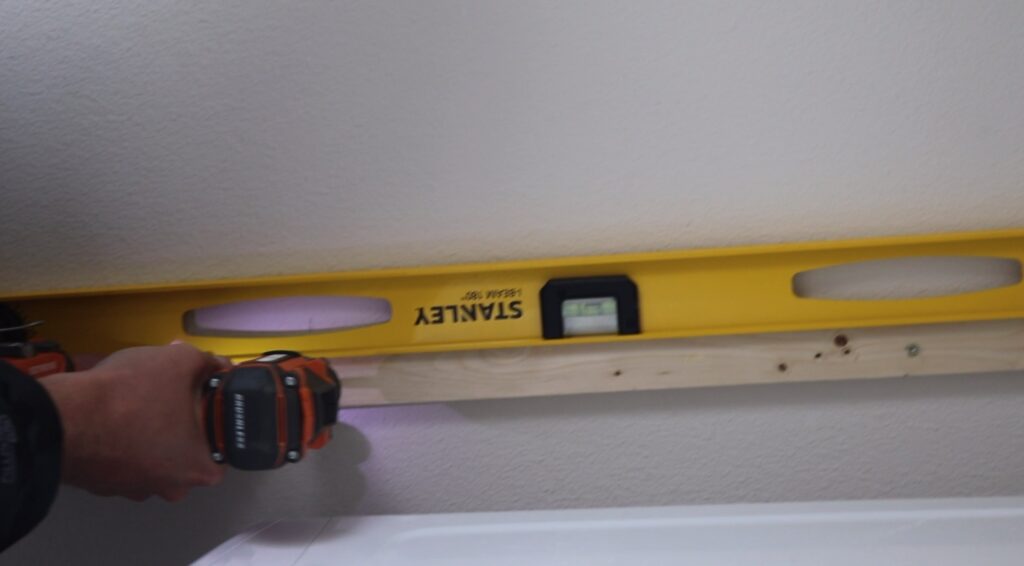
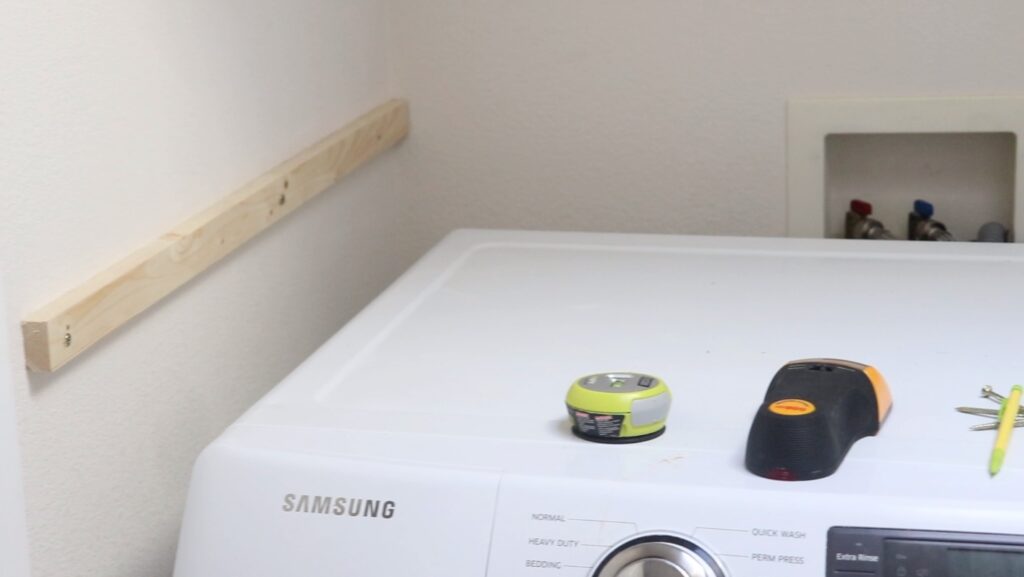
Next you will need to cut stringers for the shelf. Using 1 x 1.5 inch pine strip wood, cut 2 strips to approximately 1/4 from where the shelf will end in the front.
This will serve as the support structure for the shelf. Drill these into the side studs of the wall space using 2 1/2 in decking screws. Make sure to secure into a wood stud and not the drywall.
Now it is time to cut out the actual shelf pieces. Take the 12 in x 1 in x 6 ft pine panel board and cut to the approximate width of the room where you will be installing
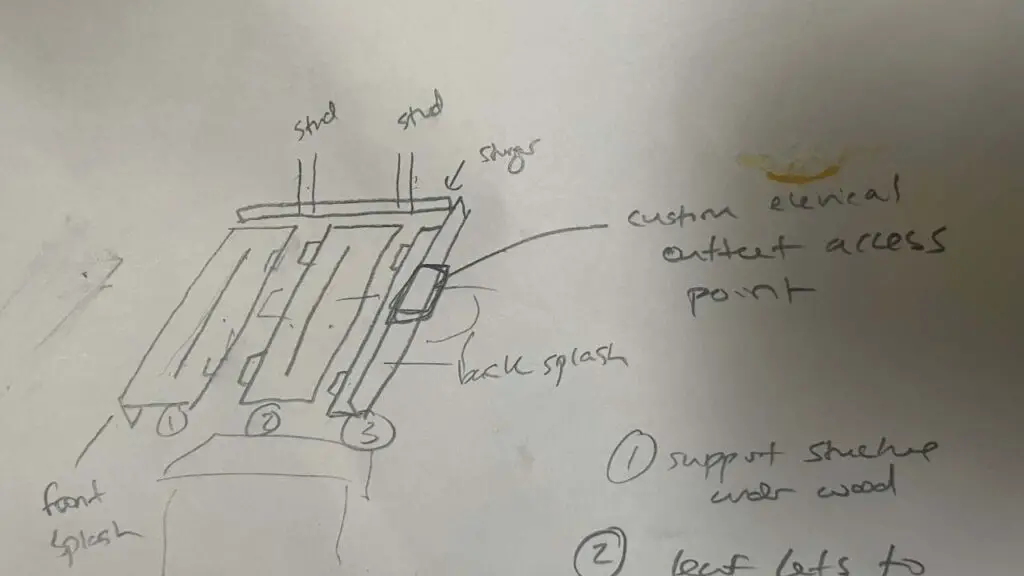
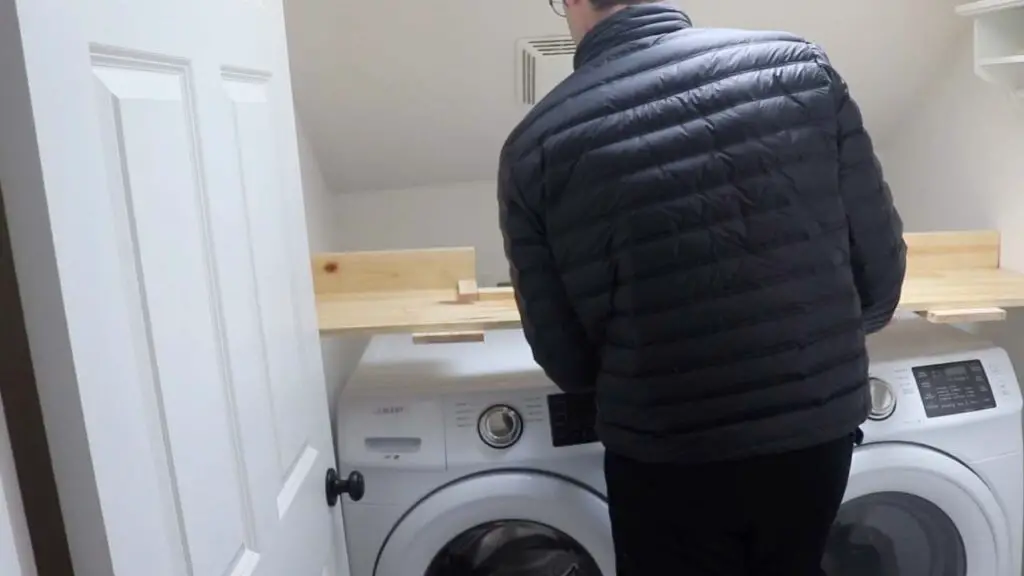
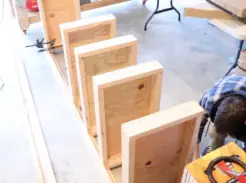
We decided to make our shelf modular to enable better installation and access to the washer and dryer since we likely will be upgrading these appliances soon. As a result we concluded that we would need 36 in or 3 panel boards for shelving.
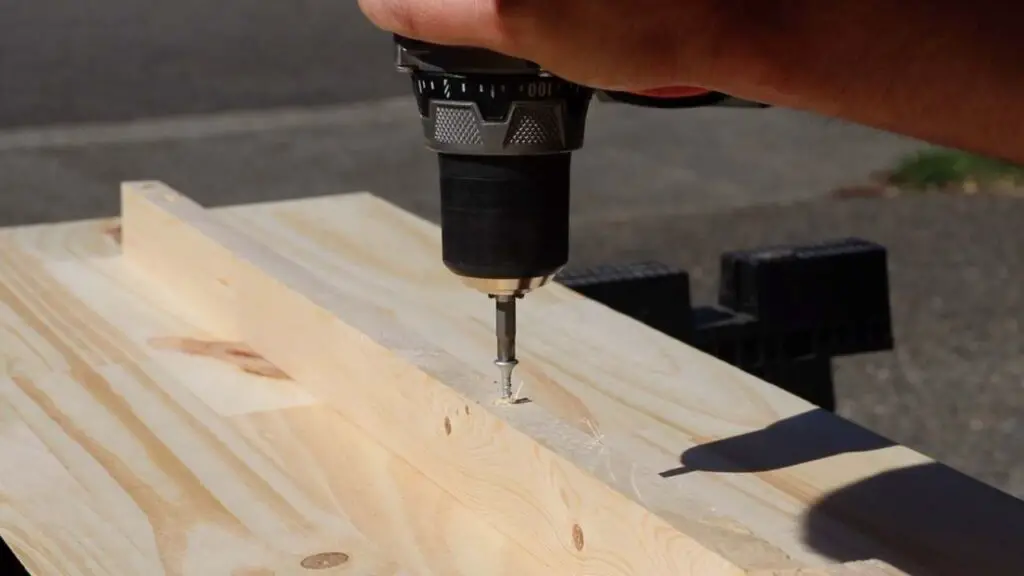
These panel boards will sag with any weight on them so we needed to modify them to carry load. We took some extra 1 x 1.5 in strips and screwed them on the short side facing down into the middle underside section of the panel board. We made sure to check that this would serve as a sort of brace holding up any load on the board.
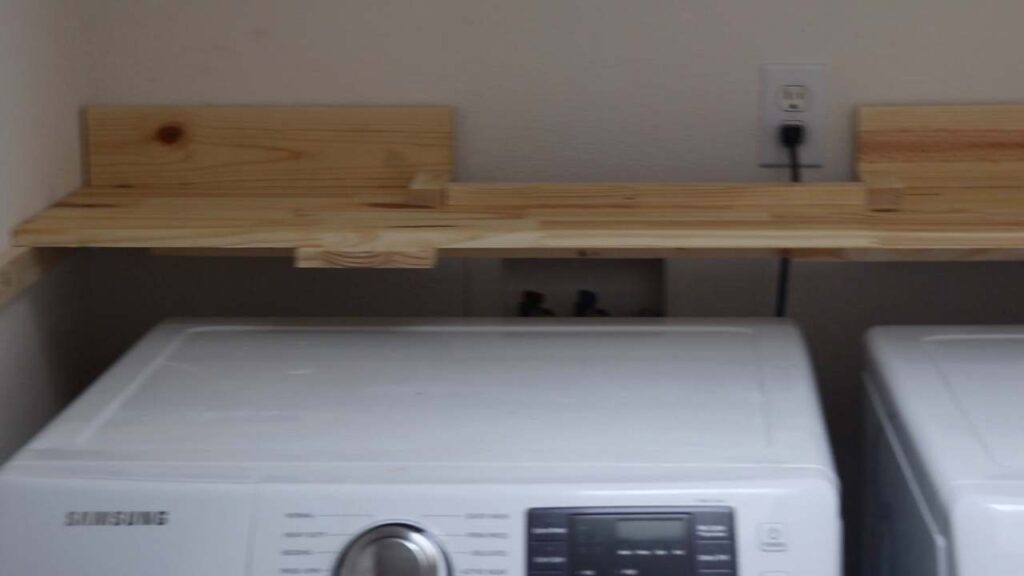
To add another level of security we installed interlocking lips on the first 2 boards facing the back wall of the room. These interlocking lips (spare panel boards) were screwed into the bottom section of each panel board. When each panel board is installed, it will act as another level of security to ensure there is load capacity for the shelf.
Custom tip:
Don’t forget to cut out a custom hole in the back if you want to reach the water and electrical.
Laundry Countertop Instructions, Cont.
After you have made all your cuts and prepped the panel boards to carry weight, it is time to put on some finishing touches to the shelf.
We decided to install a back-splash and front lip using a 1 x 2.5 in board. We cut the board to fit and installed each piece using a brad nailer.
For the font lip we filled in the holes left from the brad nailer with wood filler to give a more finished appearance.
We really liked the font lip as it gave a more robust appearance to the shelf and makes it look almost like a butcher block.
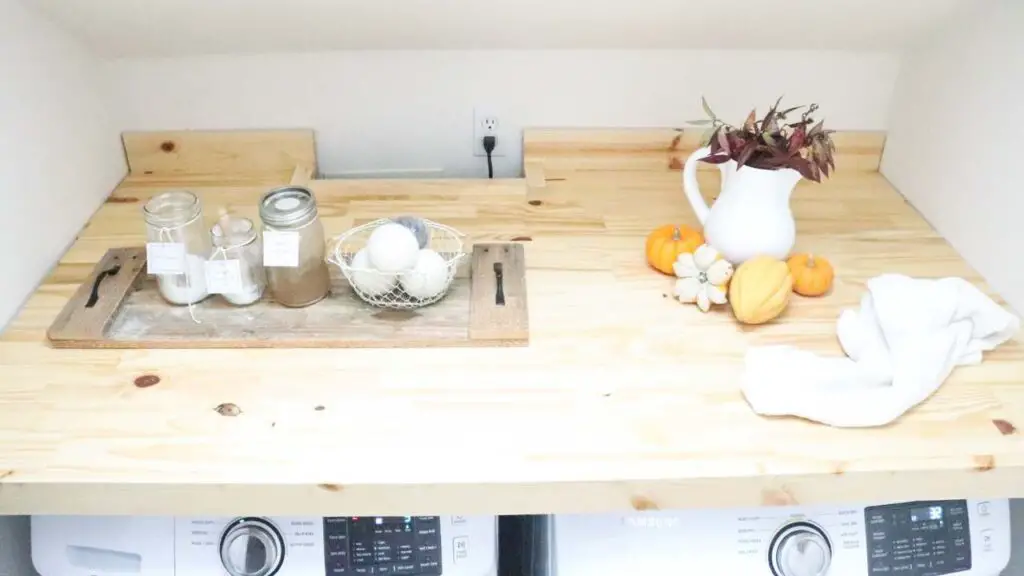
Next we decided to condition, stain and seal the wood. We prepped the surface by sanding with an orbital sander using a 120 and 240 grit sandpaper.
Conditioning – this is an essential step if you are using a soft wood as it will ensure the stain is applied smooth. We used minwax wood conditioner.
Staining – we decided to go with a bright natural wood stain from minwax. We applied 2 coats using a synthetic brush.
Sealing. – we used 3 coats of minwax polyacrilic. In between each coat we sanded down the wood using 240 grit sandpaper to give smooth finish.
The entire finishing (conditioning, staining, and sealing) can be accomplished in a weekend to allow for drying in between coats.

I shared more about our farmhouse laundry room makeover (including free printable laundry labels) in this post!
FAQ:
How do you make a removable laundry shelf over the washer and dryer?
To make a removable laundry shelf, use three pine wood planks to create a countertop. Add 2×1.5 inch pine strips to create support beams on the bottom of the planks to prevent sagging. To attach the boards together, add wood planks underneath in an interlocking pattern, kind of like shiplap. This will allow the planks to be removed if you need to access the washer and dryer. See the video below for the full tutorial.
What’s the best wood to use for a laundry countertop?
You want to use pine wood so you can seal it for water proof-ness. Pine is also a lot cheaper than cedar.
More Farmhouse DIYs:
How to Build a Farmhouse Dining Table Restoration Hardware-Inspired
DIY Porch Steps with Reinforced Stringers
How to Build a Removable Laundry Countertop Shelf
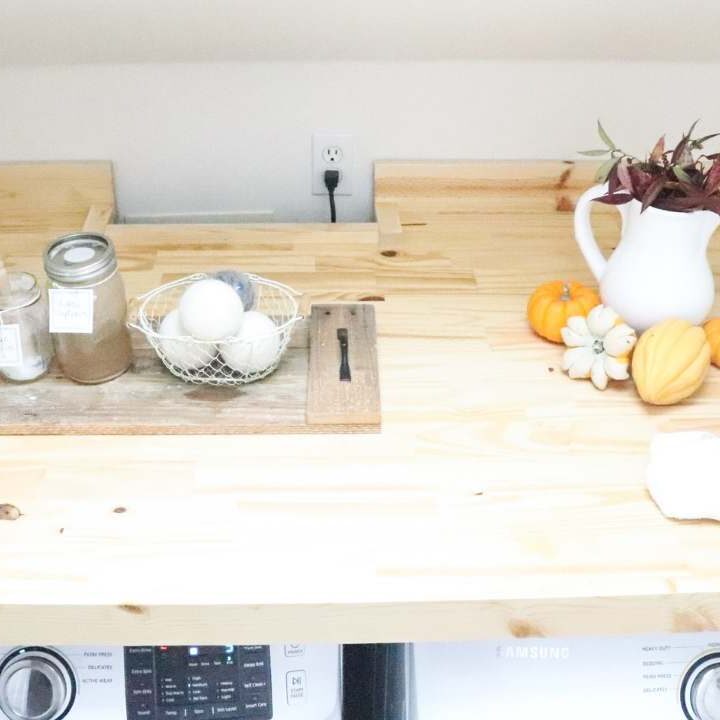
This DIY removable laundry countertop shelf is the perfect DIY project for a small laundry room that needs space for your supplies and folding clothes. Easily disassemble whenever you need to access the machines or electrical!
Materials
- 3 pine panel boards (at least 6 feet, but measure your space first in case your machines are different sizes than ours)
- 2 1x1.5 inch pine strips
- 1 1x2.5 inch wood board (at least 8 feet) for the backsplash and front lip
- 2 1/2 in deck screws
- Brad nails
- Wood filler
- Minwax natural coat stain
- Polycrylic
- Minwax wood conditioner
Tools
- Tape Measure
- Mitre Saw
- Air Compressor
- Drill
- Leveler
- Speed Square
- Brad Nailer + Nails
- Jigsaw
Instructions
- First measure the laundry room space.
- The laundry shelf works well in a small, boxed-in laundry room like we have. However you could of course customize the shelf to the dimensions of your room. Our shelf ended up being 65 1/2 inches wide by 36 inches deep (plus a 3/4 inch backsplash). This covered both the washer and dryer.
- Next you will need to cut stringers for the shelf. Using 1 x 1.5 inch pine strip wood, cut 2 strips to approximately 1/4 from where the shelf will end in the front. This will serve as the support structure for the shelf. Drill these into the side studs of the room walls using 2 1/2 in decking screws. Make sure to secure into a wood stud and not the drywall.
- Now it is time to cut out the actual shelf pieces. Take the 12 in x 1 in x 6 ft pine panel board and cut to the approximate width of the room where you will be installing
- We decided to make our shelf modular to enable better installation and access to the washer and dryer since we likely will be upgrading these appliances soon. As a result we concluded that we would need 36 in or 3 panel boards for shelving.
- These panel boards will sag with any weight on them so we needed to modify them to carry load. We took some extra 1 x 1.5 in strips and screwed them on the short side facing down into the middle underside section of the panel board. We made sure to check that this would serve as a sort of brace holding up any load on the board.
- To add another level of security we installed interlocking lips on the first 2 boards facing the back wall of the room. These interlocking lips (spare panel boards) were screwed into the bottom section of each panel board. When each panel board is installed, it will act as another level of security to ensure there is load capacity for the shelf.
- Custom Tip: Don't forget to cut out a custom hole in the back if you want to reach the water and electrical.
- After you have made all your cuts and prepped the panel boards to carry weight, it is time to put on some finishing touches to the shelf. We decided to install a back-splash and front lip using a 1 x 2.5 in board. We cut the board to fit and installed each piece using a brad nailer. For the font lip we filled in the holes left from the brad nailer with wood filler to give a more finished appearance. We really liked the font lip as it gave a more robust appearance to the shelf and makes it look almost like a butcher block.
- Next we decided to condition, stain and seal the wood. We prepped the surface by sanding with an orbital sander using a 120 and 240 grit sandpaper.
- Conditioning - this is an essential step if you are using a soft wood as it will ensure the stain is applied smooth. We used minwax wood conditioner.
- Staining - we decided to go with a bright natural wood stain from minwax. We applied 2 coats using a synthetic brush.
- Sealing. - we used 3 coats of minwax polyacrilic. In between each coat we sanded down the wood using 240 grit sandpaper to give smooth finish.
- The entire finishing (conditioning, staining, and sealing) can be accomplished in a weekend to allow for drying in between coats.
Pin it for Later!


Loved this! ❤️
hissfhome | https://www.hissfhome.com
thank you!!
We plan on doing this project only with furniture grade 3/4 “ plywood. Still only $75.
Let me know how it goes!