We had an awkward empty space in our garage that had some flimsy shelves in it before we built this custom garage shelf. With the garage being right next to our kitchen, it made a lot of sense to invest some time and effort into getting a good shelf to hold food and other items. Read on to see how we built this easy DIY garage shelf!
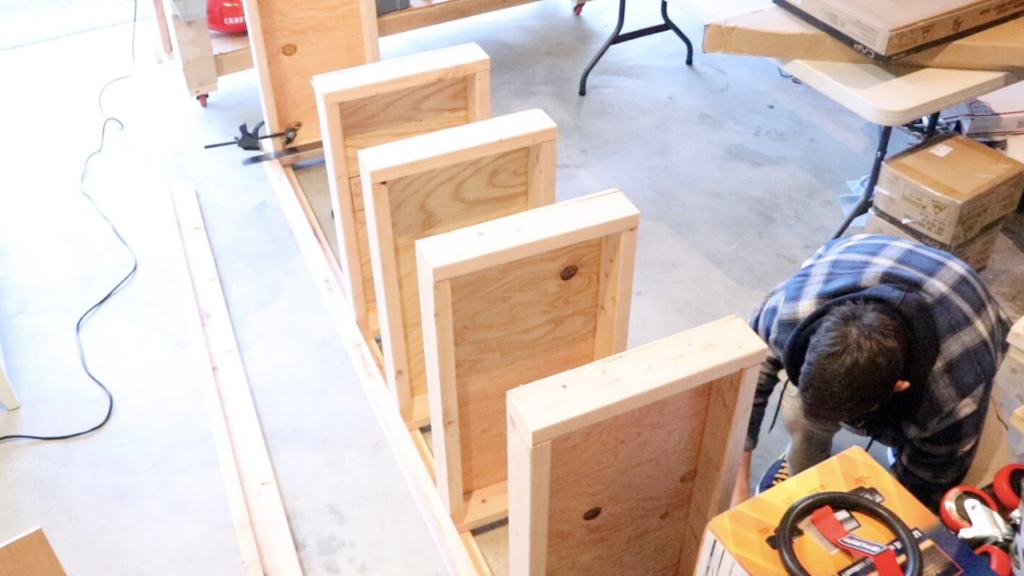
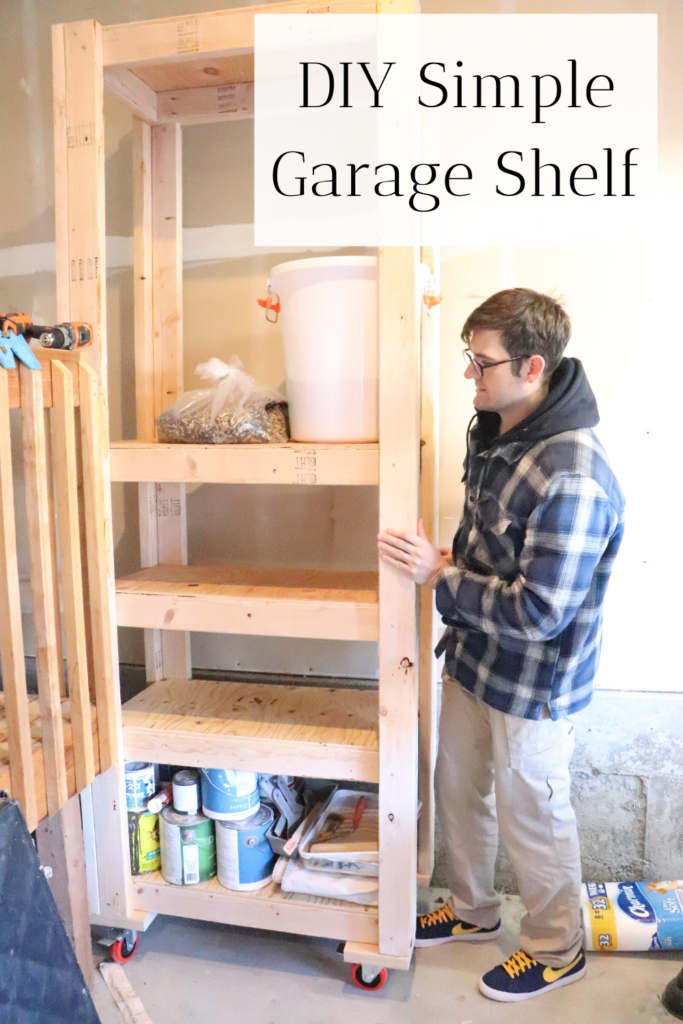
We really needed more storage for pantry items, and a permanent home for things nobody wants to have out in the open like toilet paper, paper towels, and other bulk items. ASo, having a DIY spirit, my husband John bought some wood and spent about 4 hours building this DIY custom garage shelf.
Pin it for Later
Want to save this design for later use? Pin it to your favorite DIY board!
Note: This post may contain affiliate links, which means I make a small commission off of items you buy at no cost to you.
Never Enough Storage!
A few weeks ago we did a massive overhaul of our farmhouse pantry, and this custom garage shelf made that project SO much easier. We now store canned goods, dry food, chicken feed, home decor, craft tools, and bulk household goods in our outdoor shelf instead of inside the house. I am all about creating simplicity and minimalism in our home. Only the most important items should take a spot in our kitchen pantry, and that’s what we did!
And this project is so simple and cheap. We spent $60 on the wood to build this shelf. The way I see it, we could either spend $20 on cheap and flimsy shelves that we’ll never use, or $100-$200 on a nice huge shelf from a furniture store. I think $60 is a good happy medium!
Difficulty Level
This is a great project for a beginner DIY-er or wood worker. My husband John made this shelf for us while I contributed to the design and needs of the dimensions. It took him about half a day after he had already purchased the wood. He is great with wood and his hands, but he’s not a professional or anything. So I have faith that you can do this project too. You do need some supplies though.
Don’t forget about safety! Always read the package directions and better yet, YouTube how to use your power tools. Ace Hardware and some other YouTubers have some great tutorials – that’s pretty much how I learn how to do everything!
Tools Needed For a DIY Shelf
Here are the tools that we used to make this shelf. Note: Always do your research on the best tools for you. This includes the best value for what you’re making, the most reliable sellers in your area, etc. For us, we have a reliable Home Depot and Lowe’s nearby, so that’s where we got all of the tools listed below.
Power tools:
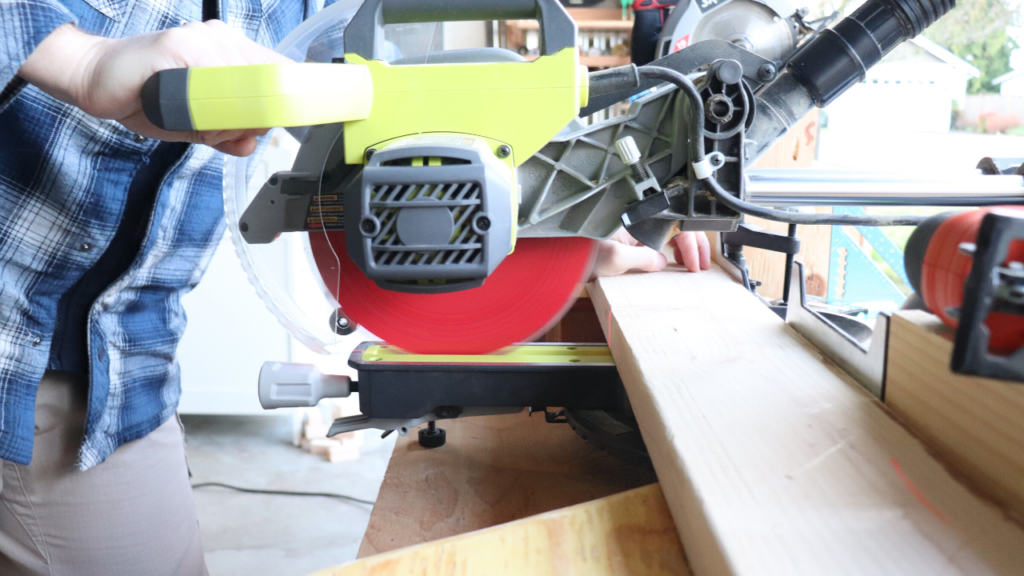
Ryobi 10in Miter Saw – for precision cuts
Rigid Power Drill – for drilling/ fastening wood
Skilsaw power hand saw – for quick cuts
Non-power tools:
2 1/2″ screws
Wood clamps
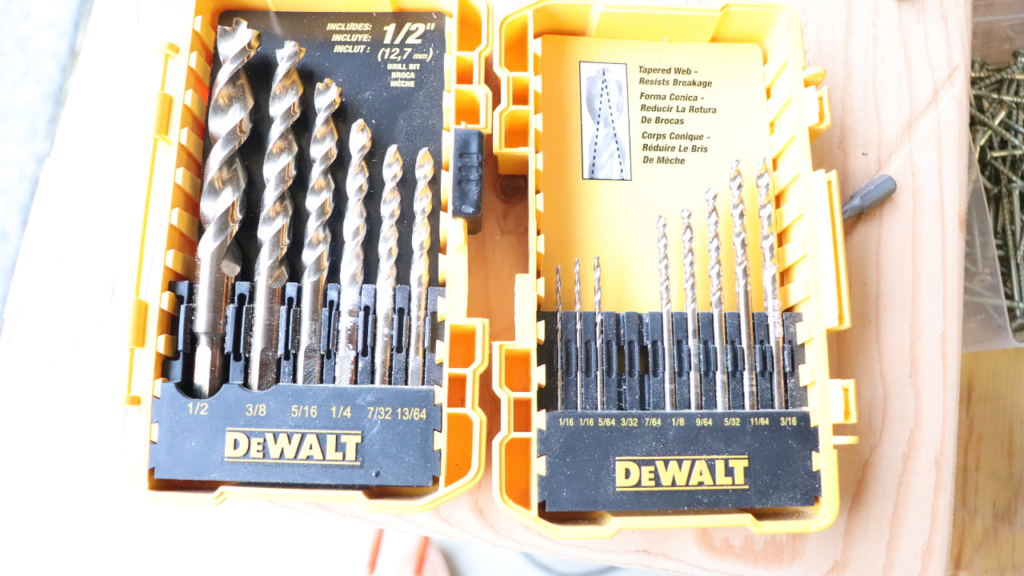
DeWalt drill bit set
Caster wheels
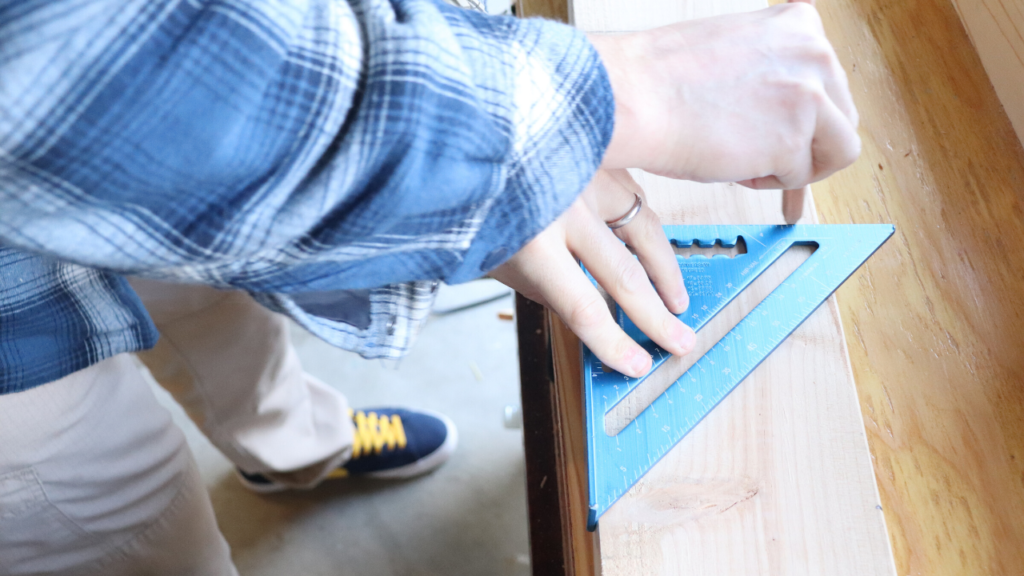
Large ruler
Materials:
2x4x8 wood
1 sheet of .25 inch plywood
How to Build a Custom Shelf
First, measure the area that you want your shelf to live. It’s helpful to look for spots in the desired area that are unused or awkwardly shaped so you can make the most out of your space.
Purchase the wood. We used basic pine wood cuts because they are pretty cheap. Personally, we use our nearby Home Depot for wood cuts.
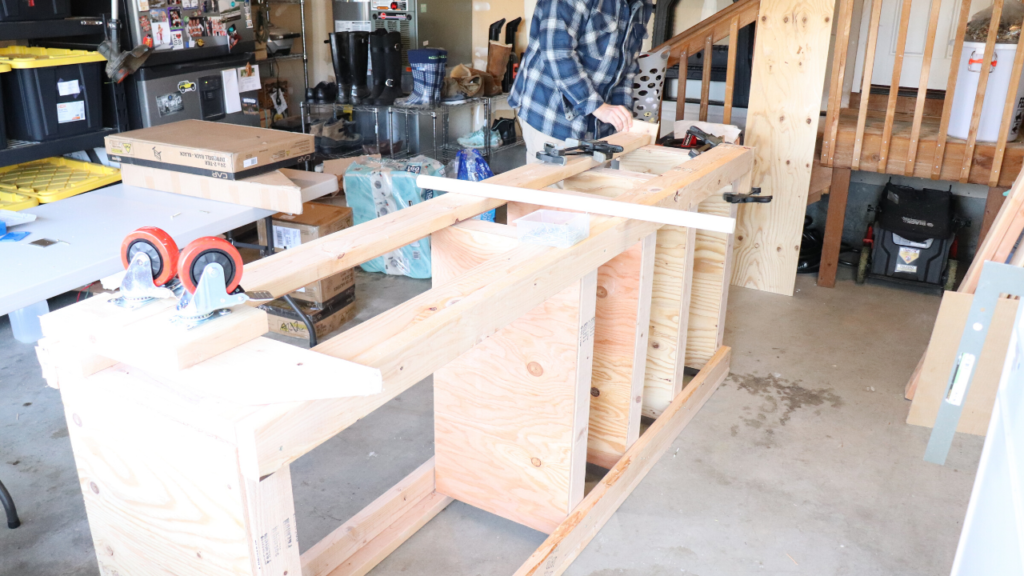
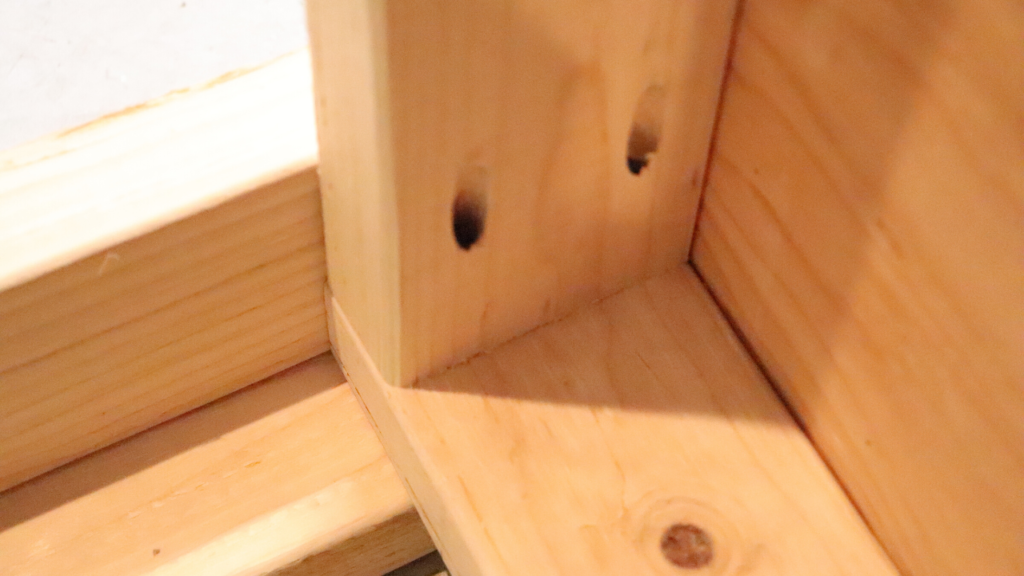
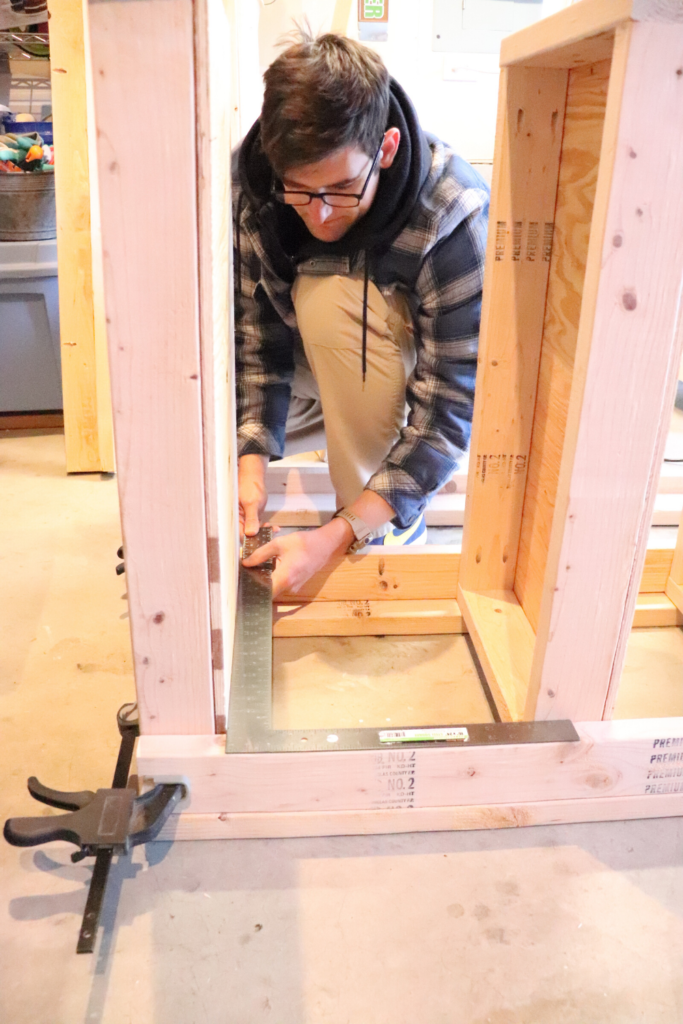
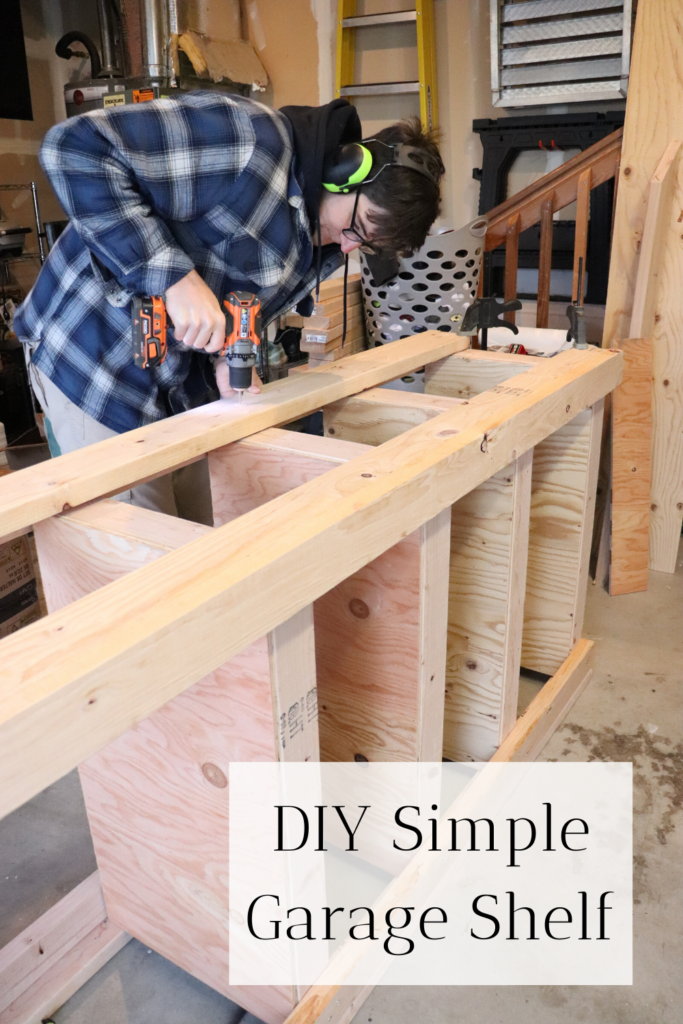
Build the shelf. Cut the wood to your specific dimensions, drill holes and screws to make the size shelf you want. We didn’t use any glue in this shelf.
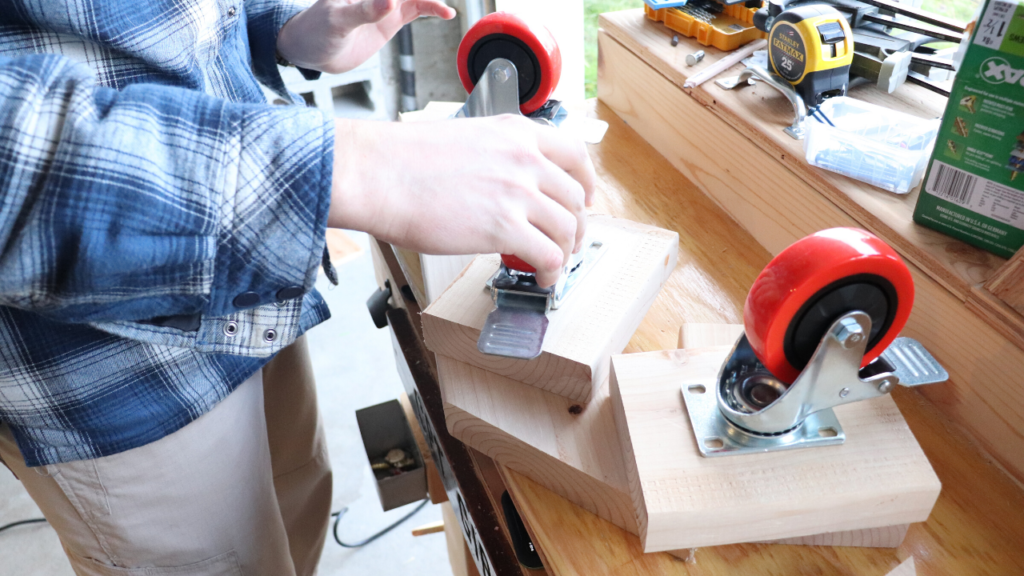
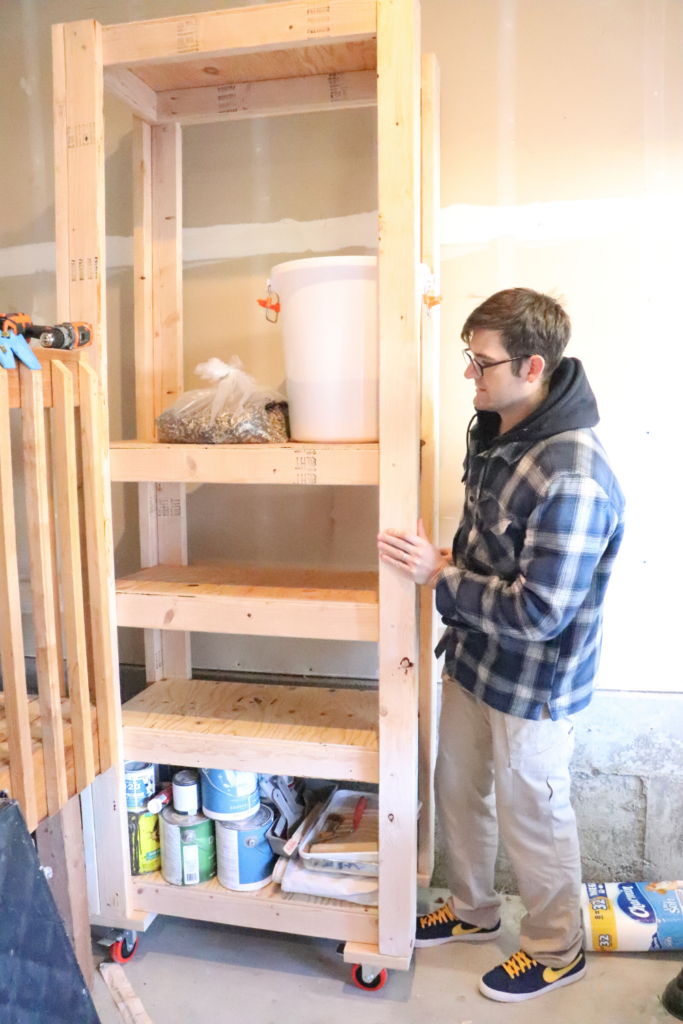
Finishing touches. We added castor wheels to the bottom of the shelf so we could move it in and out. I highly recommend this, but at the same time make sure you also build stand up walls at the top so that your items don’t fall over when the shelf is moved.
You can paint your shelf if you like. We didn’t paint this shelf, but I love the Miss Mustard Seed Milk Paint if you’re looking for a good raw-wood paint. Check out our refinished wooden table tutorial using milk paint.
Helpful Tips for Building your Custom Garage Shelf
Consider if you have any burning needs the shelf has to accommodate. That’s the beauty of homemade – you can make it specifically for YOU! So before you dive into the project, make sure you’ve considered the dimensions for any special items that the shelf can hold. For us, we wanted the shelf to hold our large chicken feed container, so we measured a specific spot for that one.
Don’t worry about perfection! Perfectionism is one of those things – either you are or you aren’t a perfectionist. Home Depot doesn’t make the most perfect cuts in the world, but we’ve always been able to make it work. The good news is you can save your scrap wood for more projects (hello, new bed frame or bedroom dresser!). So, don’t fear if you have a less than perfect project. That’s all what makes it “homemade.” As long as it’s standing and bears weight, you’re doing alright!
Add a top vertical shelf to prevent tall items from falling. If you plan to store bulk items like toilet paper or paper towels, you’ll want to add a top barrier shelf so that the items don’t fall over when the shelf is moved. This is very helpful!
Watch: Come Build a DIY Shelf With Us
DIY Simple Garage Shelf
You can build this simple DIY garage shelf with only a few tools and a few hours. A great beginner DIY project and way better than having a messy garage!
- First, measure the desired spot for your shelf. Consider what items will be on your shelf, so you know whether some sections need different measurements. Look for wasted or unused space, or awkward corners for maximum use of the shelf in your area.
Buy the wood. We picked up ours at Home Depot. Don’t worry if your cuts aren’t perfect, the beauty of homemade is you can improvise. Keep your leftover wood for future use and consider using extra plywood to build a barrier shelf on the top if you’re planning on stacking tall items (to keep them from falling over when the shelf is moved)
- Build the shelf. Consider getting castor wheels for bottom of the shelf so you can easily move it in and out. Use the wood clamps to hold the wood together while you drill. We didn’t use any glue for this project, only screws at all the major joints.
- Finishing touches: you may choose to paint your shelf depending on where you plan on keeping it. We did not paint ours. We just added wheels and it was good to go.
- This took 4 hours once we had the wood.
Safety first! Always read the instructions for your tools and do your research to determine what are the best tools and where to get them from in your area.
More Farmhouse DIY Projects
How to Build a Farmhouse Dining Table
How to Build a Backyard Chicken Coop
Learn How to Refinish an Old Dresser the Easy Way
How to Build a Bench for Farmhouse Table
PIN IT FOR LATER!


This is such a great, detailed tutorial and you make building a shelf look very easy!!
This is the best idea!! Turned out great!
This is the best idea!! Turned out great! I love the easy to follow tutorial.