In this quick tutorial I show you how to build DIY porch steps and how to reinforce your old stringers. After 20 years it was time for new steps, and we finally got up the courage to disassemble ours and redo it. I say “courage” because we knew the stairs were in pretty bad shape. So, we were hoping this would be a fast project and it actually was!
This post contains affiliate links, which means I may make a small commission off items you buy at no extra cost to you 🙂
Save it for later!
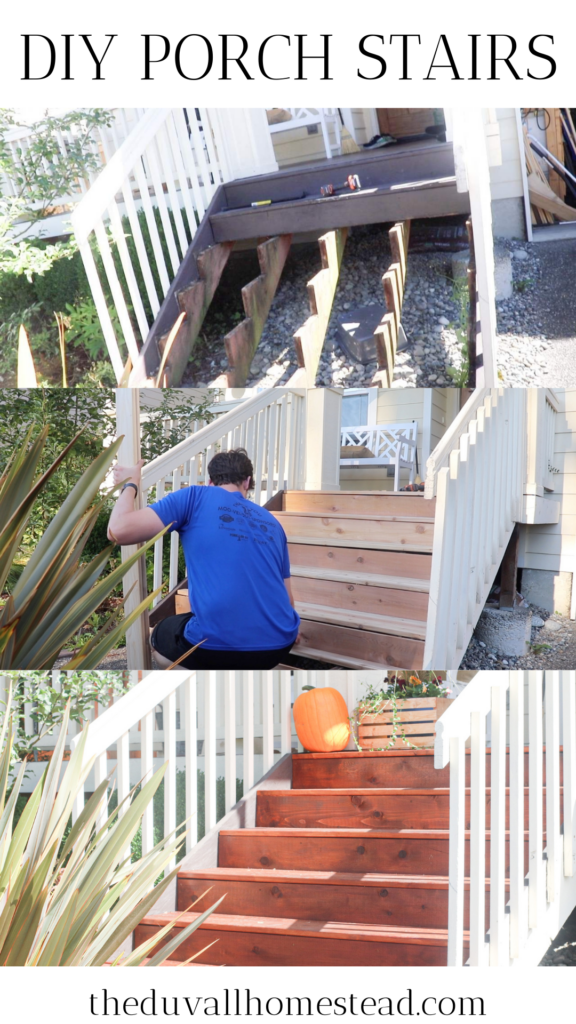
We recently redid our front porch steps after the old ones lasted about 20 years. Originally the plan was to redo the entire porch, then we decided on just the steps since they were literally falling apart.
You know when you walk on a wood plank and it kind of bounces underneath your foot?
Yep, that’s where these stairs were at. Probably not the safest thing for a brand new family of 3 🙂
We learned a lot about porch steps in the process so that’s why I wanted to share it to the blog.
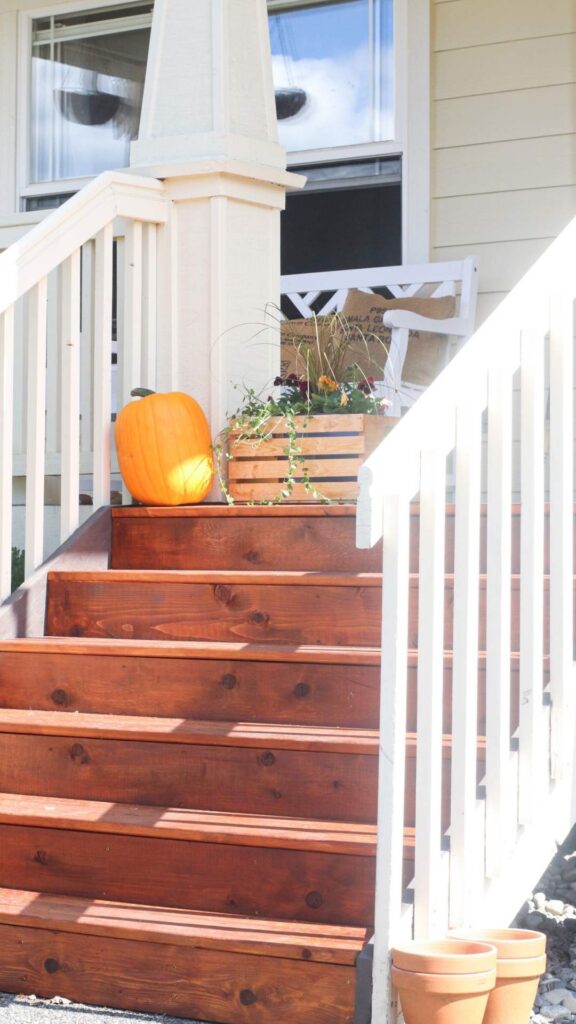
DIY Porch Steps Pieces
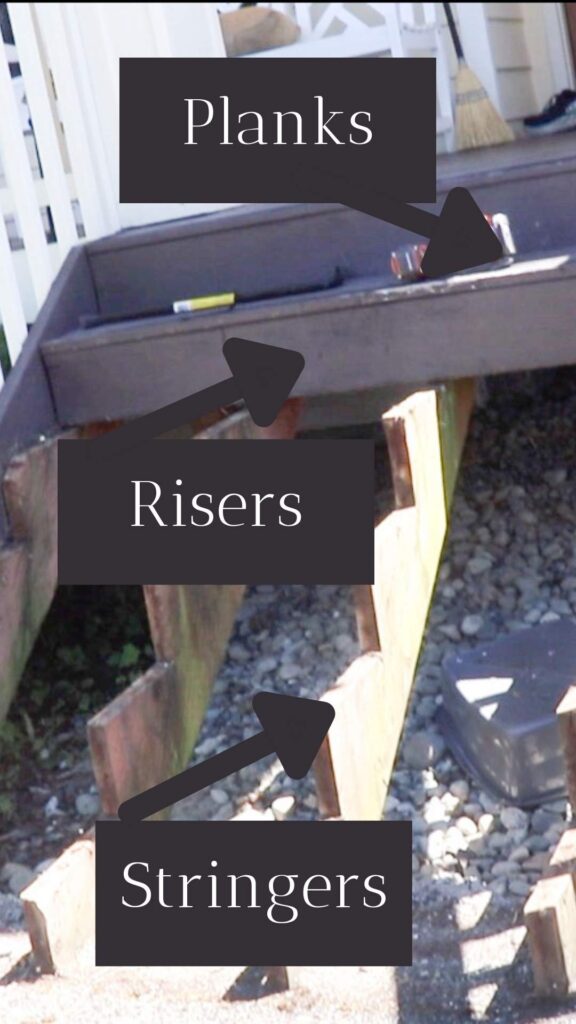
Before starting on a deck stairs project, you should know how most deck stairs are built.
First you have the stairs base, also known as stringers.
Then you have risers and planks to make the stairs.
Note – not a stringers tutorial
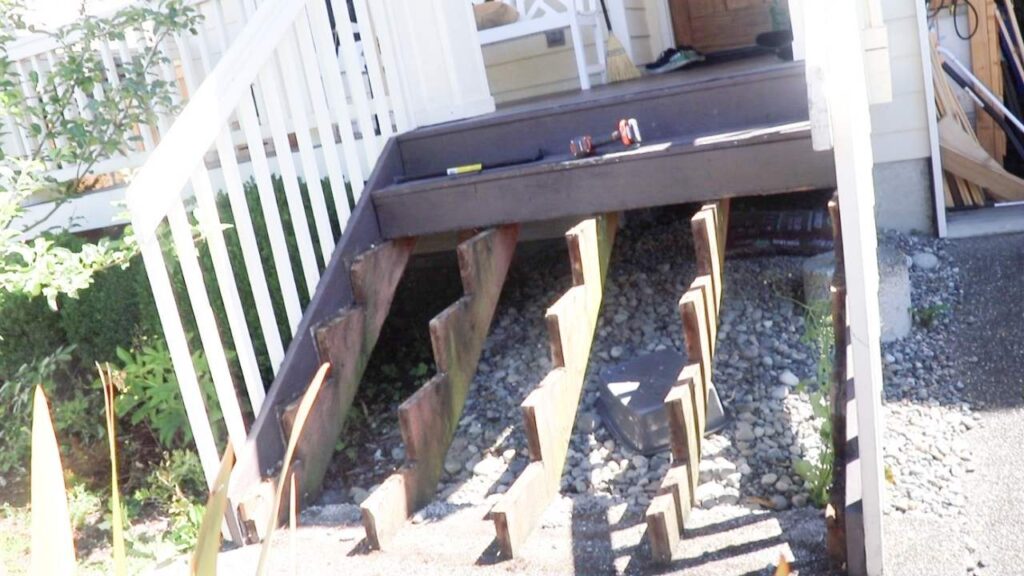
If you are wanting to build deck porch steps from scratch, you will need to build stringers yourself. That was originally our plan but after removing the existing planks we felt that our stringers were in good enough shape. All we needed to do was add reinforcement to the stringers and replace the planks (see below).
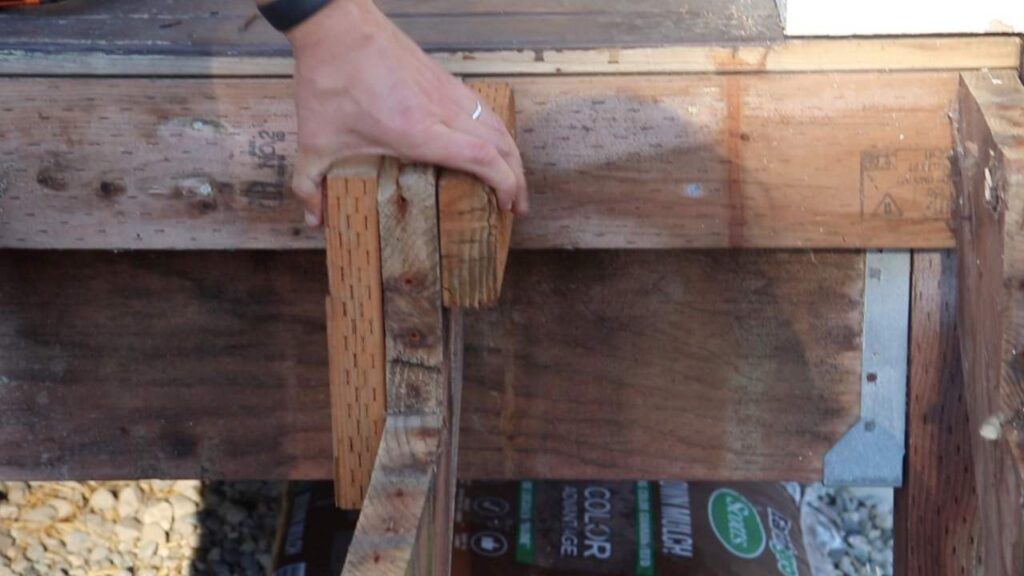
From what I hear the stringers are the hardest part, so luckily we didn’t have to make those. This tutorial only covers what to do after you have stringers. A quick Google search and I found this tutorial on how to build stringers for a porch.
Tools Needed
Circular Saw
Power Drill
Crow Bar
Materials Needed
2.5 inch decking screws
cedar for the planks, plus extra pressure treated lumber for the stringers enforcement
fascia boards for the risers
Paint Brush
Stain (we used Australian timber oil stain called Jarrah Brown)
How to Build Porch Steps with Existing Stringers
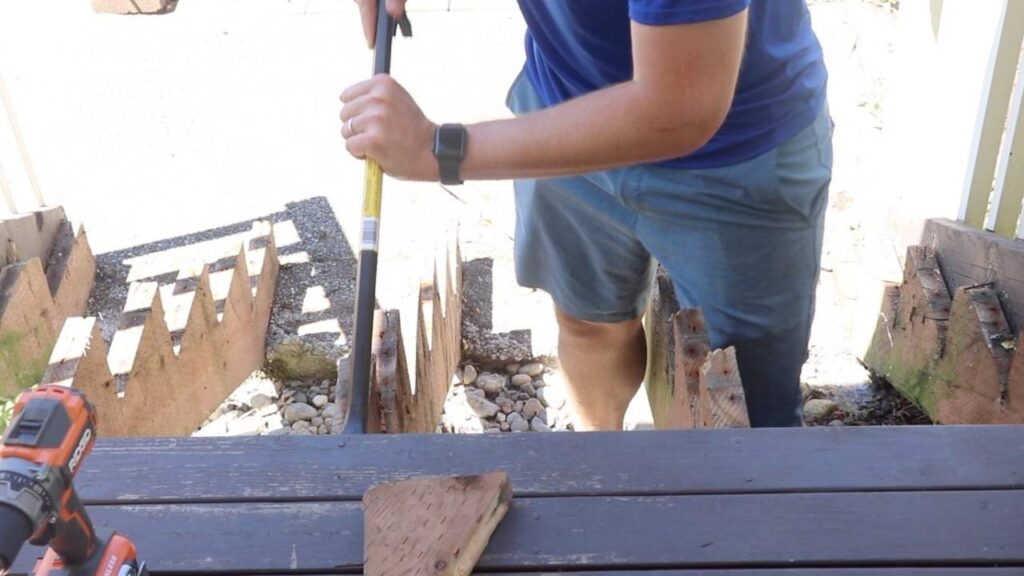
First, remove the existing planks with a crow bar.
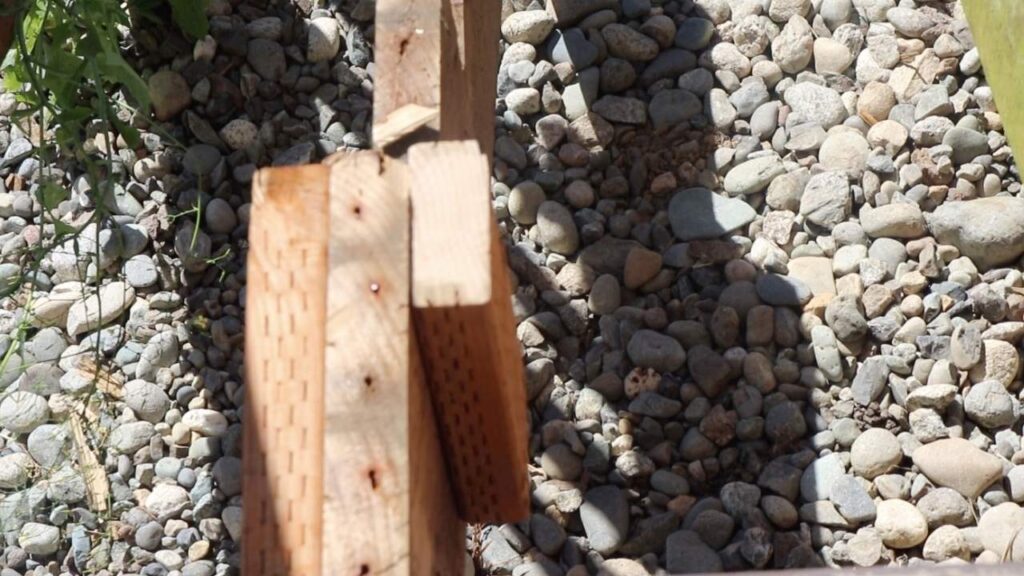
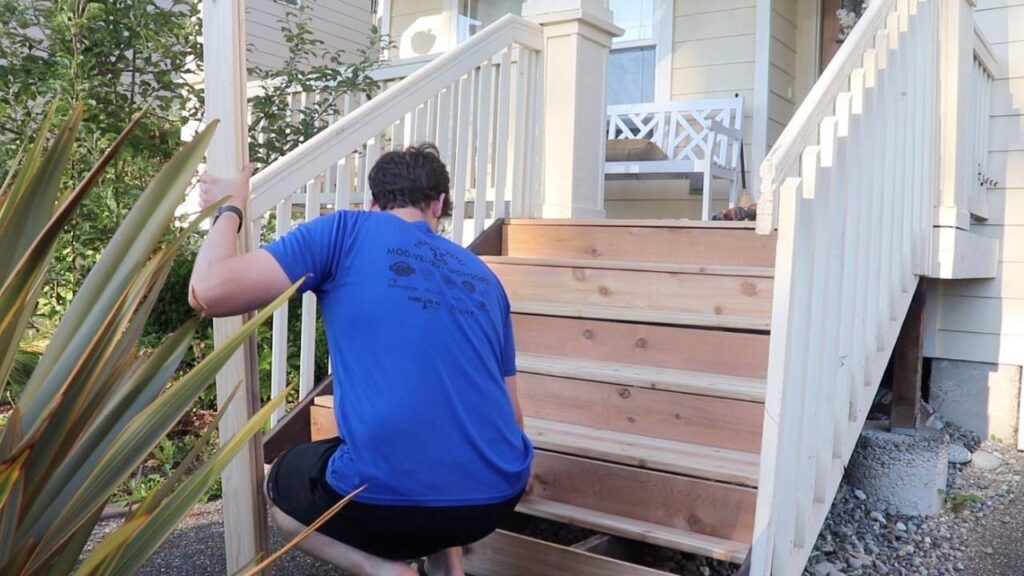
Next evaluate your existing stringers and test them for stability. If they are loose, add a 2x4x8 custom cut to fit the stringer to reinforce it on either side.
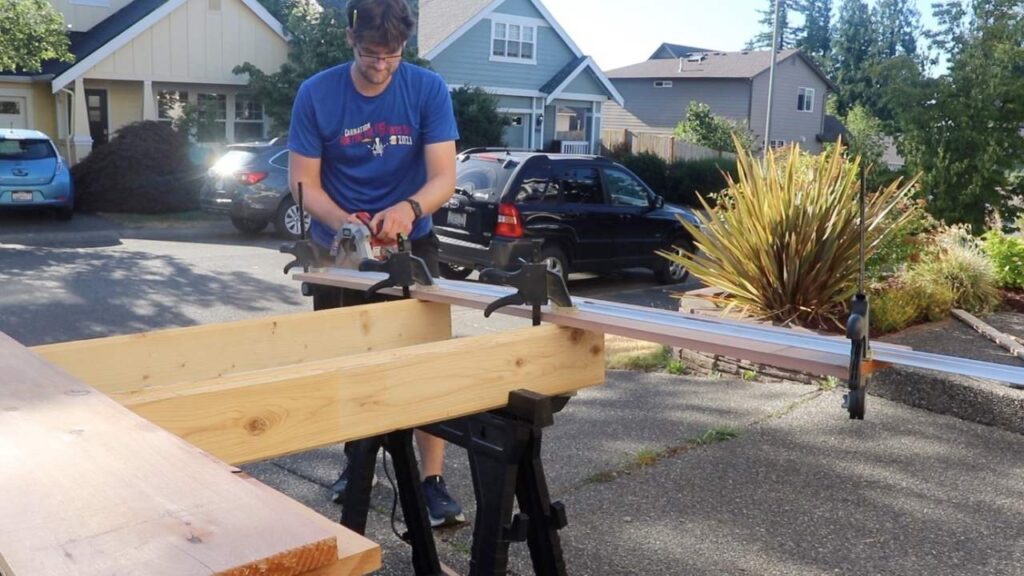
Next cut the planks to size, using a fascia board for the risers. Tip: to cut the fascia board without a table saw, use a guide for the circular saw. Use clamps to help with the cuts.
Using a power drill, drill two, 2.5 inch decking screws per stringer per plank per riser. Counter-stick the screws so they’re below the surface of the board.
Let sit for 2 weeks. Wash the steps with a gentle dish soap and water, then let dry a few hours, until dry to the touch.
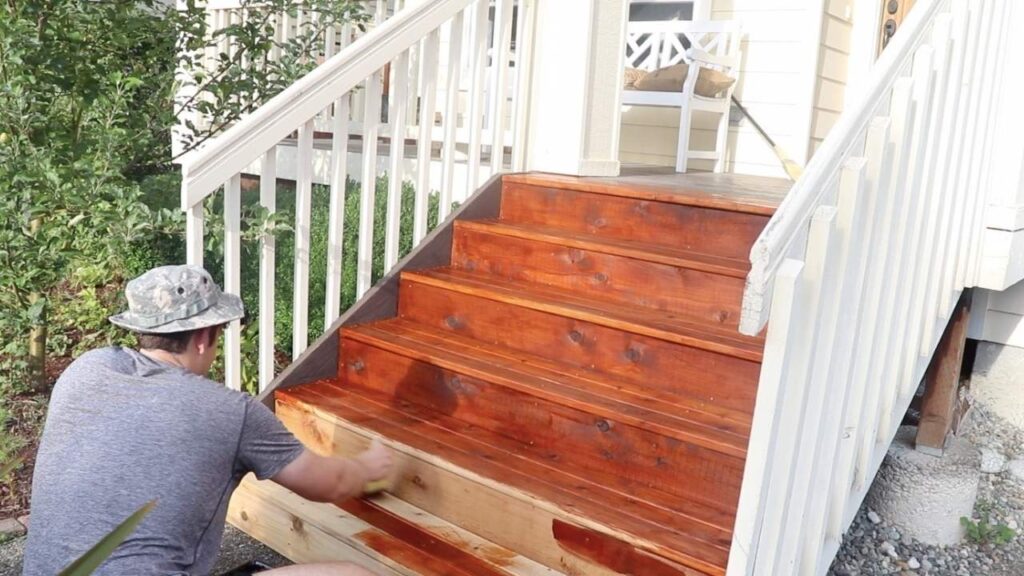
Apply the stain with a paint brush. We used Australian timber oil stain called Jarrah Brown. Let sit another 48 hours before walking on the steps.

Popular Farmhouse DIYs:
Farmhouse Dining Table with Free Printable Plans
How to Build a Bench for Farmhouse Dining Table
Pin it!



Leave A Comment