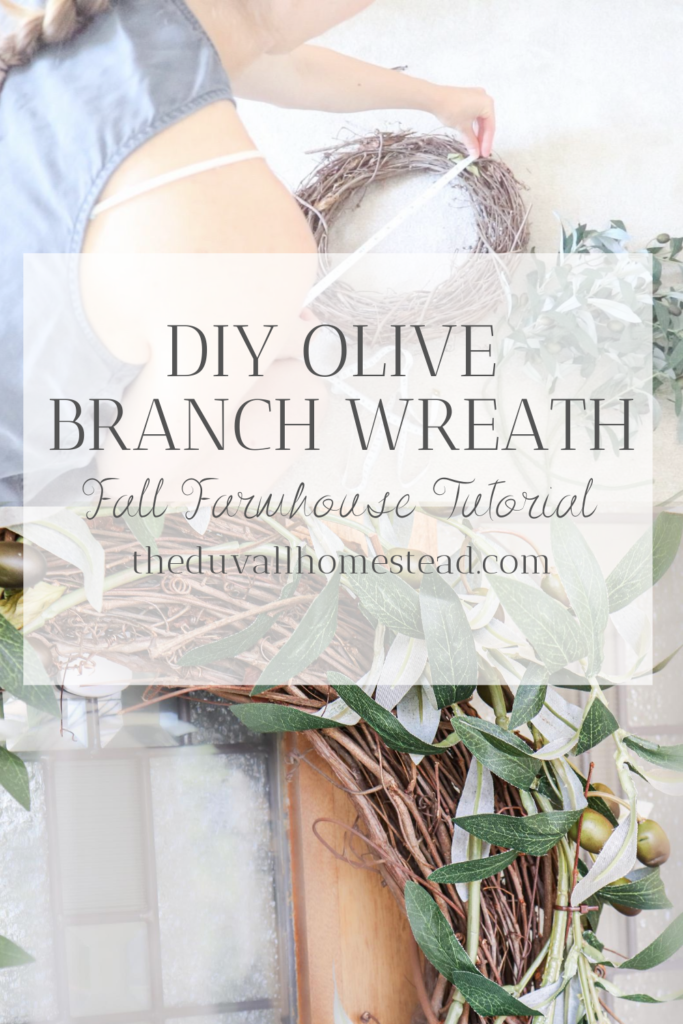
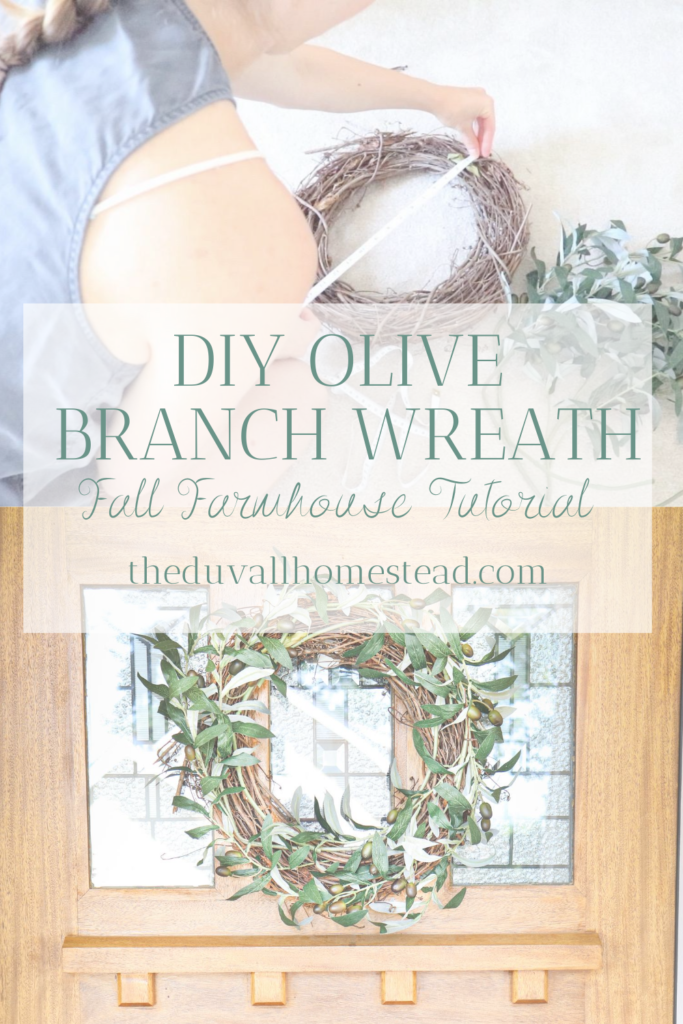
I am transitioning our homestead from summer to fall, and bringing in some more neutral tones after my bright and cheery summer home decor. The end of summer is always a fun time for me with fall being my favorite season of them all! Come see how to make a fall olive branch wreath that is easy to make and can be kept for many months to come.

This post contains affiliate links, which means I may make a small commission off of items you buy at no additional cost to you.
How to Make a DIY Olive Branch Wreath
Pin it for Later!
How I Feel about the Change of Seasons
In nature and in life, there is a natural change of seasons that occurs every few months. It always amazes me, no matter how stuck you think you are or how difficult life may seem, the time will pass no matter what.
My mom always said, “this too shall pass”.
If you think about it, time is the one thing we cannot control. There are some moments in life that we never wish would end, and there are others that we wish we could change immediately.
Does anyone else think that’s just so ironic? It is so on point with how life is. Life is beautiful, life is difficult, life is fast, then slow, and it is always changing.
“But you remain the same, and your years will never end ” Psalm 102:27
I always think back to who I was when I was a kid, a young adult, and now in my late 20s. And I realize that I am the same person really, just with new experiences and new skills. How beautiful it is that this one soul, one body, and one life gets to experience so much on Earth during our time?
I got a special request!
Anyway, now to get on to a simple fall wreath tutorial.
I was asked by Katie over on Facebook to make an olive wreath tutorial after she saw a professional wreath over on my last year’s fall homestead tour video.
Is there anything you want to know how to do? You can always write to me and let me know. I am basically keeping a notepad list of requests now in my kitchen so I can knock them out, one by one.
Why I love Fall
Fall is definitely my favorite season. Do I look forward to every season? Yes, of course. I love when Easter rolls around, and the heat of summer just feels so good after all that rain. Even the snow makes me happy!
But every year I return to the same feeling of, ohhhhhh fall. It’s finally here and I am so happy.
My favorite parts about fall are the smells, the cold weather, and the colors. I mean, you just can’t beat fall in the Pacific Northwest.
Cold, crisp nights mixed with sunny and warm during the afternoon makes for the perfect temperature during the day.
Everything around you is red and orange, bright bright colors and everything smells of pumpkin and apple. We make pies, we create leaf bouquets, and it is just my absolute favorite time of year.
How to make a DIY Olive Branch Wreath
When I first started researching how I was going to do this, I realized why I don’t see a lot of olive wreaths out there. They’re expensive! I’m seeing wreaths go for $60+ now a days.
I have found over the years that the best way to make your own wreaths is to get these inexpensive grapevine wreaths that you can reuse each season.
Spring Farmhouse Wreath Tutorial
How to make a Natural Christmas Greenery Wreath
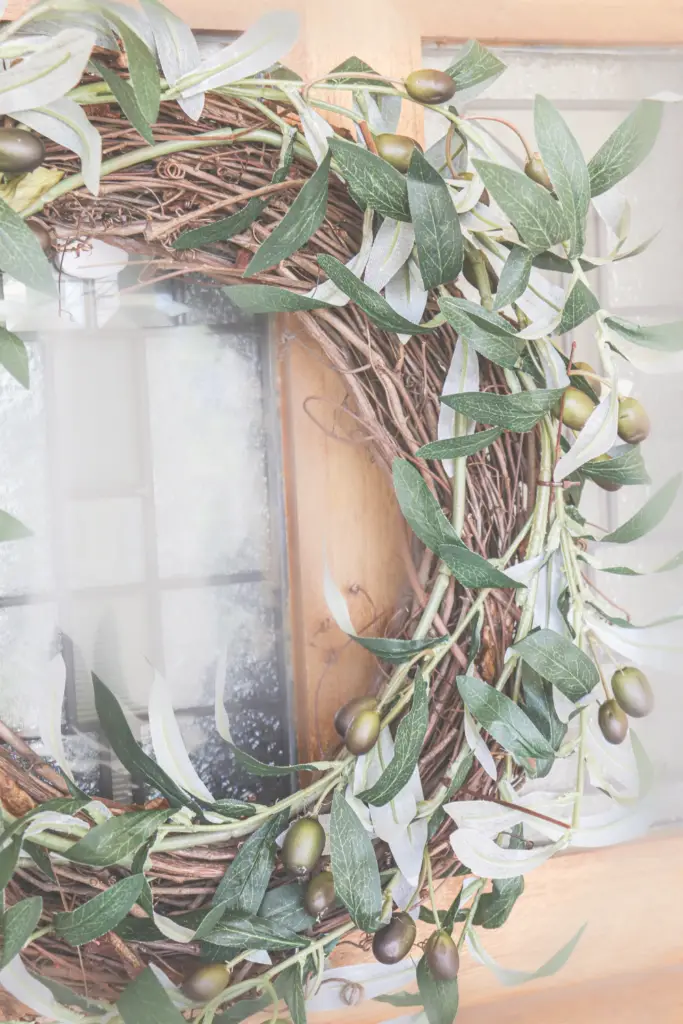
Olive branches are particularly expensive, so I grabbed this set of three faux olive branches which is enough to cover a 12-14″ wreath.
So you can get a professionally done olive wreath for $60, or you can make your own for less than $30. And if you already have the wreath frame, then you’re making this for less than $20. So that’s why I like making my own wreaths!
Tools Needed
12″ Grapevine Wreath Frame (my frame was 14″ and anything larger than that, I suggest getting double the amount of olive branches. Of course, you could also help fill it out with some branches from your backyard)
Scissors
Cable Ties (you will only need these if you use different olive branches. The ones I used came with cable ties already so no need to buy more)
The Process – DIY Olive Branch Wreath
First, start by removing the olive branches from the packaging and flattening them out. Do the best you can to remove the wrinkles from the leaves, etc.
Grab your grapevine wreath and start bending the olive branches to fit the circle of the wreath.
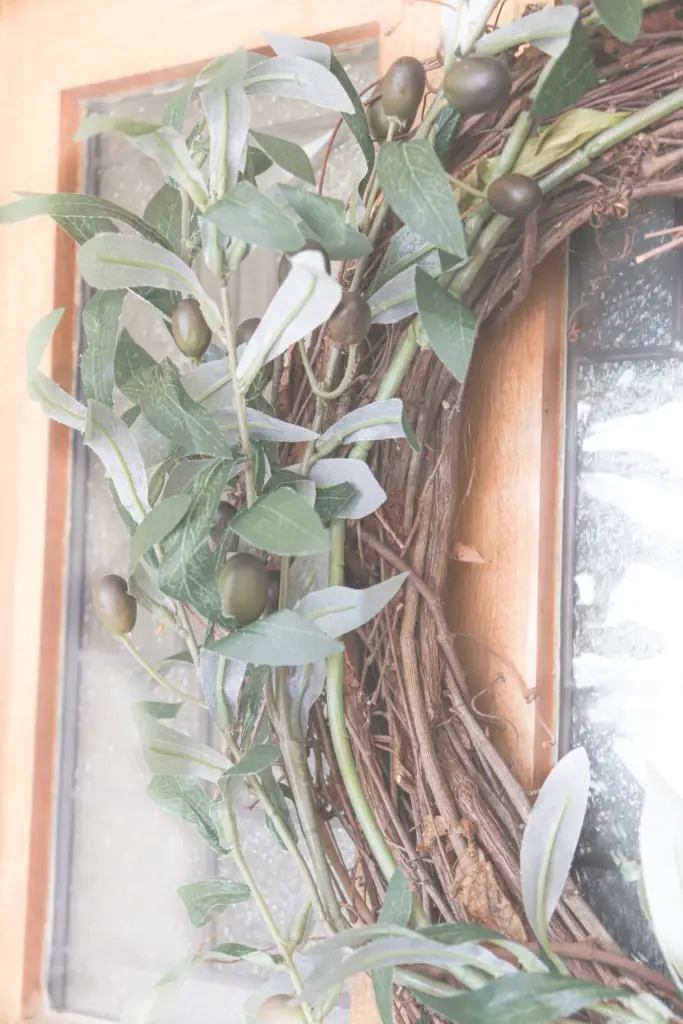
Next you just lay down the olive branches on the wreath, making sure the leaves from one branch are covering up the stem from another.
Once you like the position of the branches, start fastening them down with the cable ties.
Lastly I would just step back and look at the wreath, and adjust branches or leaves as you see fit.
Then hang anywhere in your farmhouse and enjoy!
Tips for Hanging and Re-Decorating Wreaths
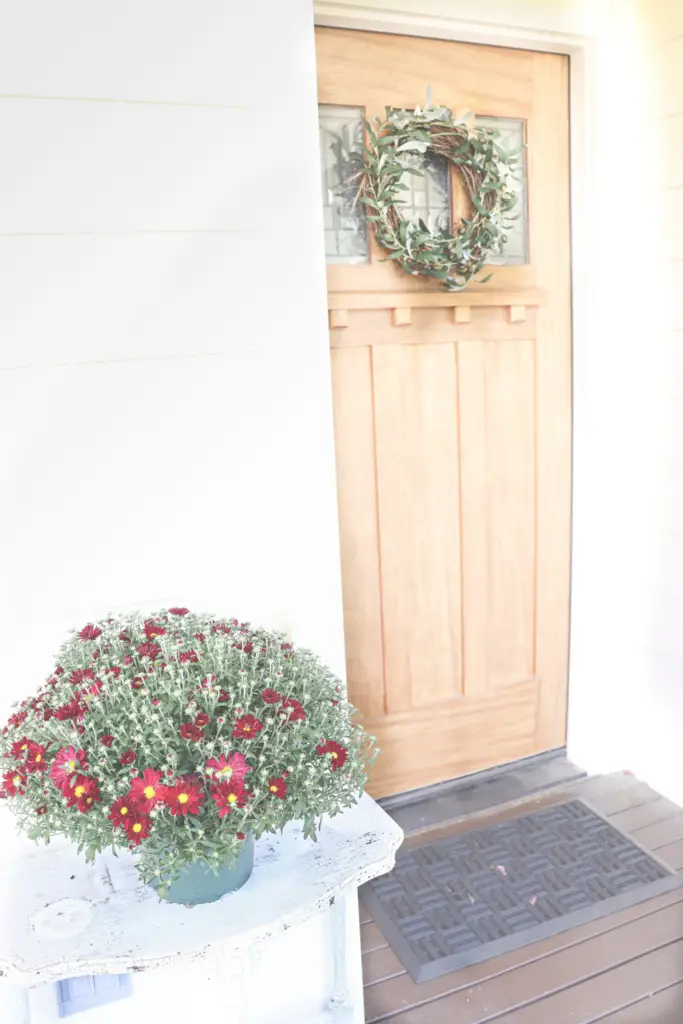
Make the wreath a focal point. I find that wreaths look best when centered on something, like a door, chimney, stove hood, or wall.
Natural is always best. This is just my opinion, but I love the look of nature inside the home. If you just go outside and grab branches from the forest in your backyard, you could create a really beautiful wreath.

Keep it simple! The best wreaths are the ones that are a consistent branch all the way around, and are nice and full and even. No need for anything fancy here at our house!
To redecorate the wreath for a new season, just add a solid color bow or ribbon. For this wreath, an off-white or cream bow would be perfect. For fall, you could even do a brown and orange plaid bow. Such a nice way to add a touch of color but still keeping it simple!
Enjoy your DIY Olive Branch Wreath!
Shop this Post
12″ Grapevine Wreath Frame (my frame was 14″ and anything larger than that, I suggest getting double the amount of olive branches. Of course, you could also help fill it out with some branches from your backyard)
Scissors
Cable Ties (you will only need these if you use different olive branches. The ones I used came with cable ties already so no need to buy more)
Pin it for Later!


Leave A Comment