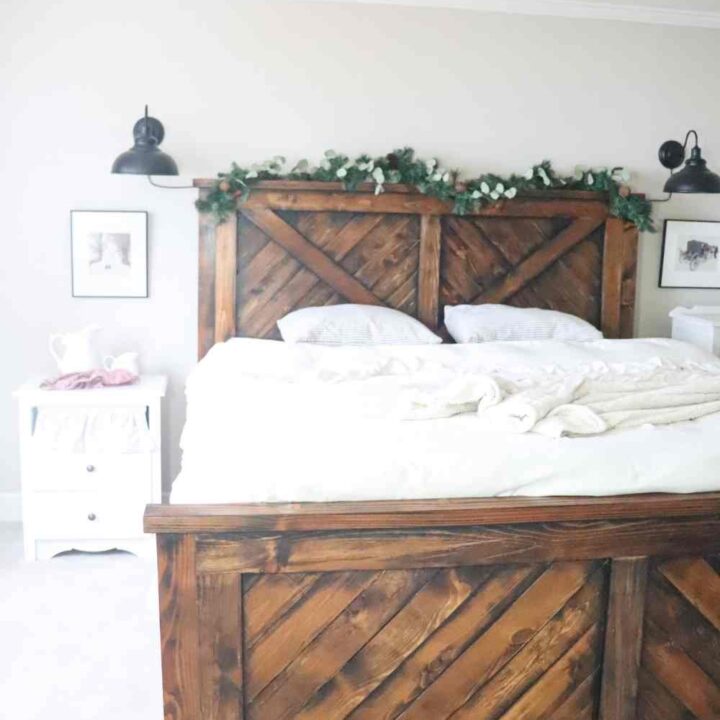
We wanted a rustic, antique wood bed frame for our farmhouse bedroom. In this tutorial I take you along as we create a rustic looking wood DIY for farmhouse bed frame. This easy tutorial can be applied to any of your wood working projects to create that rustic, weathered wood finish.

This post contains affiliate links, which means I may make a small commission off items you buy at no extra cost to you 🙂 As an Amazon associate, I earn on qualifying purchases.
PIN IT FOR LATER!
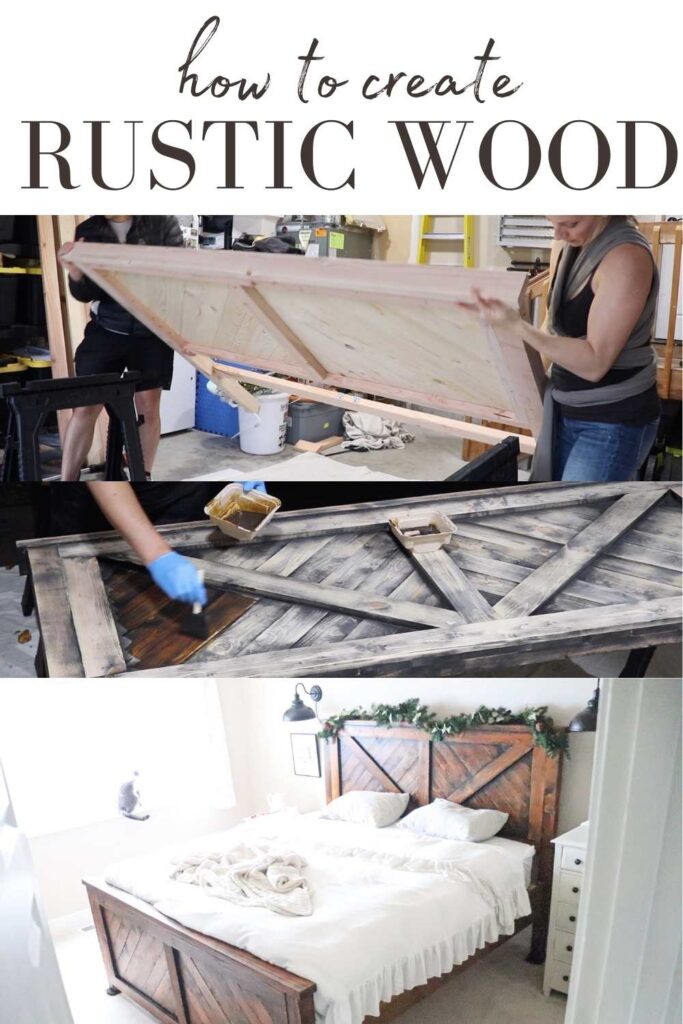
Note: This tutorial is for how to create a distressed looking wood. The original plans for building this bed frame can be found here.
Why We Did This
We wanted a unique, rustic look that we couldn’t find elsewhere. We were inspired by beds like this at Restoration Hardware but that bed frame would have costed about $6,000 after taxes and delivery fees. Nah, we’ll build it ourselves. We felt the same way about the farmhouse dining table we built.
Here’s the Restoration Hardware bed frame that would cost about $6,000:

Another big reason for us was a switch to a non-toxic lifestyle. That’s why here we use a water based stain instead of oil. We decided that no matter what we’d be spending a lot of money on a new bed set – the mattress, sheets, bed frame, etc. So we might as well buy the right one. Plus if we get a good quality mattress, a good bed frame, etc, that should last 10 or more years right? So the cost is amortized over that time and to us, it’s worth it.
Important Tips
These are the farmhouse bed frame plans we followed.
Use a wood stain first, then a wood dye second. We used this black wood stain and then brown wood dye and both were water-based. The wood dye is lighter in color and penetrates deeper than the stain, which helps prevent scratches and wear and tear on the wood.
Apply wood conditioner at the start of the project, before your black stain.
Stock up on sanding pads, as you’ll go through several during the sanding of the black stain.
In a few of the tutorials we read some people recommended using a wood conditioner. We decided not to do this, since you sand most of it off anyway. Also considering this is a bed frame that will mostly remain untouched, we thought it’d be fine without any conditioner.
Materials Needed
Paint brushes – large and small sizes
Gloves
Paint trays
Rags or old t shirts
Safety mask
DeWalt Orbital Hand Sander and extra sanding pads
Black stain. We used General Finishes Black Water Based Stain.
Brown wood dye. We used Light Brown by General Finishes.
Sawhorse or similar work stand
How to Create Rustic Looking Wood – The Process
If building the bed frame from scratch, follow these plans.
Step 1 – Prep the wood and work area
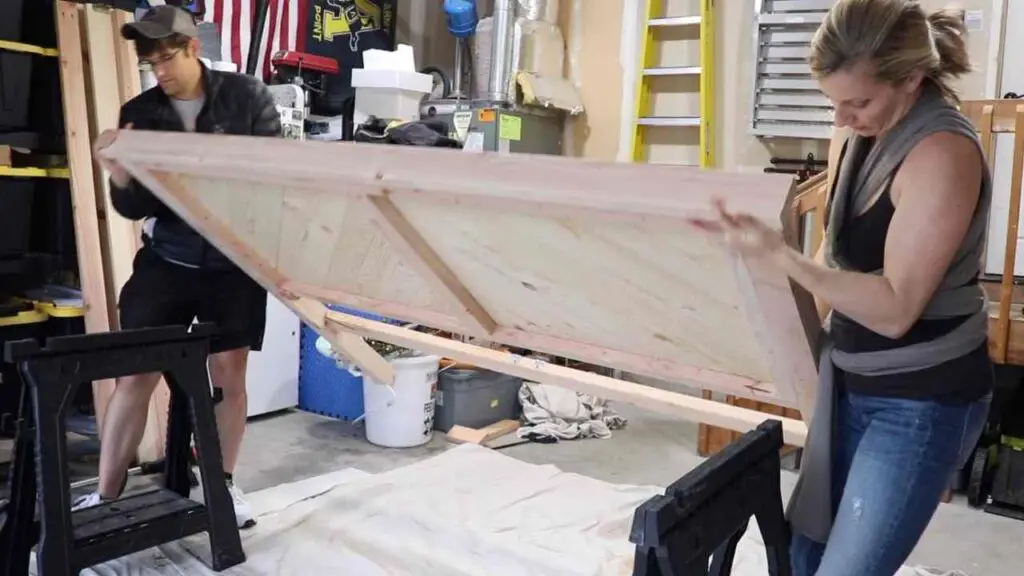
Lay your wood project on a sawhorse or similar work stand.
Sand the wood prior to staining.
Step 2 – Stain the wood black
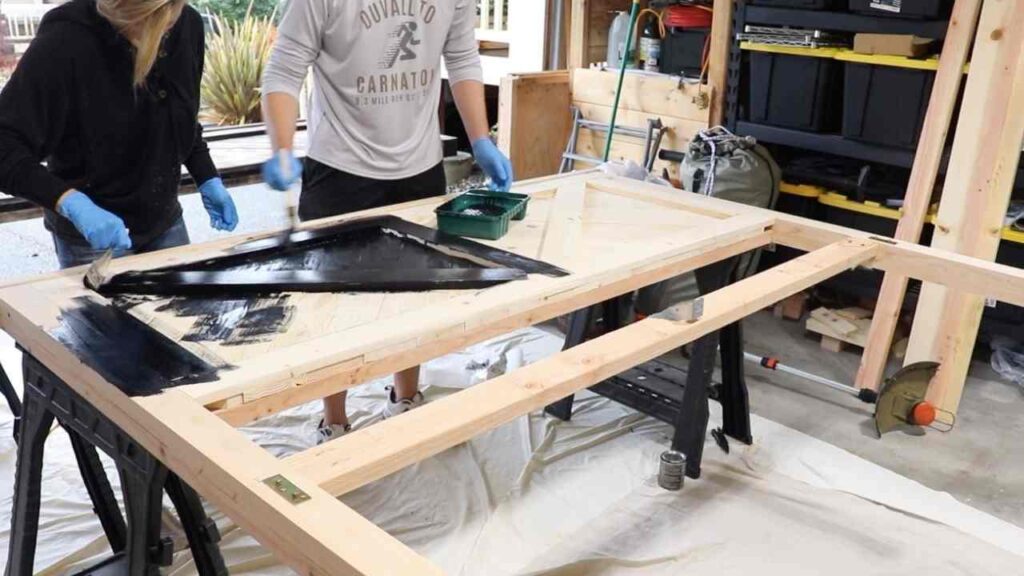
Using a paint brush, gloves, and a paint tray, apply the black stain. We used General Finishes Black Water Based Stain. We wanted to avoid the oil based stains to reduce the amount of toxins in our bedroom. Make sure to go in the direction of the wood grain, not against it.
Using an old t-shirt or a white rag brush, wipe down the black stain. Make sure to get in the corners and any spots that have excess stain on them. This makes it easier to sand the wood later on. Again go in the direction of the grain.
Let dry for 2 hours.
Step 3 – Sand the black wood
Using a hand sander, sand the black wood. You want to press pretty firmly to remove most of the black paint. You may have to go back and fourth several times in an area, and change the sanding pad frequently to achieve this. The corners are obviously difficult to sand correctly, so we left them black for the most part. You’re going for overall look here, not detailed perfection.
Step 4 – Dye the wood brown
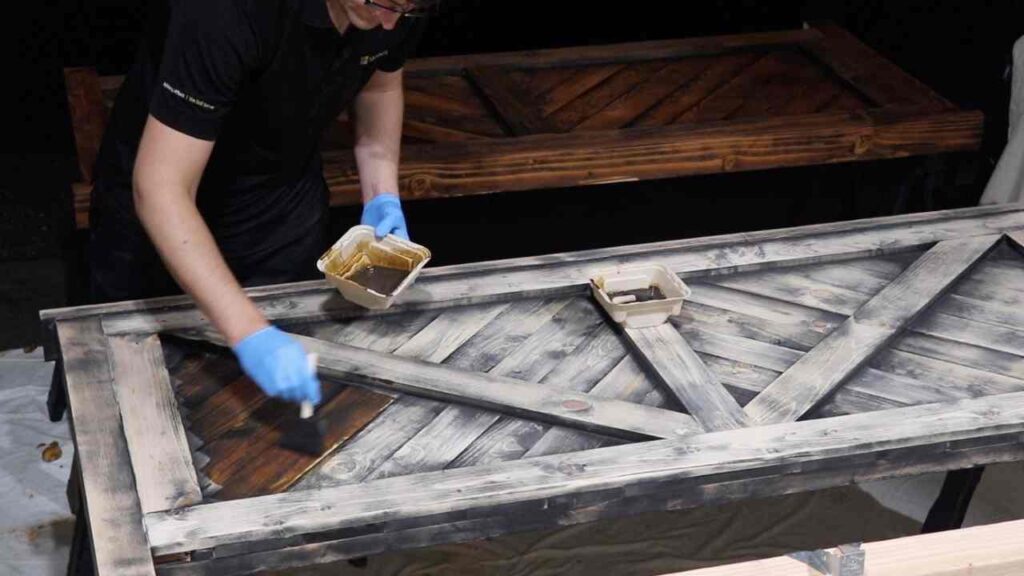
Now you are going to dye the wood brown (you could also do white). We again used General Finishes Light Brown Wood Dye.
Use a large paint brush for your big pieces, and a smaller one to fill the corners.
Again wipe the wood down with a rag or old t shirt so that there are no big clumps of paint anywhere.
Let dry for 2 hrs.
Step 4 – Apply Finishing Polyurethane
Lastly apply three coats of water-based polyurethane, letting dry about 2 hours between coats. This seals everything in nicely and gives the wood a beautiful, finished look.

More Farmhouse DIYs
Restoration Hardware-Inspired Farmhouse Dining Table
How to Build a Bench for Farmhouse Dining Table
How to Refinish an Old Dresser
DIY Stand for Trough Planter Box
Removable Countertop for over Washer and Dryer
How to Create Rustic Looking Wood
Create beautiful, expensive looking rustic wood at a fraction of the cost with this easy tutorial.
Materials
- Paint brushes - large and small sizes
- Gloves
- Paint trays
- Rags or old t shirts
- Safety mask
- DeWalt Orbital Hand Sander
- extra sanding pads
- Black stain. We used General Finishes Black Water Based Stain.
- Brown wood dye. We used Light Brown by General Finishes.
- Sawhorse or similar work stand
- Water-based polyurethane
Instructions
If building the bed frame from scratch, follow these bed frame plans.
Step 1 - Prep the wood and work area
Lay your wood project on a sawhorse or similar work stand.
Sand the wood prior to staining.
Step 2 - Stain the wood black
Using a paint brush, gloves, and a paint tray, apply the black stain. We used General Finishes Black Water Based Stain. We wanted to avoid the oil based stains to reduce the amount of toxins in our bedroom. Make sure to go in the direction of the wood grain, not against it.
Using an old t-shirt or a white rag brush, wipe down the black stain. Make sure to get in the corners and any spots that have excess stain on them. This makes it easier to sand the wood later on. Again go in the direction of the grain.
Let dry for 2 hours.
Step 3 - Sand the black wood
Using a hand sander, sand the black wood. You want to press pretty firmly to remove most of the black paint. You may have to go back and fourth several times in an area, and change the sanding pad frequently to achieve this. The corners are obviously difficult to sand correctly, so we left them black for the most part. You're going for overall look here, not detailed perfection.
Step 4 - Dye the wood brown
Now you are going to dye the wood brown (you could also do white). We again used General Finishes Light Brown Wood Dye.
Use a large paint brush for your big pieces, and a smaller one to fill the corners.
Again wipe the wood down with a rag or old t shirt so that there are no big clumps of paint anywhere.
Let dry for 2 hrs.
Step 4 - Apply Finishing Polyurethane
Lastly apply three coats of water-based polyurethane, letting dry about 2 hours between coats. This seals everything in nicely and gives the wood a beautiful, finished look.
PIN IT FOR LATER!





Leave A Comment