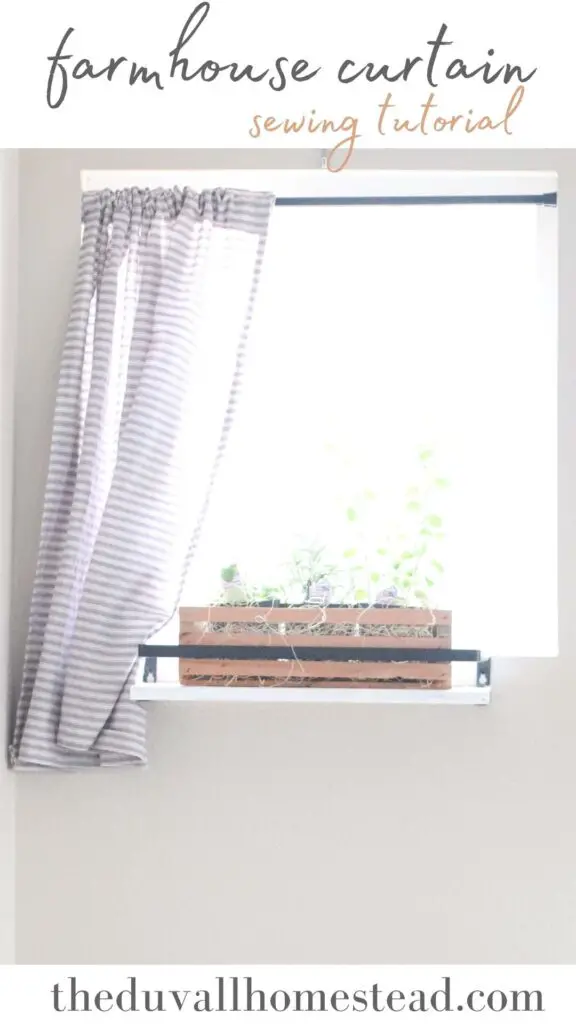
This easy rod pocket curtain sewing tutorial is the perfect project to whip up in under an hour. Curtains make such a difference in a room, and these will brighten and refresh your space at very little cost to you. Learn how to sew farmhouse rod pocket curtains with this easy beginner sewing tutorial.
This post contains affiliate links, which means I may make a small commission off items you buy at no extra cost to you 😉 As an Amazon affiliate, I earn on qualifying purchases.
PIN IT FOR LATER!
Springtime Feels
It’s spring time at the farmhouse. Birds are chirping, the sun is rising earlier and staying out later, and chickens are starting to lay eggs again.
Spring is a great time to start a project. After taking down the winter decor, I like to get my creative juices flowing and think of new ways to refreshen up the house for spring.
Simple curtains were right on point for me this season. I’m a new mom, so time is of the essence. These curtains can be made in under an hour to give a fresh look to any window in your home.
More Farmhouse Decorating
Last year’s minimalist farmhouse spring home tour
Farmhouse Laundry Room Makeover
Spring Wreath with Fresh Flowers
Materials Needed
Fabric (See measurements below)
Curtain rod (I used this expandable one)
Pins
Iron
How Much Fabric to Buy
The amount of fabric you will need will depend on the size of your window. Here is the basic formula:
Width = (window width * 1.5) + 4 inches
Height = window height + 12 inches
My window was a 22″ by 22″ square so I cut my fabric to 37″ wide by 34″ tall. This is to account for “bunching” in the fabric and a hem on each side. If you are not sure how much bunching you want in the curtain, you can hold up the fabric to the window to get a rough idea. Generally multiplying the width by 150% will give you the right amount of bunched up curtains.
The Process
First, cut the fabric based on the measurement formula below.
Width = (window width * 1.5) + 4 inches (to account for “bunching” in the fabric and a hem on each side)
Height = window height + 12 inches (to account for the pocket for the rod)
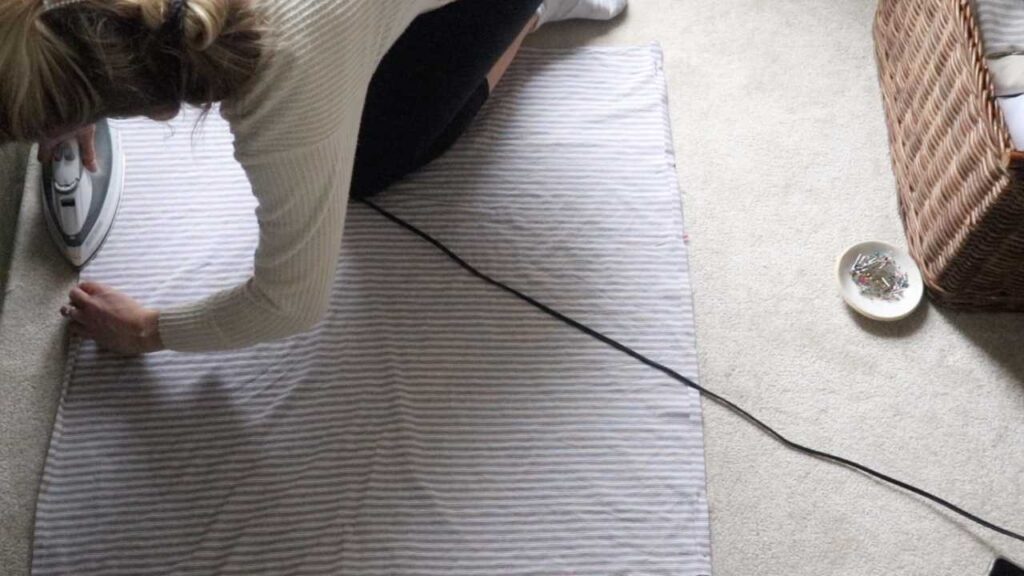
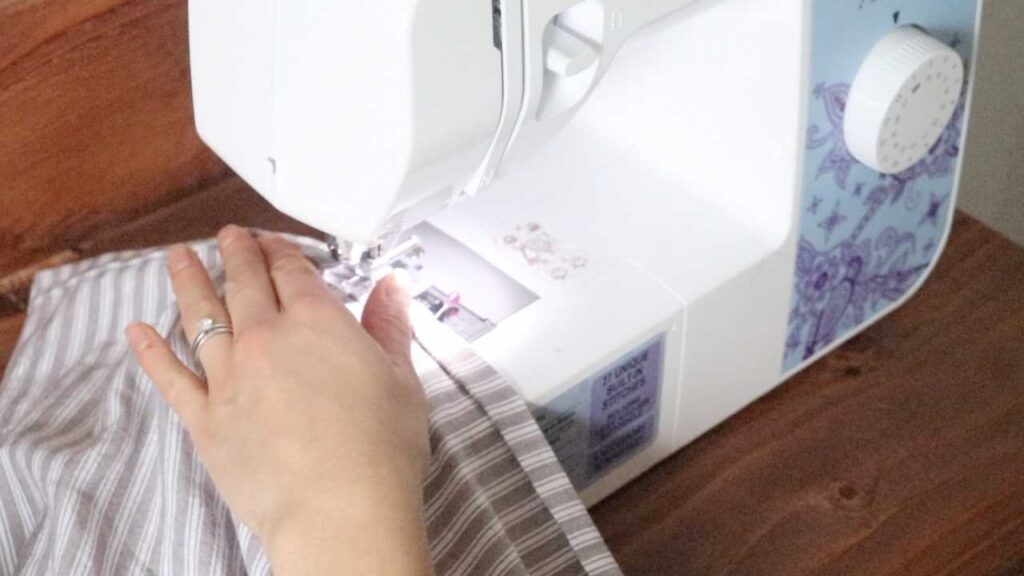
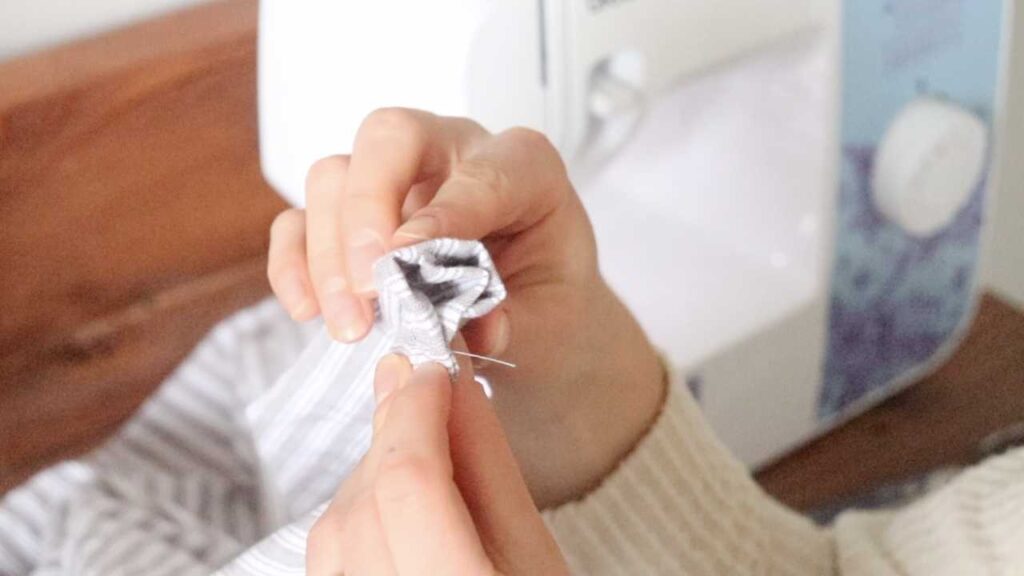
Sew a hem on the two sides. Fold the sides over 1/2 inch and then another 1/2 inch, using an iron to flatten the fabric as you go. Use pins to secure the hem, and then sew it in place. Be sure to backward and forward stitch at the beginning and end.
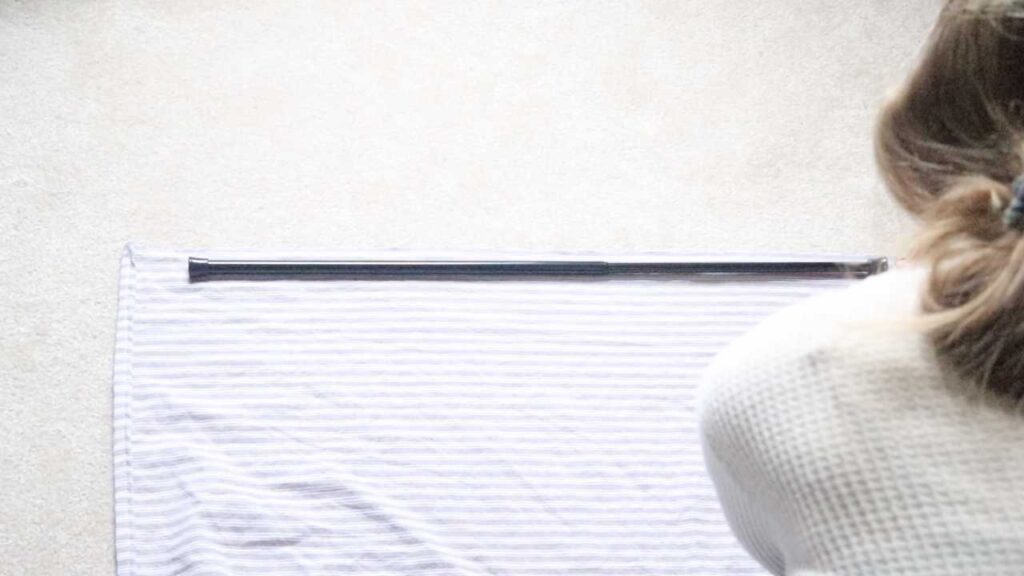
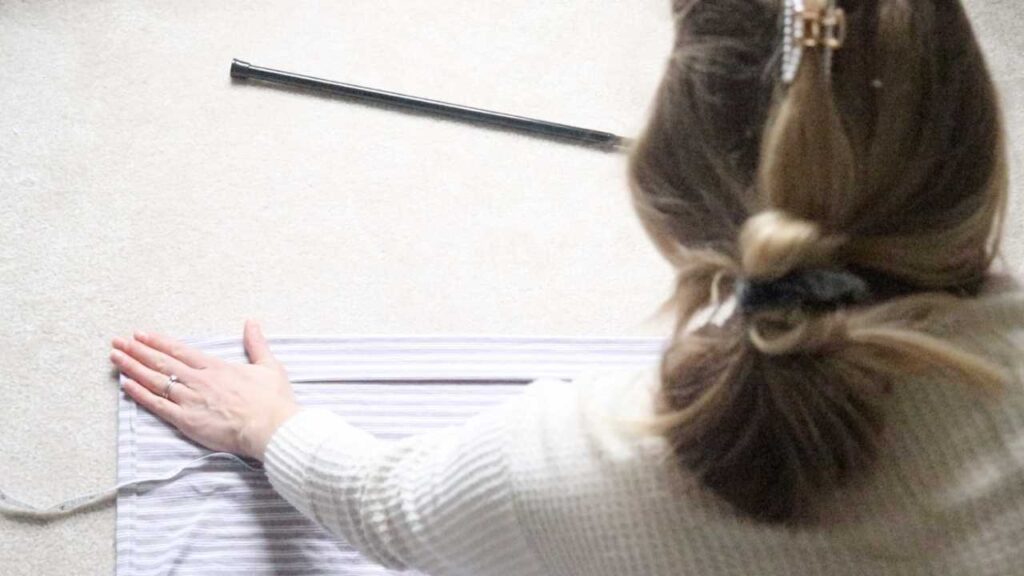
Next measure the size of your curtain rod and then double that, and that will be your width for the rod pocket. My curtain rod was 1″ at the thickest point, so my pocket was 2″. With the wrong side facing up, fold the top of the curtain over 2″ and then another 2″ (or whatever your amount is). Pin in place, and then sew along the bottom edge of the fold.
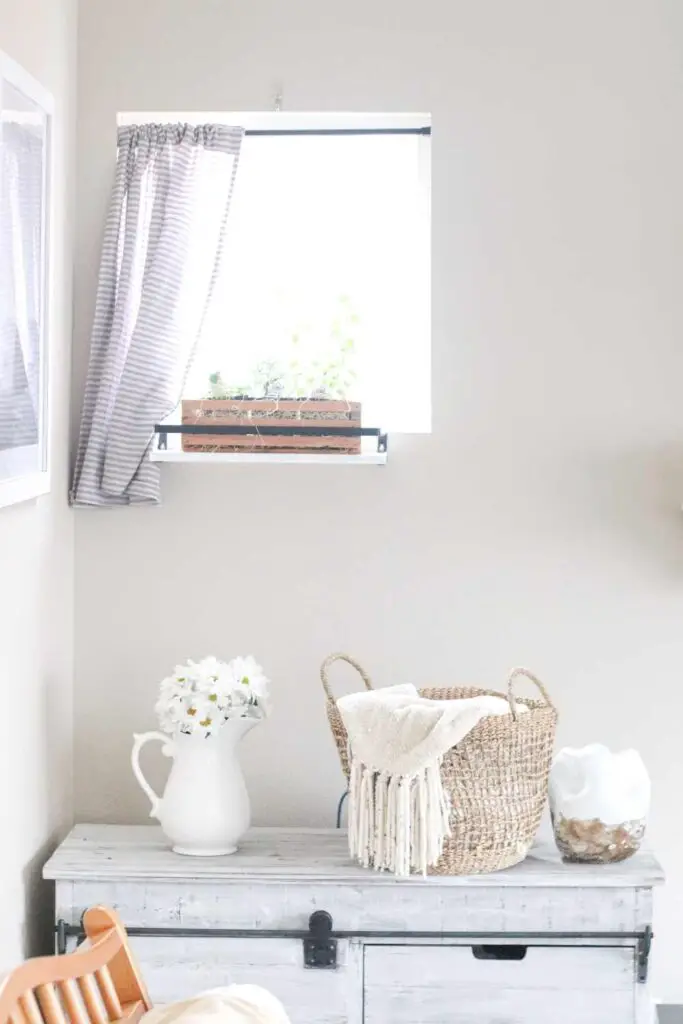
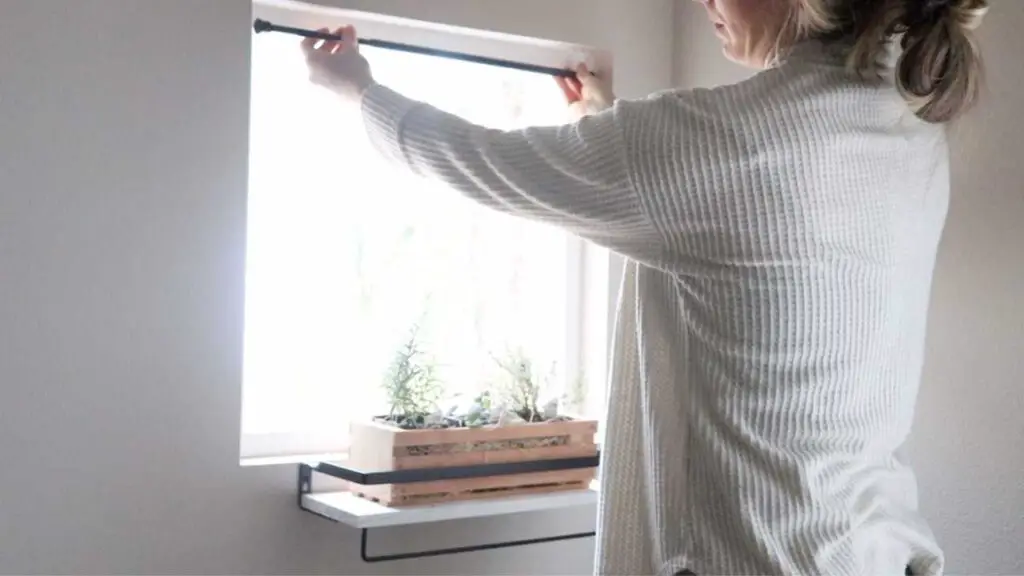
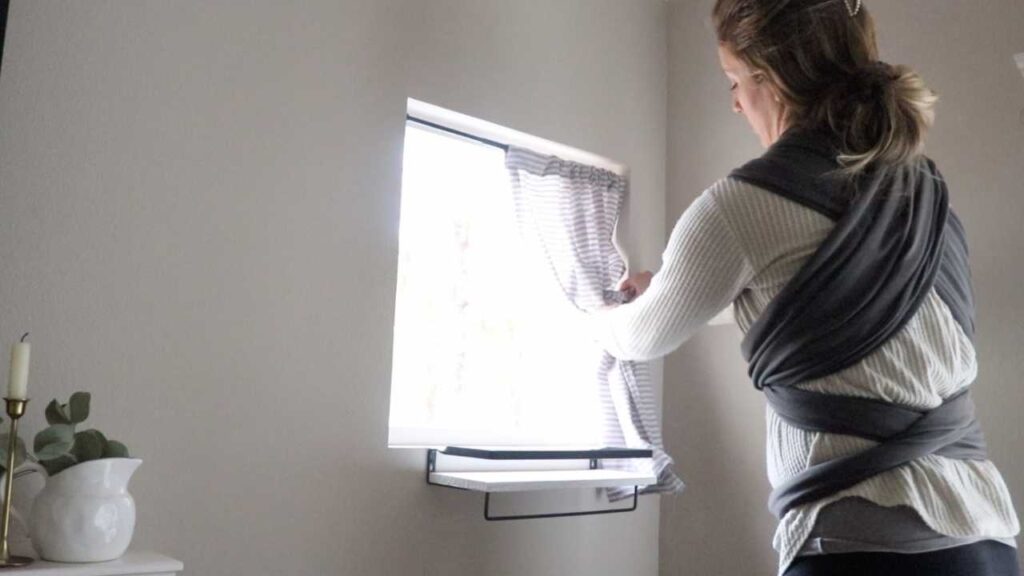
Now, go to your window and place the curtain rod inside the pocket. See where the curtain hangs and determine if you need to cut any fabric off the bottom of the curtain. Think about whether you want the curtain to be bunched up at the bottom, or to have extra weight so it hangs nicely. In my case the curtain was going to be pushed to the side of a planter box, so I liked the extra length. Sew a hem on the bottom by folding it over 1/2″ and another 1/2″ with wrong side facing up. Use an iron and pins to help as needed.
Lastly, you’re going to topstitch along the top of the rod pocket. This just helps flatten the pocket out and make the curtain look prettier, but it is optional.
Tips for Sewing a Rod Pocket Curtain
In this tutorial I accounted for some wiggle room. Sometimes you don’t cut straight and need an extra 1/2″ or so to spare. So don’t worry, you should have wiggle room if you follow this tutorial by adding 4 inches on the width and 12 inches on the height.
When sewing a hem, make sure to backward and forward stitch at the beginning and end.
It helps to have a fabric with horizontal lines so you know you’re keeping everything straight. My favorite place to buy fabric online is Walmart.
Keep going back to your window, placing your curtain up, and adjusting as necessary.
FAQ:
What is a rod pocket curtain?
A curtain that has a pocket on the top for a rod.
What does a rod pocket curtain look like?
A regular curtain but with solid fabric on the top that is covering a rod. The rod can go on the top or in between the window.
How do you sew rock pocket curtains?
First cut the fabric to size. Then sew a hem on each of the two sides. Next, measure your curtain rod and double it, and then fold the top of the curtain over that amount and then fold a second time. Sew the pocket in place. Lastly topstitch around the curtain for a finished look.
Are rod pocket curtains easy to open?
Yes, if you can reach the top of the curtain. They are easiest to open when you can pull the bunched up fabric on the top over to one side.
More Beginner Sewing Tutorials
Easy Double-Sided Napkin Tutorial
How to Sew a Christmas Table Runner
How to Sew Rod Pocket Curtains
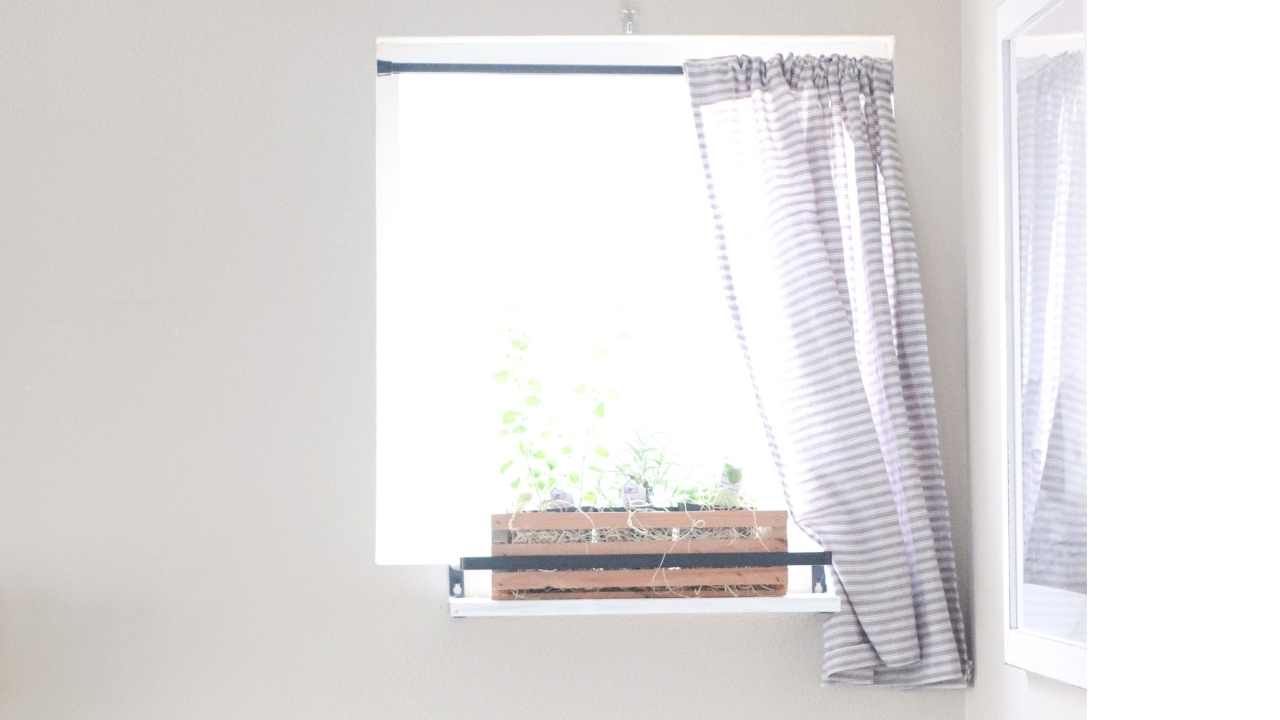
These rod pocket curtains are the perfect quick and easy sewing project that will add charm to any room.
Materials
- Fabric (See measurements below)
- Curtain rod (I used this expandable one)
- Fabric scissors
- Sewing machine
- Thread
- Pins
- Iron
Instructions
- First, cut the fabric based on the measurement formula below.
- Width = (window width * 1.5) + 4 inches (to account for "bunching" in the fabric and a hem on each side)
- Height = window height + 12 inches (to account for the pocket for the rod)
- Sew a hem on the two sides. Fold the sides over 1/2 inch and then another 1/2 inch, using an iron to flatten the fabric as you go. Use pins to secure the hem, and then sew it in place. Be sure to backward and forward stitch at the beginning and end.
- Next measure the size of your curtain rod and then double that, and that will be your width for the rod pocket. My curtain rod was 1" at the thickest point, so my pocket was 2". With the wrong side facing up, fold the top of the curtain over 2" and then another 2" (or whatever your amount is). Pin in place, and then sew along the bottom edge of the fold.
- Now, go to your window and place the curtain rod inside the pocket. See where the curtain hangs and determine if you need to cut any fabric off the bottom of the curtain. Think about whether you want the curtain to be bunched up at the bottom, or to have extra weight so it hangs nicely. In my case the curtain was going to be pushed to the side of a planter box, so I liked the extra length. Sew a hem on the bottom by folding it over 1/2" and another 1/2" with wrong side facing up. Use an iron and pins to help as needed.
- Lastly, you're going to topstitch along the top of the rod pocket. This just helps flatten the pocket out and make the curtain look prettier, but it is optional.
Notes
How Much Fabric to Buy
The amount of fabric you will need will depend on the size of your window. Here is the basic formula:
Width = (window width * 1.5) + 4 inches
Height = window height + 12 inches
My window was a 22" by 22" square so I cut my fabric to 37" wide by 34" tall. This is to account for "bunching" in the fabric and a hem on each side. If you are not sure how much bunching you want in the curtain, you can hold up the fabric to the window to get a rough idea. Generally multiplying the width by 150% will give you the right amount of bunched up curtains.
PIN IT FOR LATER!


Leave A Comment