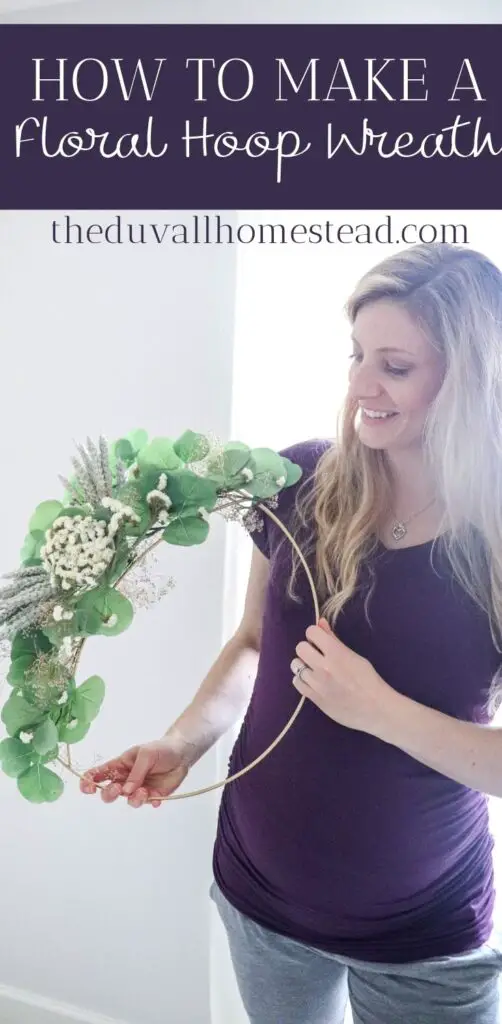
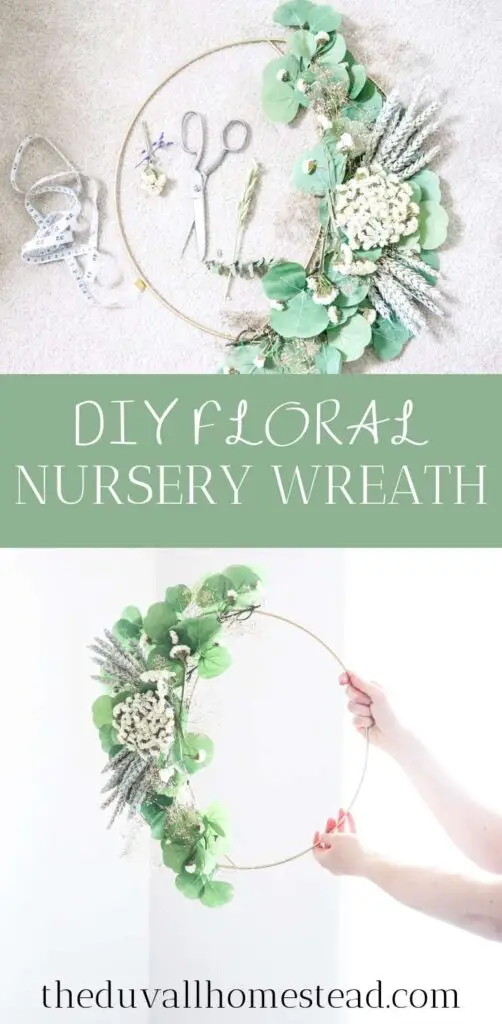
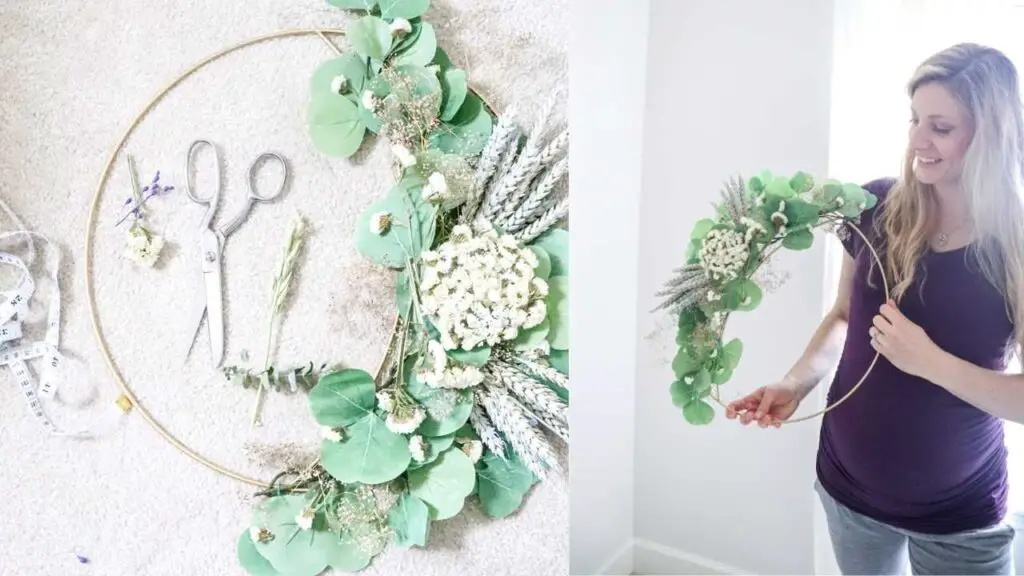
Right now I am really into making things for our baby and for the nursery. There’s something so special to me about looking around our house and say, I made that! This simple DIY Hoop wreath tutorial with dried flowers is the perfect home decor item for any room to add a summery, floral touch without having to buy new flowers.
This post contains affiliate links, which means I may make a small commission off items you buy at no charge to you 🙂
I’ve shared a few different wreaths on my blog before but this one is pretty different. Usually I grab my grapevine wreath base and add fresh flowers to it each season for my farmhouse decor.
This time around I thought a hoop wreath would be fun to try, even though I had never done it before. I’d seen them on Pinterest and when the hoop was on sale at Michaels for half off I think the project was just calling my name.
SAVE IT FOR LATER!
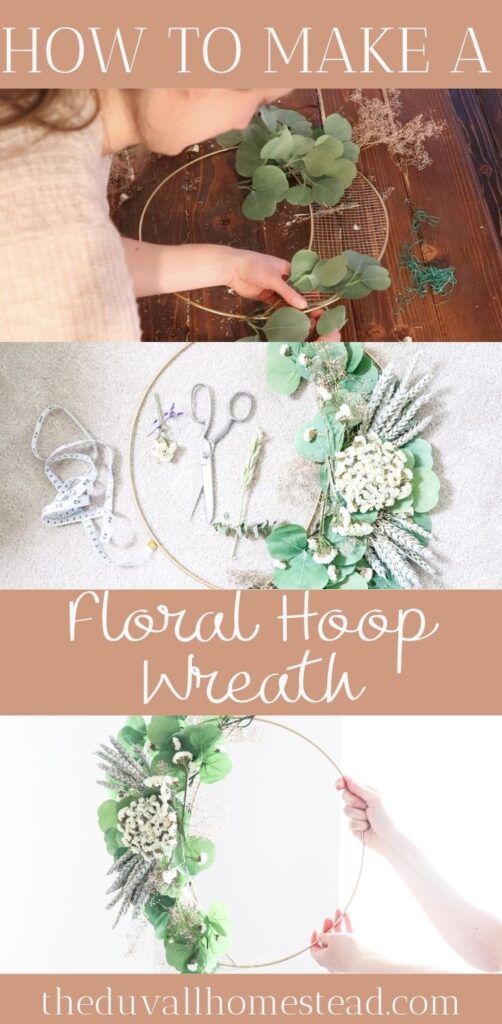
Summertime is Calling my Name
I know it’s on March, but when I think of a floral wreath I think of summertime.
Back when our garden was in full bloom and I went and picked out some flowers for our farmhouse table.
But here in the PNW our growing season is short. We get lots of blooms (after all, our soil is so rich from all the rain!) and then they’re gone.
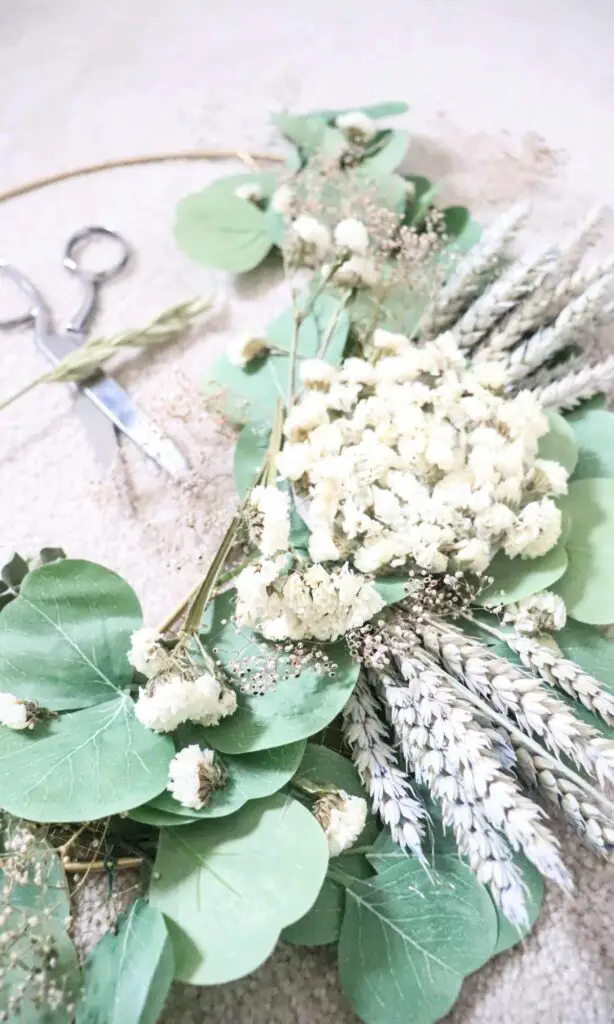
So the farm stands next to our house always save flowers and dry them from last summer. What a great idea right? That way you can enjoy them throughout the winter, or however long it takes until you get to see fresh flowers again.
These flowers are just that. A simple stop on my way home from the grocery store at a farm stand and I got two beautiful bouquets of dried florals. Now, I thought, it was time to make a wreath!
Baby is Coming
It’s March now, which means about 4 more months until our baby comes.
I know newborns really don’t need a lot of stuff, but I wanted to make a nursery anyway. Basically, a room where we can keep the baby stuff.
Right now the nursery is combined with my office, which is pretty problematic (seeing baby stuff and work stuff in the same room just doesn’t work for me).
Then we have a guest room with a queen sized bed. Well, unfortunately the bed is going to have to go. We need to instead have one room be an office and the other one be a nursery.

I have started collecting some items for the nursery, but right now they’re all just stored in the corner of my office. This wreath will be the first wall decor for the nursery.
Once I get the room in good enough shape I will share it with you all!
TOOLS NEEDED
Hoop wreath with netting (apparently called a “moon” wreath)
Cable ties (you can also use paper clips, or Christmas tree hooks like I did)
glue gun and glue sticks (optional, but makes things a lot easier!)
dried florals
fake florals (optional. I went with this eucalyptus since I didn’t have any fresh or dried)
HOW TO MAKE A FLORAL HOOP WREATH
First start with your wreath base. For this tutorial you will need a “moon” hoop wreath.
Gather dried flowers. I like getting a dried flower bouquet from the farm stand near us, but you can also use fresh flowers and dry them yourself. Follow the tutorial I shared for drying leaves for garland in this post if you want to see how I do this.
If you’re starting from a bouquet, you’ll want to take it apart and pick the flowers you want for your wreath. I chose neutral colors since this wreath will go in our nursery.
NOTE: if you only have long stemmed flowers or leaves, it might be helpful to buy some faux eucalyptus to cover up the “moon” section of your wreath. The leaves are nice and big so it makes the rest of the wreath a whole lot easier.
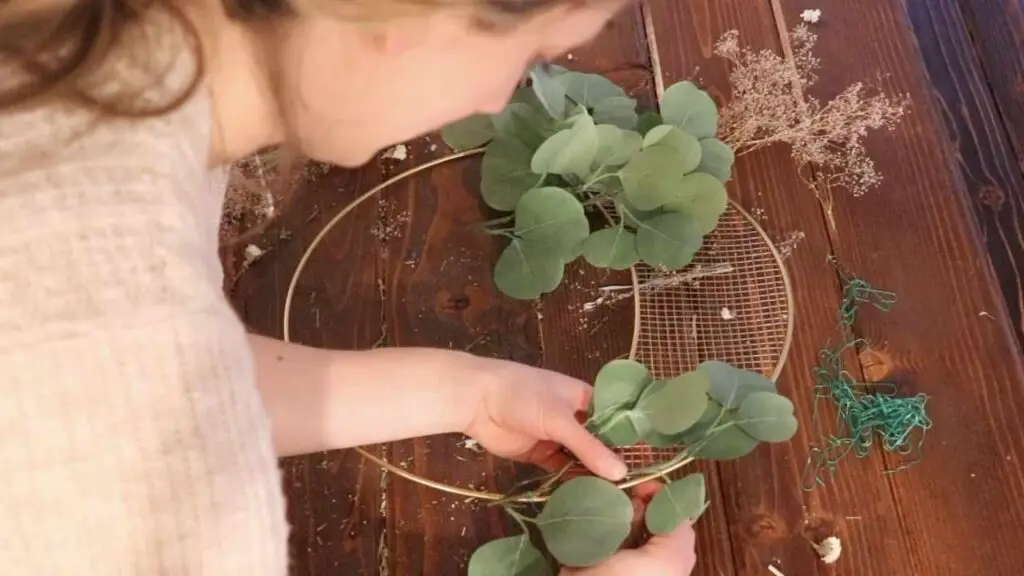
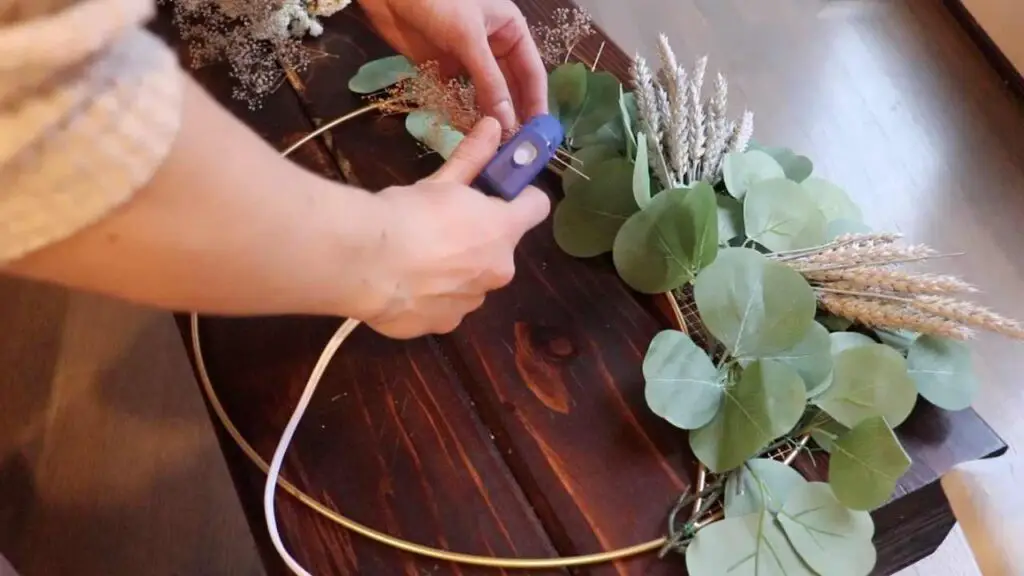
Fasten the first layer of flowers or leaves to the wreath with Christmas tree hooks. I used these because I couldn’t find my leftover cable ties from the last wreath I made. You could also use some paperclips laying around.
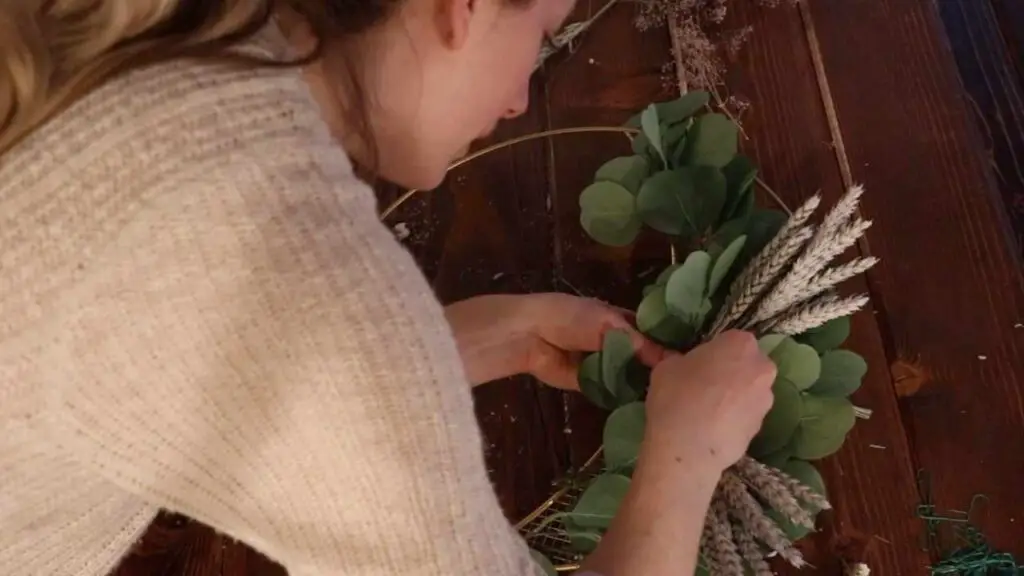
Once you have a thick layer covering the moon portion of the wreath, you can start adding your flowers.
TIP: Use a hot glue gun with glue sticks for the rest of the wreath. It’s must easier and faster than tying.
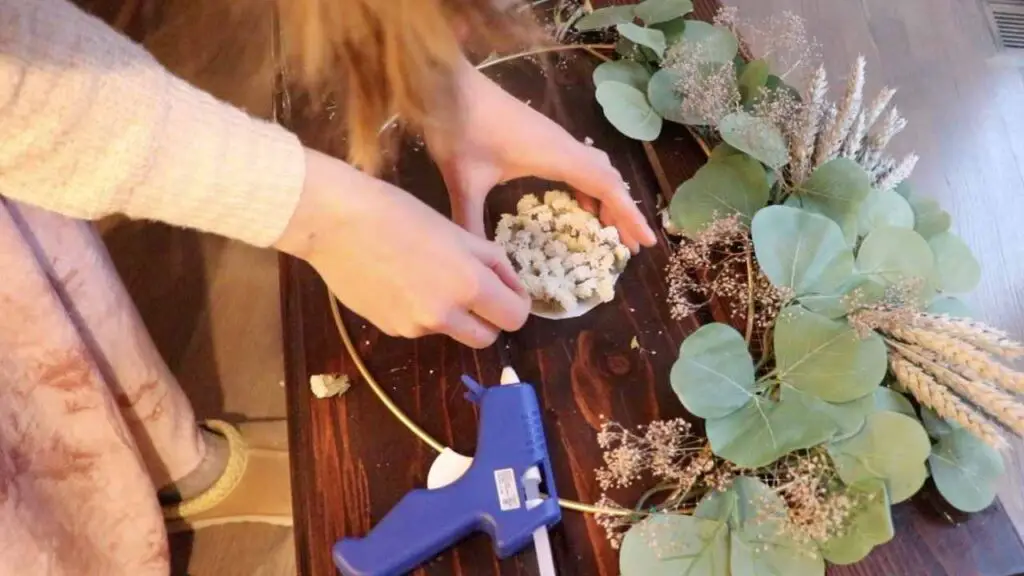
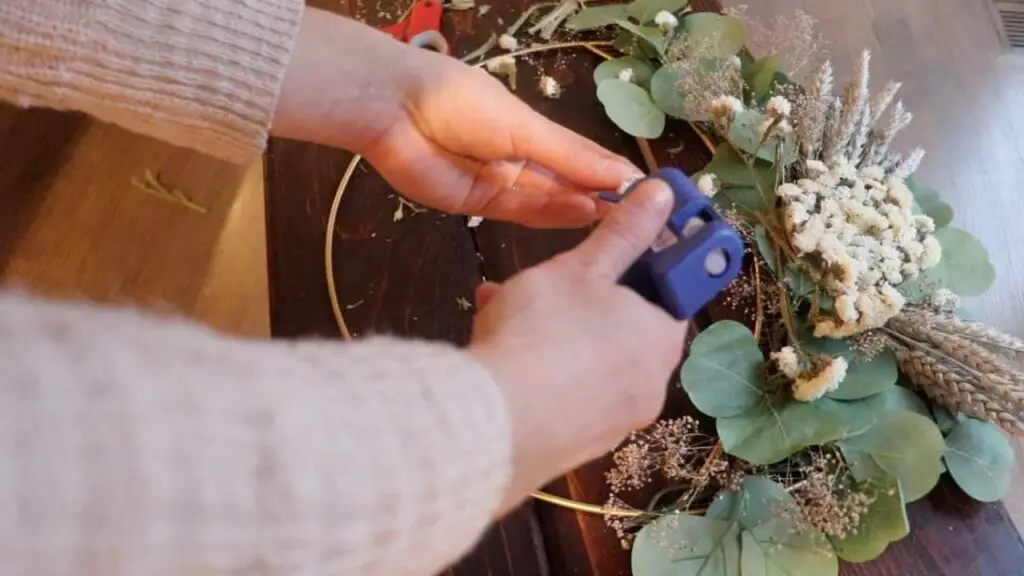
To make a centerpiece for your wreath, cut a small circle out of a plastic plate. Glue the flower heads onto the plate, making sure to cover up the plate circle completely on all sides. Then glue the plate to the wreath leaves.
Hang and enjoy!
TIPS FOR MAKING A DIY FLORAL WREATH
Consider grouping the flowers together by type. This will allow you to see what colors you’re working with and what flowers would go well together.
You might have to do a lot of cutting of stems. In order for the face of the flower to show in the wreath, you have to cut the stem almost all the way to the head of the flower. Then use glue on the head.
Stick to a color pallete of 2-3 colors. For my wreath, I used tan (the wheat stems), white, and green.
For a nursery, consider a calming, neutral tone. Since you’re spending your time making this wreath, you’ll probably want to keep it up all year long. So try to avoid bright or seasonal colors so you don’t get tired of it 🙂
FAQ:
HOW DO YOU ATTACH FLOWERS TO A FLORAL HOOP WREATH?
There are a few ways to attach flowers to a floral hoop wreath. You can use cable ties, Christmas tree hooks, paper clips, or even string. However, once you have a base of flowers or leaves on your hoop wreath, you can easily use hot glue with glue sticks to attach flowers to the leaves on the wreath.
HOW DO YOU MAKE A SIMPLE FLOWER WREATH?
You only need to do three main steps to make a simple flower wreath. First, start with your wreath base (like grapevine or hoop). Next, use cable ties or hot glue to tie the flowers to the wreath. Lastly, add finishing touches like ribbon or accents as your choosing.
Try one of these simple wreath tutorials for spring, fall, or Christmas:
How to make a fresh flower wreath
DIY Fall Olive Branch Wreath Tutorial
How to Make a Natural Greenery Christmas Wreath

How to Make a Floral Hoop Wreath DIY
Learn how to make a floral hoop wreath DIY in this simple tutorial. Use a dried floral bouquet to create a simple wall piece that will add a beautiful floral touch to your farmhouse decor.
Materials
- Hoop wreath with netting (apparently called a "moon" wreath)
- Cable ties (you can also use paper clips, or Christmas tree hooks like I did)
- glue gun and glue sticks (optional, but makes things a lot easier!)
- dried florals
- fake florals (optional. I went with this eucalyptus since I didn't have any fresh or dried)
Instructions
- First start with your wreath base. For this tutorial you will need a "moon" hoop wreath.
- Gather dried flowers. I like getting a dried flower bouquet from the farm stand near us, but you can also use fresh flowers and dry them yourself. Follow the tutorial I shared for drying leaves for garland in this post if you want to see how I do this.
- If you're starting from a bouquet, you'll want to take it apart and pick the flowers you want for your wreath. I chose neutral colors since this wreath will go in our nursery.
- NOTE: if you only have long stemmed flowers or leaves, it might be helpful to buy some faux eucalyptus to cover up the "moon" section of your wreath. The leaves are nice and big so it makes the rest of the wreath a whole lot easier.
- Fasten the first layer of flowers or leaves to the wreath with Christmas tree hooks. I used these because I couldn't find my leftover cable ties from the last wreath I made. You could also use some paperclips
laying around. - Once you have a thick layer covering the moon portion of the wreath, you can start adding your flowers.
- TIP: Use a hot glue gun with glue sticks for the rest of the wreath. It's must easier and faster than tying.
- To make a centerpiece for your wreath, cut a small circle out of a plastic plate. Glue the flower heads onto the plate, making sure to cover up the plate circle completely on all sides. Then glue the plate to the wreath leaves.
- Hang and enjoy!
Notes
- Consider grouping the flowers together by type. This will allow you to see what colors you're working with and what flowers would go well together.
- You might have to do a lot of cutting of stems. In order for the face of the flower to show in the wreath, you have to cut the stem almost all the way to the head of the flower. Then use glue on the head.
- Stick to a color pallet of 2-3 colors. For my wreath, I used tan (the wheat stems), white, and green.
- For a nursery, consider a calming, neutral tone. Since you're spending your time making this wreath, you'll probably want to keep it up all year long. So try to avoid bright or seasonal colors so you don't get tired of it 🙂
Pin it for Later!
