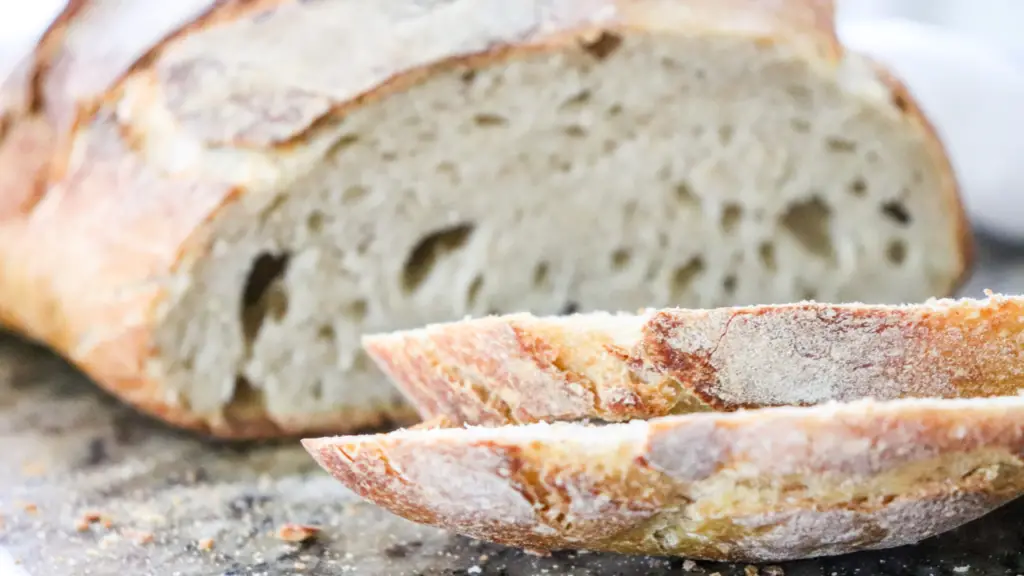
There is nothing better than homemade rustic sourdough bread. I shared with you all last week how much we use our sourdough starter in our house, and this is our favorite way to use it.
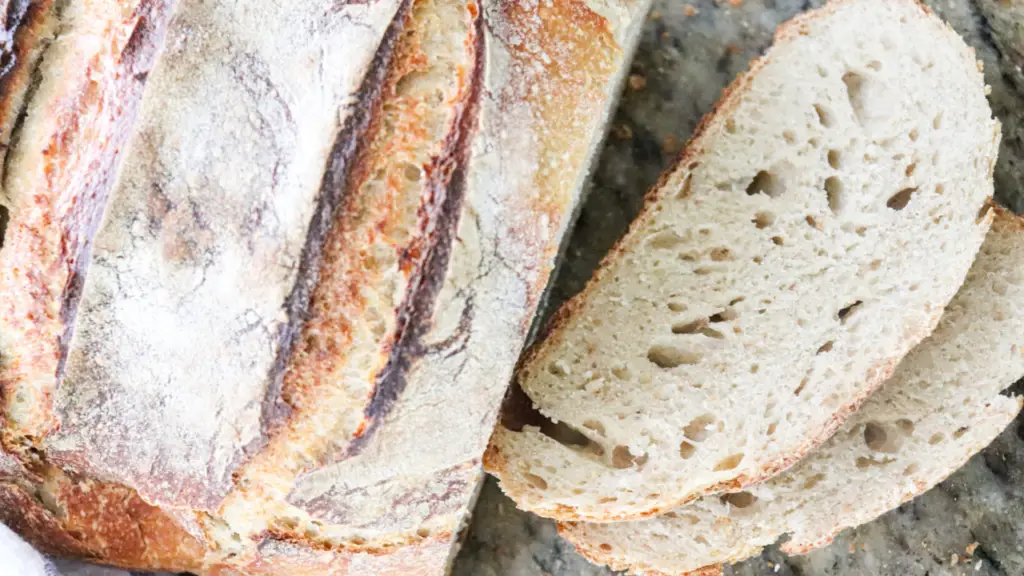
Pin it for Later
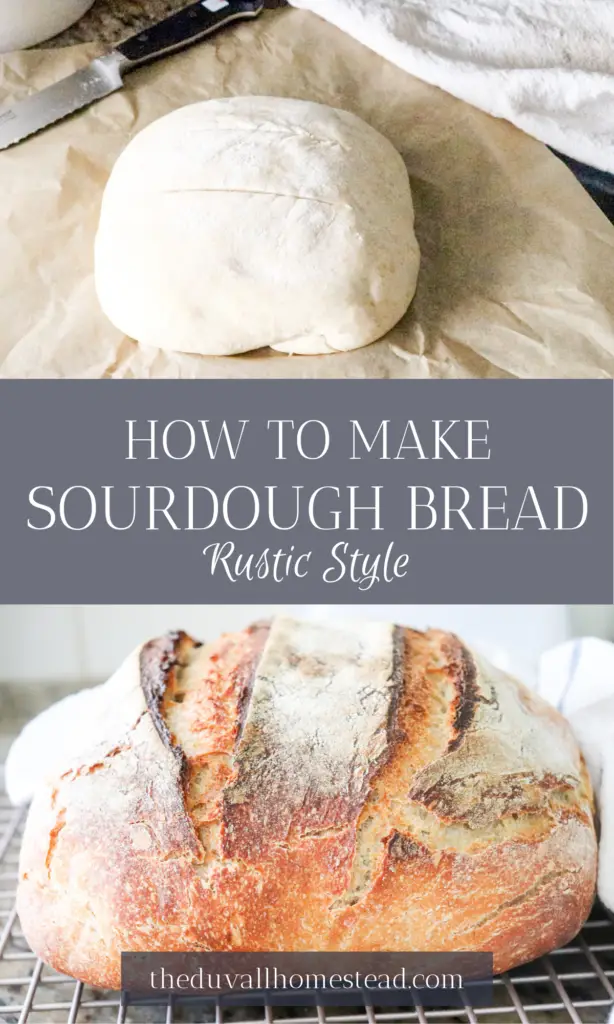
Note: This post may contain affiliate links, which means I make a small commission at no charge to you.
Wait, I thought making bread was difficult and scary…
When I got started with sourdough bread making about 4 years ago, I thought sourdough bread was something that required a magical ingredient called yeast to make. I loved my bread from the store and the thought never occurred to me to make my own homemade bread loaves.
But the thing about cooking, and all of life really, is things only seem scary until you try them. Once you see yourself doing something, you believe you can. We should change that thought process though, yes? Seeing isn’t always believing 😉
To be honest, nothing really beats the taste of homemade sourdough bread. Once you get to try out several sourdough recipes and get the hang of it, you’ll be baking sourdough bread often. I guarantee it.
What is sourdough?
I thought bread required some fancy yeast and other ingredients to make it rise, which is actually not true. What I love about sourdough is that it is fermented grain, which is what gives it that sour taste.
You’ve probably heard of fermented food or at least gut healthy probiotics in today’s world of grocery shopping. So why are these things so important?
We have many processes for breaking down food and having a healthy digestive tract in our bodies. One way we do this is through stomach acids and gut lining. Now I’m no doctor or nutritionist here but I do know that if you don’t have healthy gut bacteria and gut lining, you are going to have serious digestive problems.
The problem is with the innovations of todays’ modern food processing and technological advances, a lot of food in today’s grocery stores is highly processed and the good bacteria that once existed on the food is totally removed.
So, a lot of the food we eat today lacks these good bacteria and cultures. But there is good news. It’s very easy to create these cultures from your own home so that you are eating good bacteria every day.
Making sourdough bread, or the process of fermenting grain over a couple days, makes it easier to digest and creates a pure form of food with all the natural bacteria from the bread and your environment.
Read more about the benefits of fermented grain here.
New to Sourdough?
If you are brand new to fermented grain, you are going to love diving into the amazing world of sourdough baking!
You can learn how to make your own sourdough starter from scratch to make homemade bread, sourdough pizza, bagels, and more.
Put all your sourdough recipes in one spot!
Download and print off this NEW sourdough recipes ebook and keep your favorite sourdough recipes on your counter for easy, every day cooking.
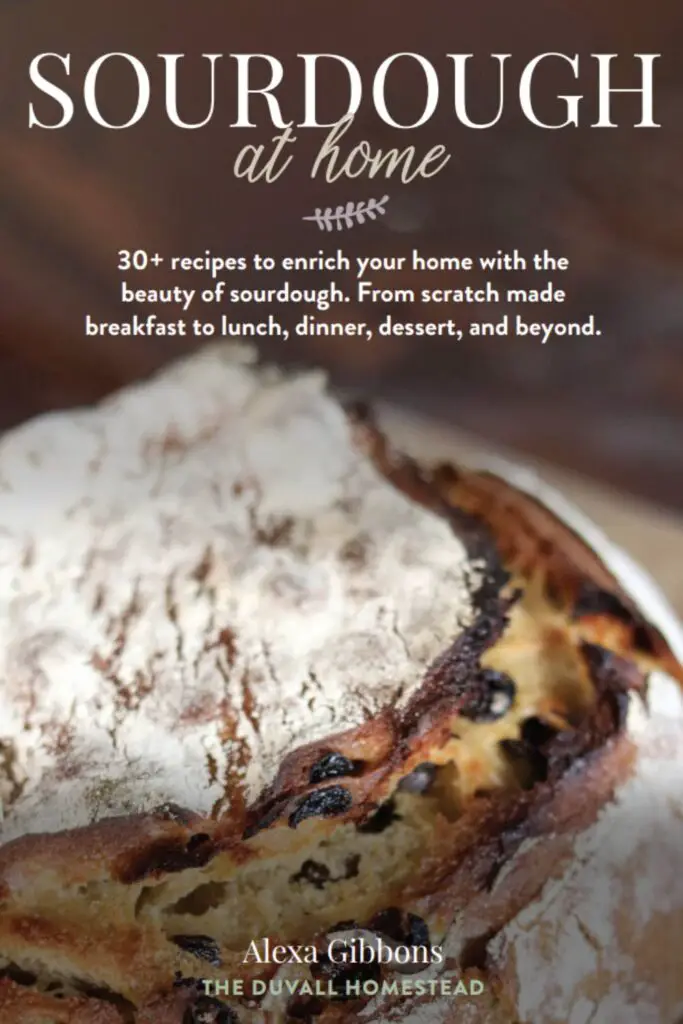

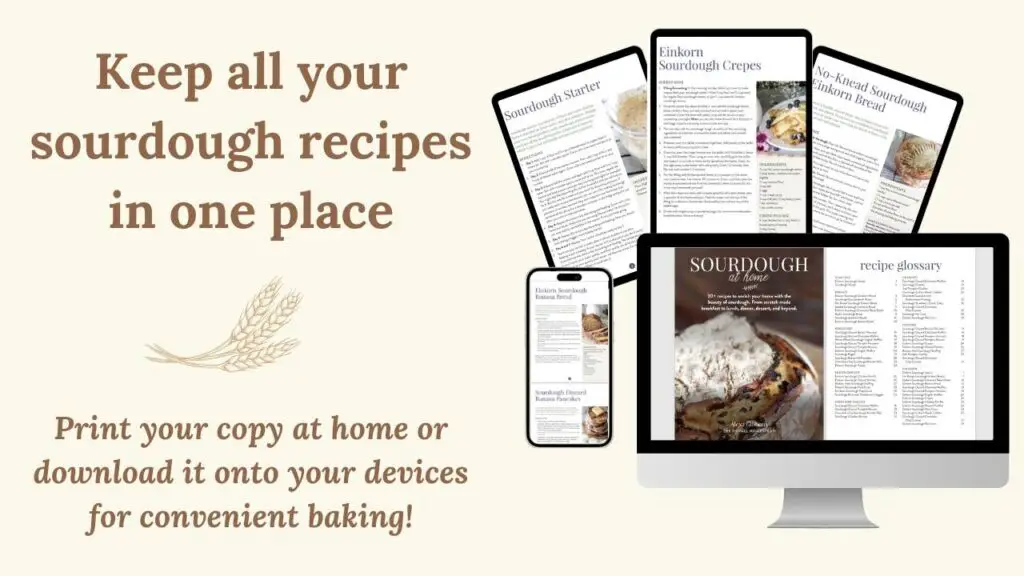

How to make bread from sourdough starter
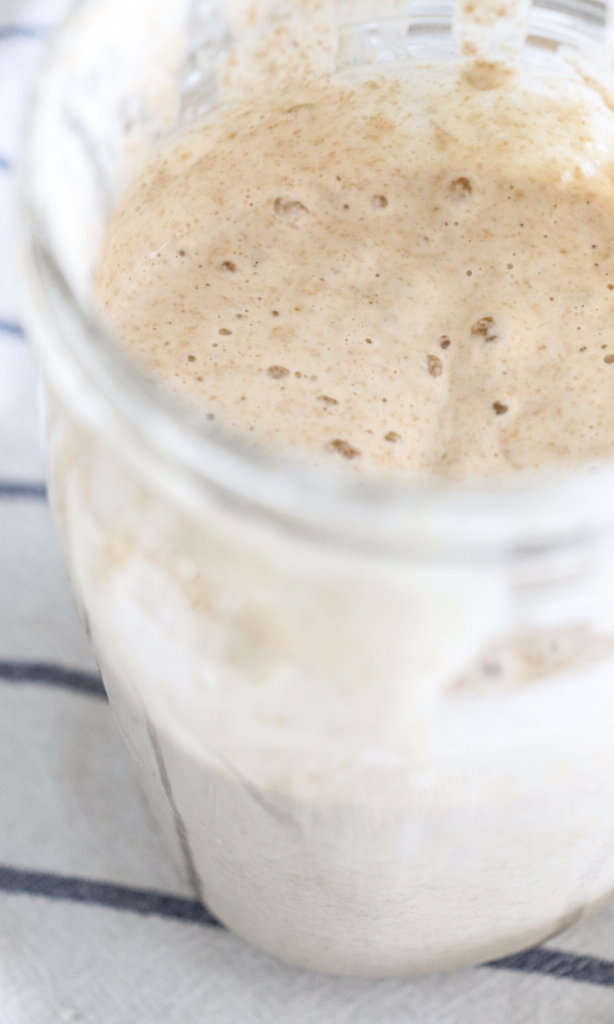
First, you need an active and fed sourdough starter. This means that the starter has been sitting out long enough to have large, lumpy bubbles at the top and it smells like sourdough.
If you don’t have a sourdough starter, you can make one with bread and flour. It takes about a week to make a starter that would be strong enough for bread. Learn all about sourdough starter and how easy it is to make here — how to make sourdough starter from scratch.
You will use this starter to make your bread rise. Once you have the active starter, you combine it with water, lots of flour, and salt to form your dough. Then, you let the dough rise at least for 12 hours before baking your bread.
If you are using sourdough starter to make bread, you do not need a yeast packet. That’s my favorite part! If you have created a strong starter, you already have active cultures of bacteria so you can make bread anytime.
How do I know my starter is ready for bread making?
You know your starter is ready after it’s been fed, sat out at room temp for several hours, has large, lumpy bubbles on top, and smells like sourdough.
There is also something called the “float test” you can do if you are still not sure. Simply fill a mason jar with water and take a small spoonful of starter and dump it in. If it floats, your starter is ready!
A note on Grams v. Cups for Bread Flour and Other Ingredients
Now, here’s the thing. Technically, a professional bread maker will tell you making bread is done by weighing your ingredients, not measuring them with cups. Every sourdough starter has a different weight, temperature, and kind of bread flour used.
I have been making sourdough for several years now, and have still never encountered a situation where I needed to measure the ingredients with a scale.
Part of this is because after doing this for a while, you start to be able to “eyeball” your dough and you know the consistency of weight and what it should be.
However, if you are new to sourdough and someone who needs to have the grams measurement, I have a friend, Kristin from Dirt and Dough, who breaks down her sourdough bread recipe by grams if you have a food scale at home.
You will get the hang of it with practice too! Just start with this rustic sourdough bread recipe and see where you go from there 🙂
Rustic Sourdough Bread Recipe
3/4 cup fed, active and bubbly sourdough starter
One and one half cup filtered water
About 4 and 1/4 cup all-purpose or bread flour, plus more for shaping
1 1/2 teaspoon salt
Tools Needed
Large glass or stainless steel mixing bowl
Dutch Oven (this is the one we use)
Parchment Paper
Cooling rack (optional)
The Process – How to make sourdough bread from scratch
Here are the five phases to making sourdough bread. Now do not be intimidated. Each phase takes less than 5 minutes of your time. All the magic of making bread happens on it’s own with time!
We love having a sourdough loaf for Sunday night’s dinner. To do this, follow the below timeline:
Saturday morning: Take starter out from the fridge and feed it. Let sit on the counter all day until it passes the float test.
On Saturday late afternoon: Phase 1 – Make the Dough
Then Saturday evening: Phase 2 – Lift and Tucks
Saturday over night: Phase 3 – Bulk Rise
Sunday morning: Phase 4 – Second Rise
Sunday afternoon: Phase 5 – Bake the Bread
Watch: How to make Sourdough Bread from Scratch
Phase 1 – Make the Dough (3 min)
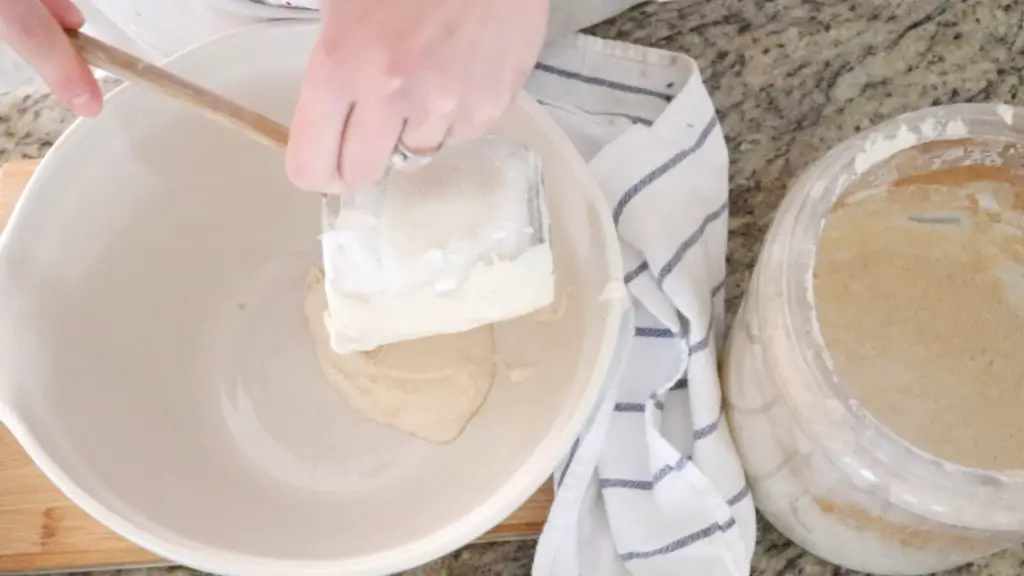
Pour the fed and active sourdough starter and water into a large mixing bowl and whisk together. If you’re not sure if your starter is ready, do the “float test” described above.
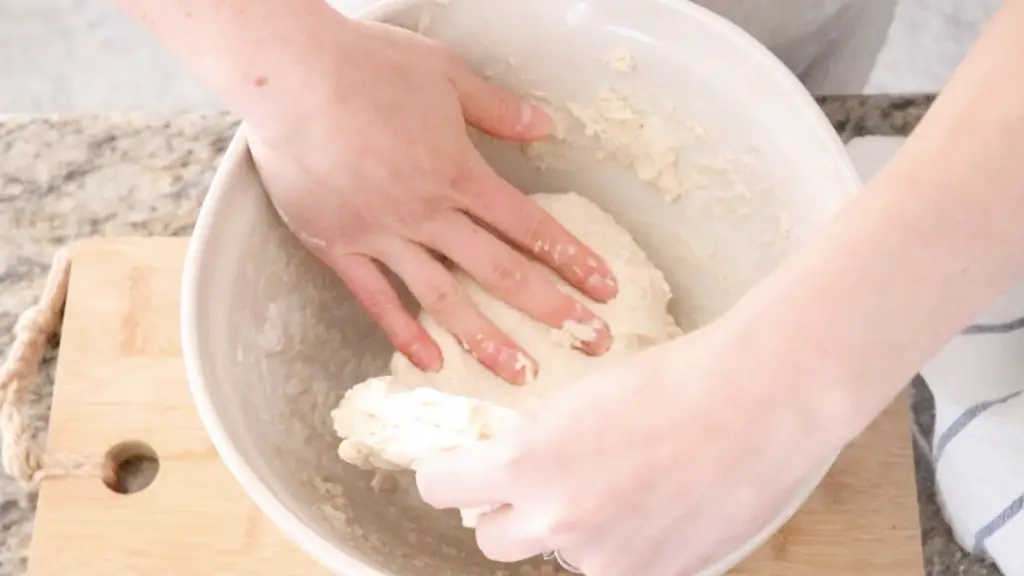
Add the flour and salt. With clean hands, combine all ingredients for about 20 seconds until all the flour is cleaned off the sides of the bowl. The dough will feel sticky. Do not overdo it here.
Let the dough rest. Put a tea towel on top of the bowl and set on the counter for 30 minutes to an hour.
Phase 2 – Lifts and Tucks (1 min)
Sounds like an exercise routine, but it’s just some hand motions on the dough 🙂
Starting from one end of the dough, lift it up and fold it over itself into the center of the dough. Then rotate the bowl 90 degrees and repeat, until all sides have been lifted, tucked and folded. So, four times total.
Cover the bowl and let sit on the counter. Then, repeat the lifts and tucks 2 more times (for a total of 3 times), each about one hour apart. Now, don’t get too obsessed with this part. This is just creating nice volume in your bread. If you skip one or let two hours go by instead of one, it’s totally okay.
Phase 3 – Bulk Ferment (30 sec)
The easiest (and most important) phase!
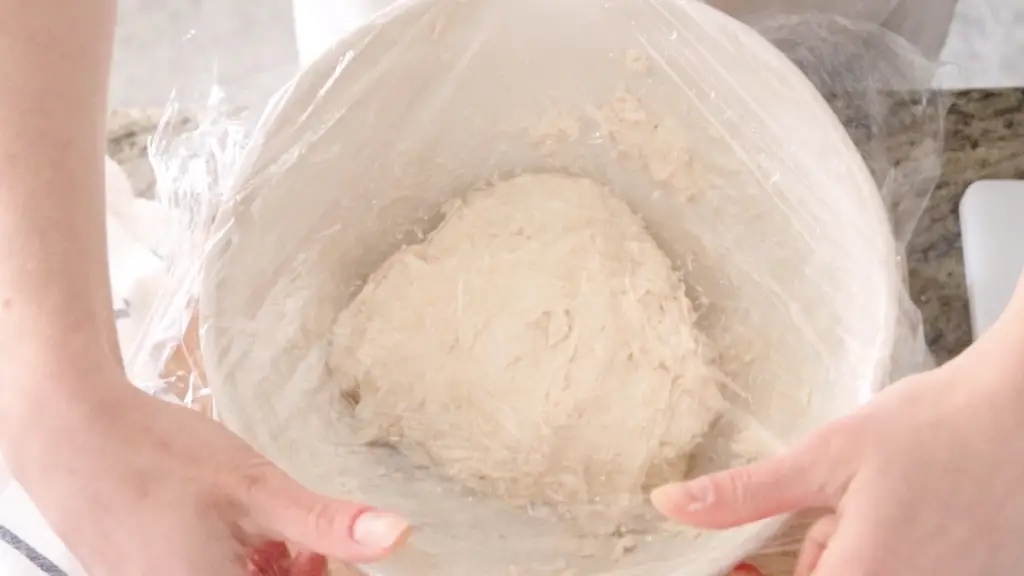
Cover the bowl with saran wrap and then a tea towel on top. Place in the fridge and let sit overnight.
Phase 4 – Second Rise (5 min)
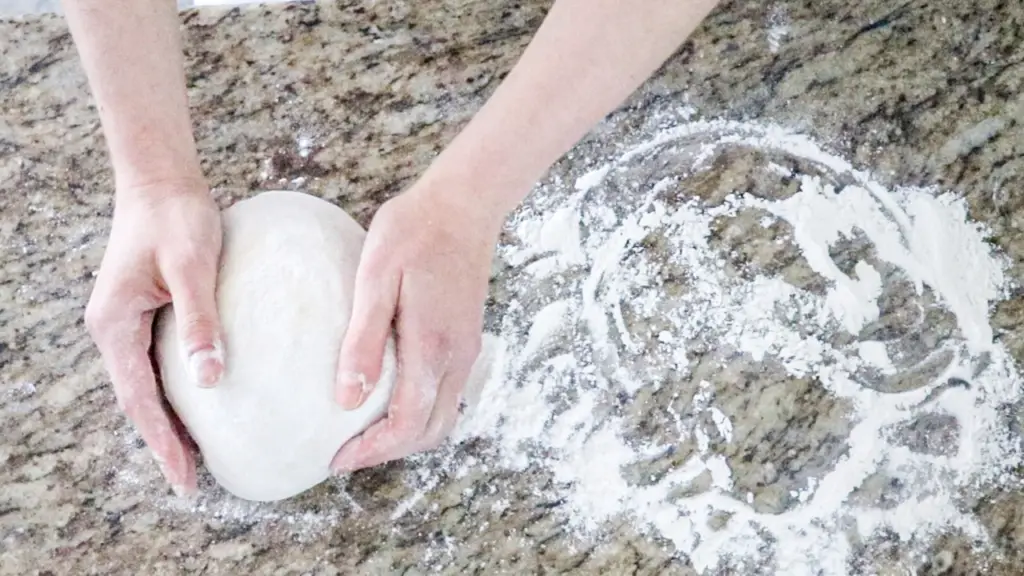
Pull the dough out of the fridge and clear a spot on your countertop. On half the counter, sprinkle some flour and leave the other half clean with no flour.
Remove the dough from the bowl and place on the flour side. Do one more round of the lift and tucks to form your dough.
Remove the dough from the flour side, flip it over, and set it on the non-flour side. Form the letter C with your hands and use a cupping motion around the dough to create a ball. Rotate the ball with short rotations in a circle. You should have a dough ball that is easy to pick up and not sticky now. Add more flour if the dough is too sticky.
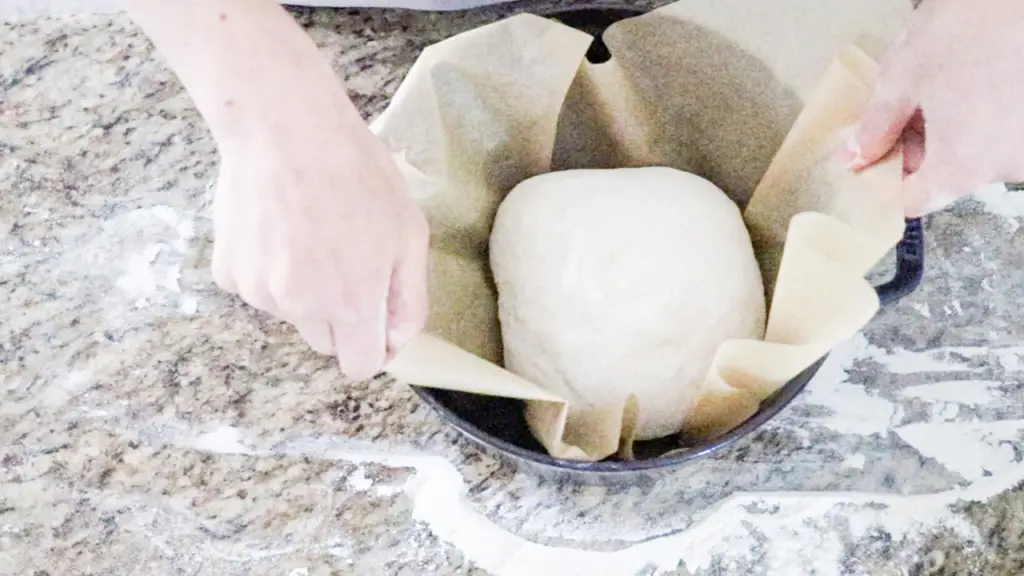
Grab a sheet of parchment paper and set the dough on the parchment paper.
Pick up the parchment paper and set the dough in a dutch oven. Cover with a tea towel and let sit on the counter for at least 2 hours.
Phase 5 – Bake the Bread (finally!)
First, take your bread that was rising in the dutch oven out of the dutch oven.
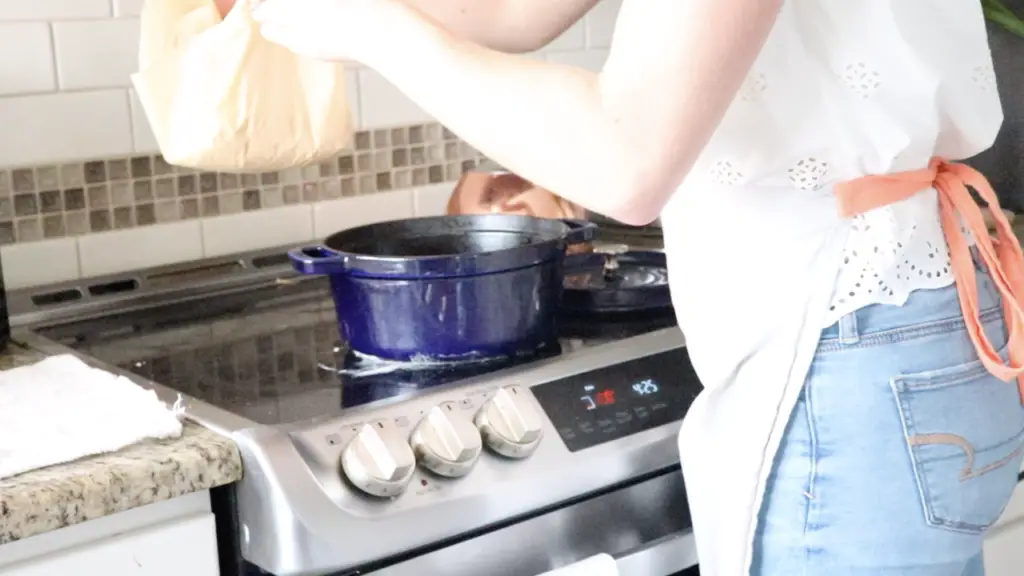
Turn your oven onto 450 degrees F and place the dutch oven (empty) into the oven to preheat with it.
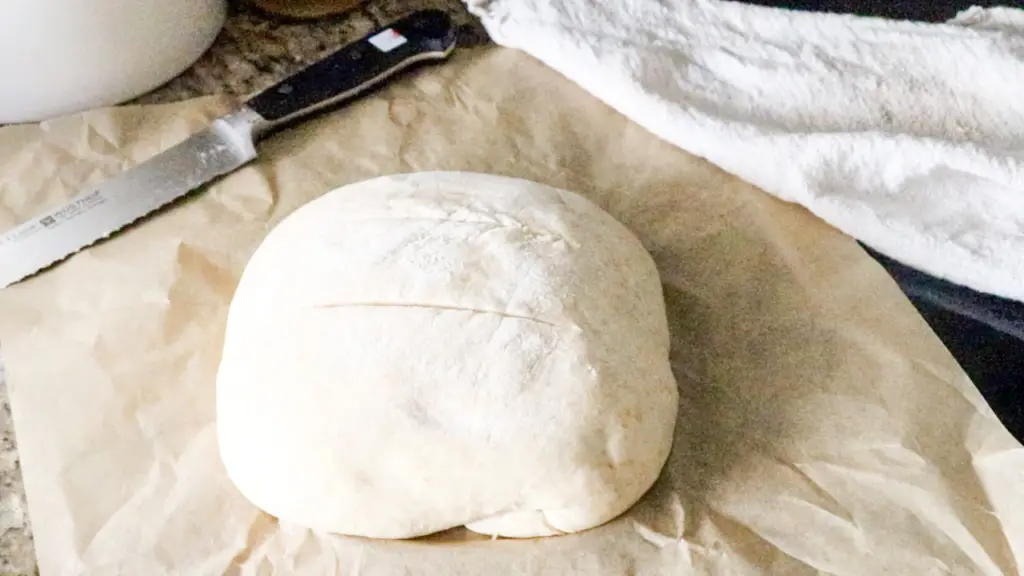
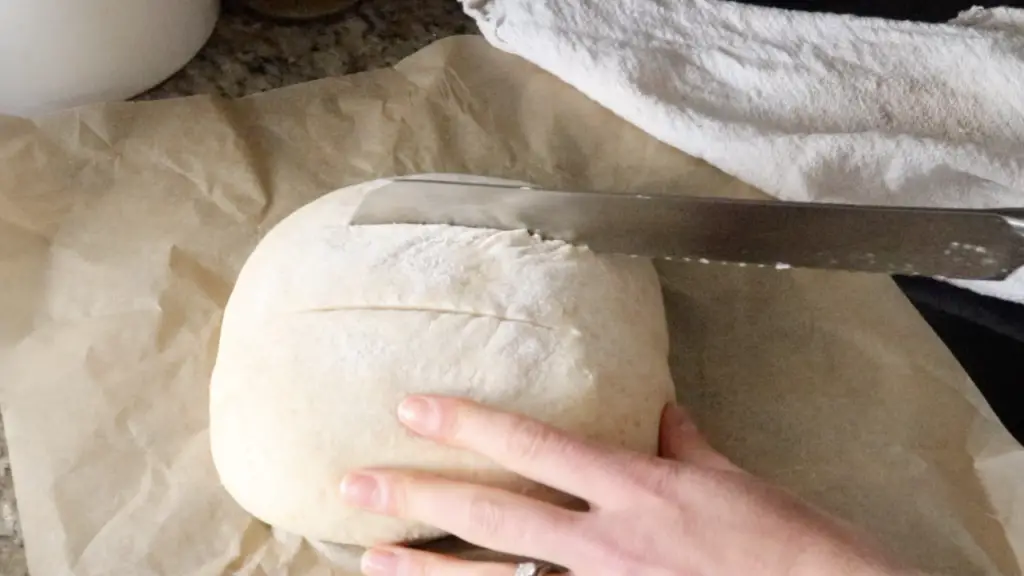
Once the oven is preheated, score your bread. Scoring is the process of creating a slit in the dough so that it can breath and rise in the oven. You can buy a special scoring knife to do this, but we just use a serrated knife and it works perfectly.
Create one or two slits in the bread with a serrated knife.
Carefully place the parchment paper with the bread on it inside of the dutch oven.
Cover the dutch oven and, with the bread inside, place it in the oven.
Bake for 25 minutes with the lid on, and then another 20 minutes with the lid off.
THIS LAST STEP IS THE MOST IMPORTANT.
WHEN THE BREAD IS DONE, DO NOT CUT IT. You will be tempted to cut it open right away and devour it. I know the smell of freshly baked bread can be hard to resist, but don’t do it. We’ve done it and learned from our mistakes.
The bread needs to sit for an hour in order to finish cooking. If you place your ear right next to the bread, you can hear it crackling. Transfer it to a cooling rack so it can properly cool. Don’t worry, it will still be hot inside after an hour!
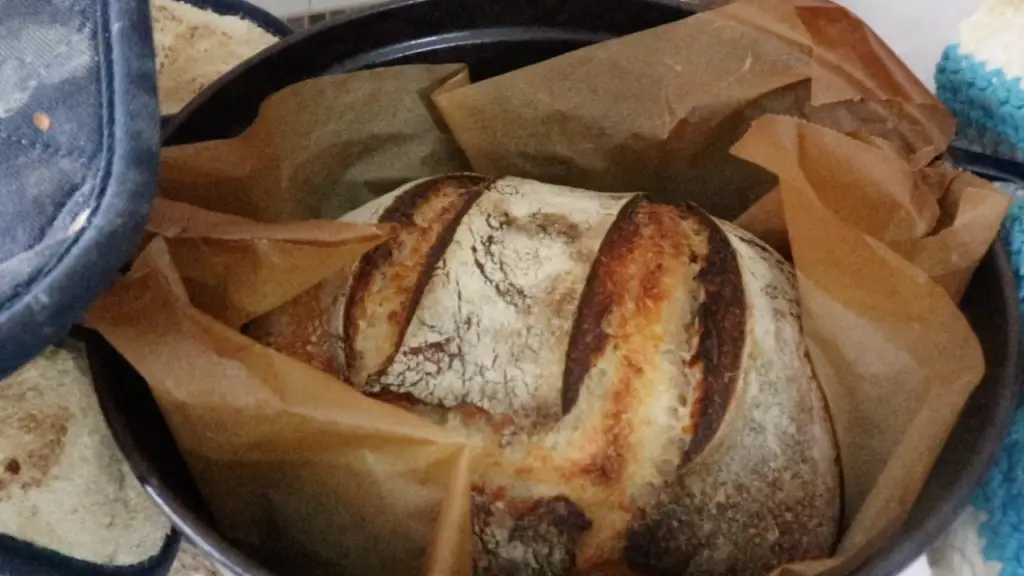
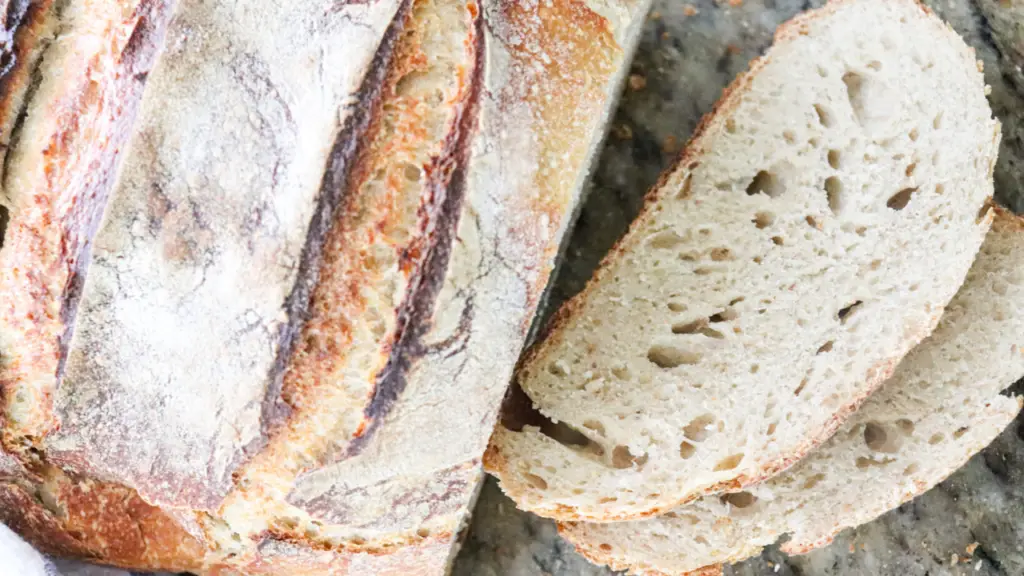
While I made this sourdough bread with all-purpose flour, feel free to experiment with your favorite wheat flour, bread flour, or whole wheat flour. This is the best way to make this rustic sourdough recipe your own.
Some of my favorite variations of this sourdough bread recipe are my whole wheat seeded sourdough sandwich bread and einkorn sourdough cinnamon raisin bread.
Watch: How to Make Rustic Sourdough Bread
More Sourdough Recipes from the Homestead:
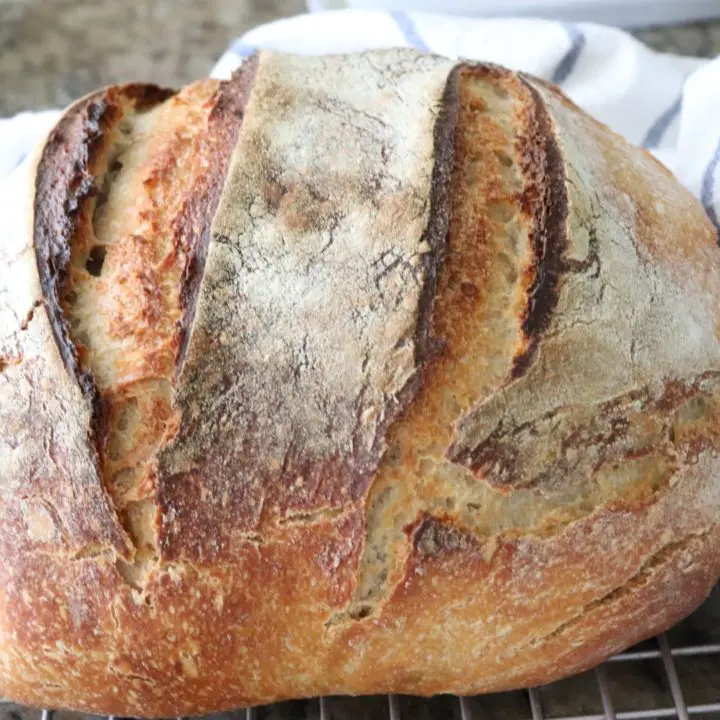
Sourdough Bread
Rustic Sourdough Bread with an easy step-by-step tutorial for beginners.
Ingredients
- 3/4 cup fed and active sourdough starter (you know your starter is ready if a spoonful floats in a cup of water)
- 1 1/2 cup filtered water
- About 4 and 1/4 cups all-purpose or bread flour, plus more for shaping
- 1 1/2 teaspoon salt
Instructions
- Phase 1 - Make the Dough: Pour the sourdough starter and water into a large mixing bowl and whisk together. Add the flour and salt and combine with your hands for about 20 seconds until all the flour is absorbed. Cover bowl with tea towel and let rest 30 minutes.
- Phase 2 - Lift and Tucks: Starting from one end of the dough, lift it up and fold it over itself into the center of the dough. Then rotate the bowl 90 degrees and repeat, until all sides have been lifted, tucked and folded. So, four times total. Cover the bowl and let sit on the counter. Then, repeat the lifts and tucks 2 more times (for a total of 3 times), each about one hour apart. Now, don't get too obsessed with this part. This is just creating nice volume in your bread. If you skip one or let two hours go by instead of one, you're still fine.
- Phase 3 - Bulk Ferment: Cover the bowl with plastic wrap and then a tea towel on top. Place in the fridge and let sit overnight.
- Phase 4 - Second Rise: Pull the dough out of the fridge and clear a spot on your countertop. On half the counter, sprinkle some flour and leave the other half clean with no flour. Remove the dough from the bowl and place on the flour side. Do one more round of the lift and tucks to form your dough into a ball. Remove the dough from the flour side, flip it over, and set it on the non-flour side. Form the letter C with your hands and use a cupping motion around the dough to create a ball. Rotate the ball with short rotations in a circle. You should have a dough ball that is easy to pick up and not sticky now. Add more flour if the dough is too sticky. Grab a sheet of parchment paper and set the dough on the parchment paper. Pick up the parchment paper and set the dough in a dutch oven. Cover with a tea towel and let sit on the counter for at least 2 hours.
- Phase 5 - Bake the bread: First, take your bread that was rising in the dutch oven out of the dutch oven. Turn your oven onto 450 degrees F and place the dutch oven (empty) into the oven to preheat with it. Once the oven is preheated, score your bread. Scoring is the process of creating a slit in the dough so that it can breathe and rise in the oven. You can buy a special scoring knife to do this, but we just use a serrated knife and it works perfectly. Create one or two slits in the bread with a serrated knife. Remove the dutch oven from the oven and carefully place the parchment paper with the bread on it inside. Cover the dutch oven and, with the bread inside, place it in the oven. Bake for 25 minutes with the lid on, and then another 20 minutes with the lid off. THIS LAST STEP IS THE MOST IMPORTANT. WHEN THE BREAD IS DONE, DO NOT CUT IT. You will be tempted to cut it open right away and devour it. We've done it. Don't do it! The bread needs to sit for an hour in order to finish cooking. If you place your ear right next to the bread, you can hear it crackling. Transfer it to a cooling rack so it can properly cool. Don't worry, it will still be hot inside after an hour!
Notes
Here are the five phases to making sourdough
bread. Now do not be intimidated. Each phase takes less than 5 minutes of your time. All the magic of making bread happens on it's own with resting time!
We love having sourdough bread for Sunday
night's dinner. To do this, follow the below timeline:
Saturday morning: Take starter out from the
fridge and feed it. Let sit on the counter all day or until it passes the float test.
Saturday late afternoon: Phase 1 - Make the
Dough
Saturday evening: Phase 2 - Lift and Tucks
Saturday over night: Phase 3 - Bulk Rise
Sunday morning: Phase 4 - Second Rise
Sunday afternoon: Phase 5 - Bake the Bread
While I made this sourdough bread with all-purpose flour, feel free to experiment with your favorite wheat flour, bread flour, or whole wheat flour. This is the best way to make this rustic sourdough recipe your own.
Some of my favorite variations of this sourdough bread recipe are my whole wheat seeded sourdough sandwich bread and einkorn sourdough cinnamon raisin bread.
Pin it for Later



Very easy to follow and that bread looks like a dream. Going to have to make up a loaf or two today now.
Loved your tips for breadmaking!
Great bread post, really. But can I just say, as much as I LOVE sourdough bread, I’m lovin’ that white, eyelet top of yours!
Haha thanks so much Amy!
Yum! This recipe looks delicious. I’m a sucker for sourdough, can’t wait to try this one!
Enjoy!!