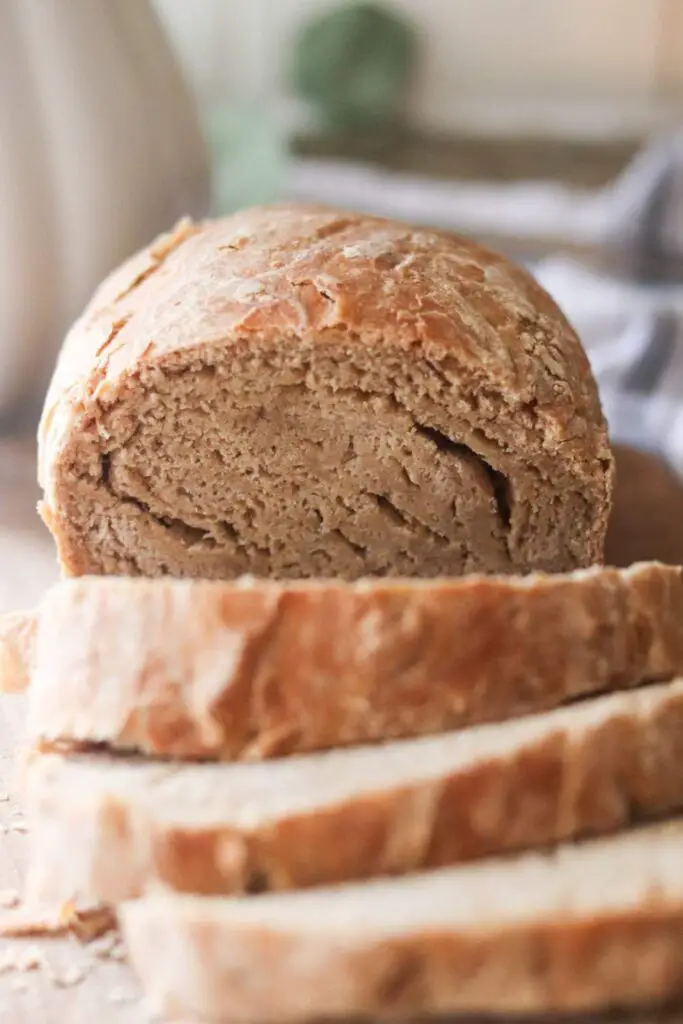
Sourdough rye sandwich bread is crisp on the outside and soft and chewy on the inside. The molasses, honey, and tangy sourdough nicely compliment this earthy rye bread which can be served with any from scratch breakfast, lunch, or dinner.

Sourdough rye sandwich bread is crisp on the outside and soft and chewy on the inside. The molasses, honey, and tangy sourdough nicely compliment this earthy rye bread which can be served with any from scratch breakfast, lunch, or dinner.
Pin it for Later!

This post contains affiliate links, which means I may make a small commission off items you buy at no extra cost to you. As an Amazon associate, I earn on qualifying purchases. See my full disclosure here.
What is Rye Bread?
Rye flour is an earthy, denser type of grain compared with modern white wheat. It contains less gluten than regular flour, while also being higher in fiber and micronutrients.
Personally I’m a big fan of einkorn flour, which is also a slightly earthier, denser grain. I like that einkorn is higher in protein and lower in gluten, making it healthier to eat than regular flour.
But rye flour is a nice alternative to einkorn. I like that it is higher in fiber, B vitamins, and also contains small amounts of zinc, pantothenic acid, phosphorus, magnesium, calcium, and other micronutrients (Source).
Why We Love Homemade Sourdough Rye Sandwich Bread
First, it uses sourdough starter to create an even healthier bread for the family. Sourdough starter, and the process of long fermentation, strips the grain of its phytic acid. This process makes it easier to digest and healthier for the body.
I love that this recipe uses molasses, butter, and honey. These three ingredients add a nice sweetness that compliment the earthy rye flavor.
Lastly these go great with eggs and honey butter. If you’ve watched my YouTube channel you’ve probably seen me make sourdough einkorn English muffins. These are a favorite at our house for breakfast topped with eggs and honey butter. And now the rye sandwich bread is a favorite for breakfast as well.
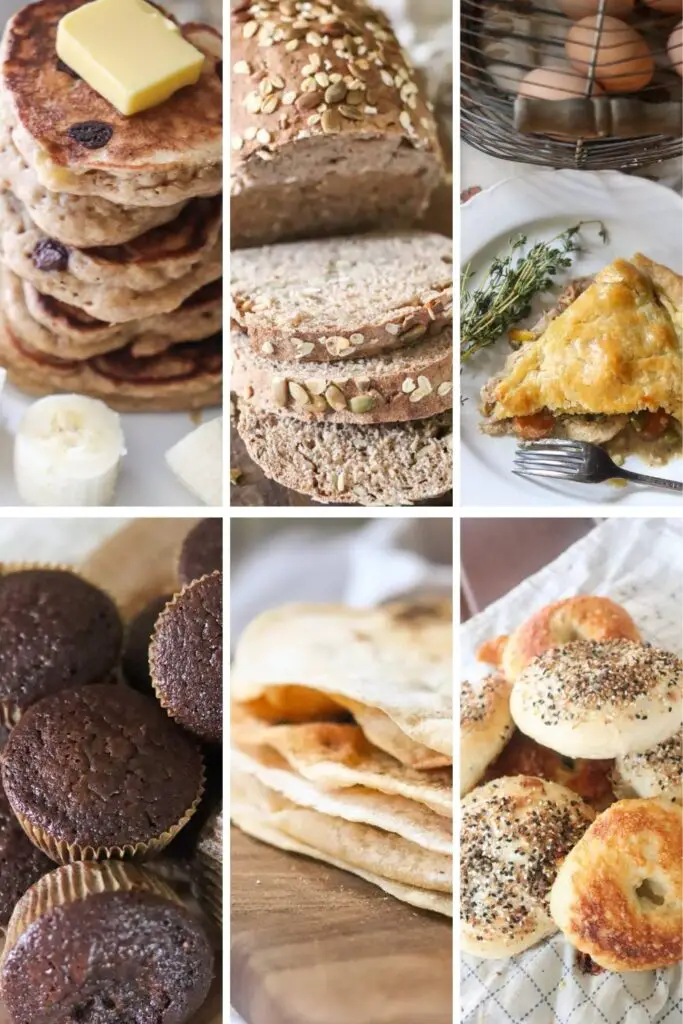
You can learn how to make your own sourdough starter from scratch to make homemade bread, sourdough pizza, bagels, and more.
Put all your sourdough recipes in one spot!
Download and print off this NEW sourdough recipes ebook and keep your favorite sourdough recipes on your counter for easy, every day cooking.



You Will Need
Rye Flour (I use the King Arthur one which you can find on Amazon)
Regular all-purpose flour
Filtered water, butter, sugar or honey, molasses, and salt
Parchment Paper
Homemade Sourdough Rye Sandwich Bread Ingredients
3/4 cup active, bubbly sourdough starter (I feed my starter with 1 cup flour and 3/4 cup filtered water and let it sit until doubled in size before starting this recipe)
1 1/2 cup filtered warm water
1 1/2 tsp salt
4 tbsp softened butter, cut into cubes
1-2 tbsp of sugar or honey
1 tbsp molasses
3 cups all-purpose or bread flour
1 cup rye flour
A Note on Grams versus Cups
Because this recipe is in cups and not grams, there may be a variance in the weight of your ingredients, specifically flour, if you’re using a different flour than I am. My recommendation would not be to try to convert this to grams (I’ve had people say they try that and it just doesn’t work). Instead, watch the video in the recipe card below and try to get your dough to match mine in the beginning.
Ultimately, you just need to learn what the dough consistency should be like. You may need more or less flour than I used, but it will only be about 2 tablespoons of flour in either direction. So, instead of trying to convert the recipe, just follow the above but also leave room for flexibility. And remember, even if a recipe is in grams, it doesn’t mean it will work for you every time. Sourdough takes practice but you WILL get it, so don’t give up, and enjoy your bread each time!
Want to get really into sourdough baking? Read more about troubleshooting sourdough in this post.
Baker’s Timeline
Day 1 (morning): feed the sourdough starter (1 cup four + 3/4 cup filtered water)
Day 1 (afternoon): make the dough
Day 1 (evening): stretch and folds
Day 1 (night): long ferment
Day 2 (morning): pull dough out
Day 2 (late morning or afternoon): bake the bread
Note: if you are brand new to sourdough bread making, I highly encourage you to print this recipe out! Save it on your countertop and follow it until you have it memorized. That’s what I did with my first couple of loaves. Now, once you memorize it, this will become second nature and very easy. So, do not let this process intimidate you. If I can do it, you can do it!
How to Make Sourdough Rye Bread
Phase 1: Make the Dough
Add all of the ingredients except the flour into a large bowl and whisk together with fork.
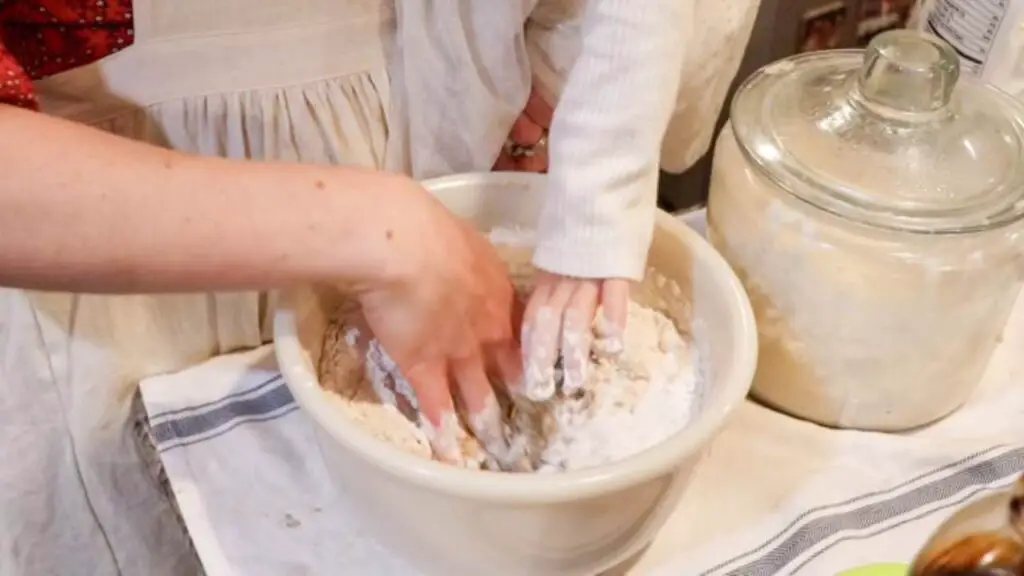
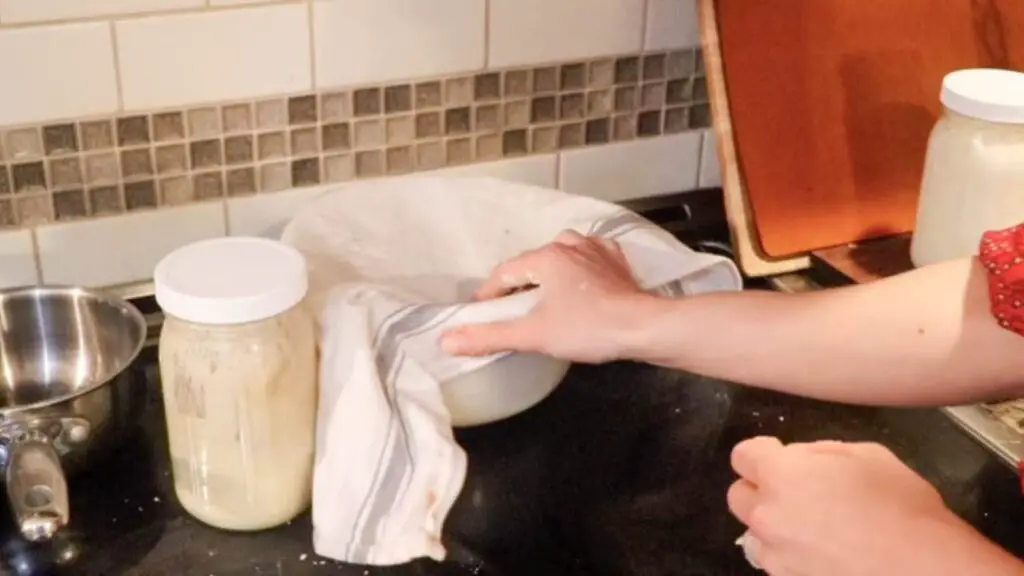
Then add the flour and use combine with your hands. Scoop the mixture up on the sides and fold it into the center, slowly incorporating the flour with the wet ingredients. This process might seem sticky and tedious but it’s really enjoyable if you let it be. Continue this process until a sticky dough is formed. Then, cover the bowl with a tea towel and let it sit out on your counter.
Phase 2: Stretch and fold
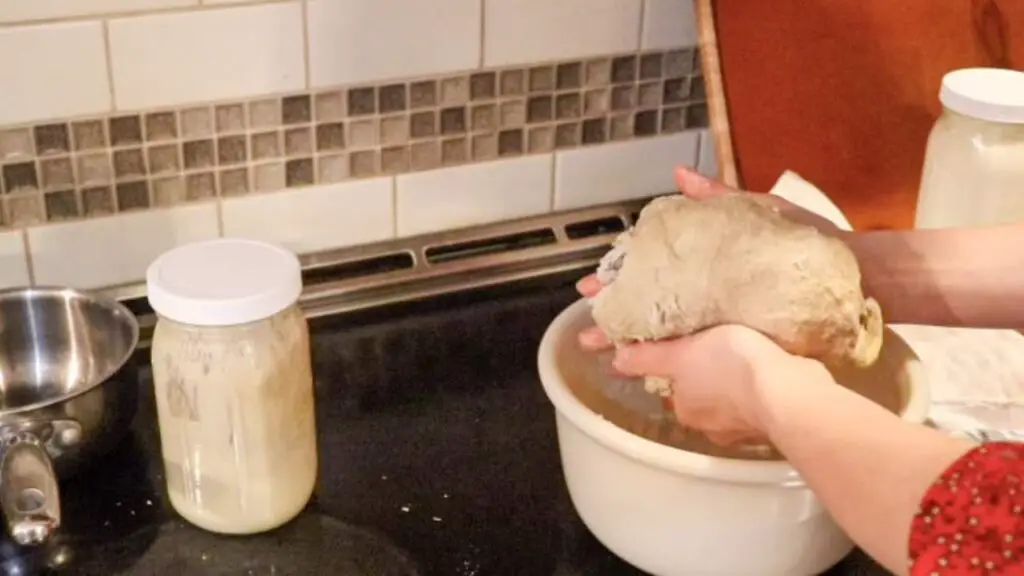
After about 1 hour, perform a stretch and fold. Pull up on one side of the dough with one hand while holding the center of the dough down with the other. Fold the extended dough hand over onto the center of the dough. Then rotate the bowl 90 degrees and do it again. Repeat until all 4 sides of the dough have been stretched and folded into the center. Then, cover the dough bowl back up with a tea towel.
It also helps here to use your fingers to scrape the dough off the sides of the bowl and incorporate it into the main mixture. While you’re doing this, think about lifting and tucking all the sides of the dough into the center so you’re creating a ball shape. This process of lifting and tucking, or stretching and folding, distributes the gluten and helps create a nice bread that will rise.
Phase 3: More Stretch and Folds
Note that your bread will be very sticky and not very firm to the touch at first. Be patient, as this will come with time as it ferments.
After the first stretch and fold, you’re going to let the dough sit on the counter for the rest of the day, or another 4-6 hours. Every hour or so you’re going to repeat that stretch and fold process. This rye sandwich bread is not picky though. If you only do one stretch and fold, it will still work. And if you do 2-3 more, that works too. I encourage you to experiment and find what you like best. I like to do between 1-3 stretch and folds depending on what works for my schedule at home.

Phase 4: Long Fermentation
After about 6 hours of the dough being out, you’re going to let it long ferment in the refrigerator. This helps slow the fermentation down while also developing the gluten nicely so it will rise in the oven the next day. Cover the dough bowl with plastic wrap over the top to prevent it from drying out, and stick the whole bowl in the fridge over night.
Phase 5: Shape the Dough
The next day, bring the dough out of the fridge and let sit about 30 minutes to 1 hour. Meanwhile, place a sheet of parchment paper in your sandwich loaf tray.
Sprinkle some flour on a clean countertop. Remove the dough from the bowl and place it on the floured surface. Perform one more round of stretch and folds.
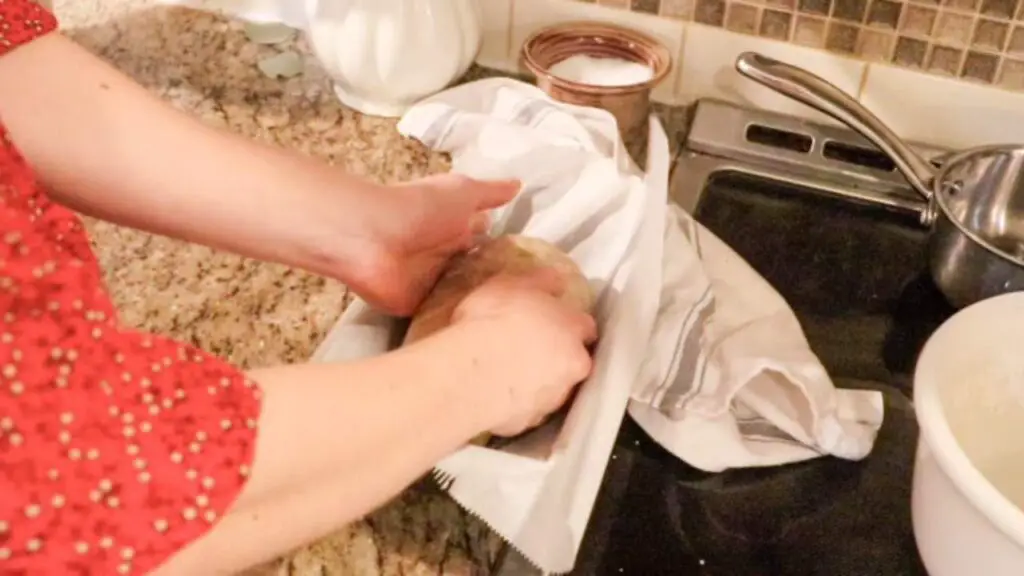
Then, flip the dough over onto a non-floured part of the countertop. Using your hands to handle the dough, drag it forward and backward on the countertop and encourage it to get into a rectangular shape. Gently stretch the dough out on one side as you tuck the edges under. Use the non-floured countertop as a way to create friction on the bottom of your dough, and keeping dragging it forward and backward, almost like you’re making a knot at the bottom.
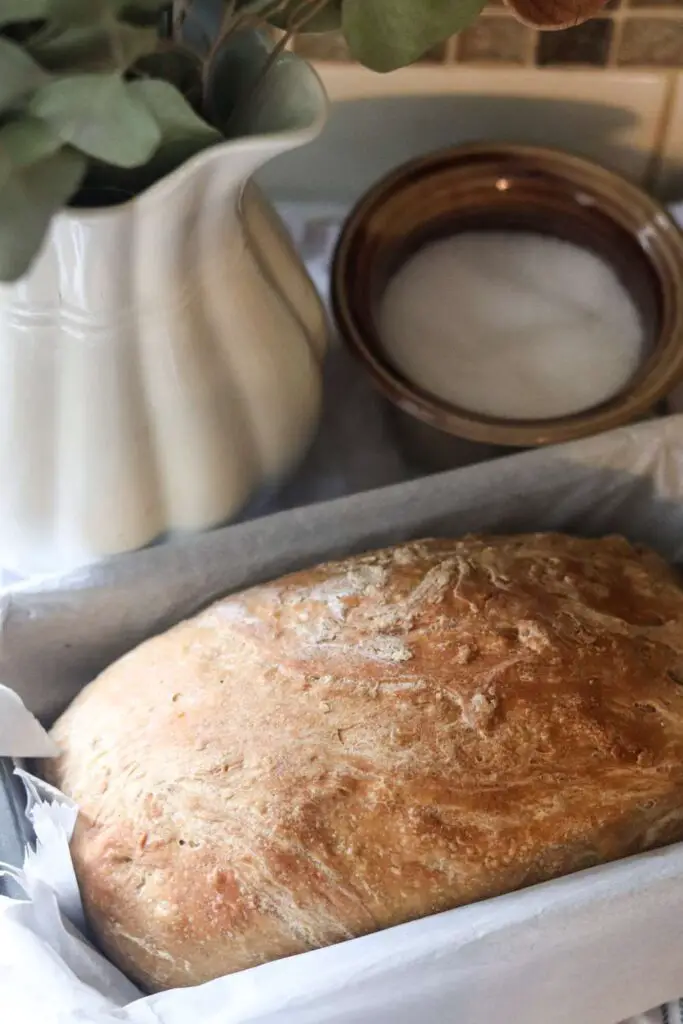
Once your dough is rectangular, transfer it to the loaf pan (on top of the parchment paper). Cover it with a tea towel and again, let it sit out for 1-3 hours or until doubled in size.
When it’s almost ready to bake, preheat the oven to 350 degrees F.
If you’d like an added treat here, brush a whisked egg over the top of the dough before baking for an egg wash crush.
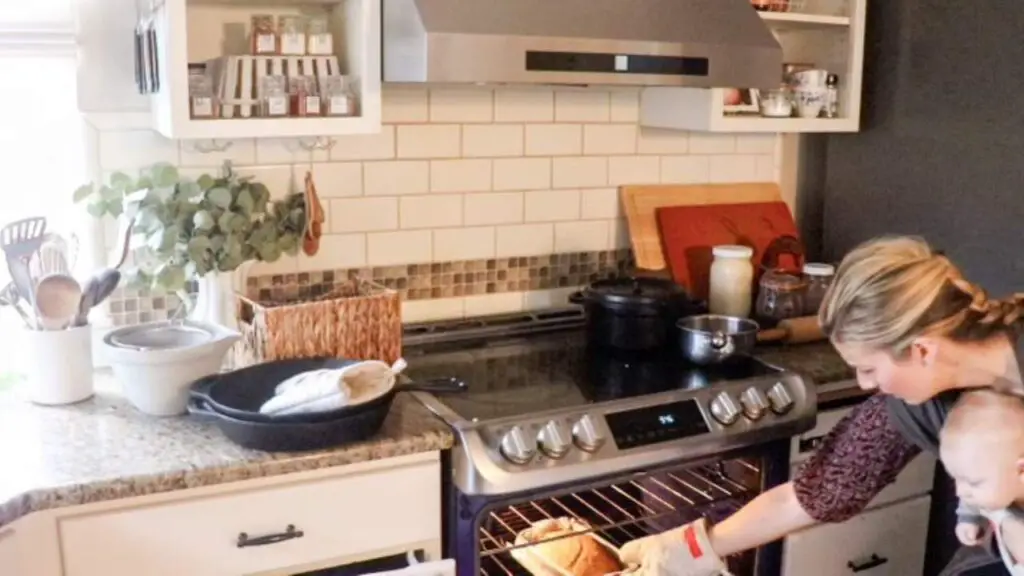
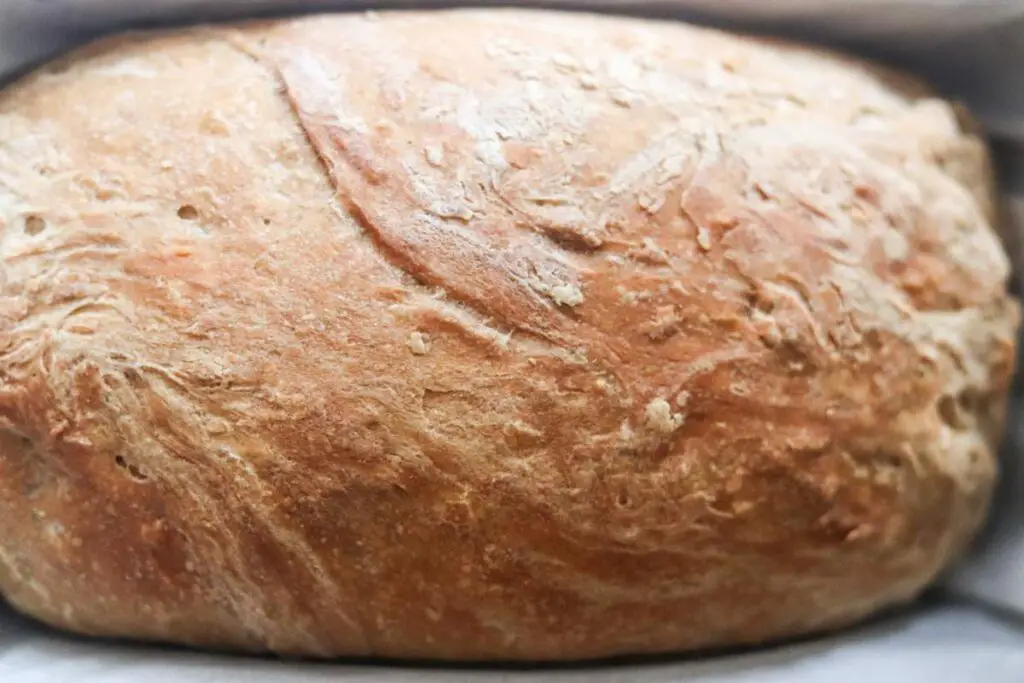
Bake for 30-35 minutes or until the dough crust is firm. Remove from the oven when finished, transfer to a cooling rack, and let sit for 1 hour before cutting.
How to Store Sourdough Rye Sandwich Bread
Keep your sourdough rye sandwich bread wrapped in plastic wrap and on the countertop for 3-5 days. You can also transfer it to the fridge to extend the life.
If the bread is several days old and you’re looking for ways to use it, my favorite ways are either toasted with honey butter or made into French toast. Stale bread works great for French toast. Simply add it to a mixture of egg, milk, cinnamon, maple syrup, and salt whisked together and sear it on the cast iron until cooked for a delicious breakfast.

More Sourdough from the Homestead
- No-Knead Sourdough Einkorn Bread
- Einkorn Sourdough Discard Tortillas
- Sourdough Discard Banana Pancakes
- Sourdough Einkorn Peach Cobbler
- Chocolate Chip Sourdough Brioche Rolls
- Sourdough Einkorn Pizza Crust
Pin it for Later!

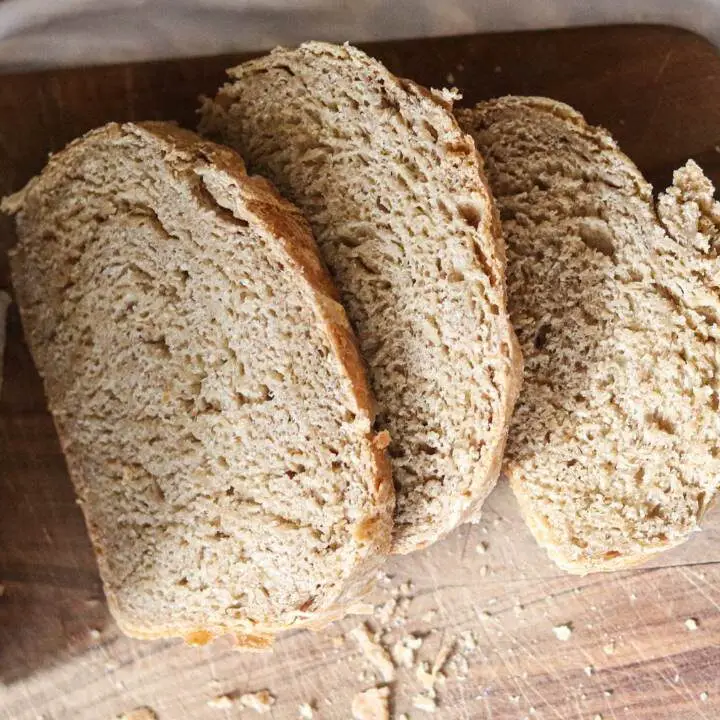
Sourdough Rye Sandwich Bread
Sourdough rye sandwich bread is crisp on the outside and soft and chewy on the inside. The molasses, honey, and tangy sourdough nicely compliment this earthy rye bread which can be served with any from scratch breakfast, lunch, or dinner.
Ingredients
- 3/4 cup active, bubbly sourdough starter (I feed my starter with 1 cup flour and 3/4 cup filtered water and let it sit until doubled in size before starting this recipe)
- 1 1/2 cup filtered warm water
- 1 1/2 tsp salt
- 4 tbsp softened butter, cut into cubes
- 1-2 tbsp of sugar or honey
- 1 tbsp molasses
- 3 cups all-purpose or bread flour
- 1 cup rye flour
Instructions
Phase 1: Make the Dough
- Add all of the ingredients except the flour into a large bowl and whisk together with fork.
- Then add the flour and use combine with your hands. Scoop the mixture up on the sides and fold it into the center, slowly incorporating the flour with the wet ingredients. This process might seem sticky and tedious but it’s really enjoyable if you let it be. Continue this process until a sticky dough is formed. Then, cover the bowl with a tea towel and let it sit out on your counter.
Phase 2: Stretch and fold
- After about 1 hour, perform a stretch and fold. Pull up on one side of the dough with one hand while holding the center of the dough down with the other. Fold the extended dough hand over onto the center of the dough. Then rotate the bowl 90 degrees and do it again. Repeat until all 4 sides of the dough have been stretched and folded into the center. Then, cover the dough bowl back up with a tea towel.
- It also helps here to use your fingers to scrape the dough off the sides of the bowl and incorporate it into the main mixture. While you’re doing this, think about lifting and tucking all the sides of the dough into the center so you’re creating a ball shape. This process of lifting and tucking, or stretching and folding, distributes the gluten and helps create a nice bread that will rise.
Phase 3: More Stretch and Folds
- Note that your bread will be very sticky and not very firm to the touch at first. Be patient, as this will come with time as it ferments.
- After the first stretch and fold, you’re going to let the dough sit on the counter for the rest of the day, or another 4-6 hours. Every hour or so you’re going to repeat that stretch and fold process. This rye sandwich bread is not picky though. If you only do one stretch and fold, it will still work. And if you do 2-3 more, that works too. I encourage you to experiment and find what you like best. I like to do between 1-3 stretch and folds depending on what works for my schedule at home.
Phase 4: Long Fermentation
- After about 6 hours of the dough being out, you’re going to let it long ferment in the refrigerator. This helps slow the fermentation down while also developing the gluten nicely so it will rise in the oven the next day. Cover the dough bowl with plastic wrap over the top to prevent it from drying out, and stick the whole bowl in the fridge over night.
Phase 5: Shape the Dough
- The next day, bring the dough out of the fridge and let sit about 30 minutes to 1 hour. Meanwhile, place a sheet of parchment paper in your sandwich loaf tray.
- Sprinkle some flour on a clean countertop. Remove the dough from the bowl and place it on the floured surface. Perform one more round of stretch and folds.
- Then, flip the dough over onto a non-floured part of the countertop. Using your hands to handle the dough, drag it forward and backward on the countertop and encourage it to get into a rectangular shape. Gently stretch the dough out on one side as you tuck the edges under. Use the non-floured countertop as a way to create friction on the bottom of your dough, and keeping dragging it forward and backward, almost like you’re making a knot at the bottom.
- Once your dough is rectangular, transfer it to the loaf pan (on top of the parchment paper). Cover it with a tea towel and again, let it sit out for 1-3 hours or until doubled in size.
- When it’s almost ready to bake, preheat the oven to 350 degrees F.
- If you’d like an added treat here, brush a whisked egg over the top of the dough before baking for an egg wash crush.
- Bake for 30-35 minutes or until the dough crust is firm. Remove from the oven when finished, transfer to a cooling rack, and let sit for 1 hour before cutting.
Notes
Sample Baker's Timeline:
Day 1 (morning): feed the sourdough starter (1 cup four + 3/4 cup filtered water)
Day 1 (afternoon): make the dough
Day 1 (evening): stretch and folds
Day 1 (night): long ferment
Day 2 (morning): pull dough out
Day 2 (late morning or afternoon): bake the bread
Note: if you are brand new to sourdough bread making, I highly encourage you to print this recipe out! Save it on your countertop and follow it until you have it memorized. That’s what I did with my first couple of loaves. Now, once you memorize it, this will become second nature and very easy. So, do not let this process intimidate you. If I can do it, you can do it!
Grams or cups?
Because this recipe is in cups and not grams, there may be a variance in the weight of your ingredients, specifically flour, if you’re using a different flour than I am. My recommendation would not be to try to convert this to grams (I’ve had people say they try that and it just doesn’t work). Instead, watch the video in the recipe card below and try to get your dough to match mine in the beginning.
Ultimately, you just need to learn what the dough consistency should be like. You may need more or less flour than I used, but it will only be about 2 tablespoons of flour in either direction. So, instead of trying to convert the recipe, just follow the above but also leave room for flexibility. And remember, even if a recipe is in grams, it doesn’t mean it will work for you every time. Sourdough takes practice but you WILL get it, so don’t give up, and enjoy your bread each time!
Want to get really into sourdough baking? Read more about troubleshooting sourdough in this post.


Made the bread baked fir 35 minutes at 350 degrees.completely raw inside.
What kind of sandwich tin did you use? Did you follow the recipe exactly?