I wanted to create a cozy handmade Christmas mantle this year, so join me as I show you how to make a Christmas mantle garland with fresh greenery and real dried oranges. Nothing says holiday decorating like the smell of pine and orange with some old taper candles on a mantle.

This post contains affiliate links, which means I may make a small commission off items you buy at no charge to you 🙂
Learn how to make a festive Christmas garland with real greenery in this easy tutorial. I love pulling fresh greenery from the outside in, and this year I wanted to make my own garland and share that process with you. So many store bought garlands are too big, too fluffy, or just not the right look for what I want on our mantle. That’s why this year, I decided to make my own!

Pin it for Later!
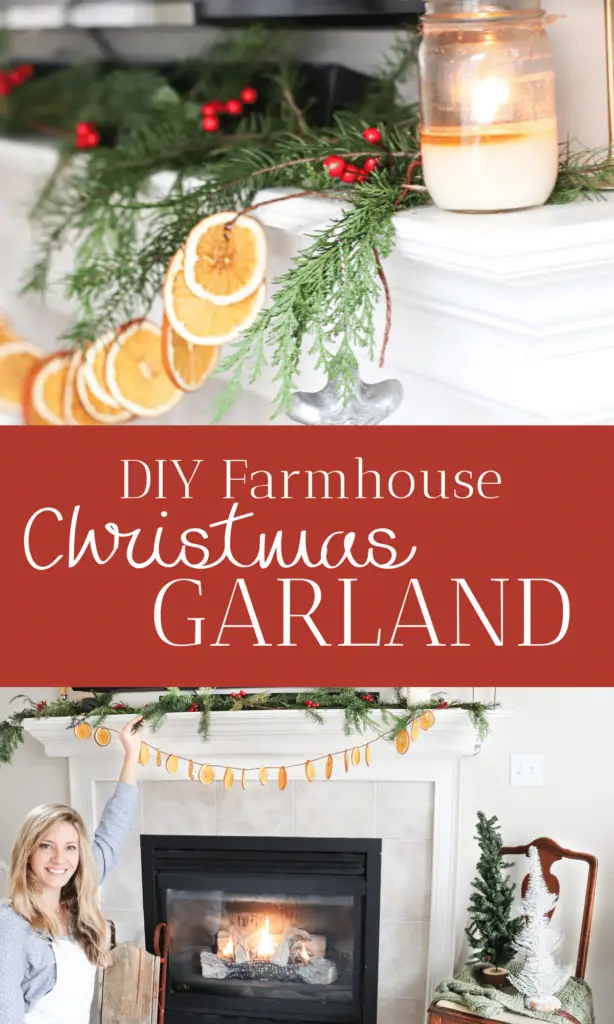
Decking the Halls
I would say I’m about 80% done with our Christmas decorating at the moment of writing this post.
Last week I finished decorating our farmhouse kitchen in an old world, Christmas style.
And before that John and I set up our outdoor Christmas lights a few (mostly because it was sunny and we seized the opportunity).
So now I have to finish the fireplace, the Christmas tree, front porch, our bedroom, and the rest of the house. The fireplace is mostly done now that I finished this DIY garland, and the porch is a mixture right now somewhere in between fall and Christmas. So I’ll just take the pumpkins away and add some red pillow covers, and that should be good to go 🙂

Last year I did a Scandinavian Farmhouse Christmas theme in our home. This year, the theme is “old world farmhouse”. Another reason to make this homemade garland. After all, how did people put up fresh cut greens in their homes back in the 1700s? Well, I’m not sure exactly, but I think it went something like this!
Tools Needed
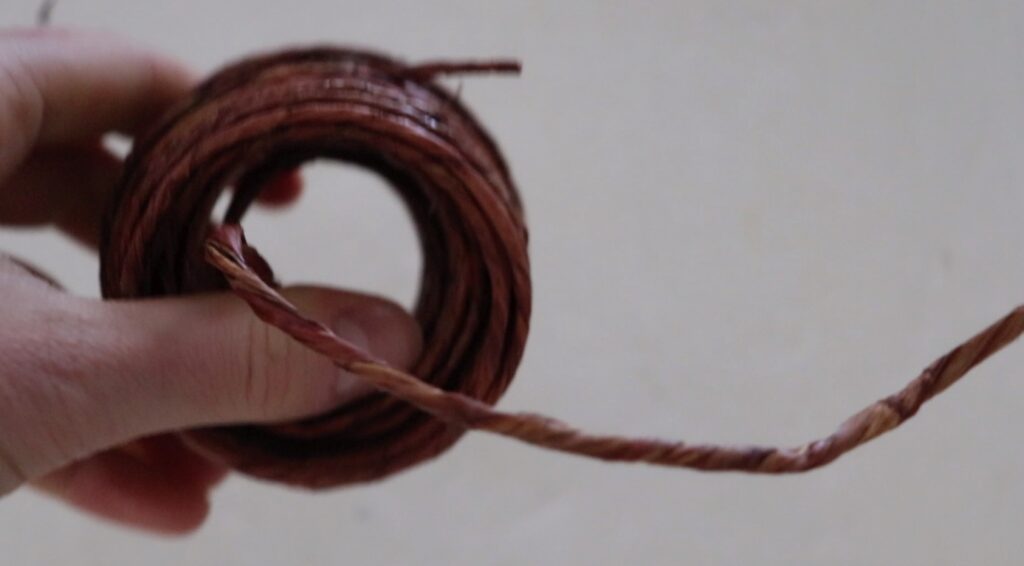
Craft Wire Rope – I found this one on Amazon and it worked perfectly for making garland. You could even make a thin wreath with it later too.
Garden scissors or pruner
Fresh Greenery. We cut down various types of pine branches in our area.
Tips for Cutting Fresh Greenery
If you are new to foraging, here are some tip to get started.
First, wear a long sleeve shirt to protect your arms. Some pine branches are actually quite prickly and hurt to touch them.
Bring some cutting shears or garden pruners to cut. I wouldn’t recommend regular scissors. I used to do this and it’s just way easier with something like this.
Don’t forget to grab a bucket for storing the greenery! A woven basket works too.
When cutting, consider the length of your cuts and get a variety. So get a few short branches, and then a few long one with thick branches. The thick branches make it easier to fasten to the garland. The short branches are good for filling in any bald spots.

Get a variety of greenery as is available to you. I like to pick the pine branches that look like a Christmas tree. For us here in the PNW, that would be the Noble firs, Grand firs, Fraser firs, and Douglas firs. I learned from our Christmas tree farm that the most fragrant is the Grand Fir, so if you have that near you in the forest, that would be the best for garland if you want that woodsy, Christmasy smell.
How to Make a Christmas Mantle Garland
First, measure your space and unwind your craft rope to fit our mantle.
Lay the rope on a flat surface. Place your greenery branches going in the same direction down the rope. You want to overlap them slightly so you minimize the amount of bald spots.
Use a cable tie or just some kitchen twine to fasten the branches to the rope.
Next do the same thing only this time lay the branches back the other direction to create a nice full garland.
Go back through the garland and fill it in with branches if you see any bald or uneven parts.
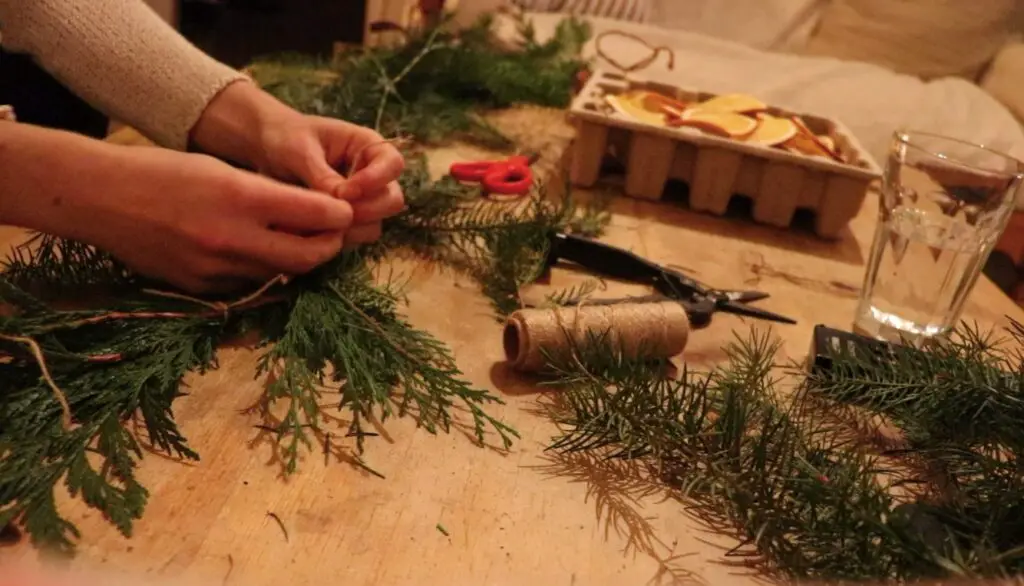
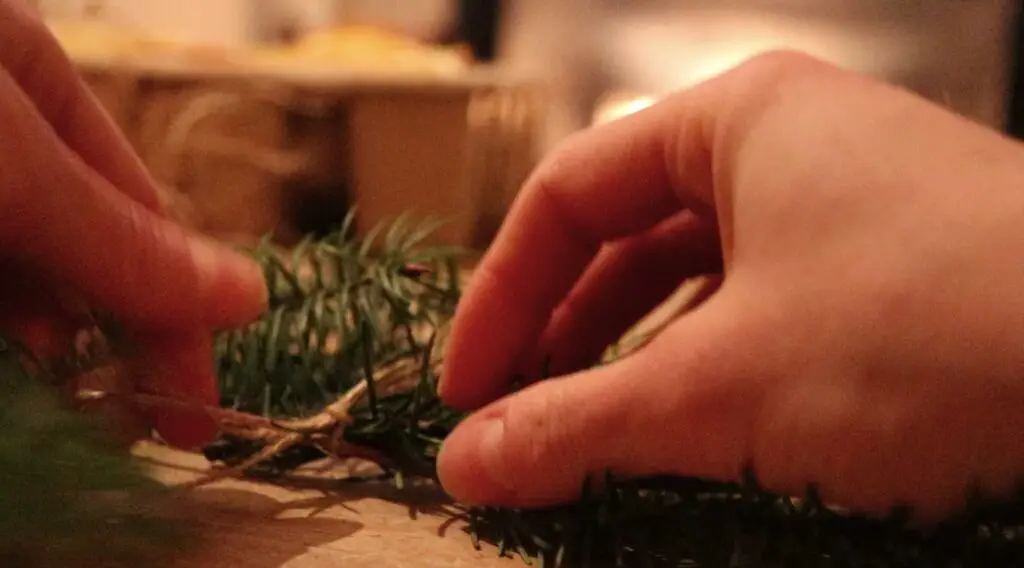
Note: I opted for a less “full” looking garland. If you want to make yours more full, simply double the process and layer the branches two times in each direction.
How to Make Dried Orange Garland
For the dried orange garland, you will need about 5 medium sized oranges.
Cut the oranges into thin slices, as thin as you can. Lay them on a paper towel to get some of the moisture out.
Preheat the oven to 200 degrees F. Lay the orange slices on a baking tray lined with parchment paper and bake for 3-7 hours. Check the oranges after about 2 hours and flip them over. Depending on how much juice is in your oranges, they make take longer to dry out.
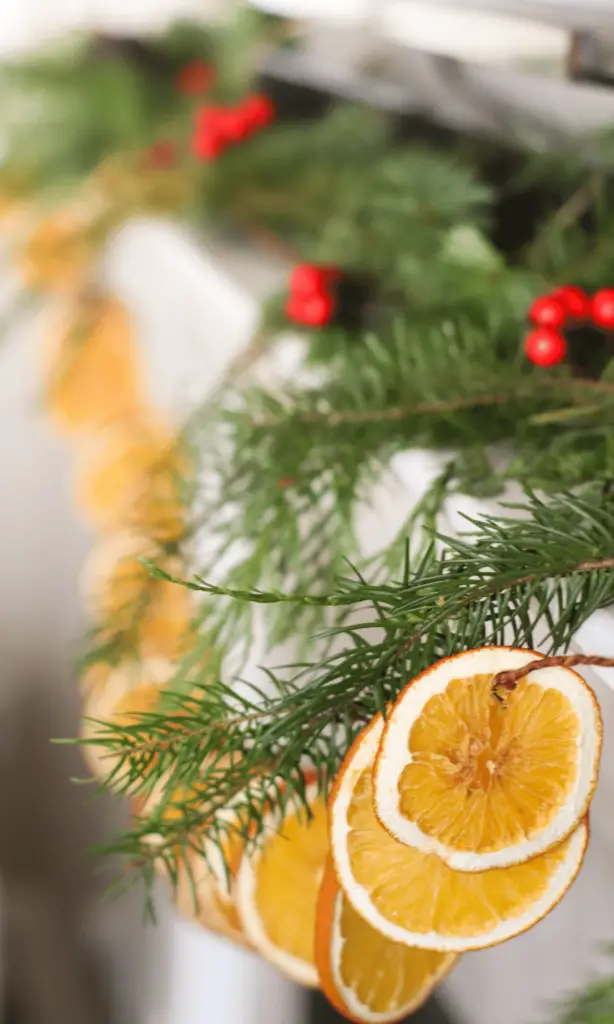
Note: if placing your oranges over the fireplace like I did, the fireplace will continue to dry them out. Mine weren’t all that crispy when I first set them up and now they are dry to the bone!
Gather a craft rope or similar hanging string. Using a knife tip or the tip of scissors, puncture a small hole in the top of the orange. String the orange slices with the garland rope and cut to your desired length.
Arrange the orange slices so they are 1-2 inches apart from each other. Mmmmm, the smell of oranges in your house is wonderful!
More DIY Christmas Decor Ideas
Here are some more ideas for your DIY fancy-brain… 🙂
How to Make a Natural Christmas Wreath
DIY Refinished Antique Dresser
Old World Farmhouse Christmas Kitchen on a Budget
DIY Open Shelving Hack and Kitchen Organization

DIY Mantle Garland with Fresh Greenery
Nothing says holiday decorating like the smell of pine and orange with some old taper candles on a mantle. And I love making my home decor with my own two hands. Learn to make this DIY garland for your home all season long!
Materials
- Fresh Greenery. We cut down various types of pine branches in our area.
- Optional: pinecones, faux berries, and candles
Tools
- Craft Wire Rope - I found this one on Amazon and it worked perfectly for making garland.
- Garden scissors or pruner
Instructions
- Measure your space and unwind your craft rope to fit your mantle.
- Lay the rope on a flat surface. Place your greenery branches going in the same direction down the rope. You want to overlap them slightly so you minimize the amount of bald spots.
- Use a cabletie or just some kitchen twine to fasten the branches to the rope.
- Next do the same thing only this time lay the branches back the other direction to create a nice full garland.
- Go back through the garland and fill it in with branches if you see any bald or uneven parts.
Notes
I opted for a less "full" looking garland. If you want to make yours
more full, simply double the process and layer the branches two times in each direction.
Save to your Pinterest Board!



I love it! Super simple!🤍
Thanks very interesting blog!