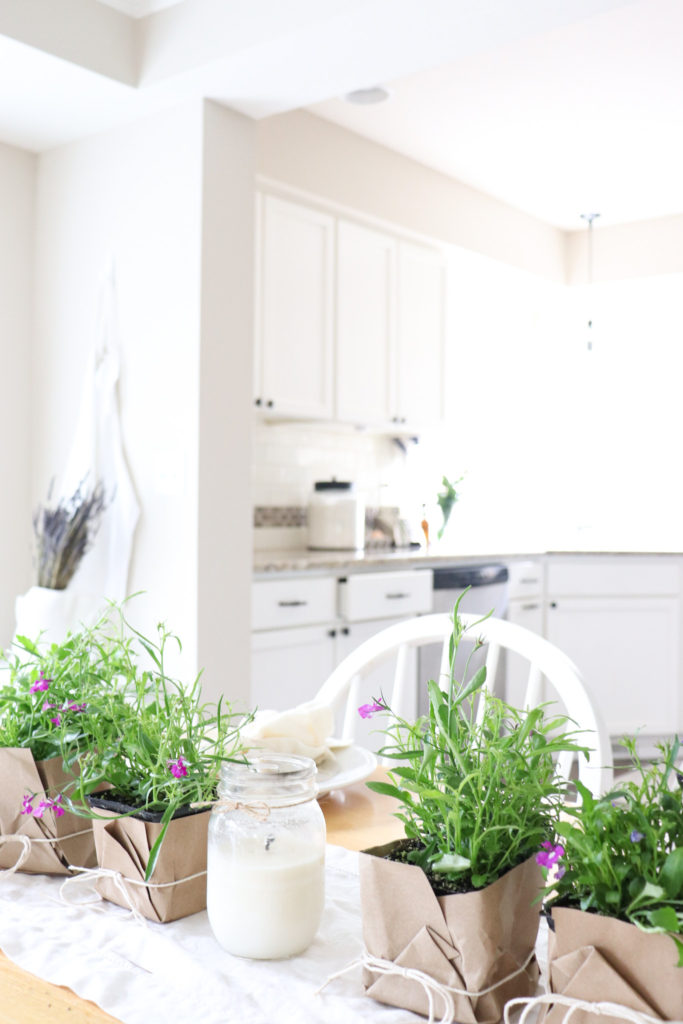
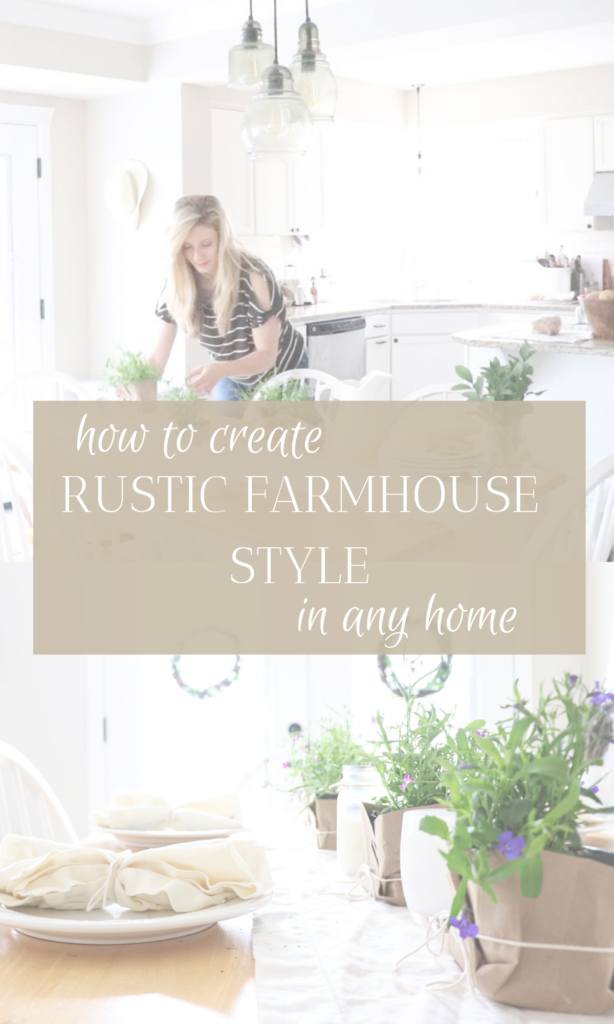
You can always go out to the store to buy some decor for your homestead or garden. But to me, there is nothing like using your hands, nature, and a little bit of creativity to bring beauty into your home. Join me as I share our farmhouse kitchen tablescape and some simple DIY ways to add rustic farmhouse style to any home.
This post may contain affiliate links, which means I make a small comission off items you buy at no charge to you.
Transitioning from Spring to Summer
It’s mid-May here at the homestead and I couldn’t be more excited for summer. But with that said, I believe in enjoying all the times and all the seasons for what they offer. Spring gives us beautiful new flowers and growth and I wouldn’t want to rush into summer too quickly. Also I’m kind of a heat wimp so the 65 degrees zone we’ve been in is just fine for me!
One of my favorite time of the year is the very end of spring before the official start of summer.
It’s the time we start garden projects and bring flowers all around our house, like in our kitchen and on the porch.
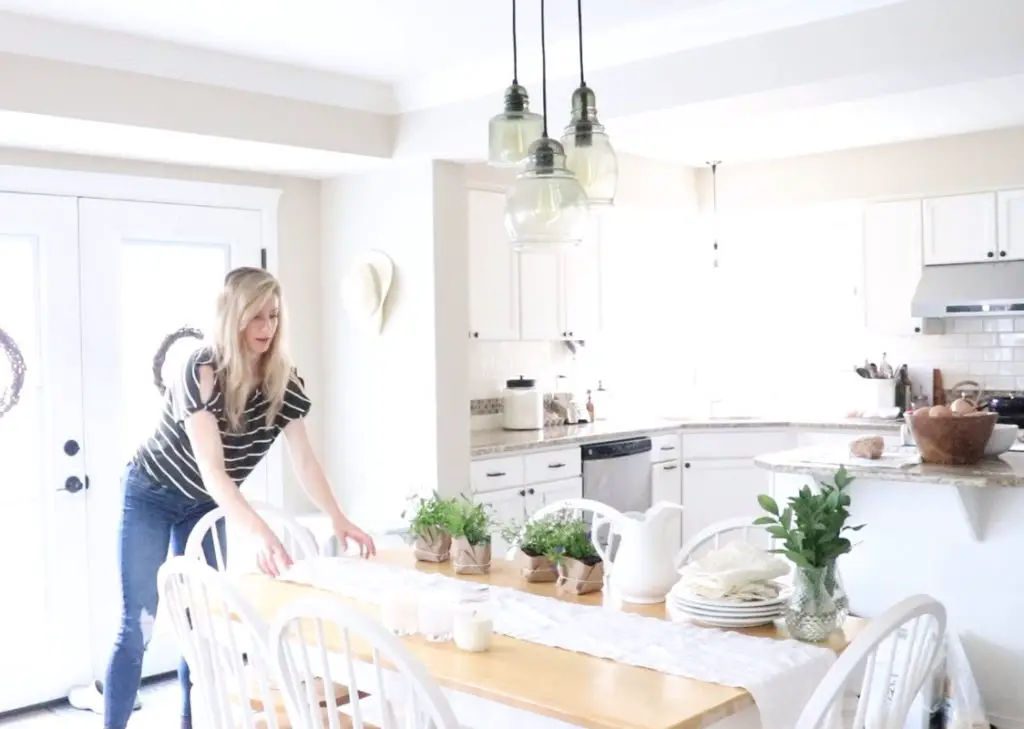
Here I’m sharing a few simple ways to add rustic farmhouse style to your homestead. Of course, these are all ways that I just used what was already in my house or garden, and added a little creativity to create something new. I like to keep things pretty simple, so I continued to do that here in my typical fashion 🙂
Creating a Rustic Farmhouse Look
If you are like me, you enjoying searching Pinterest for “farmhouse”.
But have you noticed that recently the farmhouse searches are actually quite material? Meaning, lots of things for sale and fake items that appear like they belong in a farmhouse.
I’m always thinking of, what does my farmhouse already have for me that I haven’t tried or used yet? That’s what a farmhouse is after all, it’s a functioning working house that can do things on its own.
So anyway, all of that to say that if you use the word “rustic” in Pinterest searches I think that gives you a better result.
One way I create that rustic farmhouse feel is with the color brown. I like burlap, paper, or wood. Brown is a natural color and if something comes to us with a natural brown like wood, I tend to leave it like that. Why fix something that is already so beautiful?
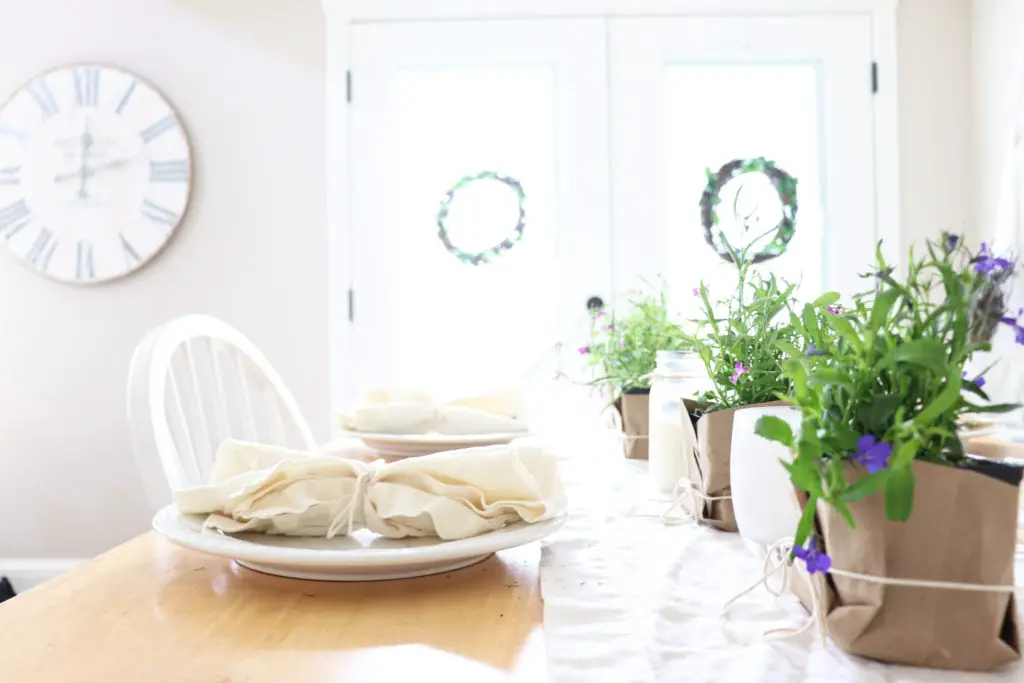
I wanted to update our table setting now that we are in the final stretch of spring here. Trying to enjoy the season fully before jumping in the pool of summer, pun intended.
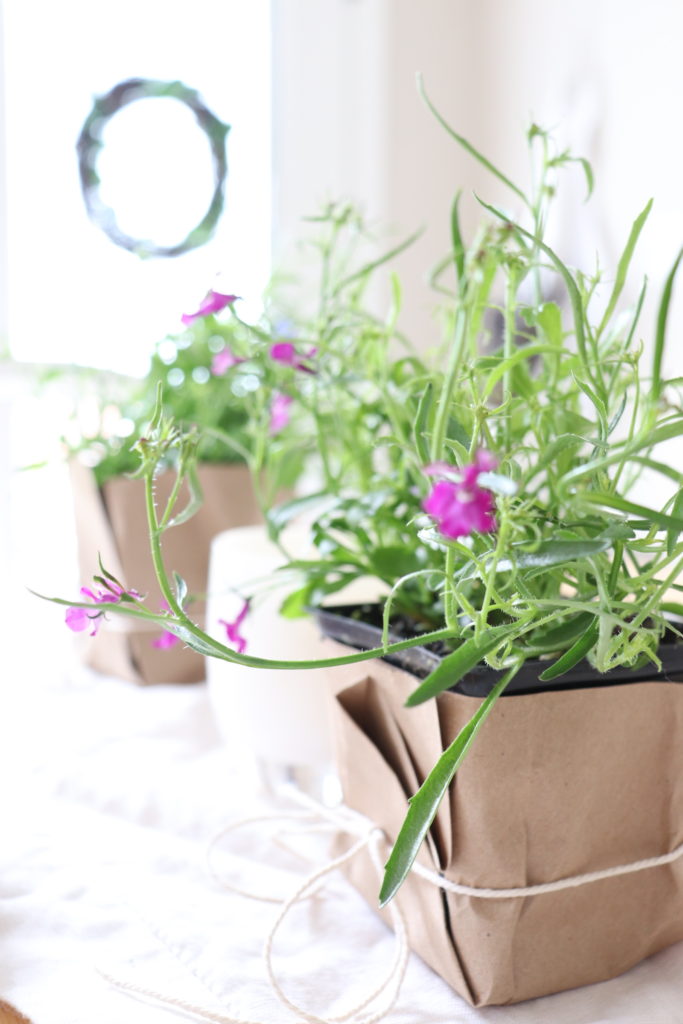
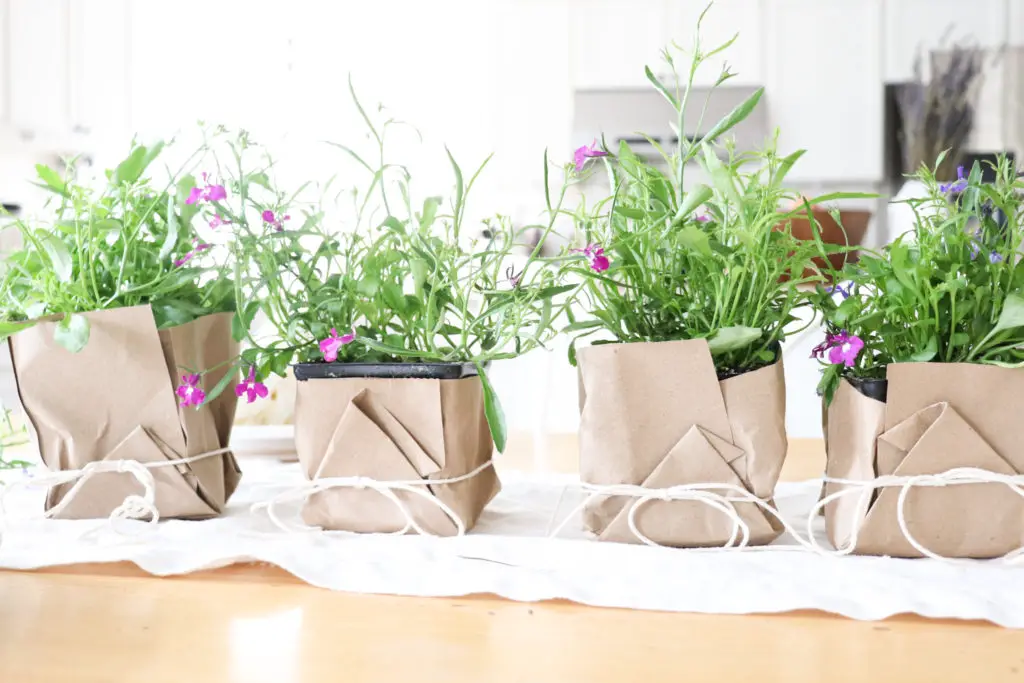
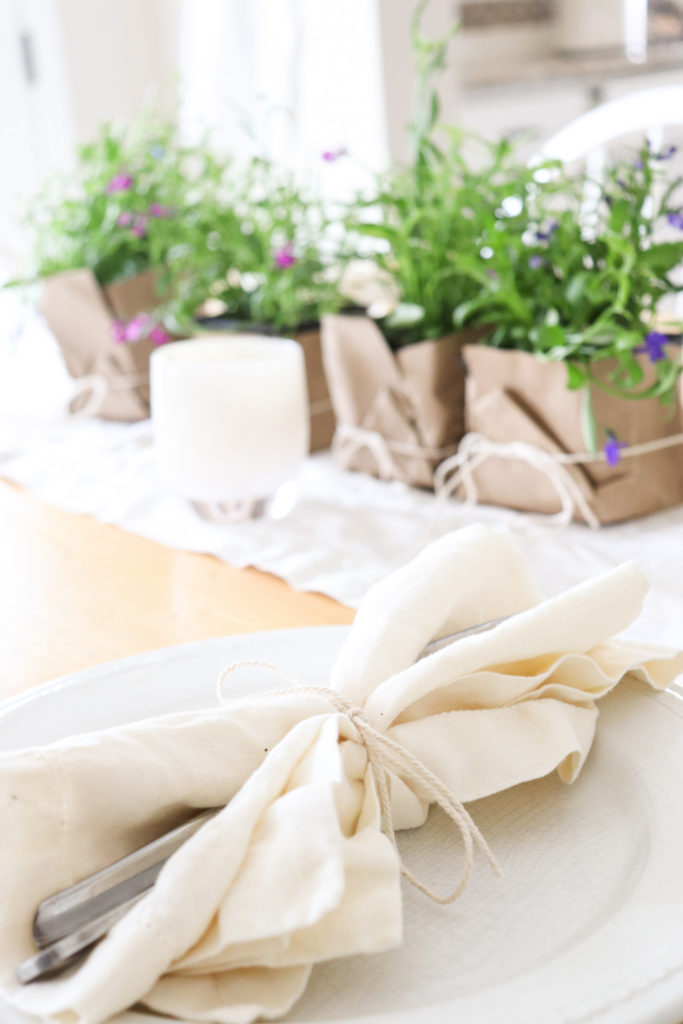
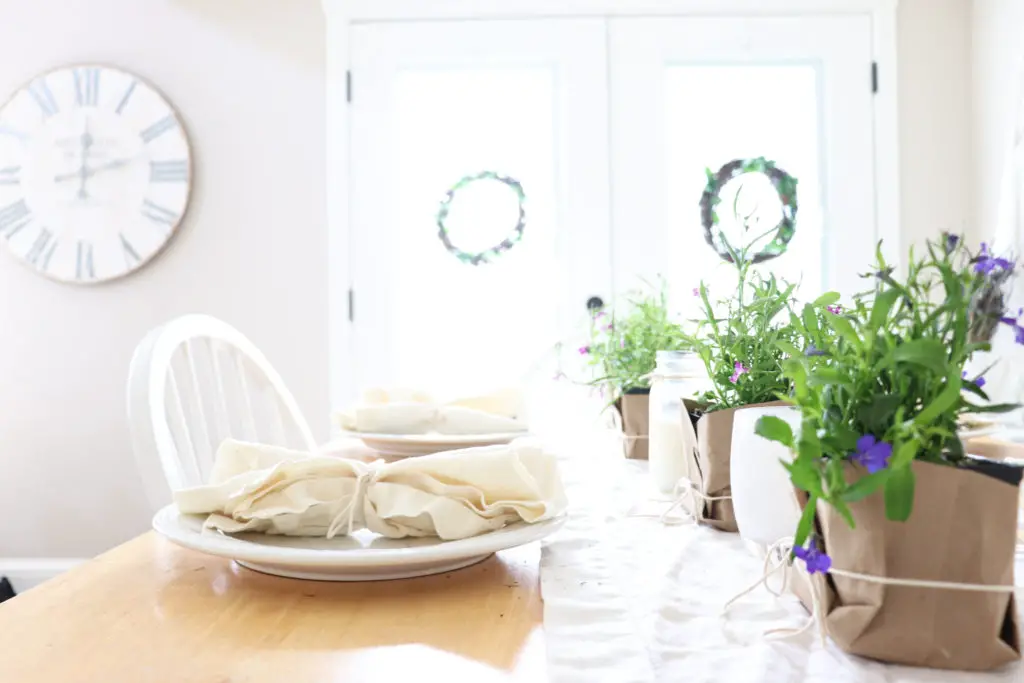
Going with the rustic trend, I decided to use paper bags to create little flower pots for our table.
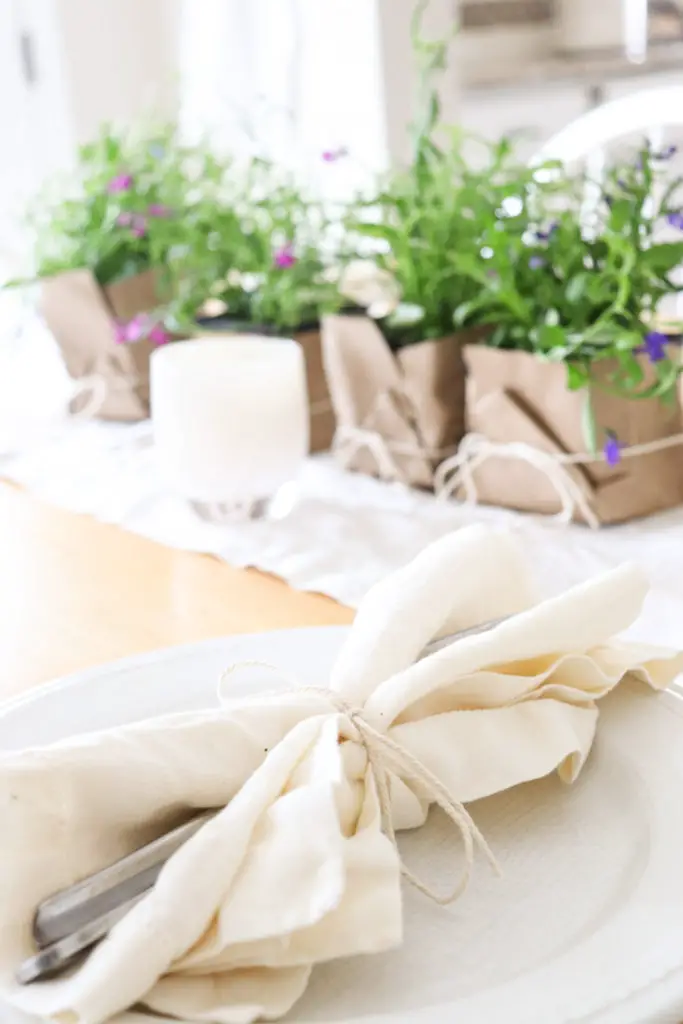
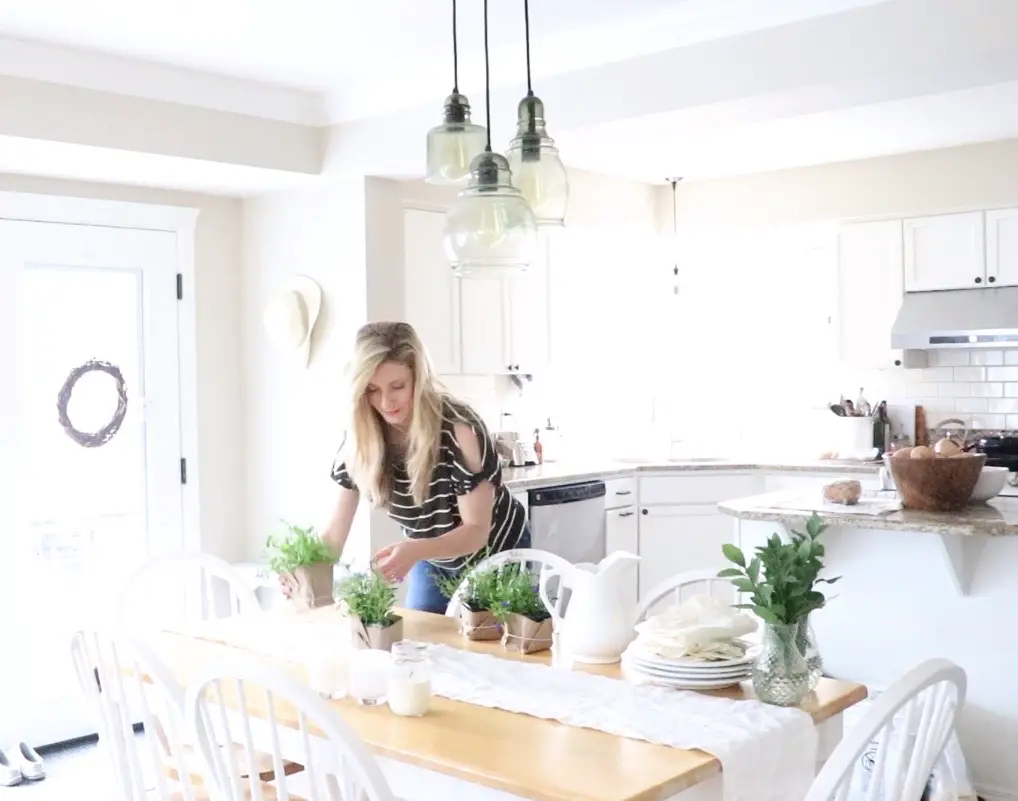
How to Make a Paper Bag Flower Pot
This was really easy to create and you probably already have the tools needed.
Tools needed:
Large brown paper bag
Scissors
Plastic Wrap
Rubber Bands
Cooking twine or string of choice
Small container flowers
Ruler (optional)
Process:
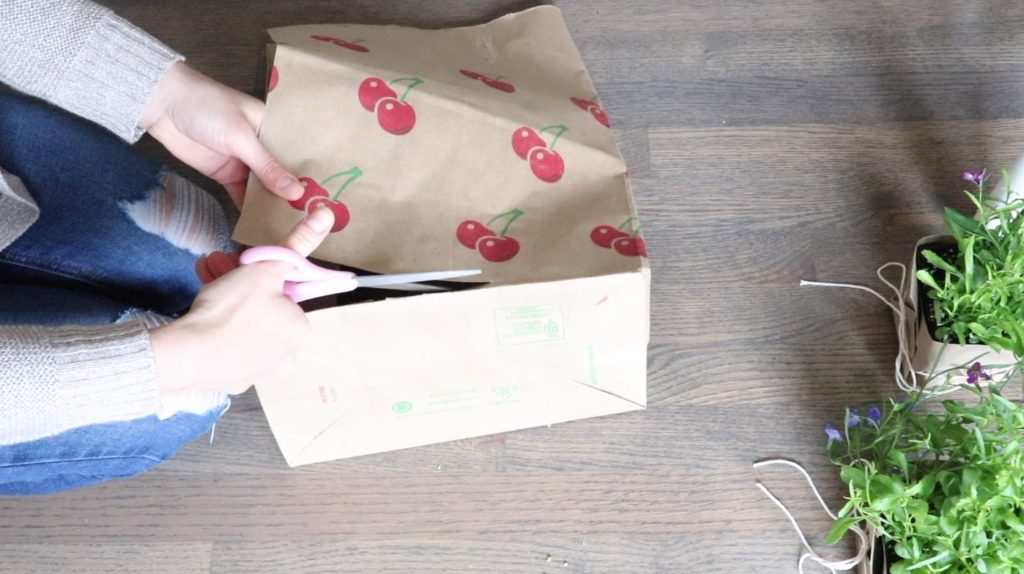
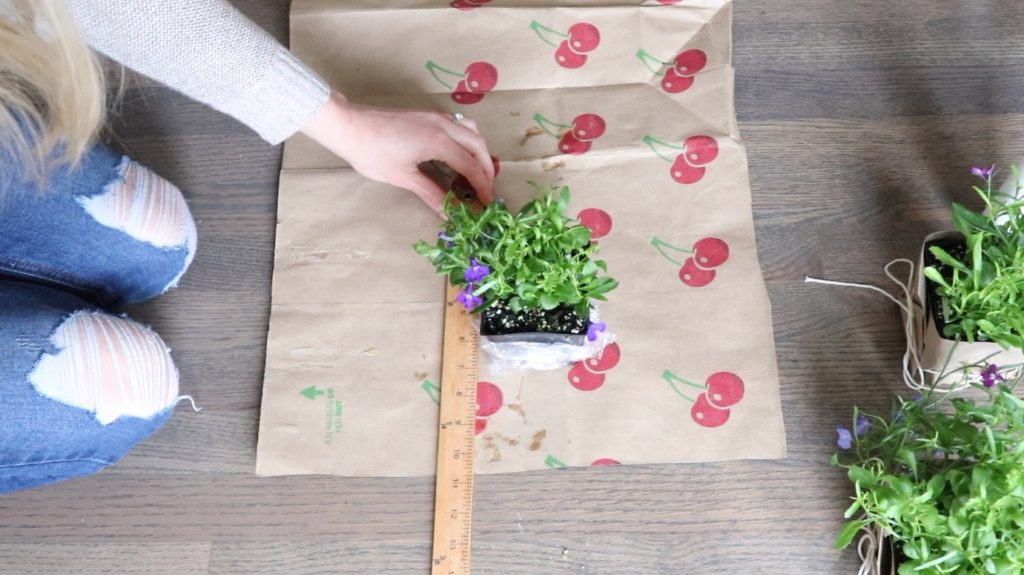
Tear the handles off and cut the paper bag so it’s flat like wrapping paper. Flip the bag over so that the labeled side is up, since you want the unlabeled side to show on the outside of the pot.
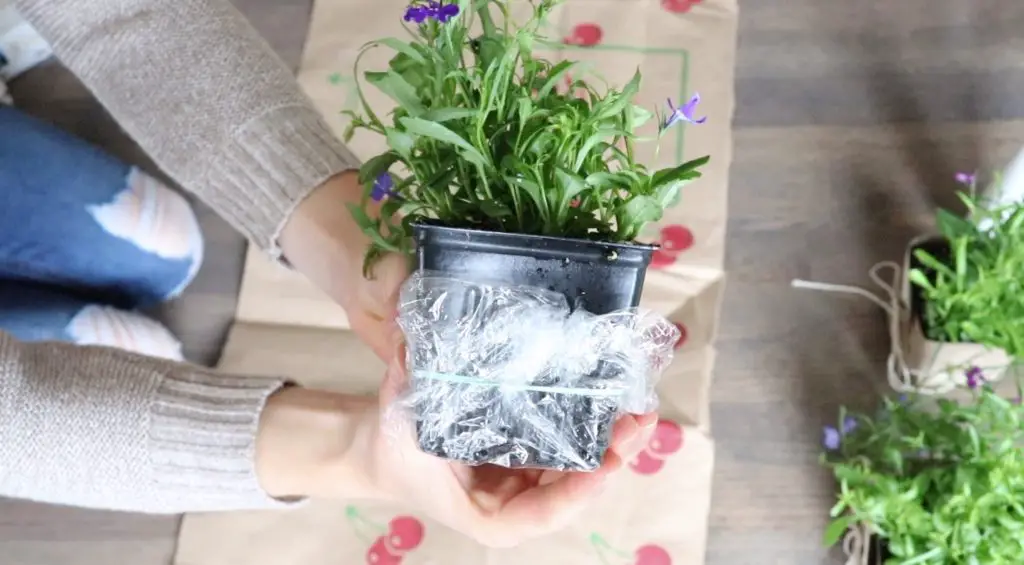
Cut plastic wrap large enough to fold over and cover the bottom of the flowers with some room for any water drainage.
Secure the plastic wrap to the pot with a rubber band.
Place the flower pot on the paper bag and measure up all sides of the pot. Cut the paper accordingly.
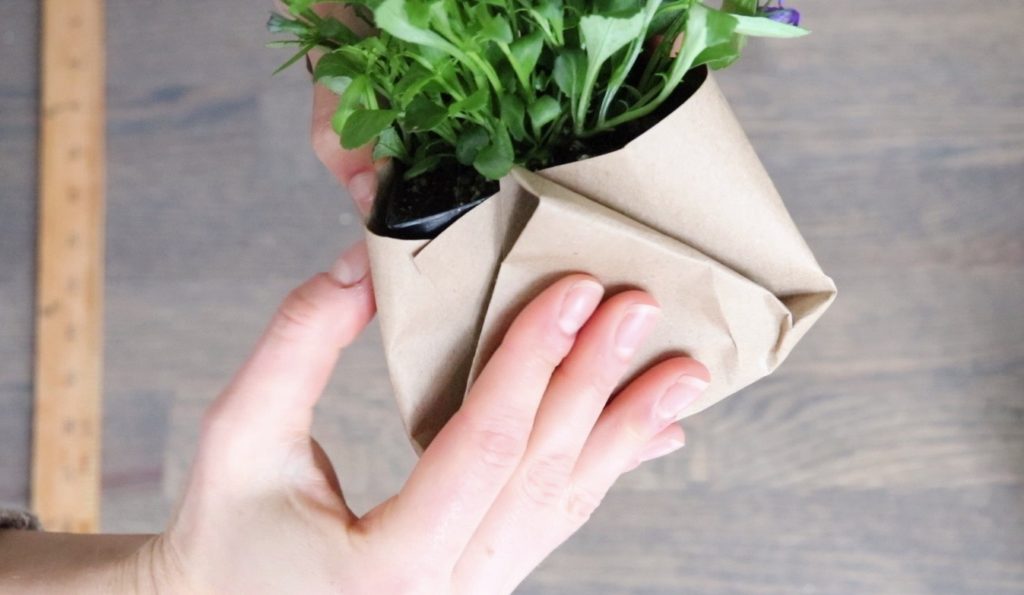
Similar to as if you were wrapping a present, fold the corners of the paper on the sides of the pot and then a third fold up the center. See photos below. Press hard into the creases so the fold stays. Alternatively, you could use tape.
Repeat the fold on the opposite side of the pot so you have two folded sections.
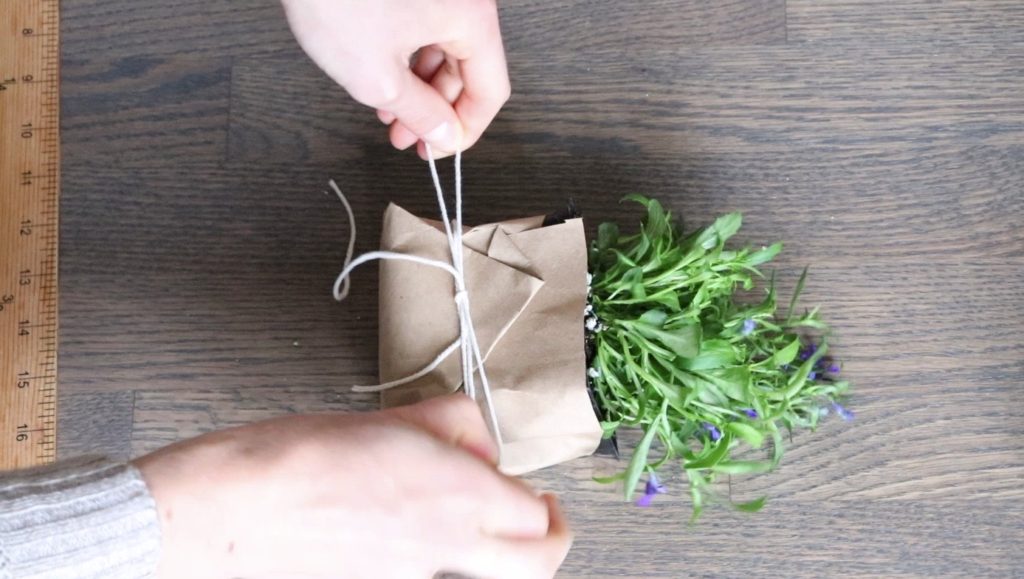
Wrap cooking twine of the string of your choice around the folded area so that it’s secure. Tie a bow.
Repeat for as may flower pots as you want on your table.
Watch: Creating a Rustic Farmhouse Tablescape
Tips for adding Rustic Farmhouse Touches to Any Home
1 — Use what’s already in your house. Try looking at your house as a farmhouse already and ask yourself what can you learn from the house? What does it have to offer you?
2 — Bring out the items that are useful. What do you use most often? Maybe it’s a cutting board, coffee maker, a shovel or flower clippers. These items are frequently bought at craft stores but aren’t actually real or usable. So find out what it is that you DO use in your house and decorate with that!
3 — Pick a theme.. or don’t pick a theme. That’s right. See if you like patterns in your house for example, all wood. Maybe you can categorize items into dark wood versus light wood. Or maybe your theme is that you have mix-matched wood everywhere. That’s our theme in our farmhouse living room and I love it!
4 — Place items in the spot in which they are intended to be used. Now I’m not saying that hanging vintage ice skates on your wall during Christmas time is a bad idea because obviously, that’s just so adorable. But try putting potted flowers by the windowsill. Or maybe put your knives by the cutting boards in the kitchen. Maybe some farm boots by the back door with an umbrella and a shovel. Placing items in their natural home saves you time from figuring out decorating AND makes the space more useful.
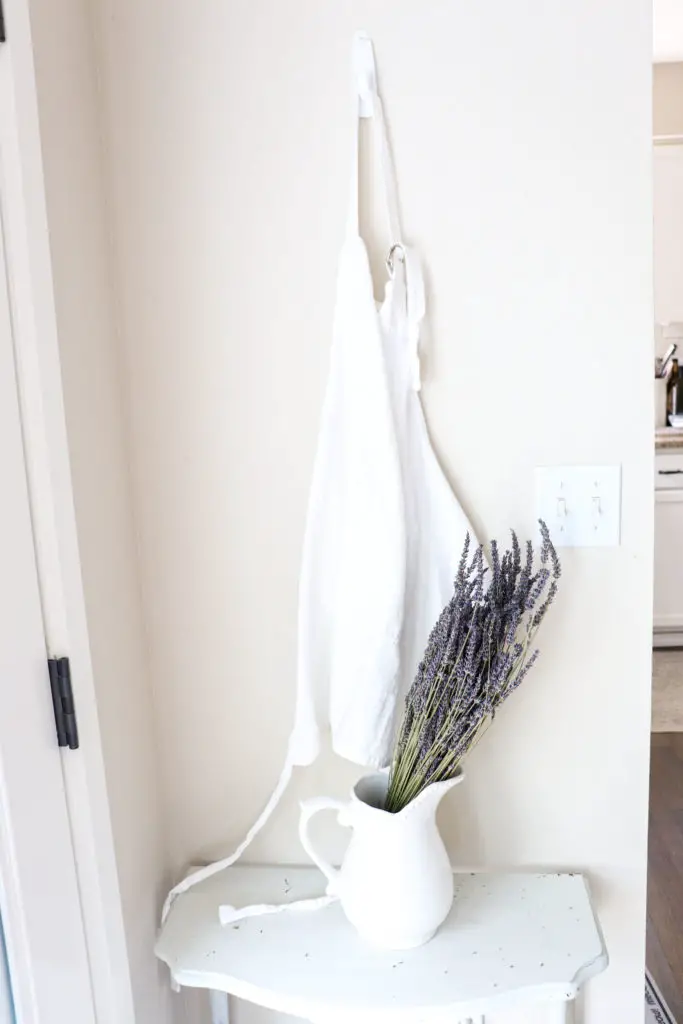
5 — Shop antique markets, farmers markets, or facebook marketplace. You will not believe the prices you can find at some of these places. I shared a post on how to live farm-to-table no matter where you live a little while ago and the same goes for home decor. See what your neighbors have that they don’t need any more and you may get some gems. We got this antique farmhouse side table for free and fixed it up to go in our living room.
What to do if you don’t have a Garden
So much of my home decor at our farmhouse is from outside. But that doesn’t mean that we grew it. It wasn’t until just recently that John and I started growing our own veggies and flowers.
We also shop our local farmer’s markets all the time for fresh flowers. I will say that I am very thankful we have these nearby. I can go to the farmstand any time and pick up seed starts, fresh veggies, and flowers.
So what if you don’t have that?
I didn’t always have that. John and I moved to a farming community in 2018 (read more about that here). Before that, it was just me in my city apartment which I called a farmhouse and I grew herbs on my windowsill.
Here in the PNW we have abundant parks, trails, and nature places to go. If I didn’t have my own backyard, I would go outside and just pick some branches. We still to do this today especially during Christmas time.
I can’t tell you how many times I’ve seen “rustic” farmhouse decor at a craft store and they are selling what look like fake branches for $5 or $10 when you could totally go outside and grab those for free.
So, use the resources around you. If you live by a beach, go get some shells. Just writing that got me so excited for summertime when I can bring my shell collection back out that we got on our last beach trip and preserved. Maybe I will make a post about how to preserve beach shells.
You spend every day in your home, you might as well make it some where you love to be. Bring items in that spark joy. Next time you go for a walk or to your favorite park, grab some greenery for your dining table. You won’t regret it!
More Simple DIY Farmhouse Projects
DIY Refinished Antique Side Table
Shop this Post
White Cotton Table Runner (similar to the one we use)
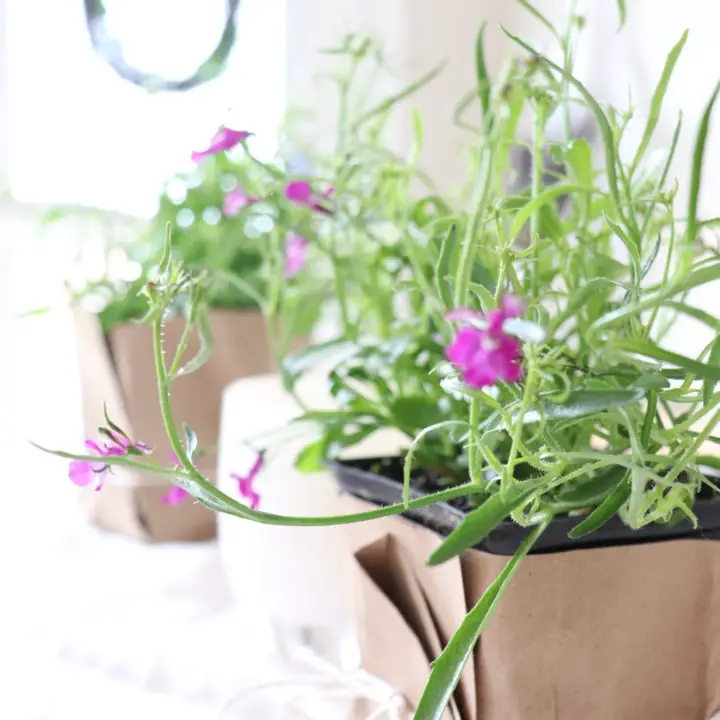
DIY Rustic Farmhouse Flower Pot
Create rustic farmhouse charm in your homestead with this simple DIY flower pot.
Materials
- Large brown paper bag
- Plastic Wrap
- Rubber Bands
- Cooking twine or string of choice
- Small container flowers
Tools
- Scissors
- Ruler (optional)
Instructions
- Tear the handles off and cut the paper bag so it's flat like wrapping paper. Flip the bag over so that the labeled side is up, since you want the unlabeled side to show on the outside of the pot.
- Cut plastic wrap large enough to fold over and cover the bottom of the flowers with some room for any water drainage.
- Secure the plastic wrap to the pot with a rubber band.
- Place the flower pot on the paper bag and measure up all sides of the pot. Cut the paper accordingly.
- Similar to as if you were wrapping a present, fold the corners of the paper on the sides of the pot and then a third fold up the center. See photos below. Press hard into the creases so the fold stays. Alternatively, you could use tape.
- Repeat the fold on the opposite side of the pot so you have two folded sections.
- Wrap cooking twine of the string of your choice around the folded area so that it's secure. Tie a bow.
- Repeat for as many flower pots as you want on your table
How do you add rustic farmhouse style to your house? Share with me below or over at @theduvallhomestead on Instagram. I love hearing from you!
Pin it for Later

I love this post! Such a lovely, simple way to make something beautiful for your home. I wholeheartedly agree that looking around and “shopping” your own home is the best way to decorate. We don’t usually need to go out and buy more “things”.
Love the paper bag pots, they would make such cute gifts!
Great idea!
That lavender is so dreamy! Loved all your tips snd tricks.