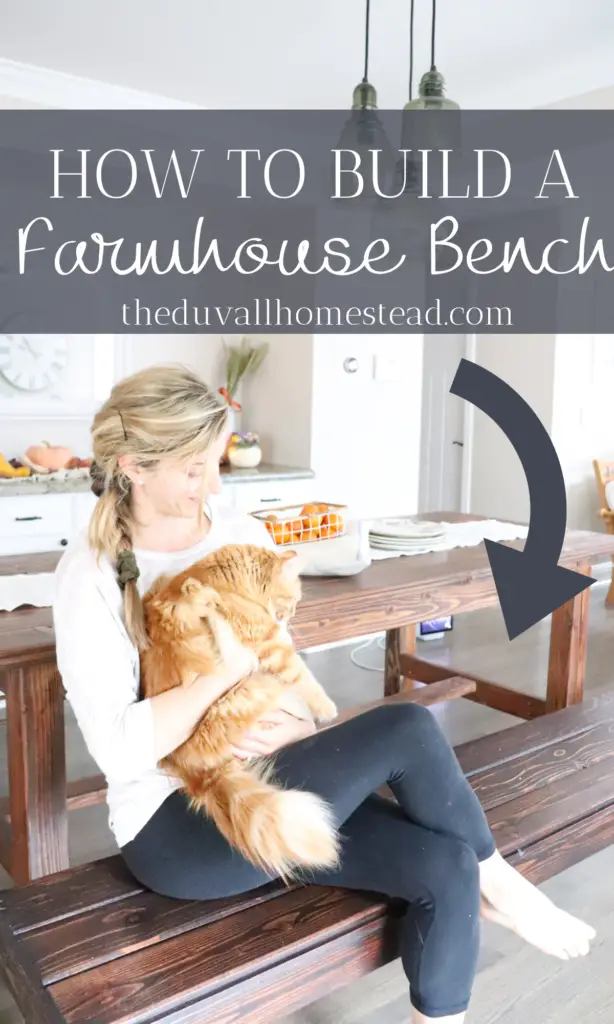
Learn how to build a DIY dining bench from scratch for your farmhouse dining room. We wanted a table and bench to go with our modern little farmhouse, and one that would be able to last us a lifetime. A cute farmhouse bench seat is the perfect complement to your kitchen table.
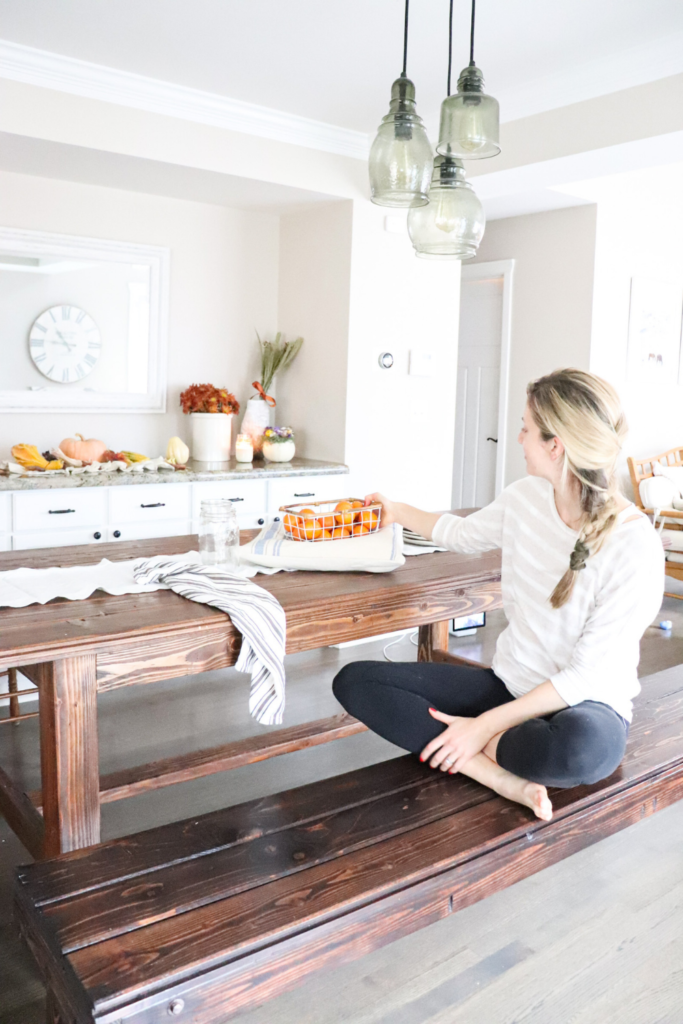
A Little Farmhouse in the Suburbs
John and I bought our house just over two years ago in a community where there are lots of farmers and agriculture. Even though we don’t own much property ourselves, we love the farmhouse style and try to create that as best we can on our little quarter acre.
So obviously, a farmhouse dining table was a must. We have a “great room” as some call it, where the kitchen, living room, and dining area are all one room. We felt like we needed something really big in the middle to create the farmhouse dining space we were looking for, so John started building us a table.
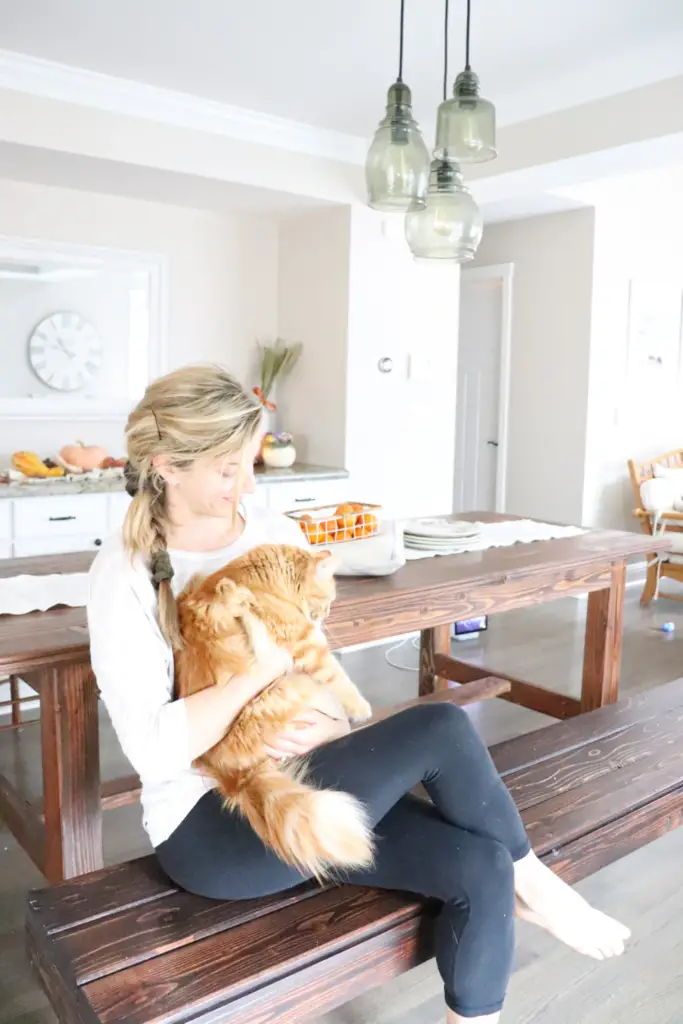
Plus, how cool would it be if this table was in our family for years or maybe even generations to come? See, that is the thing about moving to the country. You start building things with your own hands, and cultivating that family-orientated, self-sufficient farmhouse lifestyle. I’m not complaining!
PIN IT FOR LATER
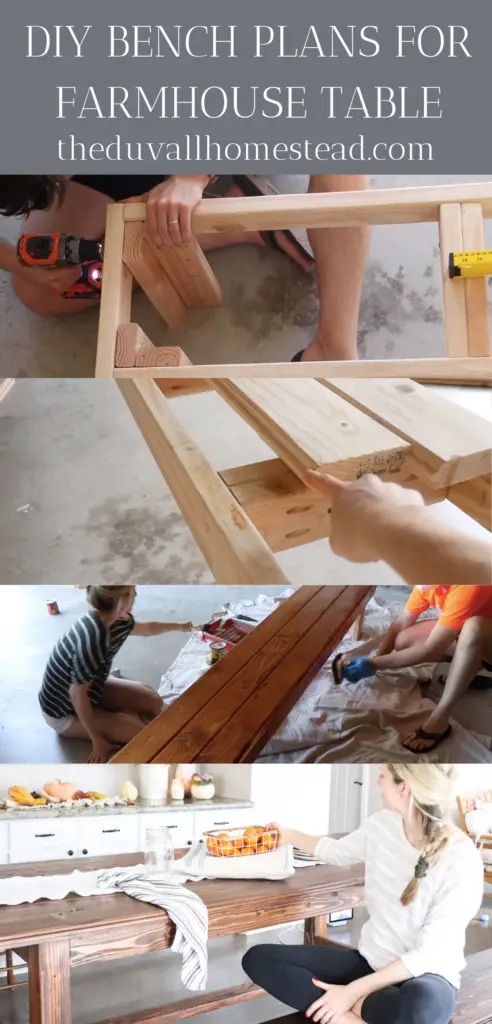
How to Build the Matching Farmhouse Table
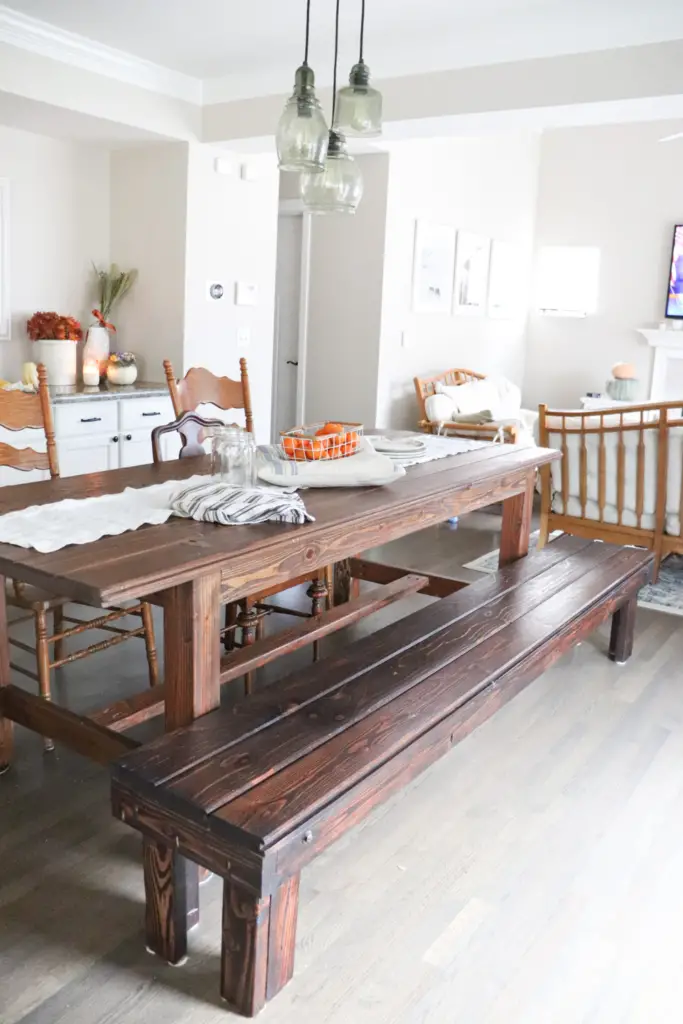
When we started building our farmhouse dining table, we knew we would want a seat bench on one side and chairs on the other.
I sourced Facebook Marketplace for some old, beautiful chairs. I wanted them to be mismatched, but matching enough so that they go together.
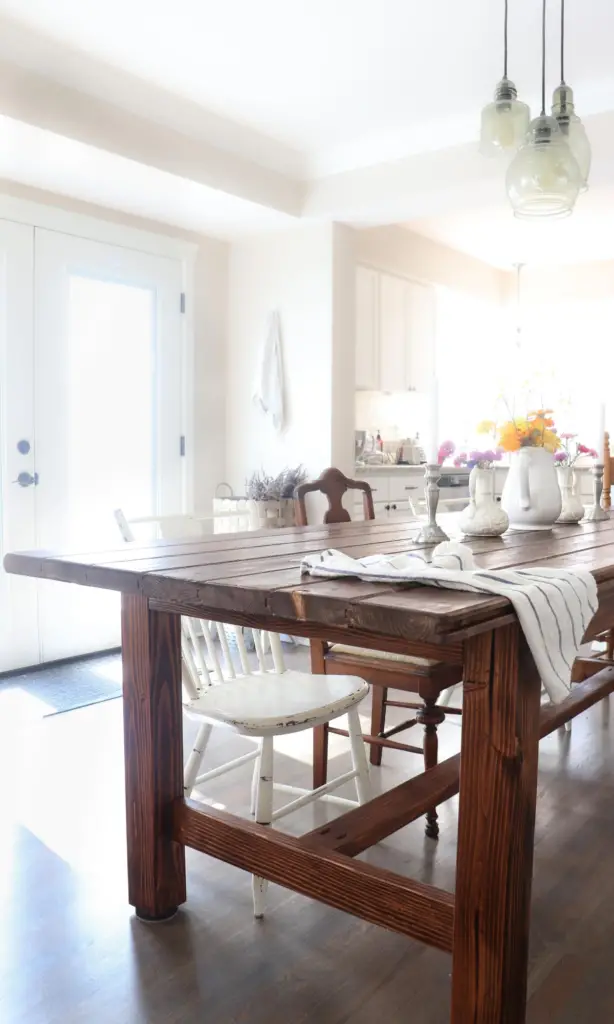
How to build a Farmhouse Table plans here.
What I love about dining room benches is that we can set stuff on it when we’re not eating, we can lay on it, and it’s just easy to use. The chairs are good because they can move around and allow for flexibility. So having both works really well.
This post contains affiliate links, which means I may make a small commission off of items you buy at no extra cost to you 🙂
Tools Needed for DIY Farming Bench
Kregg 2.5 in pocket hole screws
Wood Stain Colors
First we used this Pre-Stain Wood Conditioner.
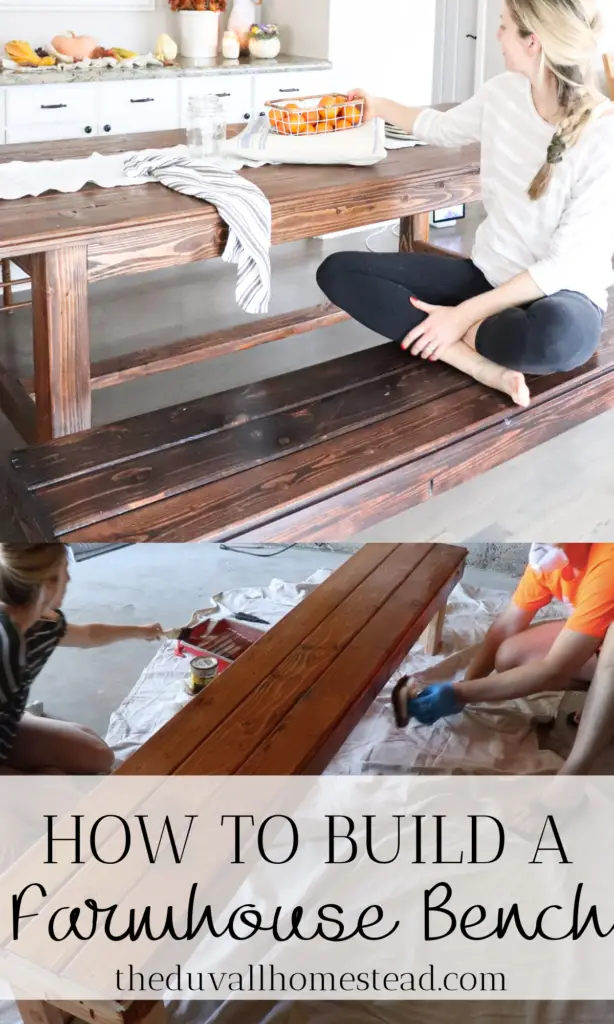
Then we used wood stain in color Red Mahogany. We applied it using a wool applicator.
Next to seal it all in we did a few layers of polyurethane (we used this water-based wipe on)
How to Build a Dining Bench Step by Step
First, make the cuts for the legs and the frame. Make sure you’ve considered the height of your matching chairs, so everyone is sitting at the same height, if you’re going to do matching chairs. Standard chair height is 18″ from the seat to the ground.
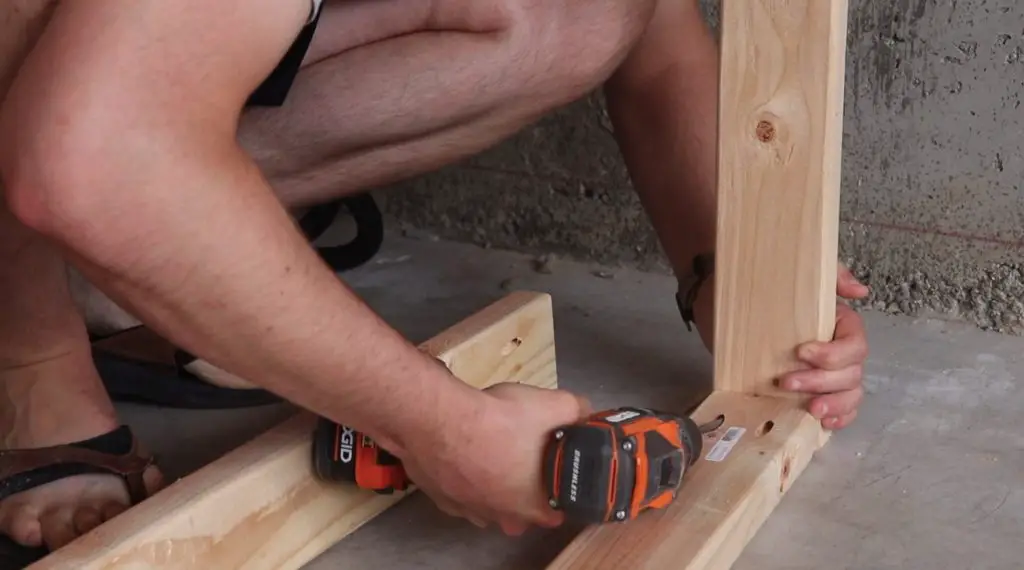
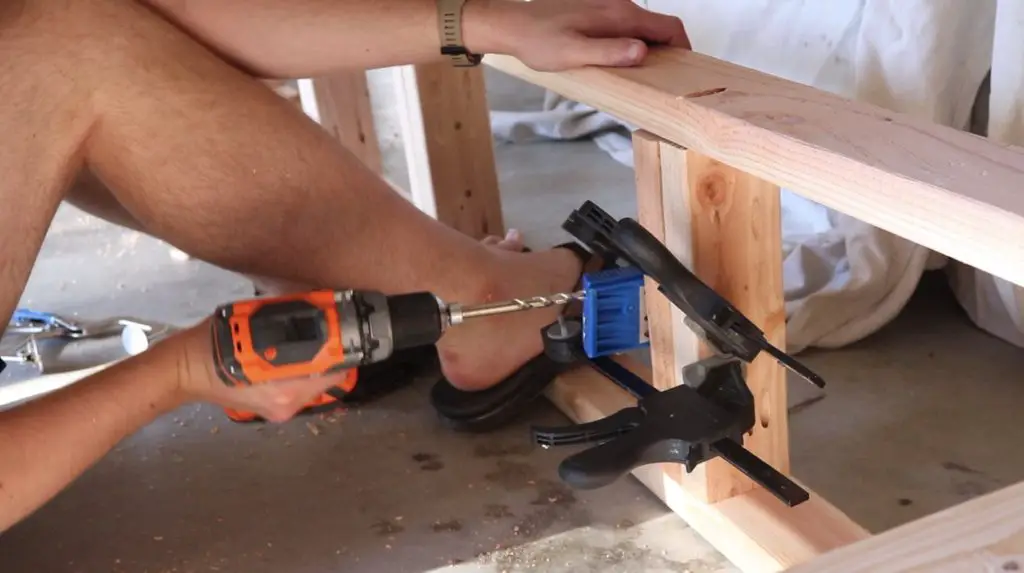
Adjoin two 2x4s for the legs with pocket holes. For the legs, we did 3 pocket holes each with a bead of wood glue in between for security. We use wood clamps to clamp them down, then let dry for a couple minutes.
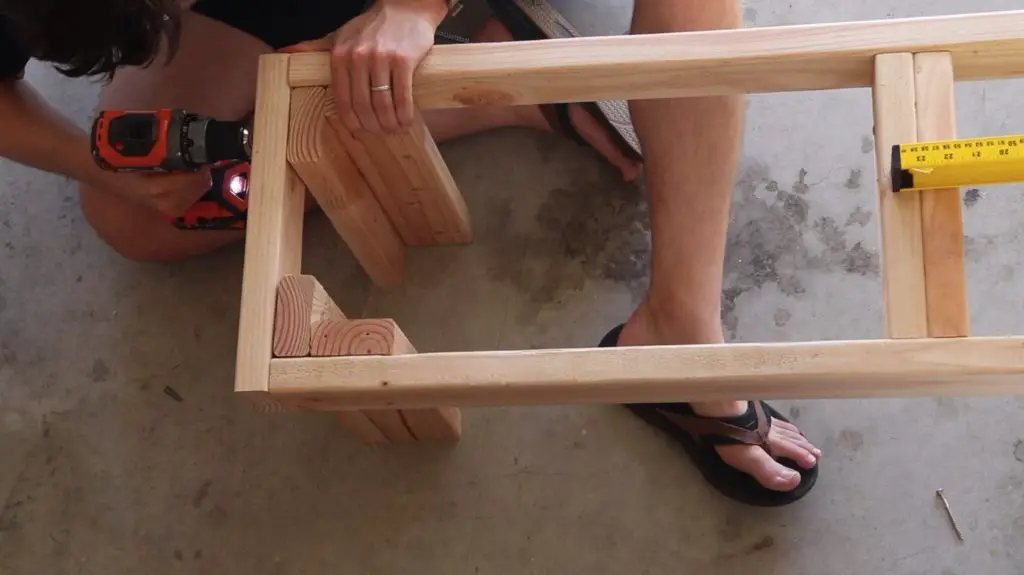
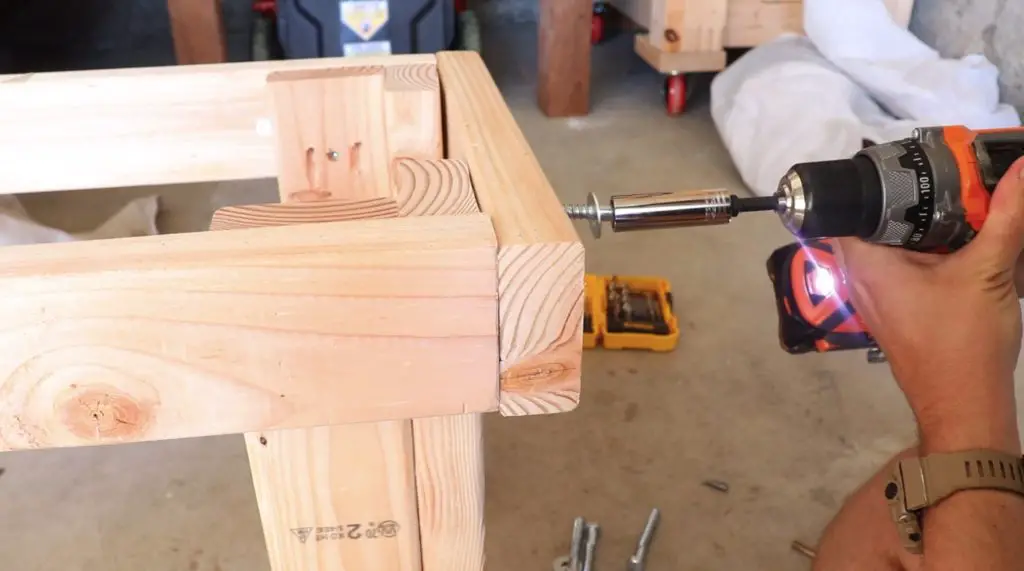
Build the bench frame with 2x4s. Install lag screws on each corner for added security.
Lay down the tongue and groove planks and fasten them to the frame with pocket holes. For the bench top we used three, 2x6x8 tongue-and-groove planks. Note: the width of the bench may vary depending on your tongue and groove. Our bench is 15″ wide even though the planks are 5-6″ wide each, because of the overlap of the tongue and groove.
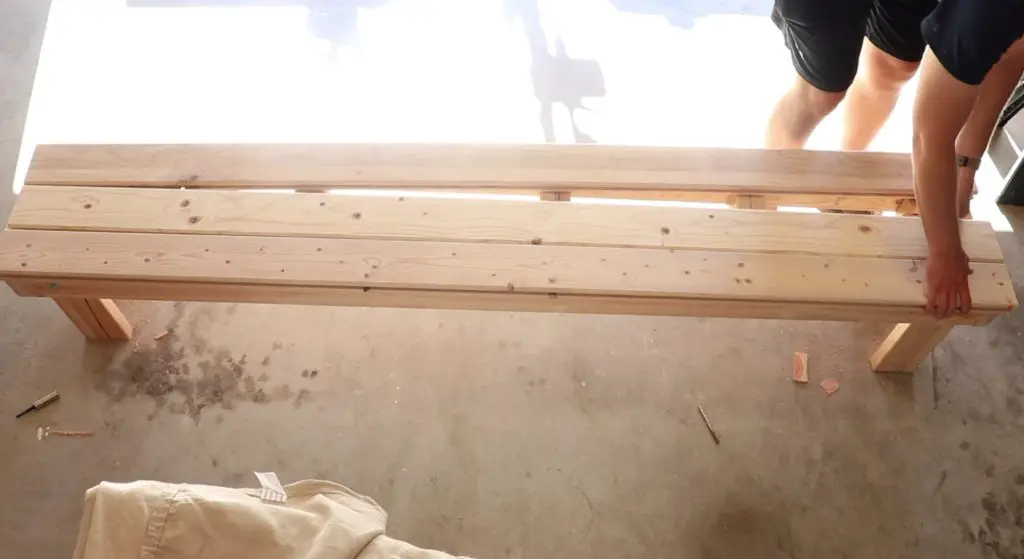
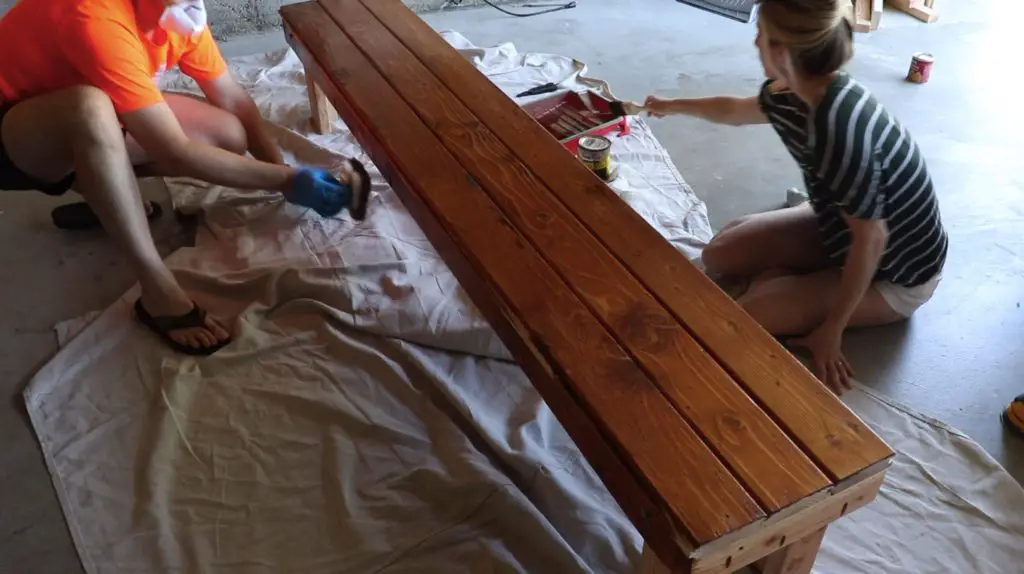
Sand, seal, stain
Sand the bench using a DeWalt orbital sander. Ours doesn’t have the dust catcher, so we made our own by creating a vacuum attachment to catch the dust (see video).
Next before we started the stain we used a Minwax wood conditioner. We wanted to do this because pine is a soft wood and the table will inevitability get liquid spilled on it.
Then we applied stain. We used Varathane Red Mahogany stain and a wool applicator. Let it sit and cure for the recommended time between layers, for us it was over a day or two.
Lastly we applied polyurethane to seal it all in. We used a water-based wipe on polyurethane with a satin finish and applied with white rags.
Tips for Building a Farmhouse Dining Table Bench
Give yourself plenty of time to complete the project. If doing this during weekends, maybe give yourself 2 weekends. Most of the time is taken up in the drying process of the sealing and staining.
Opt for a wider seat, not a narrow one. We weren’t sure whether or not we would be happy with our seat width, but after a few months of using it we are happy that we opted for wider. That way you can lay down on it, you can set stuff on it, and it doesn’t ever feel like it’s going to tip over.
The measurement of the 2x6s may vary depending on where you buy them. Ours were actually more like 2x5x8 for the top of the bench.
We used an app called “draft paper” to draft up our plans, and then exported it with an app called “PDF expert”.
Shake the polyurethane bottle well between applications if you are using a satin finish. Otherwise you may get a dull, off-color finish. This is because manufacturers use a material to cut the natural gloss of polyurethane finish for satin finishes. If the bottle isn’t shaken the chemical can settle at the bottom of the bottle.
When measuring, pay attention to the play on the end of the tape measure. It could add about a tenth of an inch to your cut.
If you’re planning on collecting some cute matching chairs for the other side of the table, make sure you note the height of the chair seat. When I was shopping on Facebook Marketplace for old chairs, the seat heights ranged from 15″ to 20″, so decide what height you want and match your bench to that.
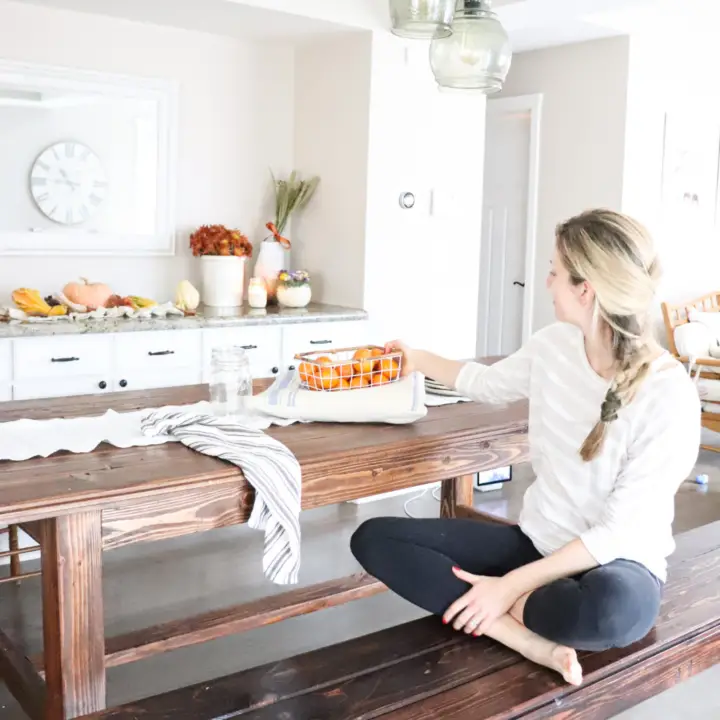
How to Build a Bench for a Farmhouse Kitchen Table
Learn to make a bench from scratch for your farmhouse kitchen table. We wanted a table and bench to go with our modern little farmhouse, and one that would be able to last us a lifetime. A cute farmhouse bench is the perfect compliment to your kitchen table.
Materials
Bench Top
- 3 Tongue & Groove Planks, 2x6x8 cut to 94 inches
Bench Frame (2x4)
- 2 cuts at 91" long
- 2 cuts at 15" long
Legs (2x4)
- 8 cuts at 15.5" long
Support Beams (2x4)
- 6 cuts at 12" long
Tools
- Kregg Jig
- Kregg 2.5 in pocket hole screws
- Tape measure
- Speed Square
- Circular Saw
- Miter Saw
- Power drill
- DeWalt orbital sander
- Wood Glue
Instructions
- Make the cuts for the legs and the frame. Make sure you've considered the height of your matching chairs, so everyone is sitting at the same height, if you're going to do matching chairs.
- Adjoin two 2x4s for the legs with pocket holes. For the legs, we did 3 pocket holes each with a bead of wood glue in between for security. Use wood clamps to clamp them down, then let dry for a couple minutes.
- Build the bench frame with 2x4s. Install lag screws on each corner for added security.
- Lay down the tongue and groove planks and fasten them to the frame with pocket holes. For the top of the bench, we used three, 2x6x8 tongue-and-groove planks.
- Sand the bench using a DeWalt orbital sander. Ours doesn't have the dust catcher, so we made our own by creating a vacuum attachment to catch the dust (see video).
- Next before we started the stain we used a Minwax wood conditioner. We wanted to do this because pine is a soft wood and the table will inevitability get liquid spilled on it.
- Then we applied stain. We used Varathane Red Mahogany stain and a wool applicator. Let it sit and cure for the recommended time between layers, for us it was over a day or two.
- Lastly apply polyurethane to seal it all in. We used a
water-based wipe on polyurethane with a satin finish and applied with white rags.
Notes
For the Farmhouse Kitchen Table Plans, see www.theduvallhomestead.com/how-to-build-a-farmhouse-dining-table
More DIY Projects for your Farmhouse
How to Build a Farmhouse Kitchen Table
Easy Refinished Antique Dresser
How to Build a Small Backyard Chicken Coop
DIY Farmhouse Planter Box Stand
Save to your Pinterest Board!


I love this!!! Our kitchen table is quite old and beat up (it’s gone through four kids…) so I’ve been wanting to build a kitchen table that could fit more of our farmhouse style. There just always seems to be more pressing projects on the to-do list. 🤦🏼♀️ Hopefully one day we’ll get around to it. Yours looks beautiful!
Thank you!! It is really not too difficult of a project. But just like everything, it seems so difficult in the moment but you keep chipping away day by day, and then once it’s done you feel SO proud.
Wow this is amazing! I love the idea! Thanks for sharing 🤗
Thank you!
I love the idea of a table being passed down through generations. Also love the stain color you picked and it just looks so good and sturdy.
Thank you so much! I hope our table is used for many years to come. The cats are already scratching it up but the wood is so sturdy it may not matter LOL
I love this and the table! I am about to go purchase all the wood 😊 however, while looking over your list and preparing my shopping list I am wondering if the size for tongue and groove for bench top should be 2x4x8 instead of 2x4x6? Because you can’t cut a 6’ piece of wood to 7.83’(94”) Lol.
Yes, it should be 2x4x8. Thanks for pointing that out! Happy building!!
Thanks for the free plans. Just made the table. Took me 12 hrs. Gonna do the bench next. Very easy and awesome design!!! Love it.
Thank you!! I’m so glad you liked it, send me a picture if you are on Instagram or Facebook at @theduvallhomestead!