Sourdough cheese bread is the perfect loaf for sandwiches, a healthy snack, or to bring to a gathering. The warm, decadent notes of cheese mixed with tangy, chewy sourdough create a delicious sandwich bread that is truly a treat.

Sourdough cheese bread is the perfect loaf for sandwiches, a healthy snack, or to bring to a gathering. The warm, decadent notes of cheese mixed with tangy, chewy sourdough create a delicious sandwich bread that is truly a treat.
When life calls for sourdough
While I love our traditional sourdough recipes – the rustic loaf, the sandwich bread, or the pizza crust, sometimes life calls for something different.
Around Easter time for example, I always find myself craving some sourdough brioche bread. In fall time, I crave the sourdough einkorn cinnamon raisin bread. And then there’s the einkorn banana bread for the every week Sunday church gathering.
This summer, I finally found myself feeding two kids plus two adults every day. Which if you have kids you know this: there are certain milestones that happen when you have to actually buy and cook more food when your family is growing. This summer I was feeling it, so I wanted to create a more filling bread recipe that would keep the troops happy (and fed!).
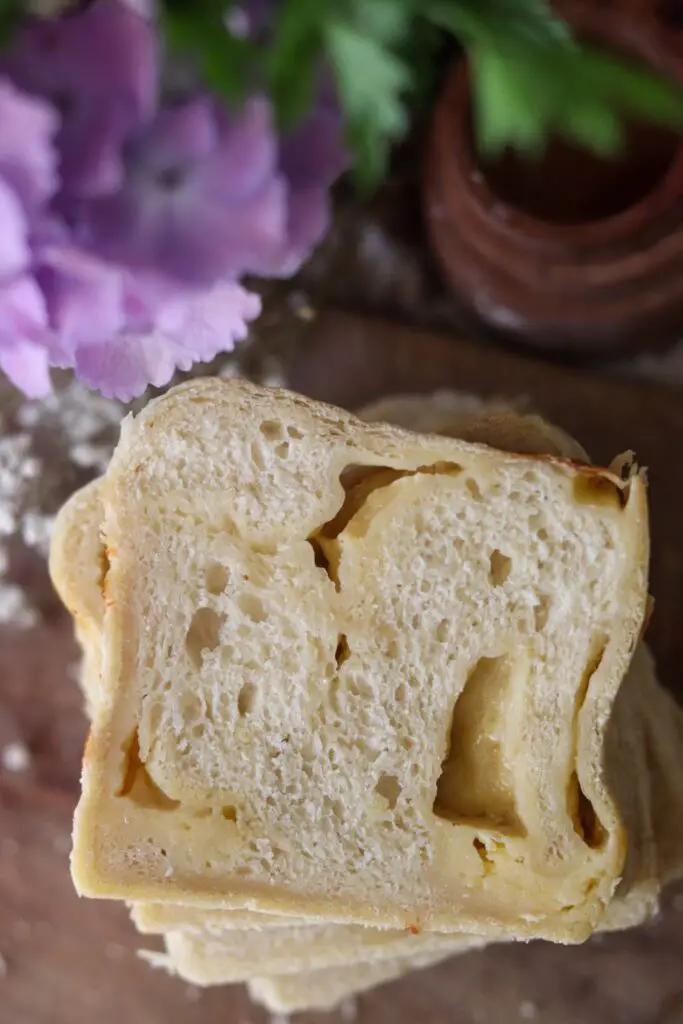
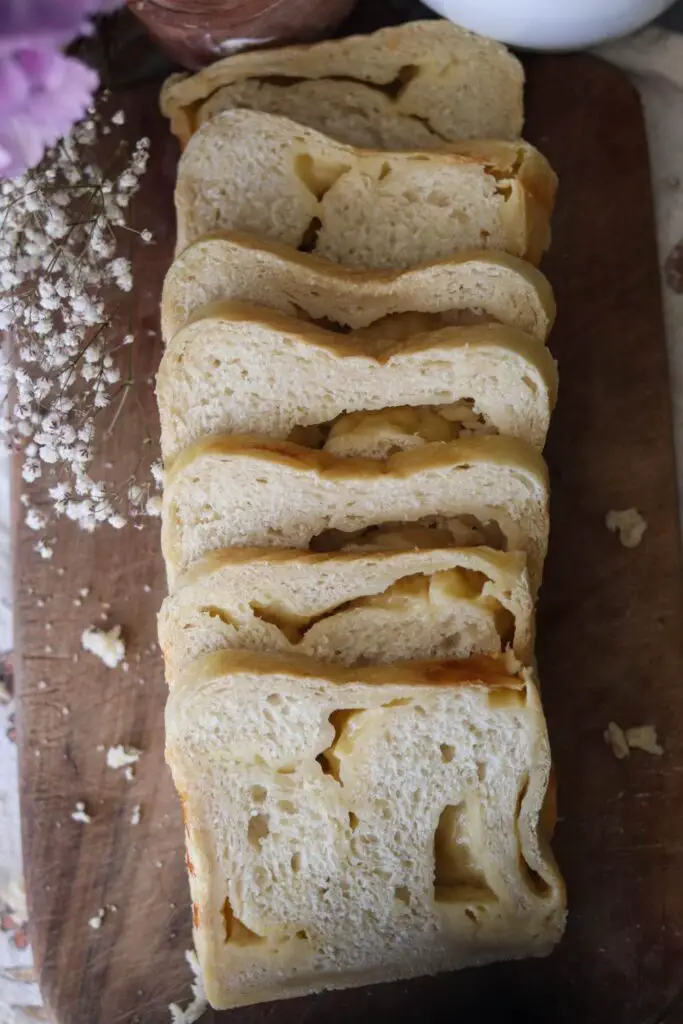
This sourdough cheese sandwich bread is delicious. It’s warm and cheesy, has tangy notes of chewy sourdough on the inside, and a crispy crust on top. Yum yum yum.
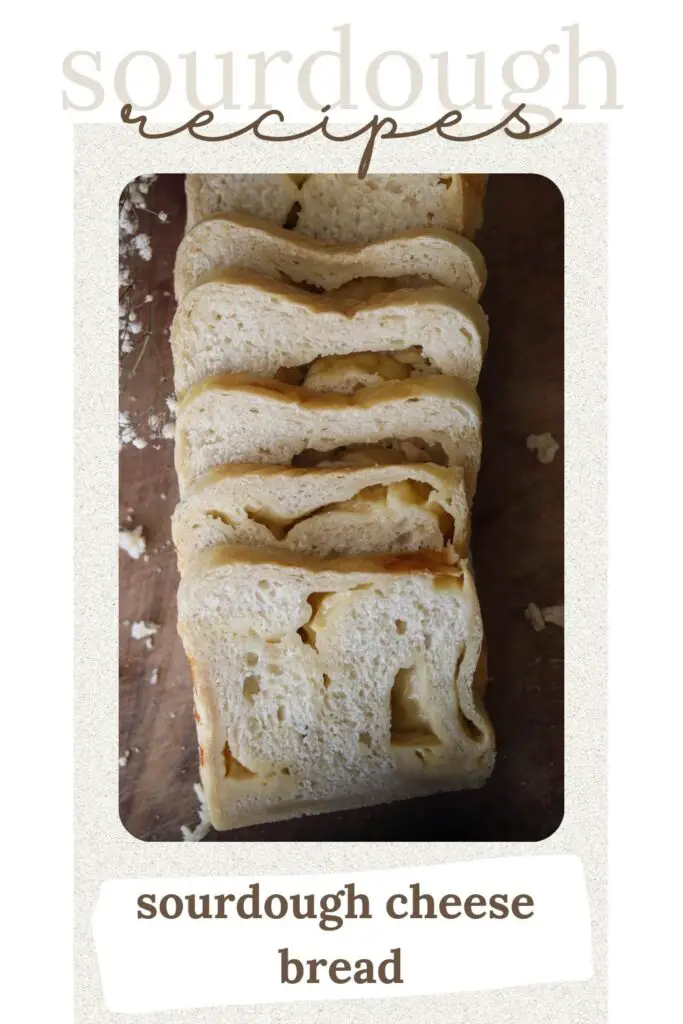
Pin it for Later!
More Sourdough Recipes from the Homestead
Einkorn Sourdough Chicken Pot Pie
Einkorn Sourdough Raspberry Pop Tarts
Can you use sourdough discard for sourdough cheese bread?
Sometimes you can use sourdough discard for sourdough cheese bread. For example, if your starter has been fed in the past day and it’s just hungry again, then you can use that and it would be just fine. But if your starter has been hungry for a week in the fridge, you would need to take it out, feed it, and then start this recipe. I normally feed my starter with 1 cup flour and 3/4 filtered water before starting this recipe.
New to Sourdough?
If you are just getting started with sourdough, you are going to love making delicious, gut-healthy bread recipes!
You can learn how to make your own sourdough starter from scratch to make homemade bread, sourdough pizza, bagels, and more.
Put all your sourdough recipes in one spot!
Download and print off this NEW sourdough recipes ebook and keep your favorite sourdough recipes on your counter for easy, every day cooking.



TOOLS NEEDED
Large bowl
Tea Towel
Fork
Plastic wrap
Cheese grater
Sandwich loaf or pullman loaf tin
Parchment paper
INGREDIENTS
3/4 cup active, bubbly sourdough starter (I feed my starter with 1 cup flour and 3/4 cup filtered water and let it sit until doubled in size before starting this recipe)
1 1/2 cup filtered warm water
1 1/2 tsp salt
4 tbsp butter, melted and then cooled slightly
1-2 tbsp of sugar or honey
1 tbsp olive oil
4 cups all-purpose or bread flour *see note on measurements below
3 cups shredded cheese of choice (note: use freshly shredded)
1 egg (optional, for an egg wash on top)
HOW TO MAKE SOURDOUGH CHEESE BREAD
PHASE 1: MAKE THE DOUGH
Melt the butter and remove from the heat to let cool slightly. Butter should be slightly warm, but not hot, before adding to the bread dough.
Add all of the ingredients except the flour and egg into a large bowl and whisk together with fork.

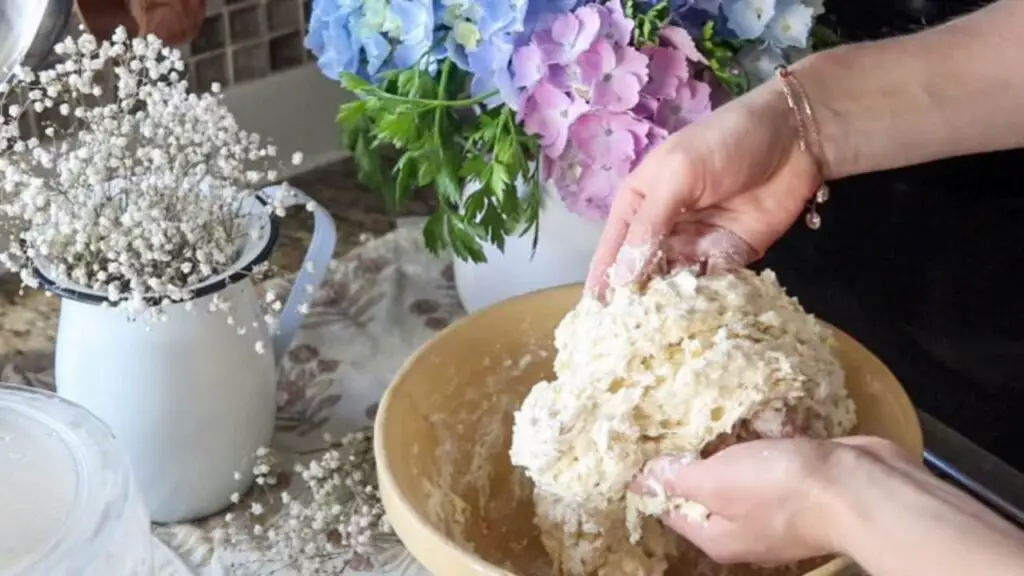
Then add the flour and use your hands to combine. To combine, scoop the mixture up on the sides and fold it into the center, slowly incorporating the flour with the wet ingredients. The dough will be choppy and sticky at first, but it will develop into a nice smooth dough later on as it ferments. Alternatively, you could also use a stand up mixture with a dough hook attachment.
Then, cover the bowl with a tea towel and let it sit out on your counter.
PHASE 2: STRETCH AND FOLD
After about 1 hour, perform a stretch and fold. Pull up on one side of the dough with one hand while holding the center of the dough down with the other. Fold the extended dough hand over onto the center of the dough. Then rotate the bowl 90 degrees and do it again. Repeat until all 4 sides of the dough have been stretched and folded into the center. Then, cover the dough bowl back up with a tea towel.

It also helps here to use your fingers to scrape the dough off the sides of the bowl and incorporate it into the main mixture. While you’re doing this, think about lifting and tucking all the sides of the dough into the center so you’re creating a ball shape.
This process of lifting and tucking, or stretching and folding, distributes the gluten and helps create a nice bread that will rise.
PHASE 3: MORE STRETCH AND FOLDS
After the first stretch and fold, you’re going to let the dough sit on the counter for the rest of the day, or another 4-6 hours.
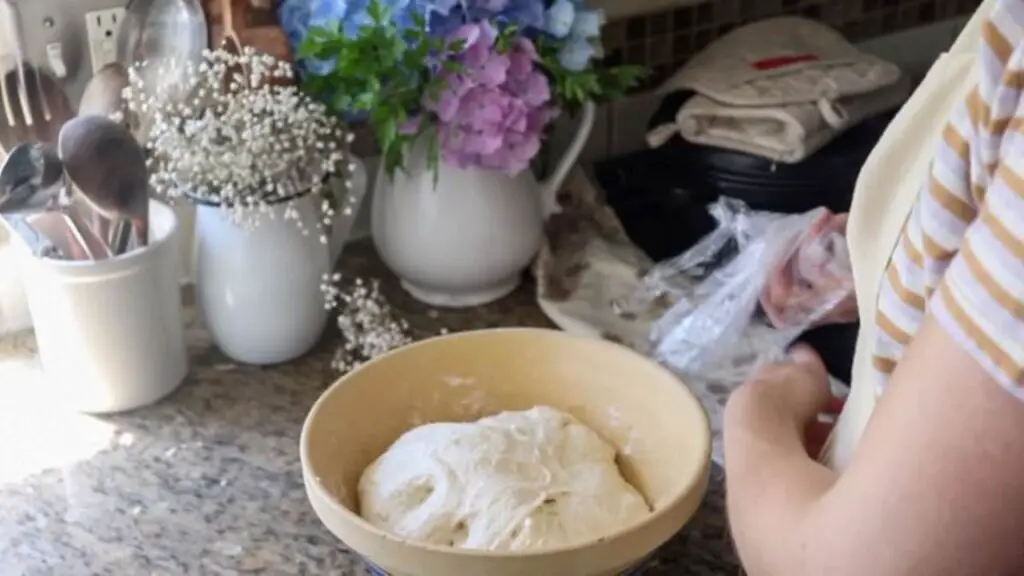
Repeat the stretch and fold process 1-2 more times during this time. Now, one thing I love about this recipe is that you can make this as flexible as you’d like. I’ve made this bread with one one stretch and fold before the long fermentation, or 4 stretch and folds, and it works either way. Of course, the more you stretch and fold the dough, the better rise you’ll get when you bake.
PHASE 4: LONG FERMENTATION
After about 6 hours of the dough being out, you’re going to let it long ferment in the refrigerator. This helps slow the fermentation down while also developing the gluten nicely so it will rise in the oven the next day.
Cover the dough bowl with plastic wrap over the top to prevent it from drying out, and stick the whole bowl in the fridge over night.
PHASE 5: SHAPE THE DOUGH & ADD CHEESE
The next day, bring the dough out of the fridge and let sit about 30 minutes to 1 hour. Meanwhile, place a sheet of parchment paper in your sandwich loaf tray. Today, I am using a pullman loaf tin.
Sprinkle some flour on a clean countertop. Remove the dough from the bowl and place it on the floured surface.
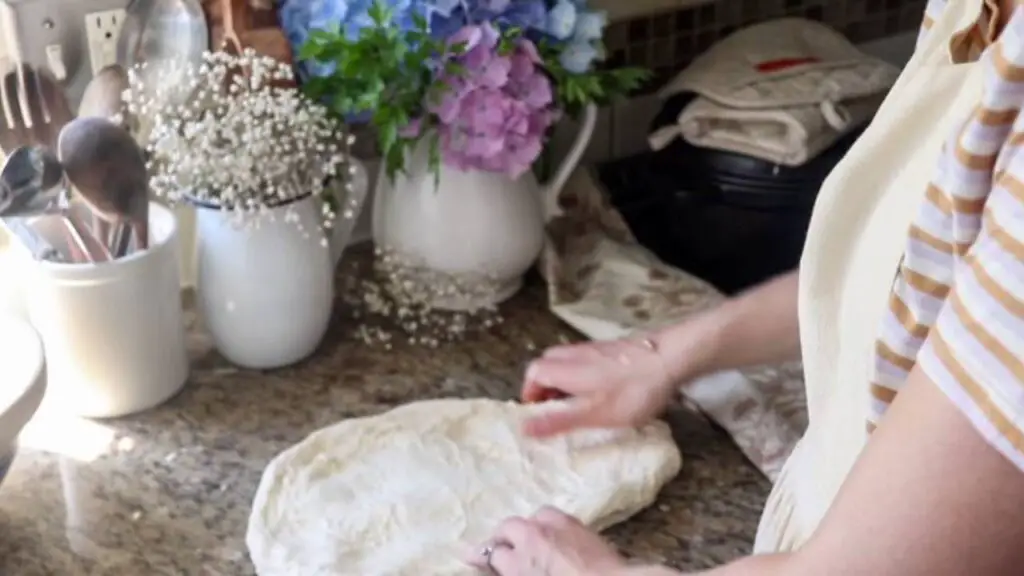
Using your hands, gently stretch all 4 sides of the dough out to create a long oval shape.
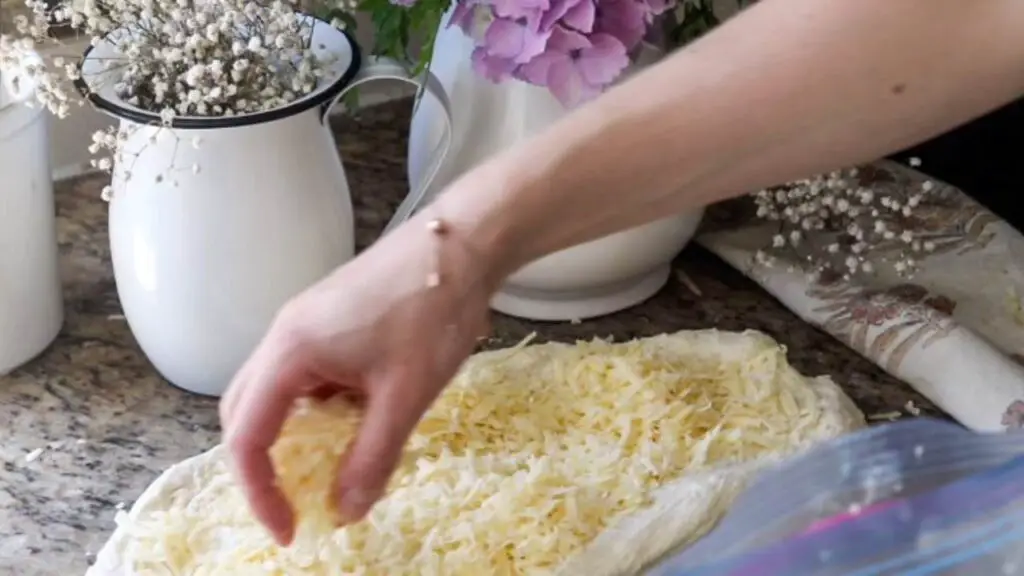
Sprinkle the freshly shredded cheese onto the stretched out dough, making sure to cover it completely and evenly from end to end.
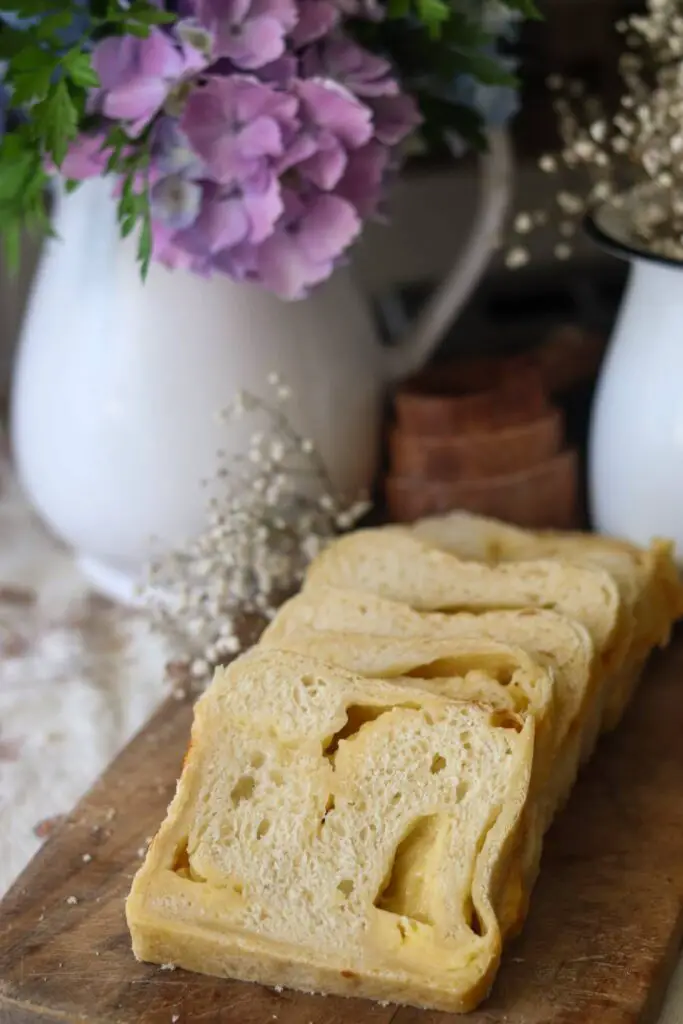
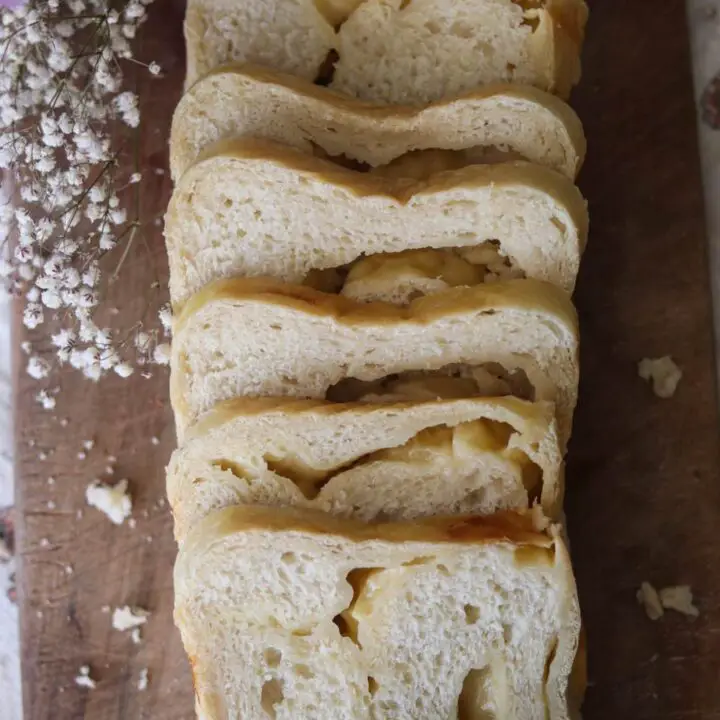
Start to roll the dough up, tightly, from one long side of the oval to the other. You want to roll and tuck the cheese as much as possible to create cheesy layers throughout the dough.
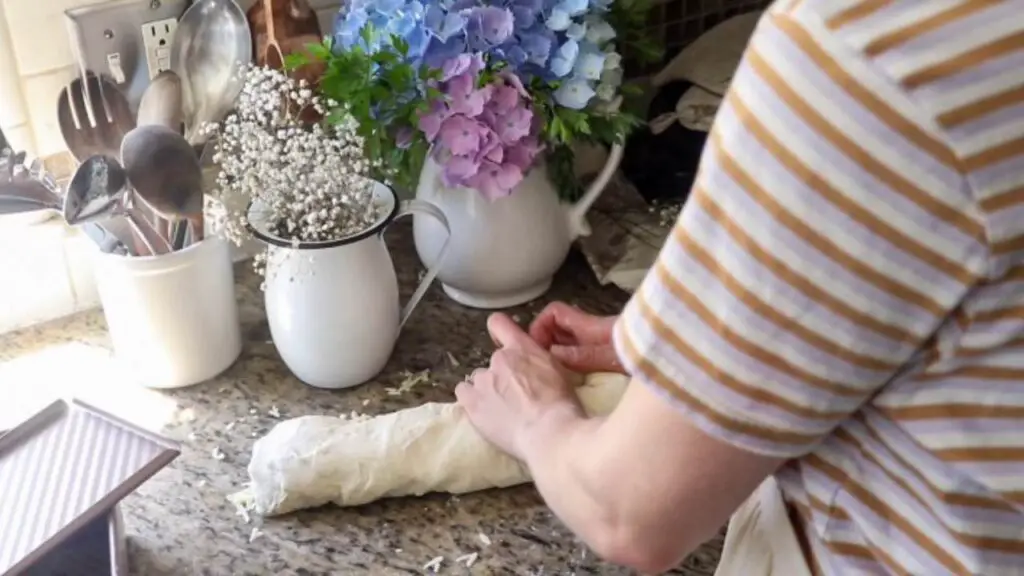
Flip the dough so the loose end is facing up, and gently pinch it shut with your fingers. Flip the dough so the pinched side is down on the countertop, and take a look at it. Using your hands in a “c” shape, gently form the dough even further if necessary using a cupping motion with your hands. It helps to drag it back and forth on the countertop to establish a knotted bottom with tension on the bottom of the dough.
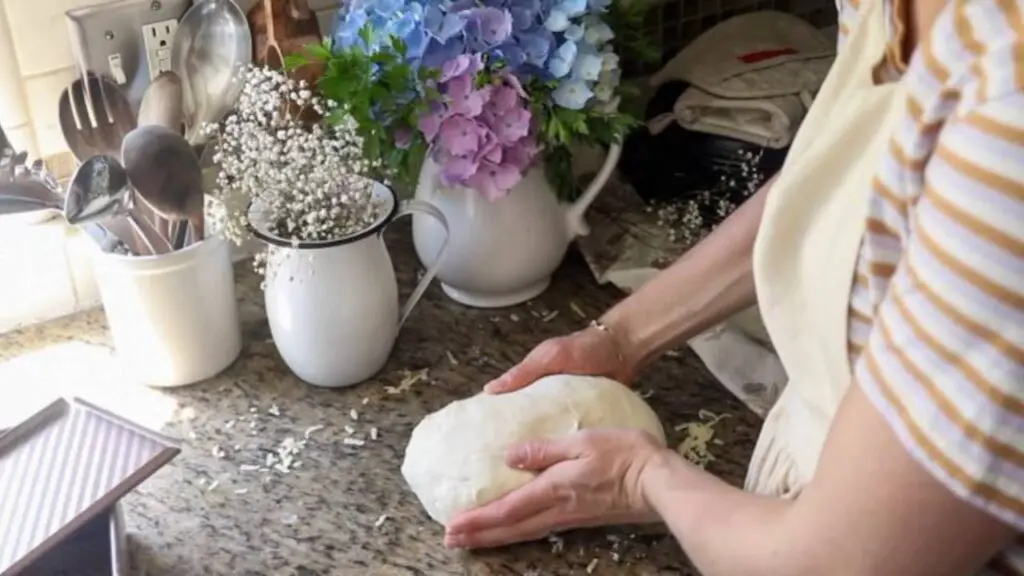
Then, place the dough in the parchment-lined sandwich tin. Note: you can also use a “pullman” loaf tin, greased with oil or butter, which you can see I did here.
Cover it with a tea towel and again, let it sit out for 3-6 hours or until doubled in size. Note: the warmer your house is, the faster this will go.
TIME TO BAKE!
When it’s almost ready to bake, preheat the oven to 350 degrees F.
Before baking, brush a whisked egg over the top of the dough to create a delicious egg wash crust.

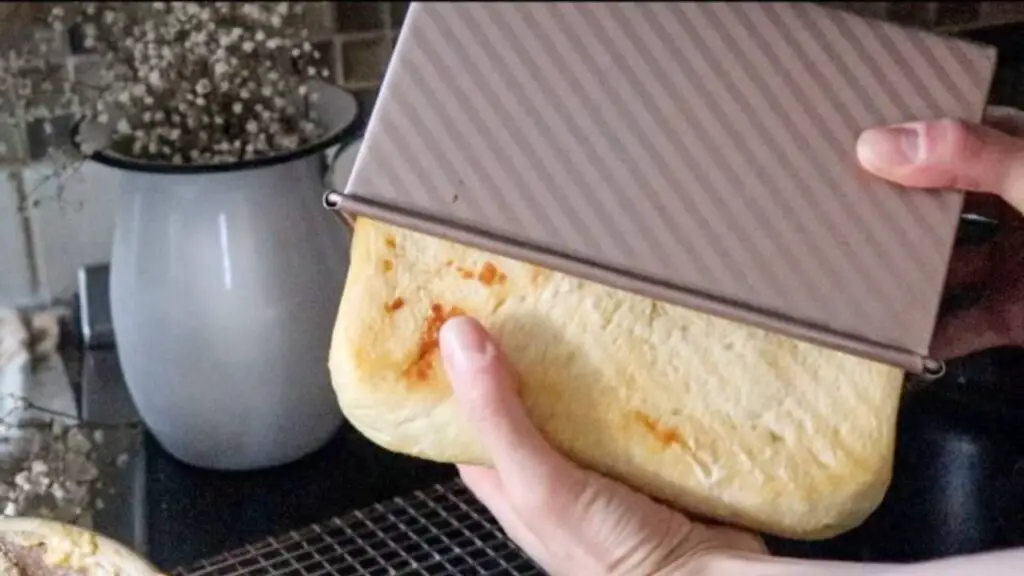
Bake for 35 minutes or until the dough crust is firm. Remove from the oven when finished, transfer to a cooling rack, and let sit for at least 1 hour before cutting (this is the hardest part!).
How to Store Leftovers and Reheat
Store leftover sourdough cheese bread in a gallon size ziplock bag, or covered in plastic wrap, in the fridge for 3-5 days.
To reheat, place a slice of sourdough cheese bread in a toaster for that warm, cheesy texture and flavor.

FAQ
What’s the best cheese to use for sourdough bread?
A sharp cheddar is our favorite in sourdough cheese bread. However, many people enjoy a pepper jack cheese for extra flavor. You always want to make sure you freshly shred whatever cheese you pick, instead of using pre-shredded. Store-bought pre-shredded cheese contains ingredients that preserve the cheese, which can be slimy and not good when put into bread (or anything for that matter!).
Can you eat sourdough bread as a sandwich?
Sourdough bread makes great sandwiches. Whether you make a rustic loaf or a sourdough sandwich bread, you can cut up either one for sandwiches and it’ll be delicious. Sourdough cheese bread is even more decadent for sandwiches, because it already contains all the cheesy goodness that you want in a sandwich.
More Sourdough from the Homestead
Sourdough Chocolate Cupcakes with Buttercream Frosting
No-Knead Sourdough Einkorn Bread
Fluffy Sourdough Discard Pumpkin Pancakes with Einkorn Flour
Einkorn Sourdough Discard Tortillas
Pin it for Later!

Sourdough Cheese Bread
Sourdough cheese bread is the perfect loaf for sandwiches, a healthy snack, or to bring to a gathering. The warm, decadent notes of cheese mixed with tangy, chewy sourdough create a delicious sandwich bread that is truly a treat.
Ingredients
- 3/4 cup active, bubbly sourdough starter (I feed my starter with 1 cup flour and 3/4 cup filtered water and let it sit until doubled in size before starting this recipe)
- 1 1/2 cup filtered warm water
- 1 1/2 tsp salt
- 4 tbsp butter, melted and then cooled slightly
- 1-2 tbsp of sugar or honey
- 1 tbsp olive oil
- 4 cups all-purpose or bread flour
- 3 cups shredded cheese of choice (note: use freshly shredded)
- 1 egg (optional, for an egg wash on top)
Instructions
PHASE 1: MAKE THE DOUGH
- Melt the butter and remove from the heat to let cool slightly. Butter should be slightly warm, but not hot, before adding to the bread dough.
- Add all of the ingredients except the flour and egg into a large bowl and whisk together with fork.
- Then add the flour and use your hands to combine. To combine, scoop the mixture up on the sides and fold it into the center, slowly incorporating the flour with the wet ingredients. The dough will be choppy and sticky at first, but it will develop into a nice smooth dough later on as it ferments. Alternatively, you could also use a stand up mixture with a dough hook attachment.
- Then, cover the bowl with a tea towel and let it sit out on your counter.
PHASE 2: STRETCH AND FOLD
- After about 1 hour, perform a stretch and fold. Pull up on one side of the dough with one hand while holding the center of the dough down with the other. Fold the extended dough hand over onto the center of the dough. Then rotate the bowl 90 degrees and do it again. Repeat until all 4 sides of the dough have been stretched and folded into the center. Then, cover the dough bowl back up with a tea towel.
- It also helps here to use your fingers to scrape the dough off the sides of the bowl and incorporate it into the main mixture. While you’re doing this, think about lifting and tucking all the sides of the dough into the center so you’re creating a ball shape.
- This process of lifting and tucking, or stretching and folding, distributes the gluten and helps create a nice bread that will rise.
PHASE 3: MORE STRETCH AND FOLDS
- After the first stretch and fold, you’re going to let the dough sit on the counter for the rest of the day, or another 4-6 hours.
- Repeat the stretch and fold process 1-2 more times during this time. Now, one thing I love about this recipe is that you can make this as flexible as you’d like. I’ve made this bread with one one stretch and fold before the long fermentation, or 4 stretch and folds, and it works either way. Of course, the more you stretch and fold the dough, the better rise you’ll get when you bake.
PHASE 4: LONG FERMENTATION
- After about 6 hours of the dough being out, you’re going to let it long ferment in the refrigerator. This helps slow the fermentation down while also developing the gluten nicely so it will rise in the oven the next day.
- Cover the dough bowl with plastic wrap over the top to prevent it from drying out, and stick the whole bowl in the fridge over night.
PHASE 5: SHAPE THE DOUGH & ADD CHEESE
- The next day, bring the dough out of the fridge and let sit about 30 minutes to 1 hour. Meanwhile, place a sheet of parchment paper in your sandwich loaf tray. Today, I am using a pullman loaf tin.
- Sprinkle some flour on a clean countertop. Remove the dough from the bowl and place it on the floured surface.
- Using your hands, gently stretch all 4 sides of the dough out to create a long oval shape.
- Sprinkle the freshly shredded cheese onto the stretched out dough, making sure to cover it completely and evenly from end to end.
- Start to roll the dough up, tightly, from one long side of the oval to the other. You want to roll and tuck the cheese as much as possible to create cheesy layers throughout the dough.
- Flip the dough so the loose end is facing up, and gently pinch it shut with your fingers. Flip the dough so the pinched side is down on the countertop, and take a look at it. Using your hands in a “c” shape, gently form the dough even further if necessary using a cupping motion with your hands. It helps to drag it back and forth on the countertop to establish a knotted bottom with tension on the bottom of the dough.
- Then, place the dough in the parchment-lined sandwich tin. Note: you can also use a “pullman” loaf tin, greased with oil or butter, which you can see I did here.
- Cover it with a tea towel and again, let it sit out for 3-6 hours or until doubled in size. Note: the warmer your house is, the faster this will go.
TIME TO BAKE!
- When it’s almost ready to bake, preheat the oven to 350 degrees F.
- Before baking, brush a whisked egg over the top of the dough to create a delicious egg wash crust.
- Bake for 35 minutes or until the dough crust is firm. Remove from the oven when finished, transfer to a cooling rack, and let sit for at least 1 hour before cutting (this is the hardest part!).
Notes
How to Store Leftovers and Reheat
Store leftover sourdough cheese bread in a gallon size ziplock bag, or covered in plastic wrap, in the fridge for 3-5 days.
To reheat, place a slice of sourdough cheese bread in a toaster for that warm, cheesy texture and flavor.


Leave A Comment