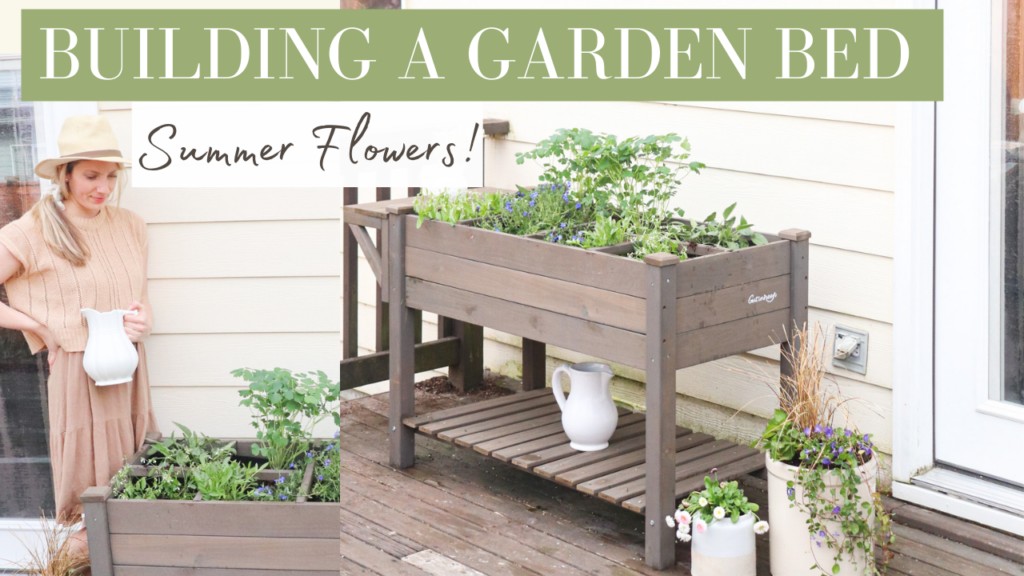
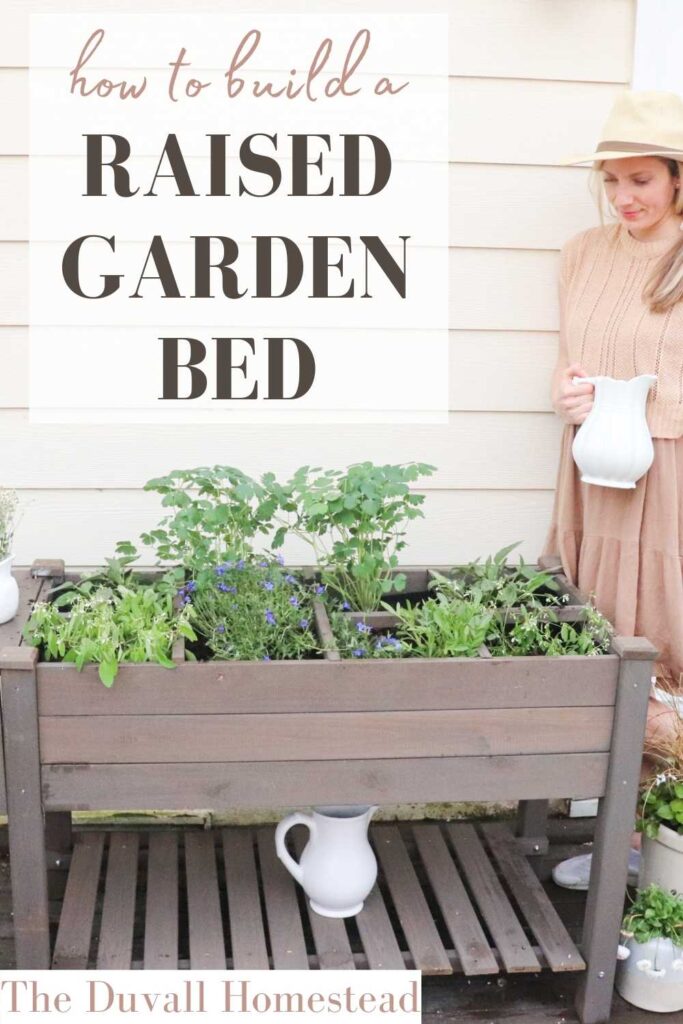
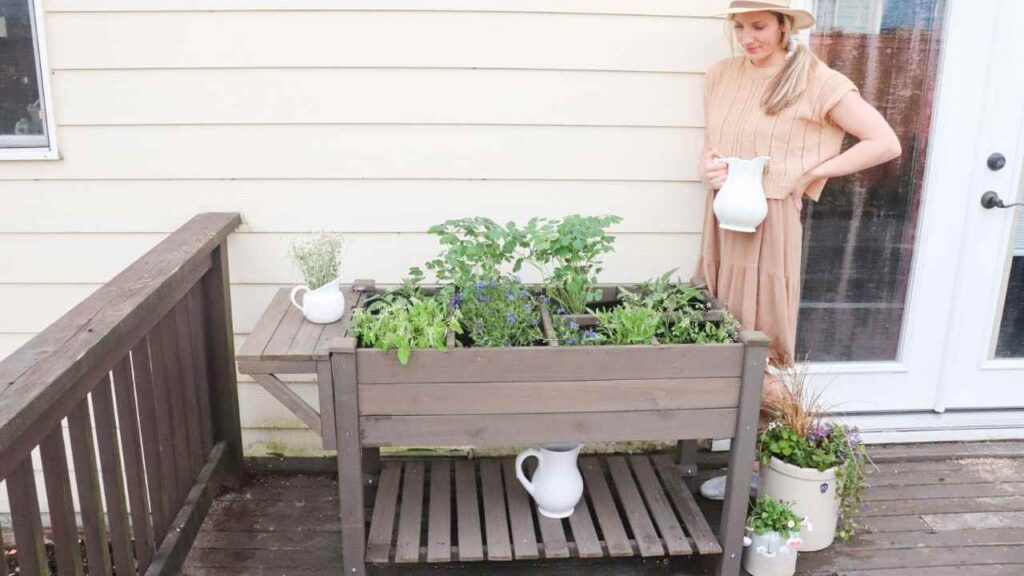
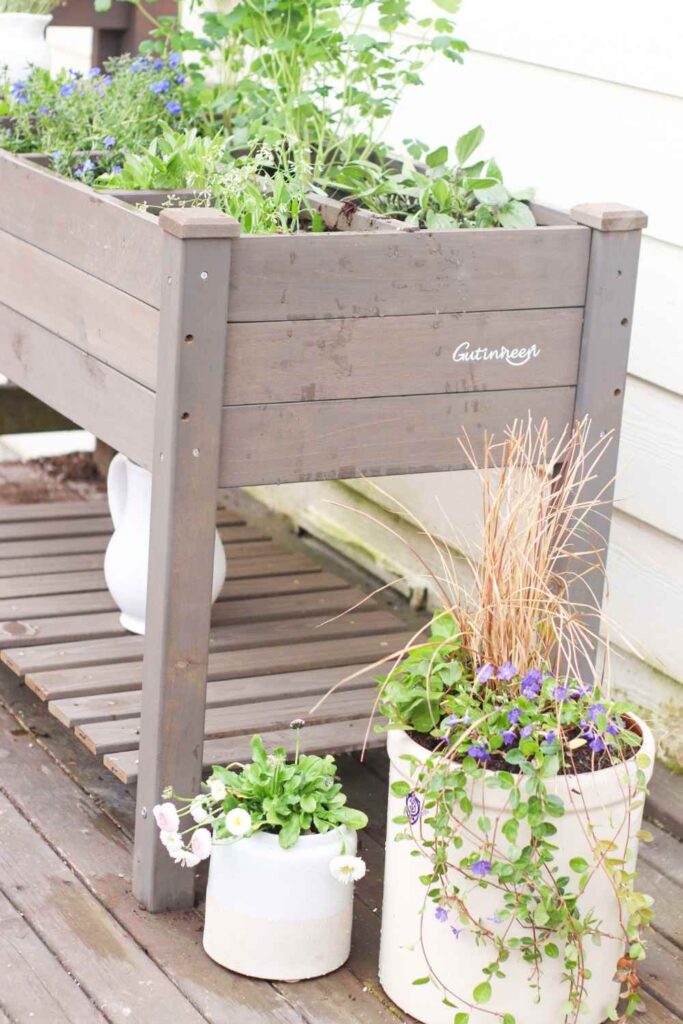
It’s officially spring around here and I’m kicking off the season with a large raised flower bed. In this post I show you how to build a raised flower bed and plant summer flowers with the Aivituvin raised wooden planter.
This post contains affiliate links, which means I may make a small commission off items you buy at no extra cost to you. As an Amazon associate, I earn on qualifying purchases. See my full disclosure here.
Pin it for Later!
Disclosure
Thank you so much to Aivituvin for sponsoring this post. Aivituvin is a family-owned business that specializes in wooden animal hutches and garden beds. You can find chicken coops, rabbit hutches, and even cat enclosures along with an array of garden beds on their website. They even gave me a discount code to share, which is TDH5 for 5% off your order with this link!
They were kind enough to send us this garden bed. We would have loved to receive the chicken coop, but we are still using the one we built a couple years ago.
Everything comes in an easy-to-assemble box with directions. The garden bed I show in this post was very easy for me to assemble, and I would not consider myself an experienced wood worker.
April Showers Bring May Flowers
This year I am really clinging to the whole, “April showers bring May flowers”, only for us its “April snow… kills all the seeds you planted”, haha. Last week I planted some herbs and flower seeds in a garden bed on the ground. It’s currently snowing as I write this, so I’m worried that it will kill everything I just planted. I just really thought the snow was done for the year.
I get excited for spring at about February time frame. That’s when the chickens start laying again and we get those cool, sunny days.
And you can’t wait too long to plant stuff here, because we really only have a couple of warm months during the summer. So you have to get on it right during that last freeze date time. Which is now.
My seeds might still be okay because they are under the soil, but I’m not going to get my hopes up.
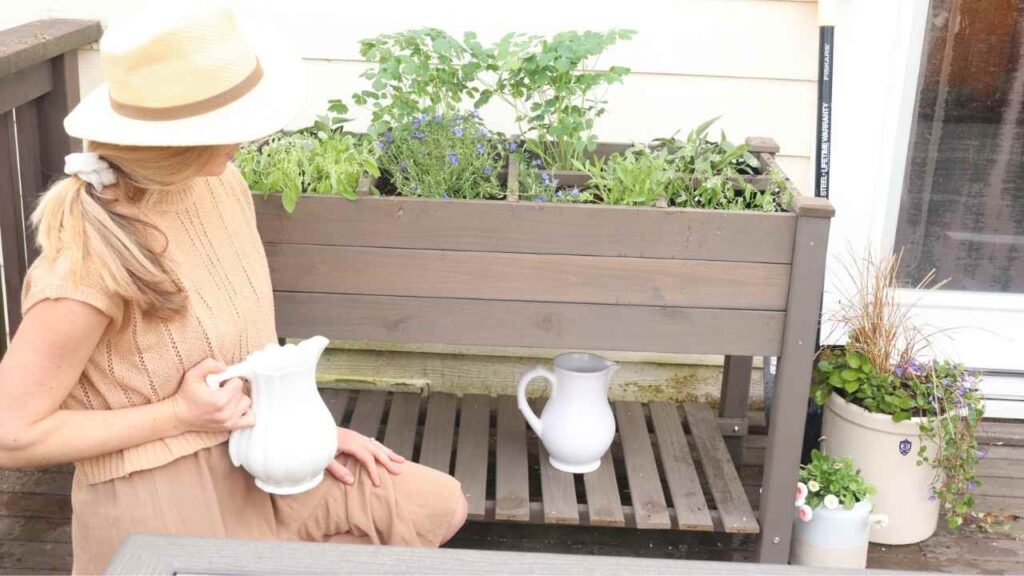
That’s why I am so excited to fill this new garden bed with flowers. And we just moved out our garden trough from this back deck, so I had a big open spot for the flowers bed to go.
TOOLS NEEDED
Scissors
Power Drill
How to Assemble a Raised Garden Bed
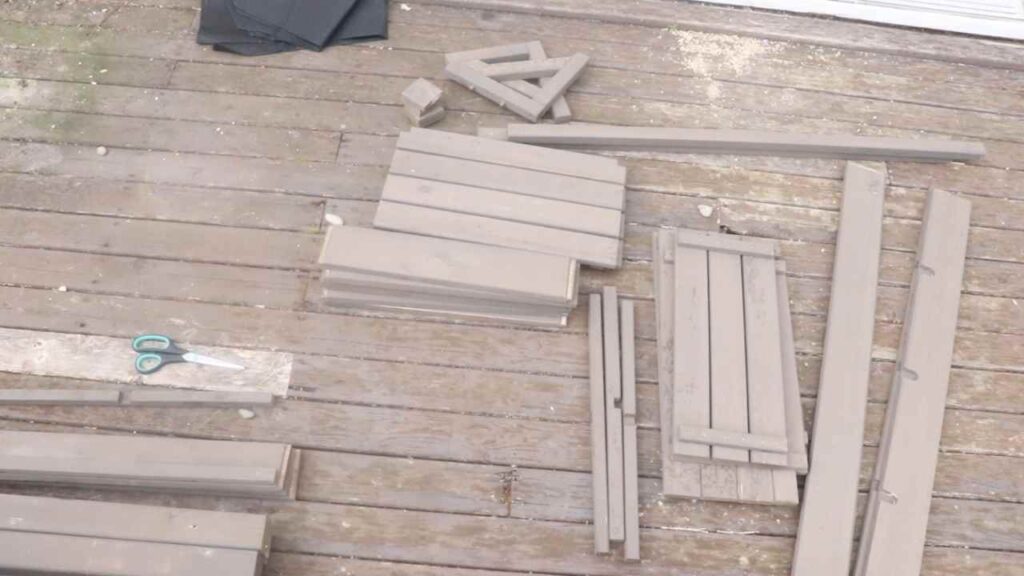
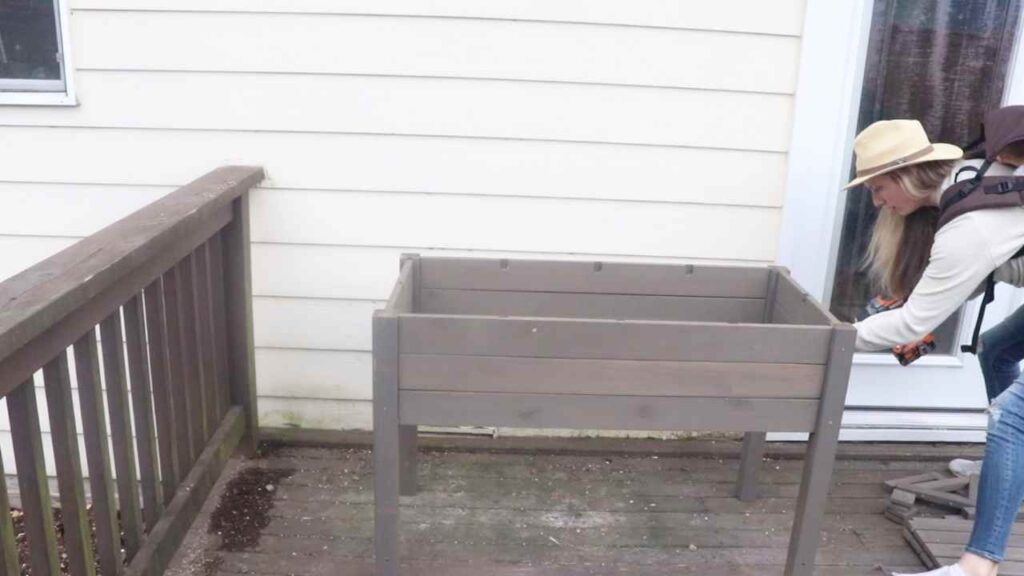
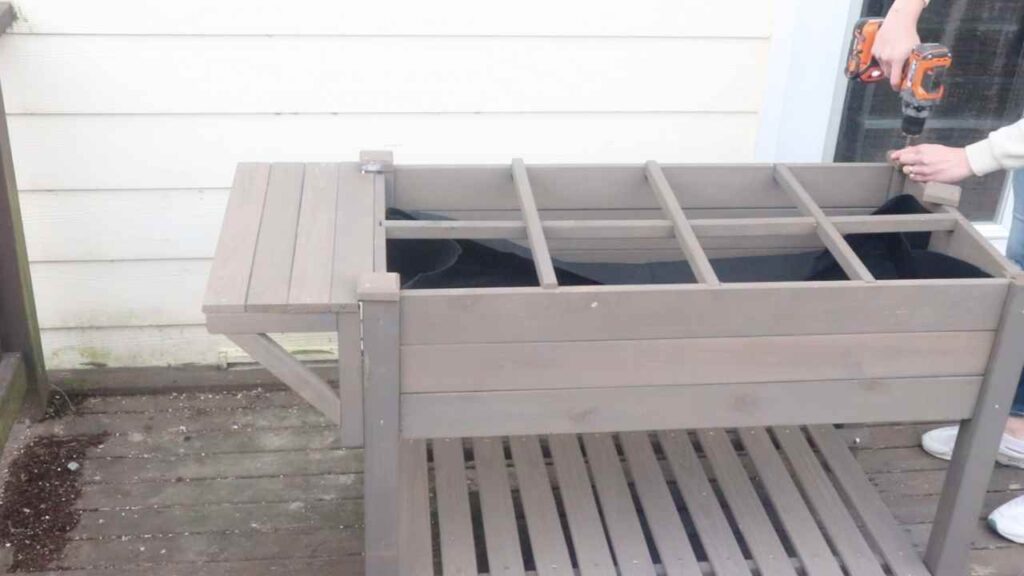
All of the garden bed wood pieces were shipped in a large box and arrived ready to assemble.
First remove all the wood pieces from the box and organize them by type. Look for obvious patterns like size, length, shape, holes, or cutouts in the wood.
The screws are already organized for you, so you just need to keep them handy.
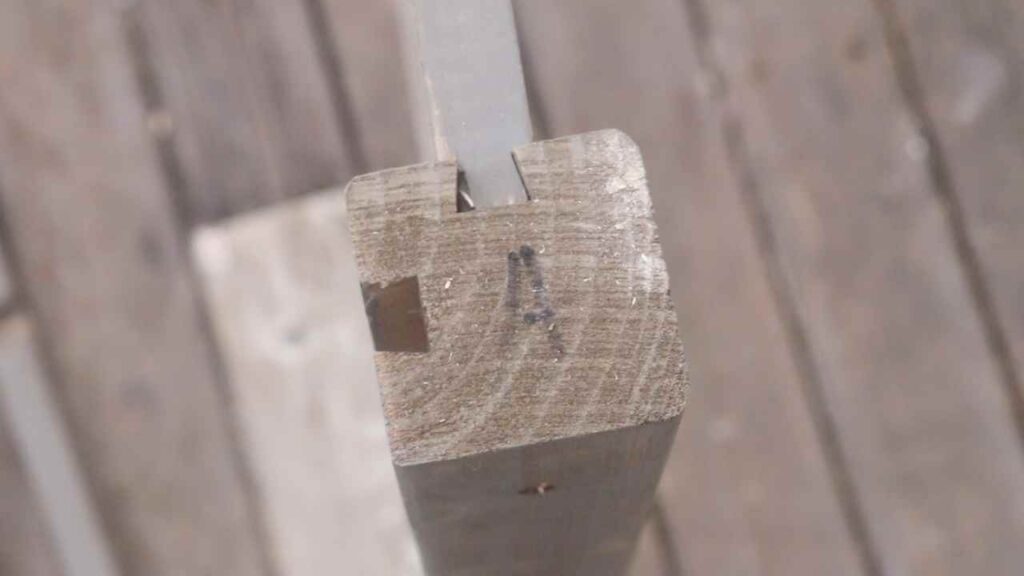
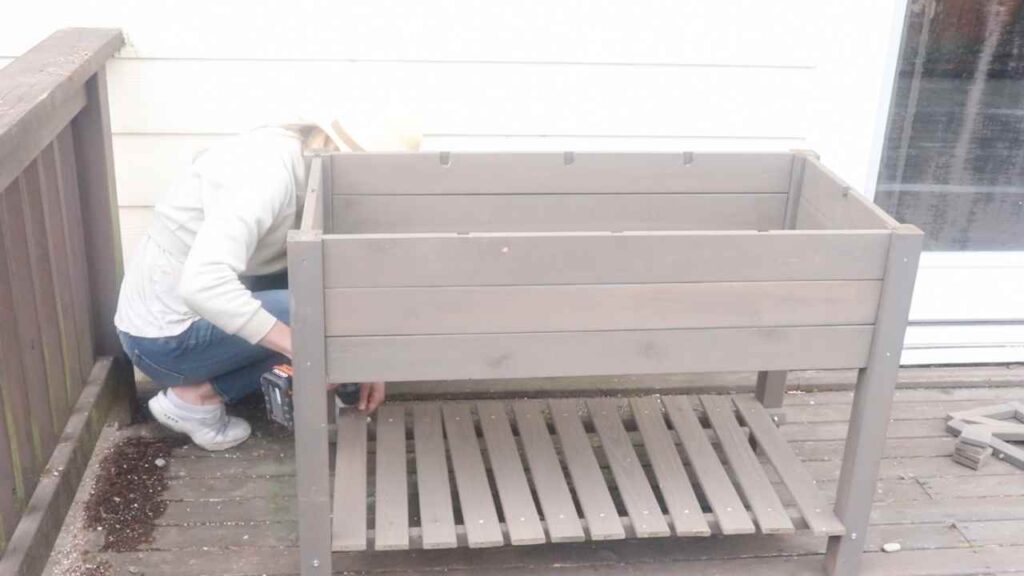
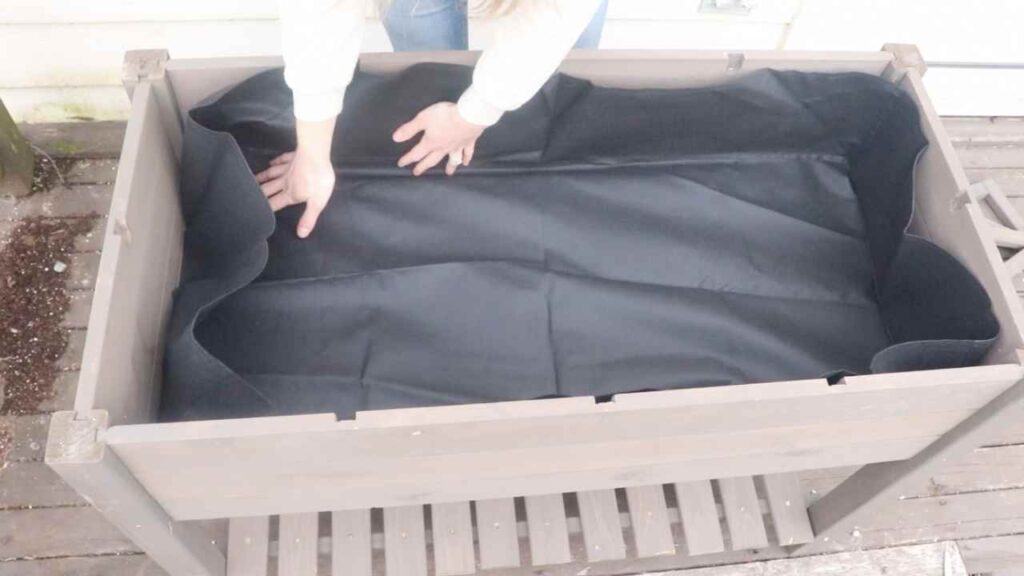
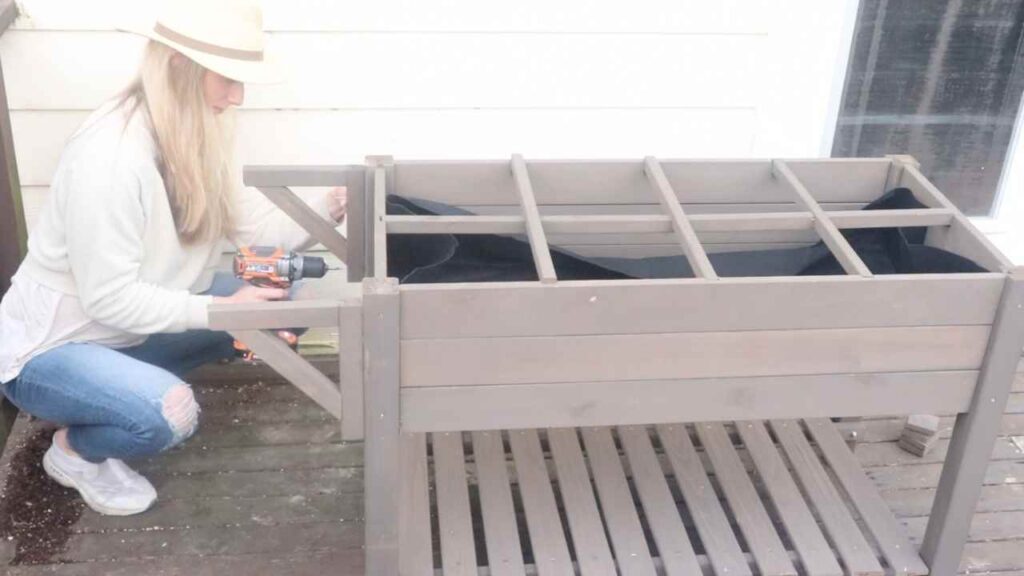
Next just follow the instructions included in the box. The Company labels all the wood pieces according to their instructions, so it’s really easy to see what goes where. For example the instructions say “take wood piece A and slide it into wood piece B”. Then you go to your pile of wood and see that it is labeled “A” or “B”. I was definitely intimidated when I first opened the box and saw all the wood, but this eased a lot of my worries.
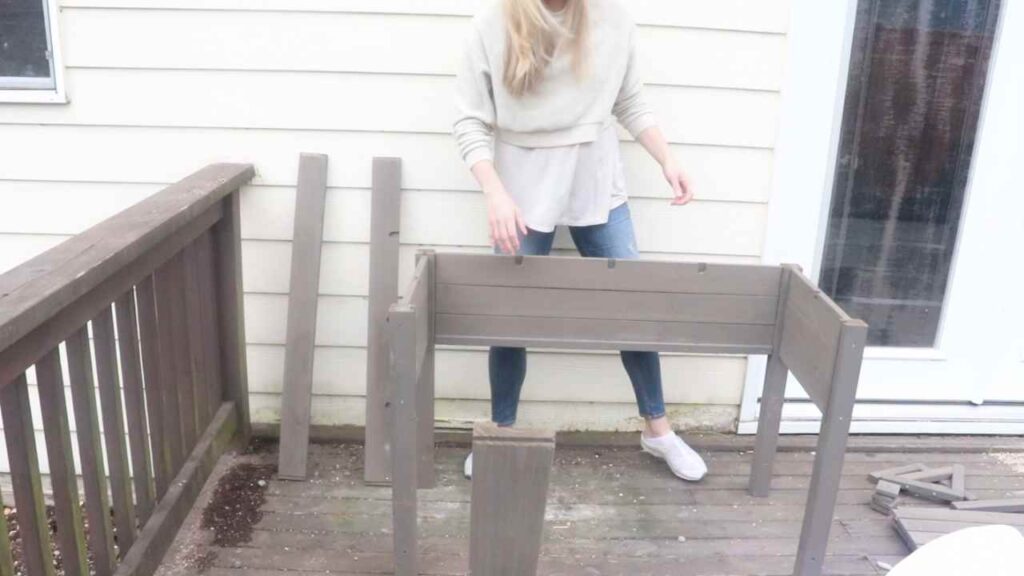
There were two trouble points I had when building the garden bed. The first was that some of the “sliding” instructions took a lot of arm power. For whatever reason I had a hard time sliding the wood into the slots. Sometimes it slid easily and other times not at all. But I did get them in with some time and arm power.
The other part that was a little tricky was setting up the bottom shelf slats. There were no directions on where to put these, so you had to eyeball it and hopefully get it right. It wasn’t particularly hard to do, it just wasn’t AS easy as the rest of the project.
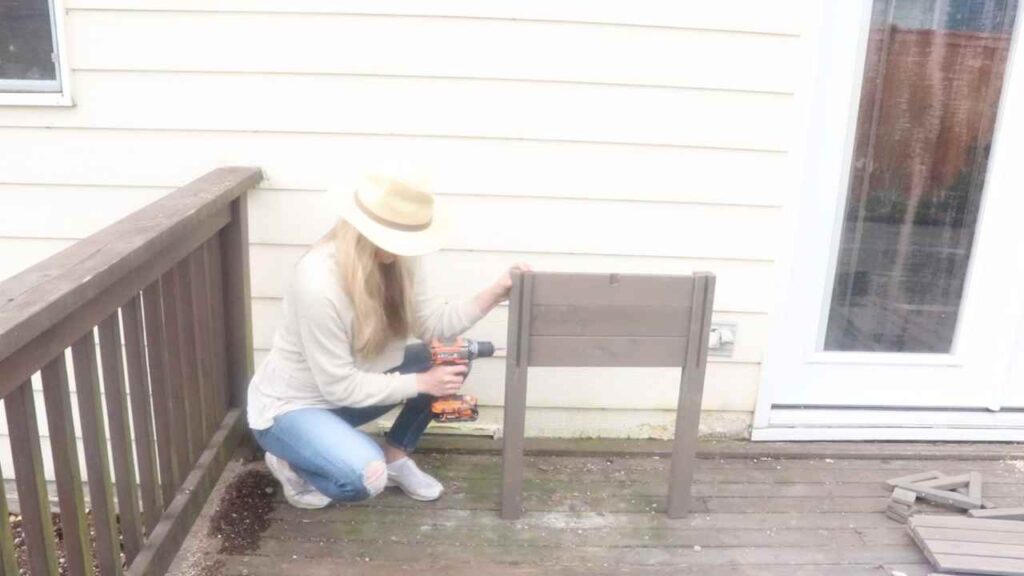
Overall I’d say building this garden bed was easy. The instructions say it should take 30 minutes for a two-person job. I did it myself in about 1 hour active time. But as I say, in “mom time” that equates to one whole afternoon since I did a lot of starting and stopping 🙂
Tips for Assembling a Garden Bed
The garden bed took me one afternoon to assemble, but probably only 1 hour of active time. I am a new mom and so I had to take breaks to feed the baby of course.
All you need is a power drill to assemble this garden bed. There were a couple screws towards the end that I used a screwdriver for, but that’s optional.
Lay all the pieces out and organize them by shape first before starting the project. If you buy a project from Aivituvin, they also pre-label their wood pieces with letters that correspond to the instructions so that it’s easy to identify which piece goes where.
FAQ:
What do I put in the bottom of a raised garden bed?
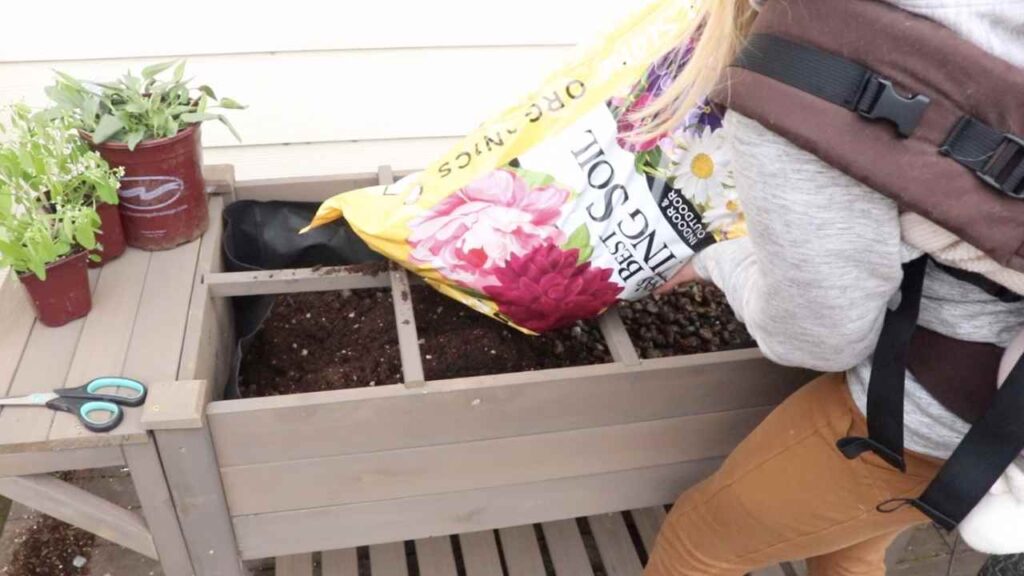
Ideally you would have one layer of rocks for drainage, one layer of compost (it can be raw and un-composted if that’s what you have), then topsoil on top. Read more about composting kitchen scraps in this post.
How do you plan a raised flower bed?
First, think about what kind of flowers you want. Do you want long, cut flowers that you can put in vases in the summertime? Or do you want something more bushy and decorative that you can leave outside and admire all season long? Also, is it important to you that the flowers come back year after year? These are all things to think about.
Next pick a spot in the yard and build your raised garden bed. You can build a bed with just 2x4s or buy a pre-fab one and use a power drill to quickly assemble it like I did. I like going this route if I don’t have my husband’s help, because then I don’t have to cut any wood. Everything for this garden bed was precut and ready to easily build by myself. Or if you have a galvanized trough, that makes a great garden bed too. See how our garden bed in a trough turned out in this post!
Then fill the garden bed with rocks, then compost, then topsoil.
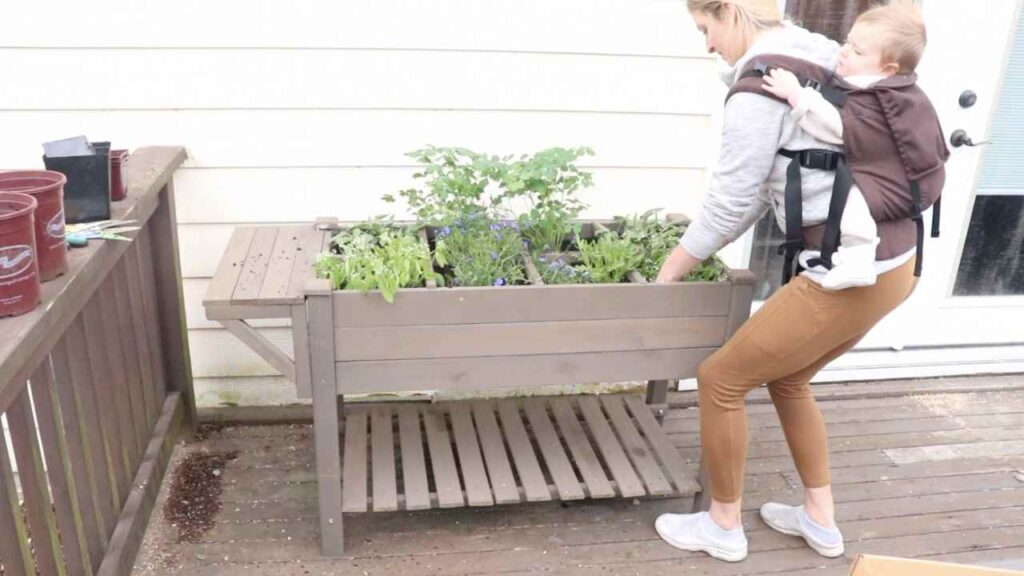
Next plant the seeds or already existing flower starters. I like to buy the starters personally because our growing season is pretty short, so I like to maximize the amount of flowers I get in the year. However, a raised bed is a great place to start seeds because it’s elevated and protected from predators.
What kind of flowers are best for a raised garden bed?
I always start with cut flowers. These are flowers that grow with long stems so you can easily cut them and place them in a vase. Some of my favorite cut flowers are dahlias, calendula (these are especially great to make calendula oil), zinnias, and cosmos.
Now part of the decision of what flowers to put in your raised bed will depend on what kind of plants you’re looking for. Whether or not you want the flowers to come back year after year.
Perennial flower – these are the flowers that come back year after year. These are plants like lavender, peonies, hostas, black eyed susans, and coreopsis.
Annual flower – these flowers only bloom in one year and then die off. These are the cosmos, zinnias, coneflowers, calendula, and cosmos.
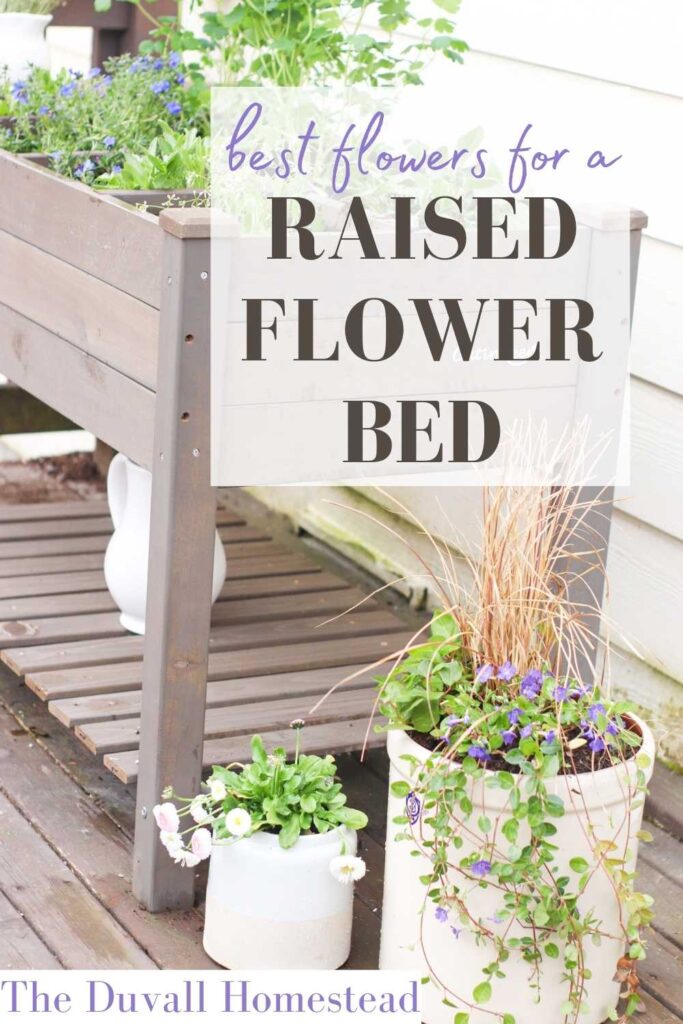
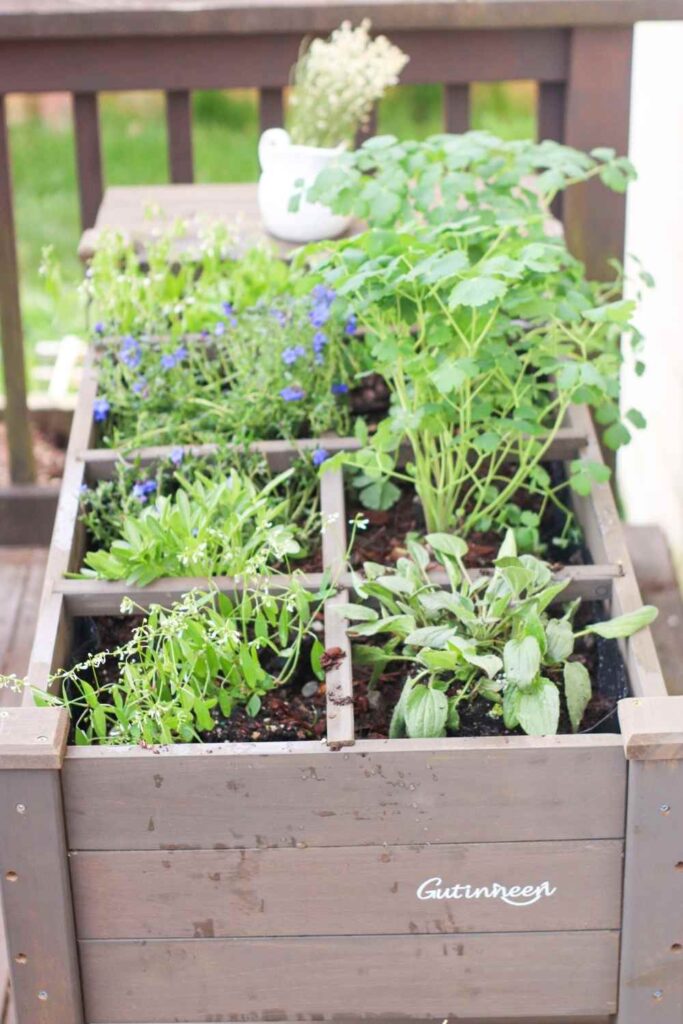
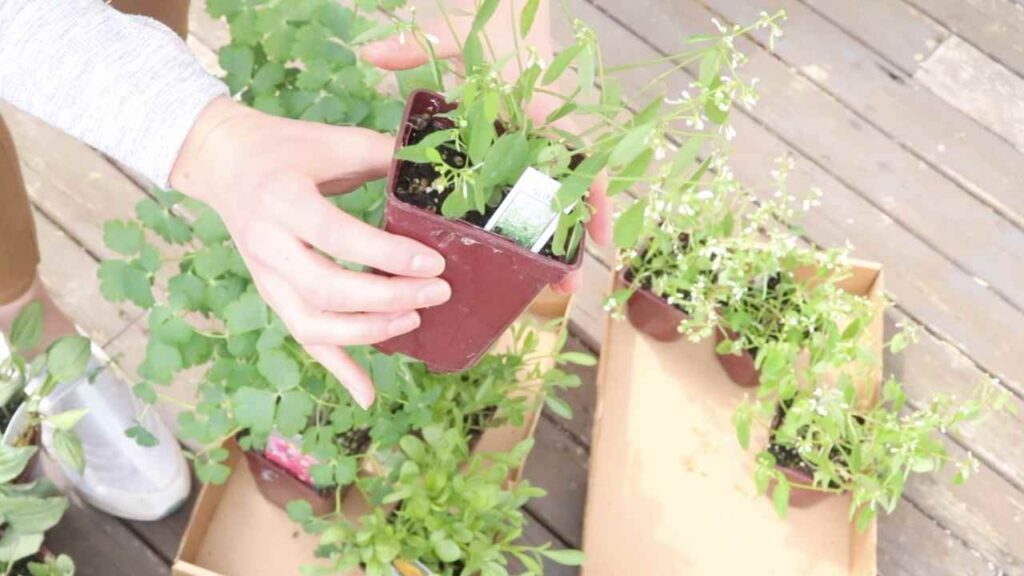
You can see the flowers I chose for this garden bed below. I already have calendula, cosmos, and zinnias planted in another bed in the garden, so for this one I got the following:
- Black eyed susans
- Blue rockseed
- Clementime red columbine
- Santa fe coreopsis
- Glitz
What do you have planted in your garden beds this spring?
More from the garden:
How to Build a Stand for a Trough Planter Box
Composting from the Kitchen 101
How to Start a Garden from Seed with free Printable Labels
Homesteading without being a Farmer
How to Build a Small Backyard Chicken Coop
Top 9 Homesteading Books to Start Living Simply
Thank you so much for reading!
Share it on Pinterest!


Leave A Comment