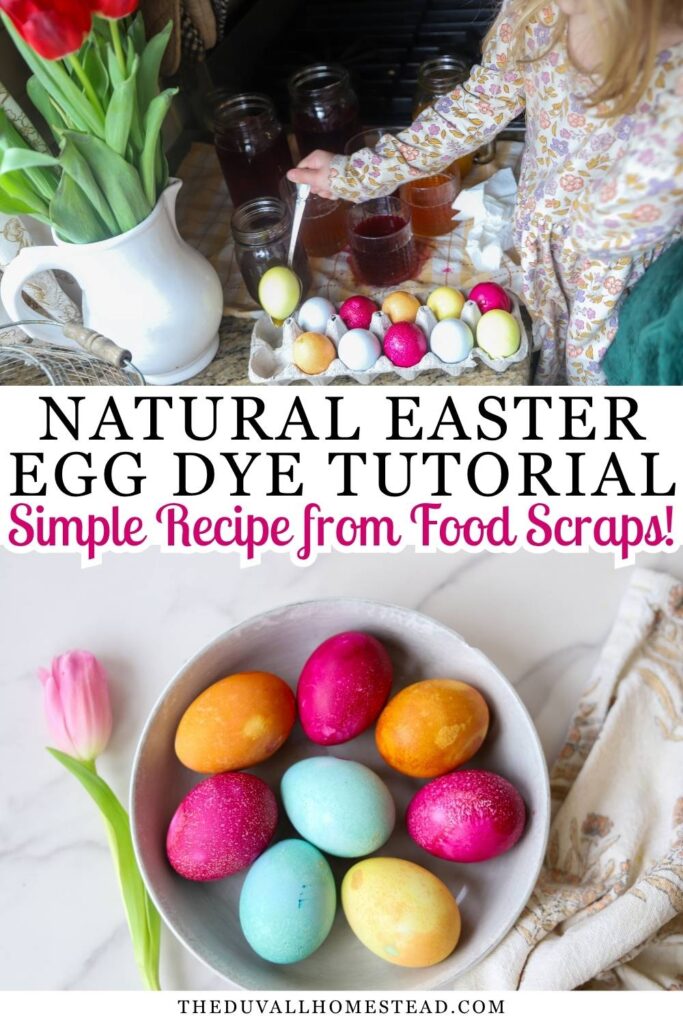
Making natural Easter egg dye is easy, natural, fun, and reuses old food scraps. These easy DIY naturally dyed Easter eggs are the perfect staple for the Easter season. Learn how to make natural Easter egg dye with this easy tutorial.

Making natural Easter egg dye is easy, natural, fun, and reuses old food scraps. These easy DIY naturally dyed Easter eggs are the perfect staple for the Easter season. Learn how to make natural Easter egg dye with this easy tutorial.
Spring at the Homestead
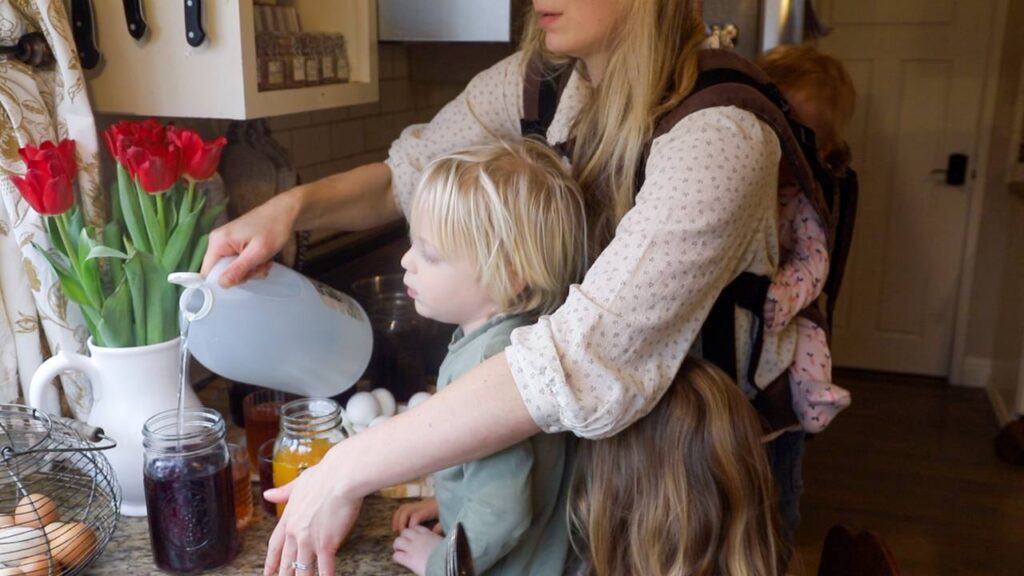
It’s spring at the homestead. Birds are finally chirping, grass is finally growing, and we’ve planted a few seeds inside.
Today I made banana pancakes for breakfast, homemade sourdough bagels for lunch, and we’re grilling hamburgers for dinner. Man, as soon as that sun comes out, we go straight into summer recipes 😉
In between meal prep we’ve been enjoying hanging out outside, in the sun, with the chickens and cats. I gave our living room hutch a few spring touches, and shared a peaceful spring day VLOG over on my youtube channel.
But alas it is not summertime yet. We still have so much spring to enjoy.
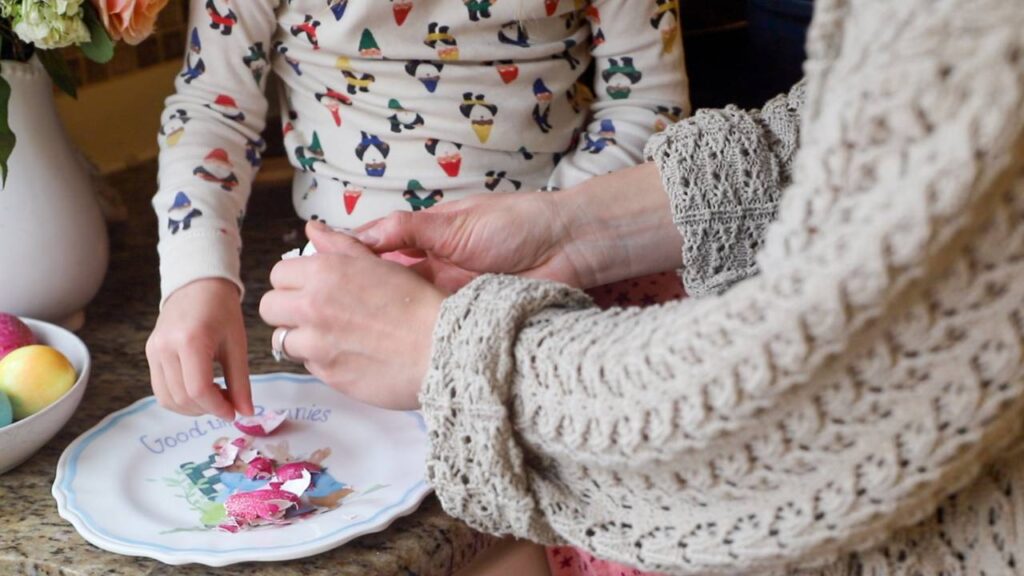
So today I thought it would be the perfect time to dye some hard boiled eggs. Straying away from store-bought egg dye, I decided to make our own. These naturally dyed Easter eggs turned out surprisingly well, and my daughter had fun helping me too.
This post contains affiliate links, which means I may make a small commission off items you buy at no extra cost to you. As an Amazon associate, I earn on qualifying purchases. See my full disclosure here.
Why I Love This Recipe
If you’ve been around this blog before, you know I love all things homemade and natural.
The other day I was reading an Easter book with my daughter and the characters in the book did naturally dyed Easter eggs. I thought it was so fun and had to try it ourselves! This makes a great toddler or kid activity and also encourages eating eggs, which I enjoy. So, thank you to that book for inspiring this blog post!
Of course, I love that this is natural. When I used to buy Easter egg dye from the store, it would always end up getting onto my hard boiled egg. I always wondered if that’s bad or not. In general, I like to make everything from scratch when it is easy and enjoyable. For me, this checks both those boxes!
Reusing old food. I love to reuse old food and not let things go to waste. Sometimes I put my onion scraps in homemade bone broth or throw them in the chicken run.
We try to never let blueberries go bad, but the truth is when you buy them in the winter, they’re just not as good since they’re not in season. I just bought blueberries this week and they only lasted 3 days because they were already going bad at the store. So this was a great use for them!
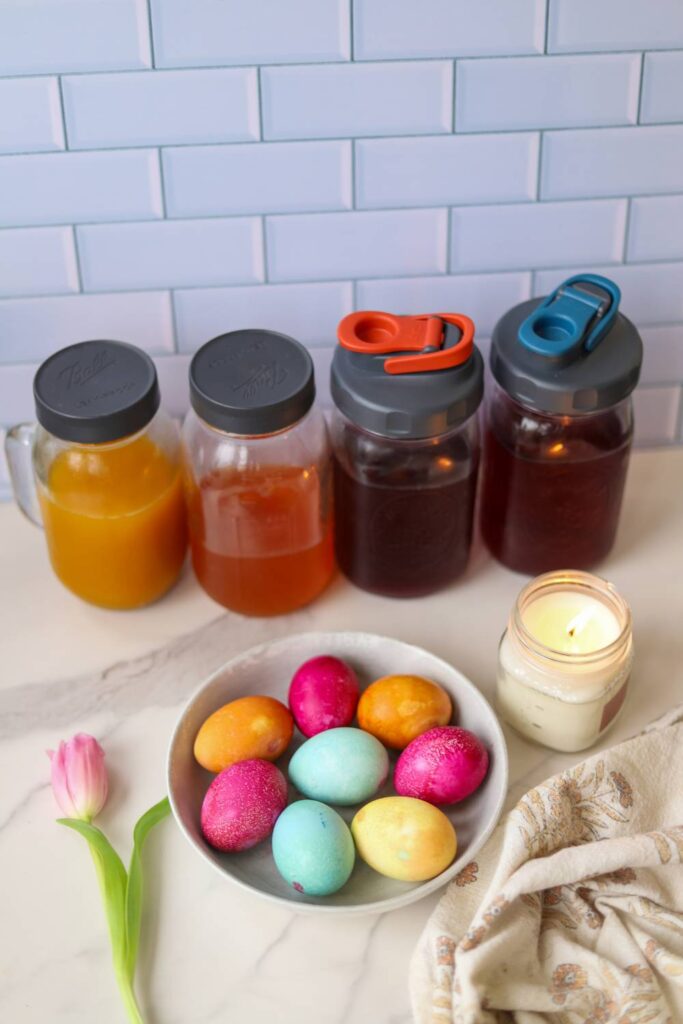
Most surprisingly, my favorite part about this recipe is the fact that once you make the dye, you can reuse it all month long. Just store it in wide mouth mason jars in the fridge and it’ll preserve (because of the vinegar). Just shake or stir it and drop new eggs in, every week until Easter!
Pin it for Later!

Equipment Needed
3 Medium/Large Stovetop Pots
Wide Mouth Mason Jars (or similar jar for storing the dye)
Cutting Board
Knife
Tablespoon
Egg Steamer (optional)
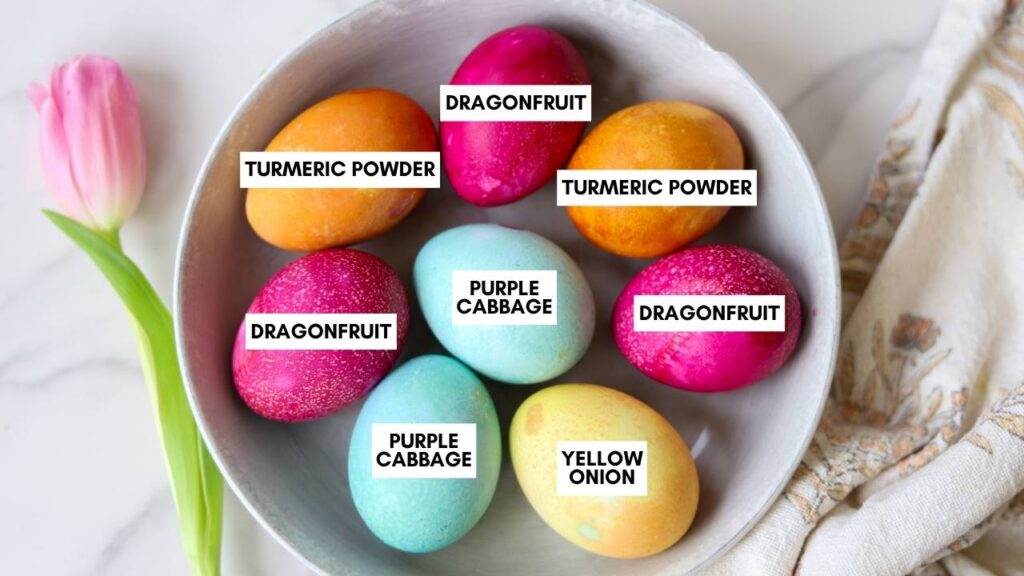
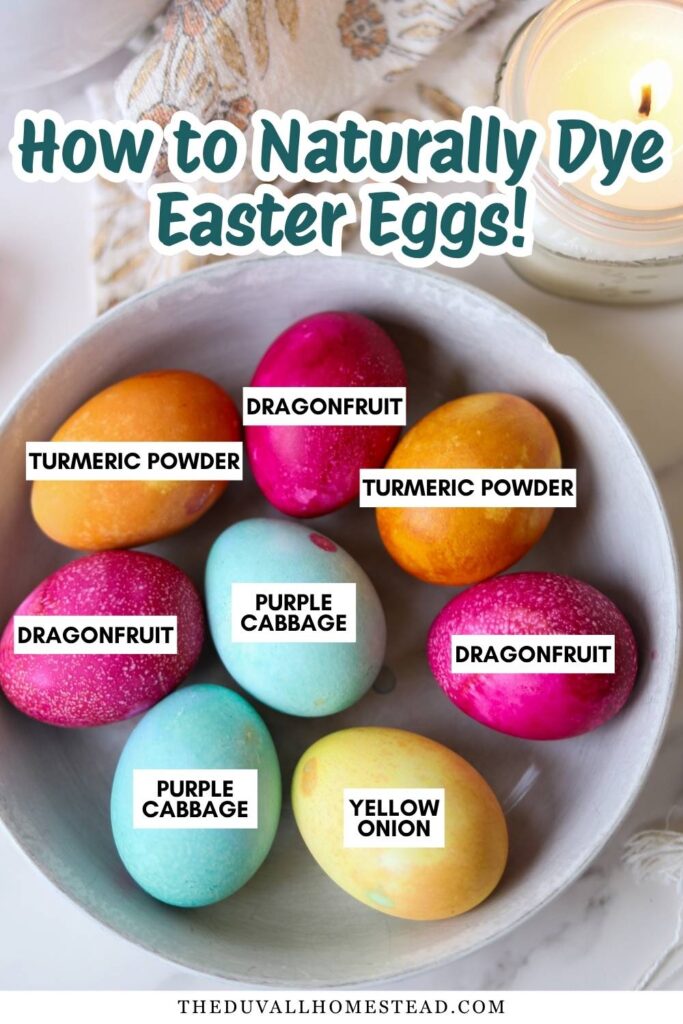
Natural Easter Egg Dye Ingredients
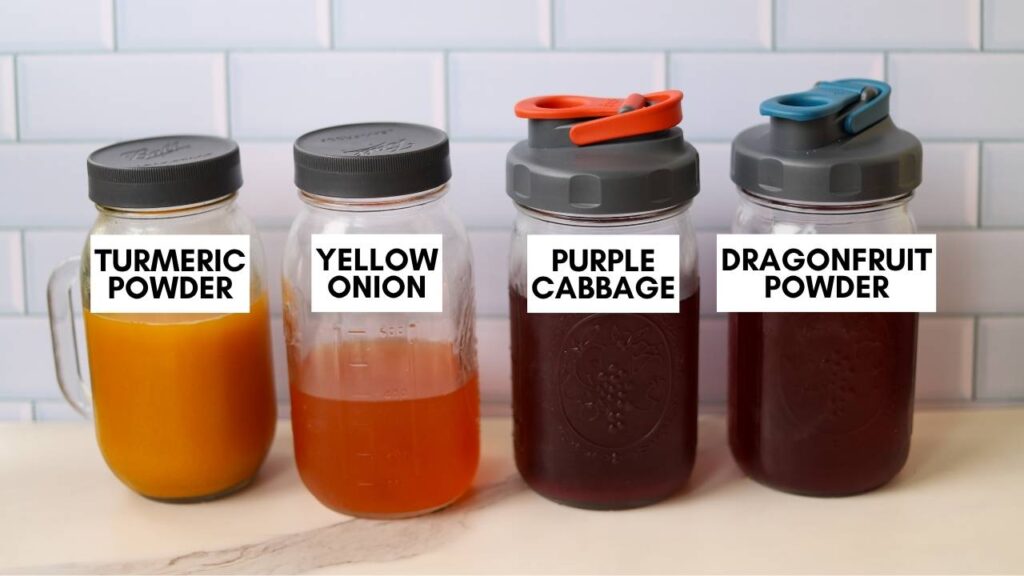
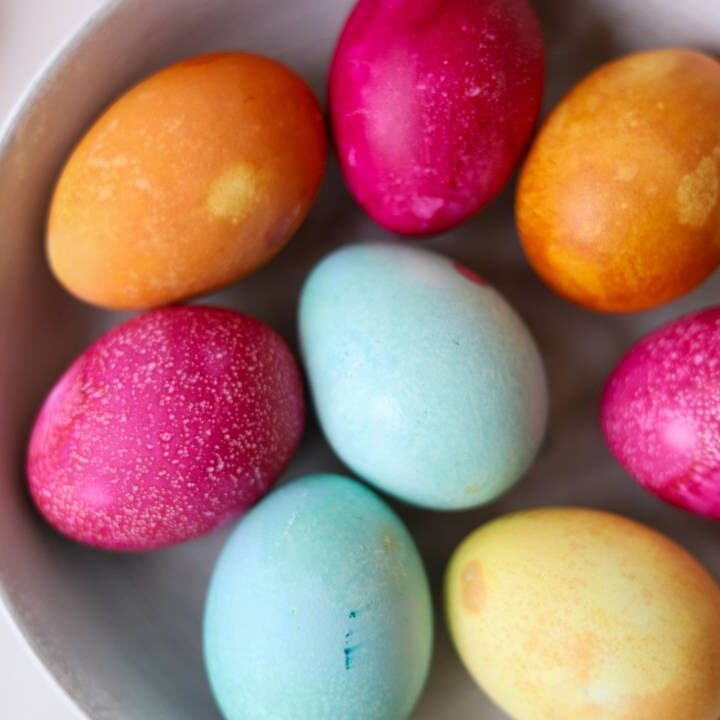
1 small purple cabbage (comes out blue color)
Skin from 2 yellow onions (comes out yellow)
4-6 tbsp dragonfruit powder (comes out light or dark pink)
2-3 tbsp turmeric powder (comes out orange)
4-8 tbsp distilled white vinegar
12 hard-boiled eggs, white preferred. Note: for the best, easy to crack eggs, see our favorite egg steamer )
How to Dye Easter eggs with Food
Start by placing 4 medium to large stovetop pots on the stove with water on high heat.
Chop up the cabbage and skin the onions. Save the onion meat for cooking with later on!
To the pots add the purple cabbage, yellow onion skin, dragon fruit powder, and turmeric powder, all in their own pot.
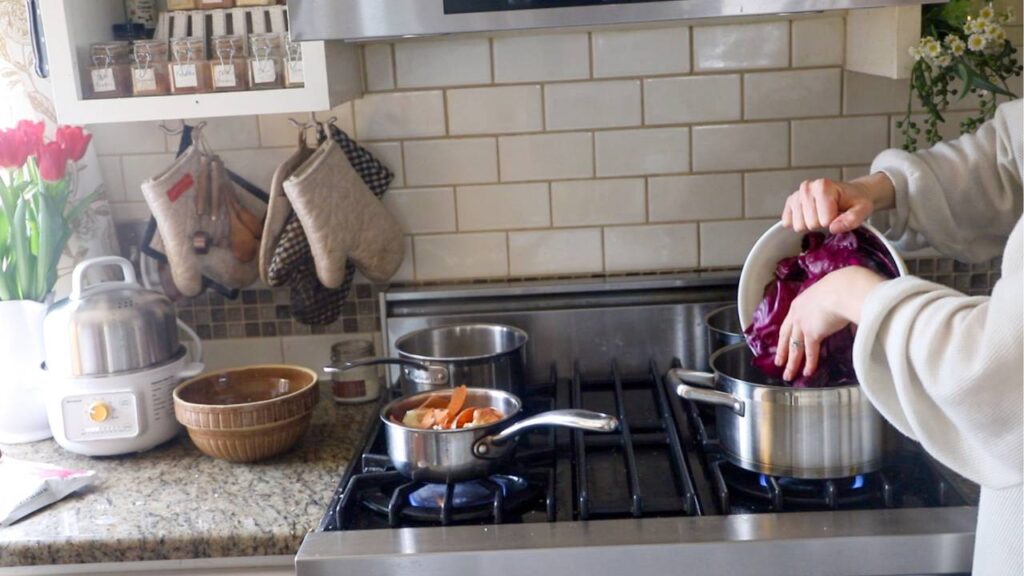
Let all 3 pots come to a boil, then reduce to a simmer and let sit 20-30 minutes. If you have the time, you can also turn the heat off and let them sit all day for a richer color.
Natural Easter Egg dye Process, Continued
When you’re done simmering the dyes, remove them from the stove and let them come to room temperature.
Next strain the food out of the liquid.
Then, pour the dye into several different quart size wide mouth mason jars. Add 1-2 tbsp of white vinegar to each jar and stir.
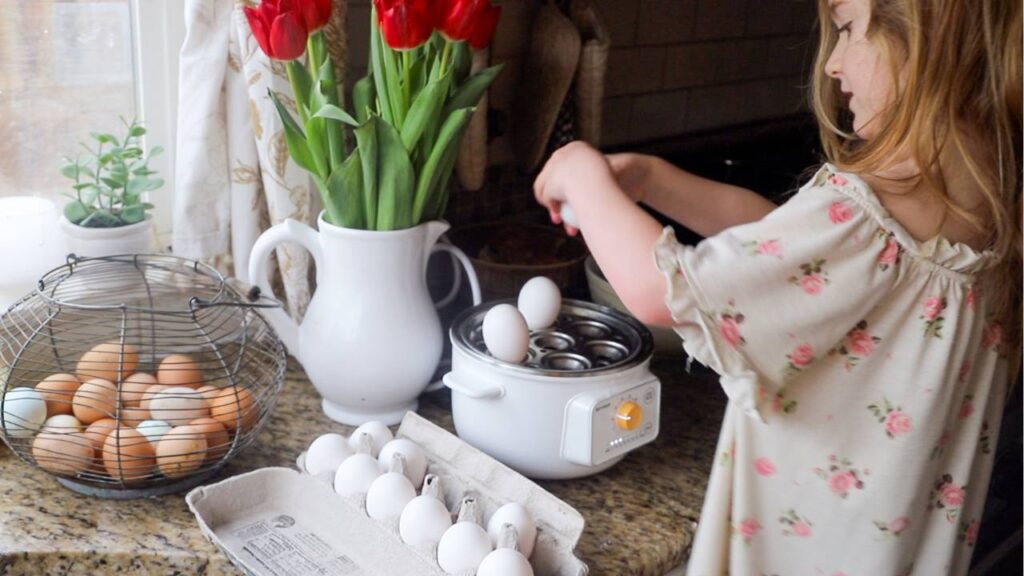
When hard-boiling the eggs, we use this egg steamer and steam for 12 minutes, then transfer to a bowl and keep in the fridge. They come out perfect and easy to crack every time!
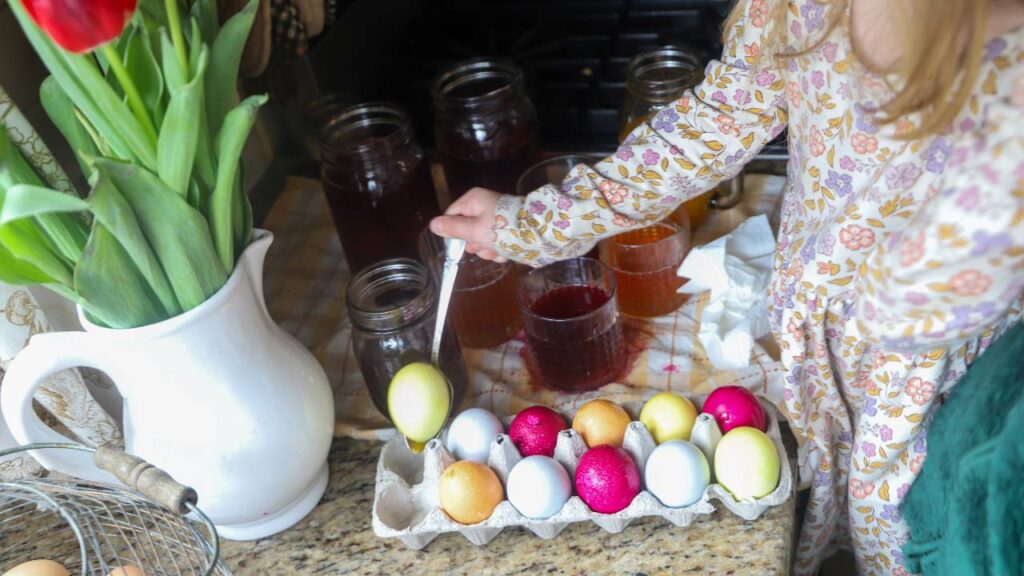
For light colors, leave the eggs in the dye for about an hour. For darker colors, go 4-6 hours or overnight.
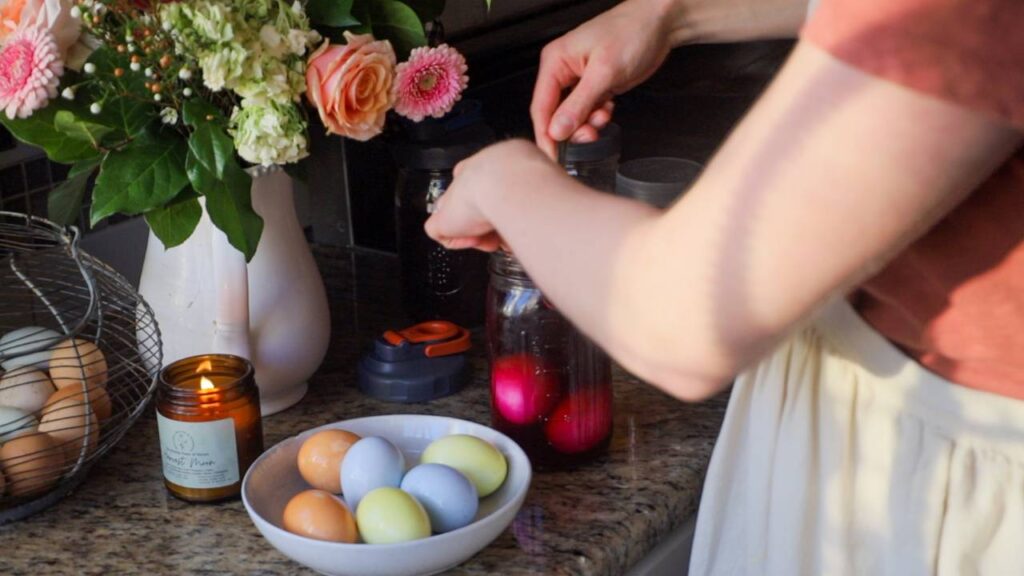
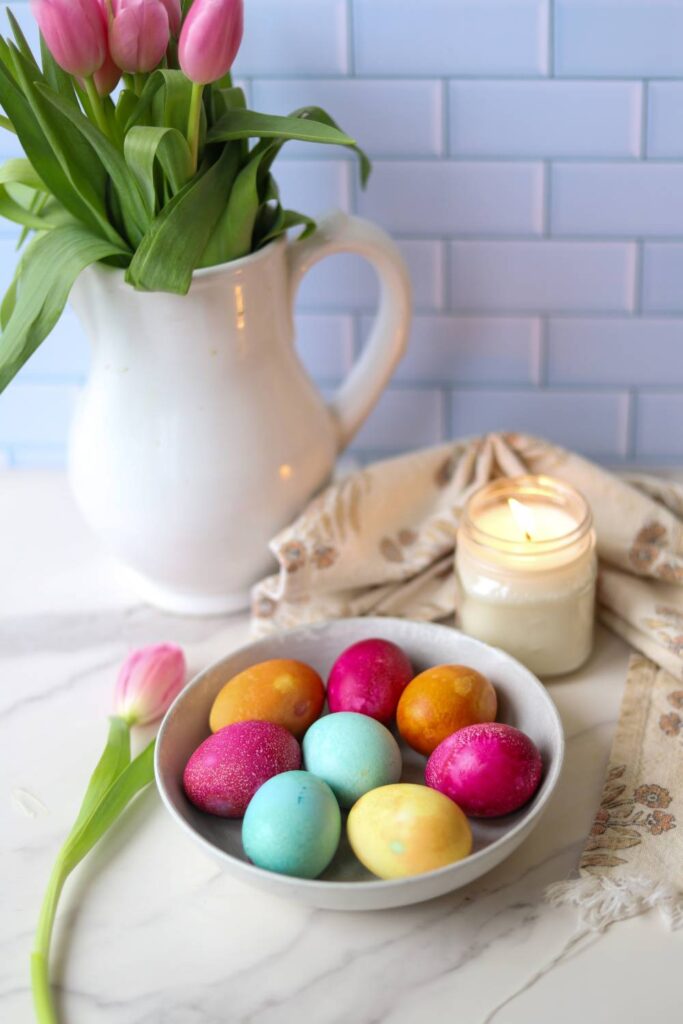
Remove and enjoy! Store in the fridge for 3-5 days. Have a wonderful Easter 🙂
More Spring Tutorials You May Enjoy
Simple Farmhouse Easter Tablescape
DIY Spring Fresh Flower Wreath
Sourdough Chocolate Chip Brioche (our favorite for Easter morning!)
Still hungry?
I compiled some from-scratch, family favorite recipes perfect for a spring brunch or Easter morning. Enjoy them sent straight to your inbox, for free, with this downloadable ebook.

Cast Iron Hash Browns
Homemade Ketchup
Veggie & Egg Bake
Homemade Yogurt
Oven-roasted granola

FAQ
How to make pink dye for Easter eggs?
Many people use beets to get a pink/red dye, but I have done that and am not a fan of it. It’s much easier to use dragonfruit powder. If you want a light pink, let it soak for about an hour. For a dark pink, go 6 hours or overnight in the fridge 🙂
How do you make Easter eggs without dye?
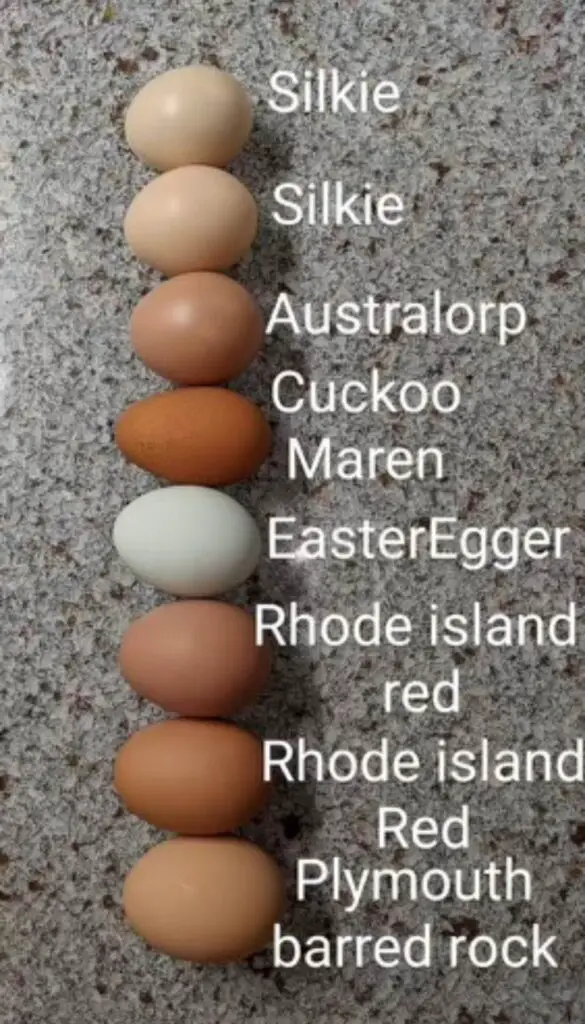
To make Easter eggs without dye, you can either buy them already colored (i.e., from specific hen breeds that produce colored eggs), or you can make a homemade dye with food and water.
Here is a graphic of all the beautiful chicken eggs you can get by breed! (I did not make this, just found it on pinterest!)
Pin it for Later!
Naturally Dyed Easter Eggs
Making natural Easter egg dye is easy, natural, fun, and reuses food scraps. These easy DIY naturally dyed Easter eggs are the perfect staple for the Easter season. Learn how to make natural Easter egg dye with this easy tutorial.
Ingredients
- 1 small purple cabbage (comes out blue)
- Skins from 2 yellow onions (comes out yellow)
- 4-6 tbsp dragonfruit powder (comes out light or dark pink)
- 2-3 tbsp turmeric powder (comes out orange)
- 4-8 tbsp White Vinegar
- 12 Hard-boiled eggs, white preferred
Instructions
- Start by placing 4 medium to large stovetop pots on the stove with water
on high heat. - Chop up the cabbage and skin the onions. Save the onion meat for cooking
with later on! - To the pots add the purple cabbage, yellow onion skin, dragon fruit
powder, and turmeric powder, all in their own pot. - Let all 4 pots come to a boil, then reduce to a simmer and let sit 20-30 minutes. If you have the time, you can also turn the heat off and let them sit all day for a richer color.
- When you’re done simmering the dyes, remove them from the stove and let them come to room temperature.
- Next strain the food out of the liquid.
- Then, pour the dye into several different wide mouth mason jars. Add 1-2 tbsp of white vinegar to each jar and stir.
- Then, add your hard-boiled eggs! We use this egg steamer and steam for 12 minutes, then transfer to a bowl and keep in the fridge. They come out perfect and easy to crack every time!
- For light colors, leave the eggs in the dye for about an hour. For darker colors, go 4-6 hours or overnight.
- Remove and enjoy! Store in the fridge for 3-5 days. Have a wonderful Easter 🙂


Leave A Comment