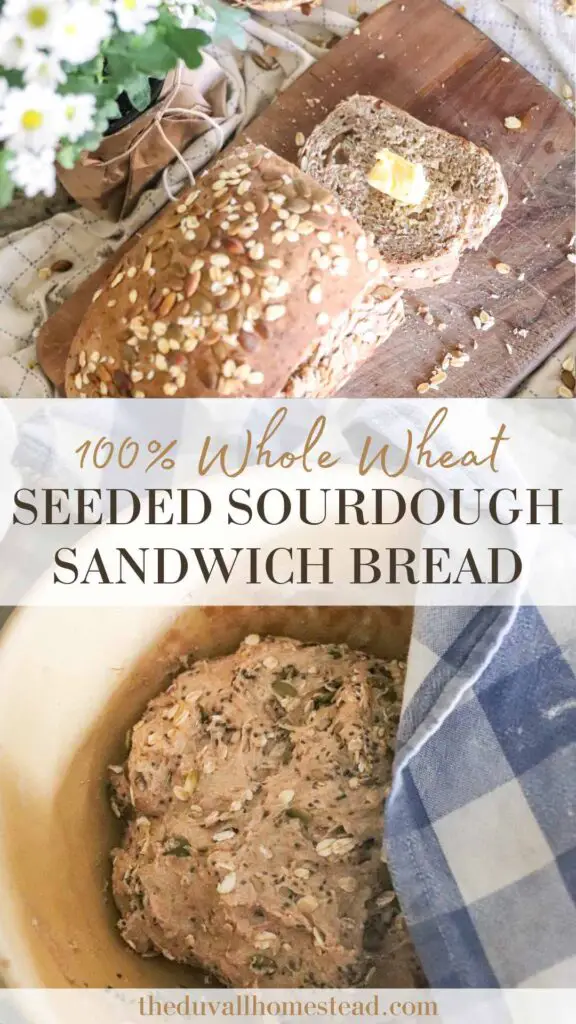
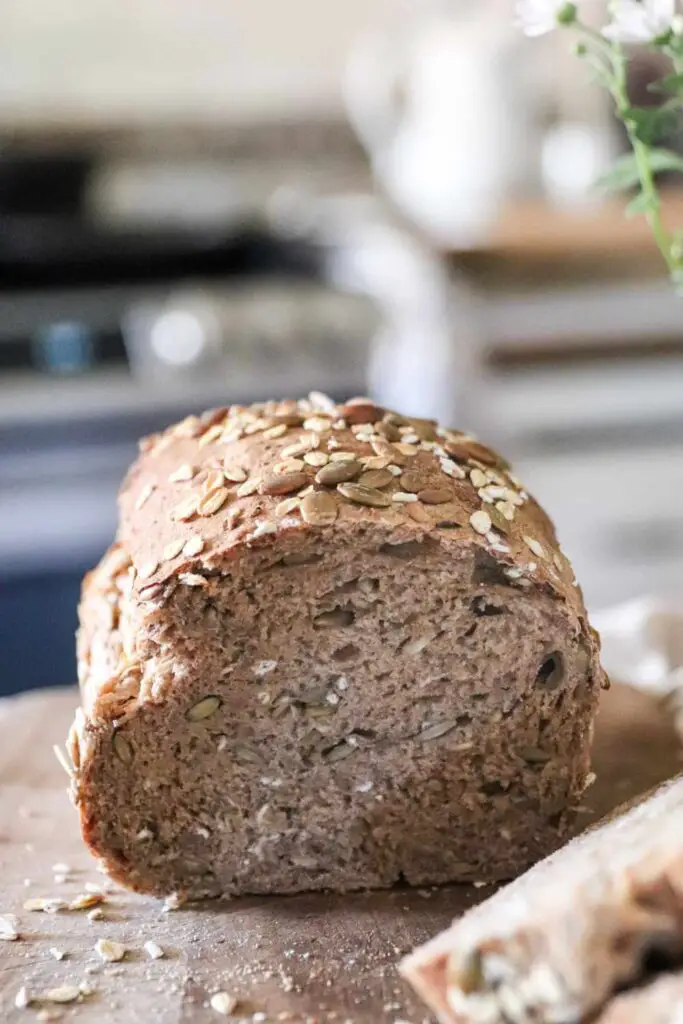
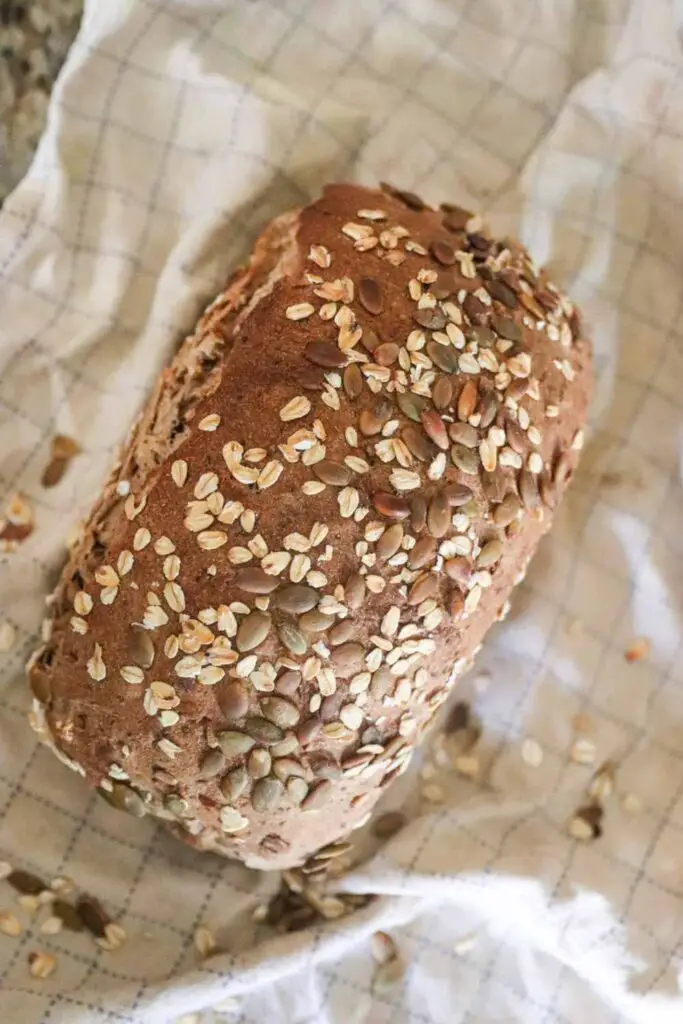
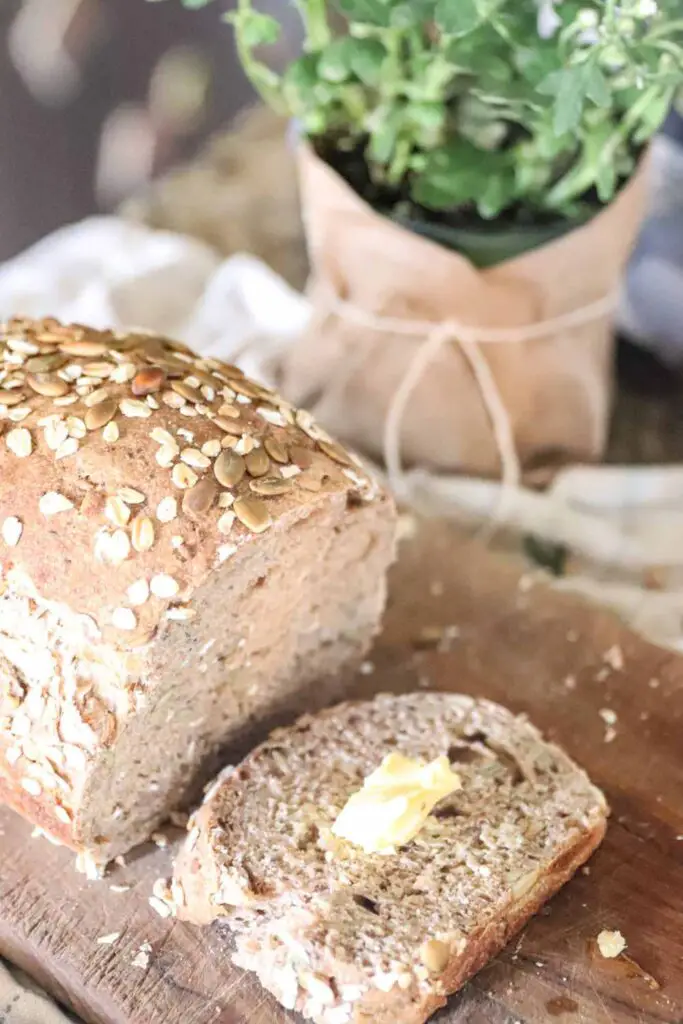
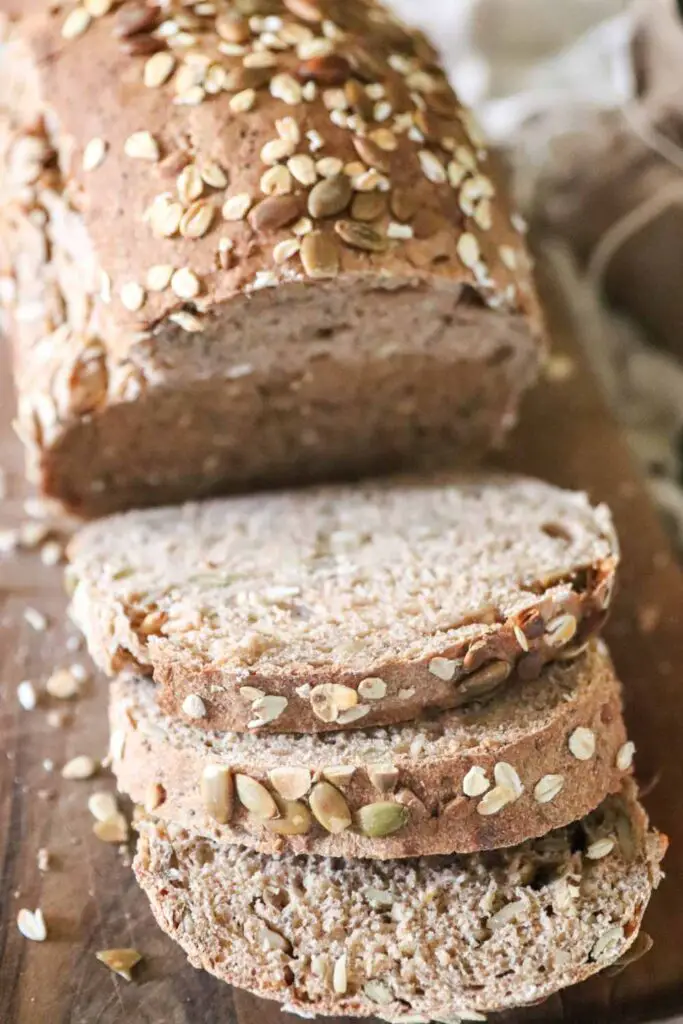
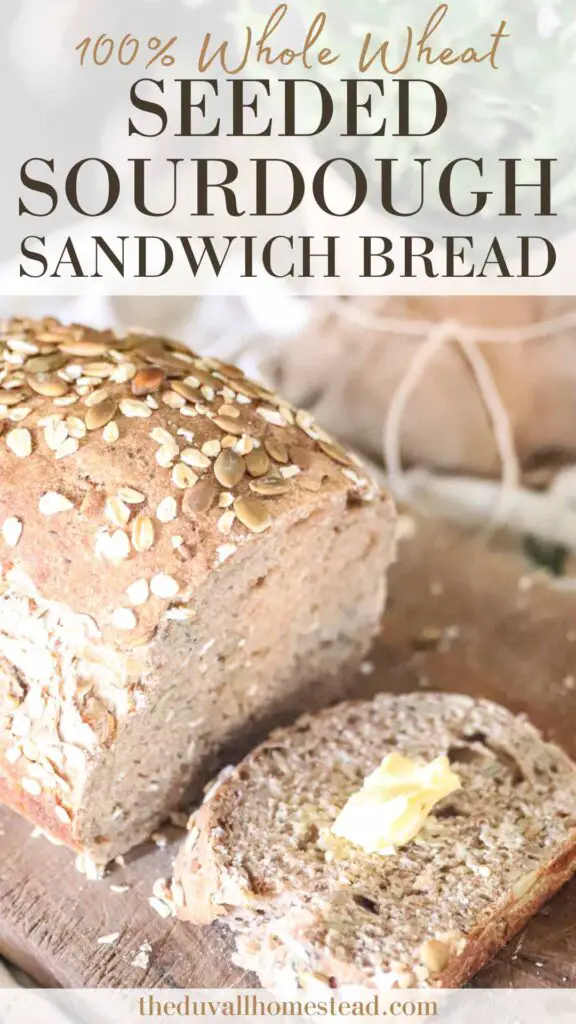
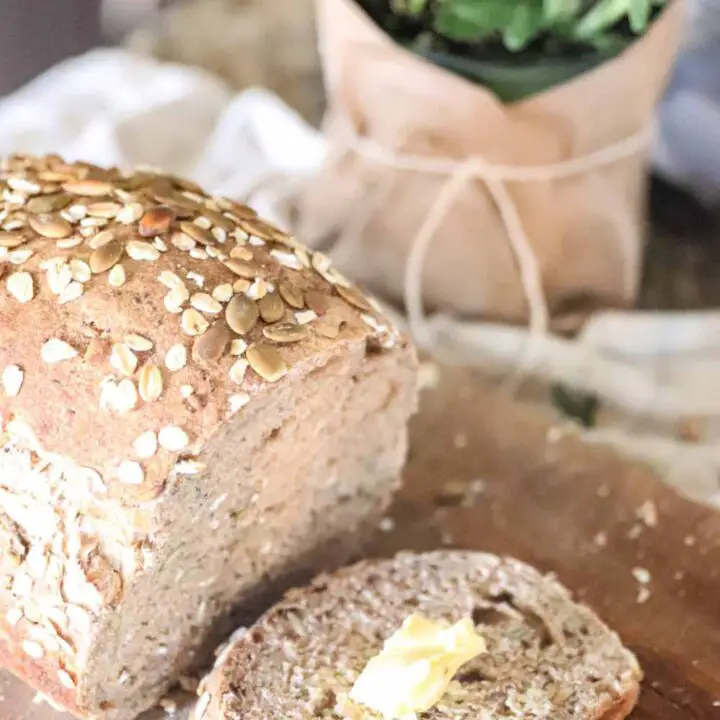
This 100% whole wheat seeded sourdough sandwich bread is soft and chewy, with crunchy notes of pumpkin, sunflower, oats, and chia seeds. Make this homemade sandwich bread with your sourdough starter and slice it up for a delicious breakfast or lunch.
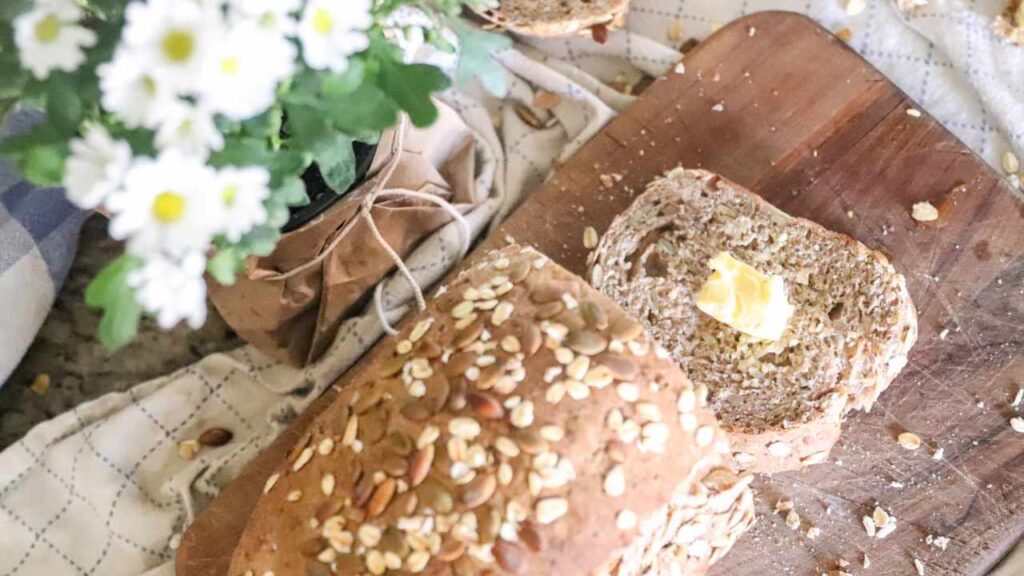
This 100% whole wheat seeded sourdough sandwich bread is soft and chewy, with crunchy notes of pumpkin, sunflower, oats, and chia seeds. Make this homemade sandwich bread with your sourdough starter and slice it up for a delicious breakfast or lunch.
PIN IT FOR LATER
BAKING IN THE SUMMERTIME
Baking in the summertime is just something you have to do. With the house being extra hot, it may seem impossible or like such a drag to do any cooking or baking.
I’m typing this on an 85 degree day, and we don’t have central air in our house although we do have several AC units. But still, the temptation to slow down when it comes to summer baking is strong. Especially when the house is 75 degrees.
Over the past several summers that I’ve been making sourdough bread, I’ve never slowed down my sourdough baking in the summer. Part of this is because baking sourdough in the heat is actually way more enjoyable than when it’s cold!
Sourdough strives in the heat. You will get much prettier and fluffier loaves of bread with your sourdough starter in the heat versus the cold.
BENEFITS OF SOURDOUGH
I thought bread required some fancy yeast and other ingredients to make it rise, which is actually not true. The original way of making bread uses sourdough starter to ferment the grain, which is what gives it that sour taste. Fermenting grain also allows all the good bacteria and cultures to thrive in your food, which is good for your gut and overall health.
The problem with today’s modern food processing is that a lot of food in the grocery stores is highly processed and the good bacteria that once existed in the food is removed. For example, pasteurizing milk is done to keep it more shelf stable and remove any bad bacteria, but it also removes all the good bacteria. Unfortunately this “solution” also causes problems, as it makes the milk more difficult to digest. Lots of people have gluten or dairy sensitivities now, and this could be caused by lack of fermented foods and ultra-pasteurizing our milk.
Anyway, a little bit of a tangent just to say that there is good news! Fermenting your own grain is easy and will give you a healthier bread option. You can learn how to make sourdough starter here and your first bread loaf here.
Read more about the benefits of fermented grain here.
MORE SOURDOUGH FROM THE HOMESTEAD
How to Make Sourdough Pizza Crust
Best Sourdough English Muffins
Troubleshooting Sourdough: How to Make a Better Loaf
New to Sourdough?
If you are brand new to sourdough, you’ll love using your starter to make gut-healthy, delicious bread!
You can learn how to make your own sourdough starter from scratch to make homemade bread, sourdough pizza, bagels, and more.
Put all your sourdough recipes in one spot!
Download and print off this NEW sourdough recipes ebook and keep your favorite sourdough recipes on your counter for easy, every day cooking.



PREGNANCY CRAVINGS
I am currently in my second pregnancy, and boy has this one been different than the first!
The first time around I craved pregnancy protein muffins and ate sourdough pizza not once, not twice, but probably 3 times a week or so.
Around the 25-week mark of this pregnancy, I started craving whole grain. What?! Yes, whole grain. I’ve never eaten whole grain really, but I think it was triggered when we took a vacation and I had to buy bread from the store.
Because I always make my own sourdough bread, it’s kind of a treat to buy someone else’s bread every once in a while. I really like the Dave’s Killer multi grain and seeded bread, and after eating that on a family vacation for a week I got home and only wanted more.
Perfect opportunity to create my own recipe, right? This recipe is not identical to his, because they use several grains in that bread. But it is certainly inspired by it. And it is actually more delicious, if I do say so myself!
This post contains affiliate links, which means I may make a small commission off items you buy at no extra cost to you. As an Amazon associate, I earn on qualifying purchases. See my full disclosure here.
MATERIALS NEEDED
Large bowl
Sandwich Baking Tin
Clean countertop
Tea towel
Plastic wrap
Bread cutting knife (you can also use a serrated knife)
WHOLE WHEAT SOURDOUGH SANDWICH BREAD INGREDIENTS
3/4 cup fed, active sourdough starter (learn how to make one here. I feed my starter with 1 cup flour and 3/4 cup filtered water)
1 1/2 cup filtered water
2 tsp sea salt
2 tbsp olive oil
1/4 cup honey
3 1/2 cup whole wheat flour (I prefer bread flour but all purpose will do, too!)
1/2 cup rolled oats
1/4 cup pumpkin seeds
1/4 cup sunflower seeds
2 tbsp chia seeds
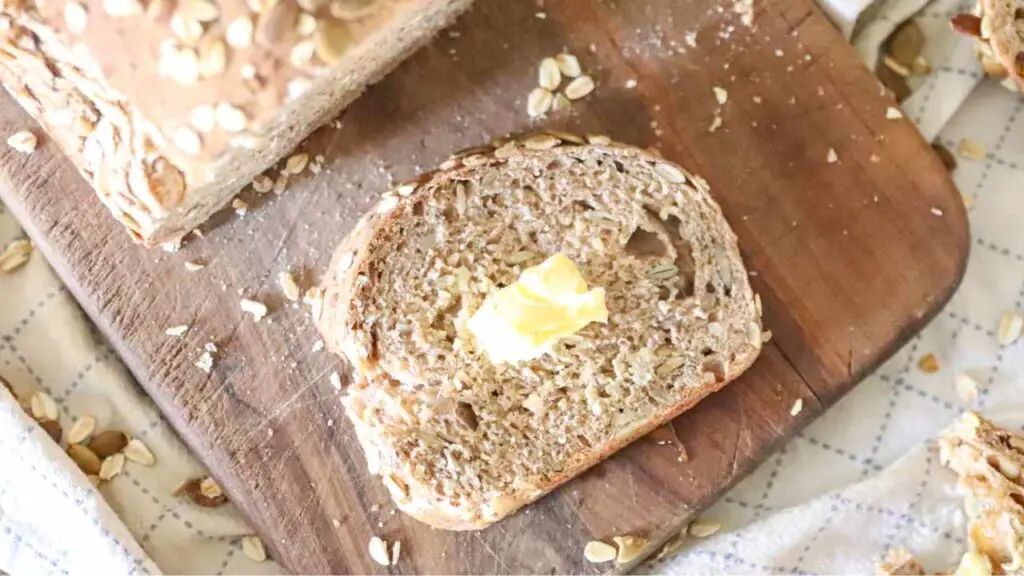
HOW TO MAKE SEEDED SOURDOUGH SANDWICH BREAD
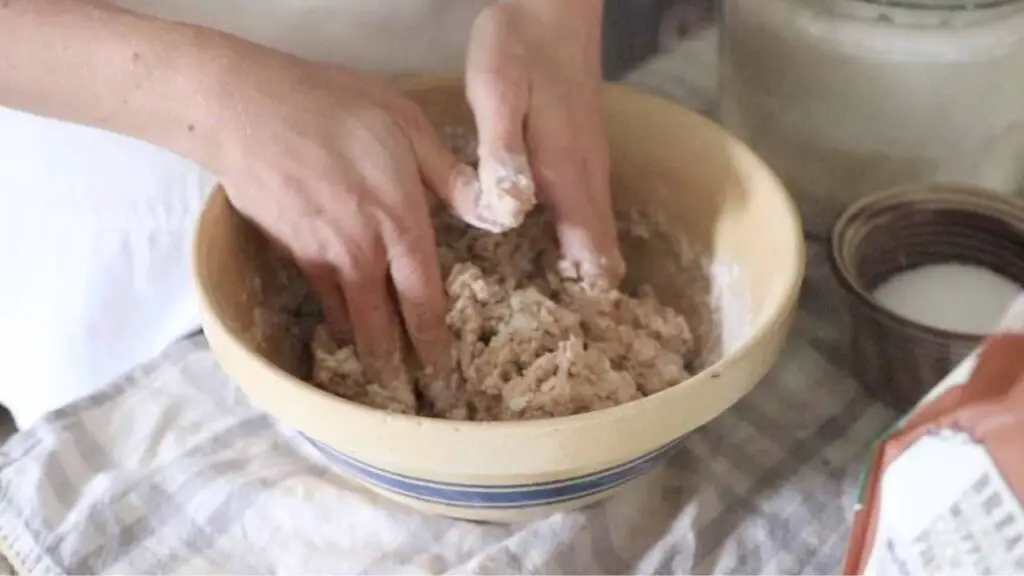
In a large bowl or stand up mixer with dough hook, add the sourdough starter, water, salt, olive oil, and honey. Whisk together with a fork to combine. Then add the flour and combine with your hands or the dough hook until a sticky dough forms. Dough should be wet and sticky at this point.
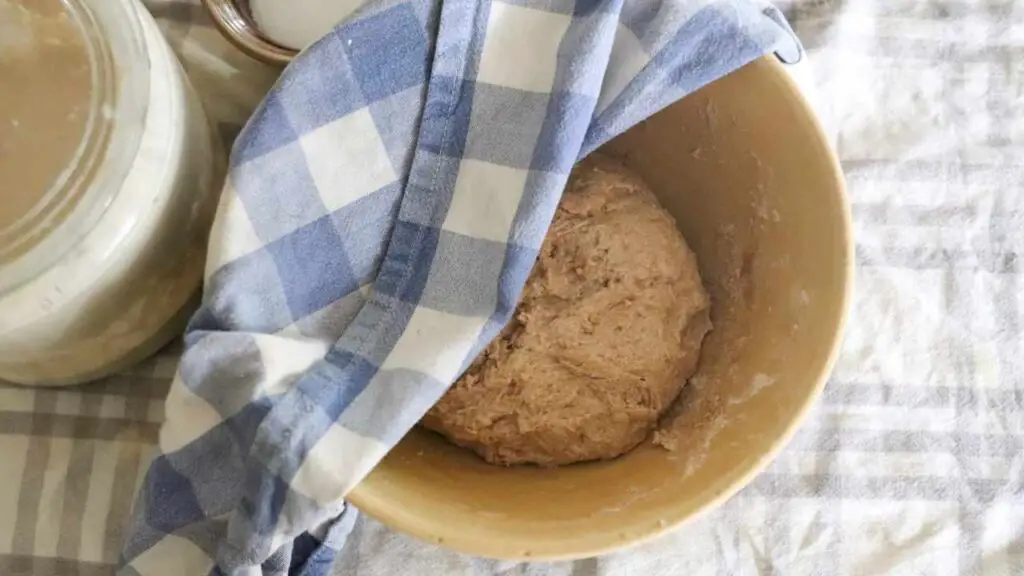
Cover with a tea towel and let sit on the counter for 30 minutes to an hour.
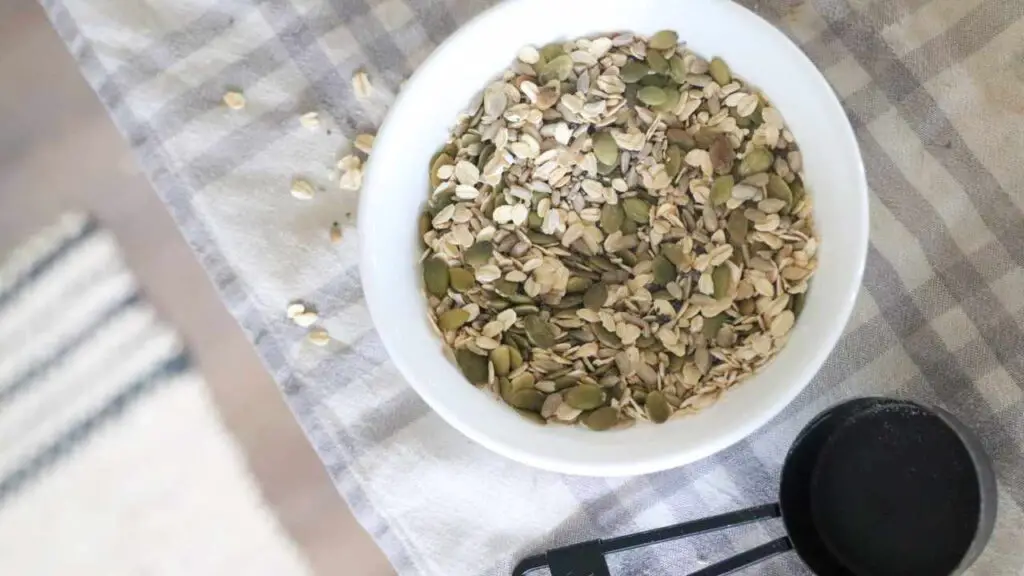
Next, add the oats, pumpkin seeds, sunflower seeds, and chia seeds. Knead the seeds into the dough and perform around of “stretch and folds”. Lift one side of the dough up with one hand, and use the other to keep the bottom half down into the bowl. Then fold the top part over the center of the dough. Then rotate the bowl 1/4 turn, and do that again. So you are folding the dough over onto itself. Do that 4 times so you have done all 4 sides and the seeds are nicely incorporated.
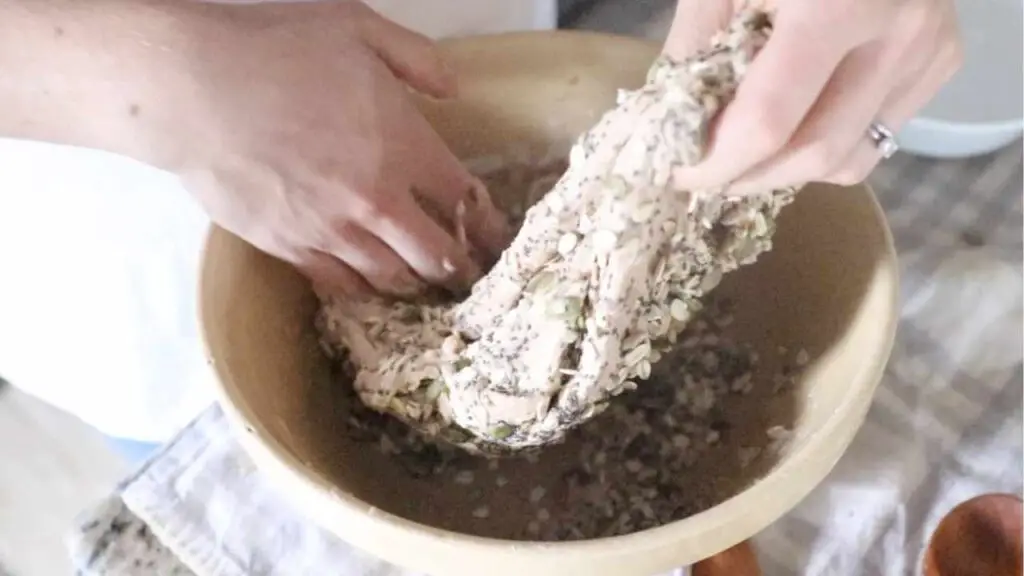
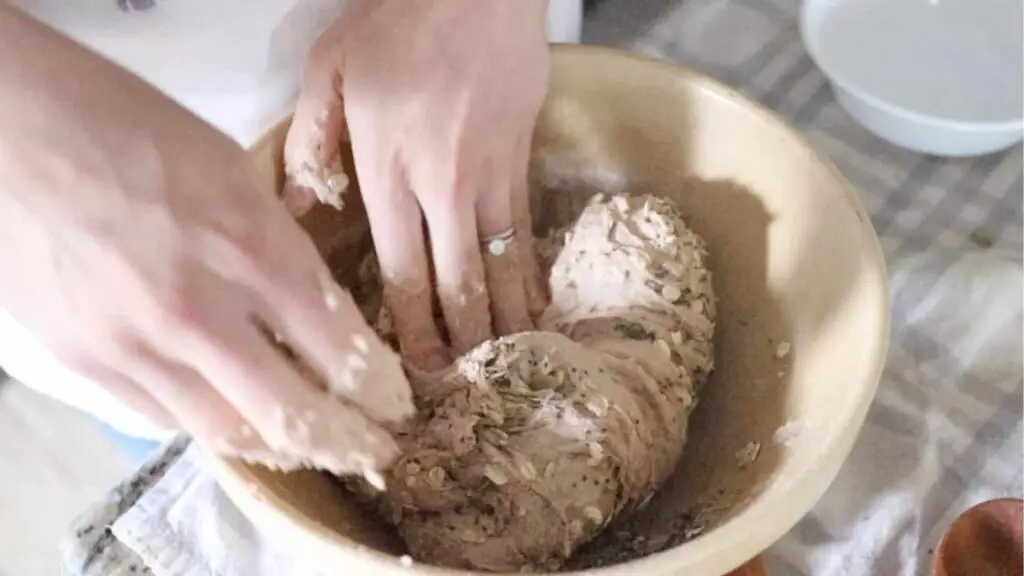
Cover the bowl with a tea towel and let sit for another 1-2 hours.
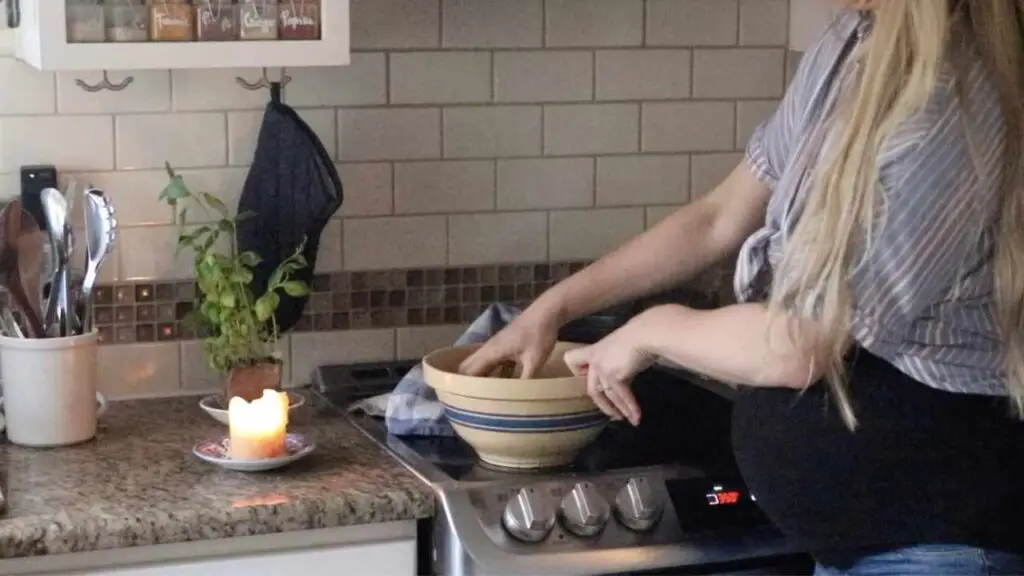
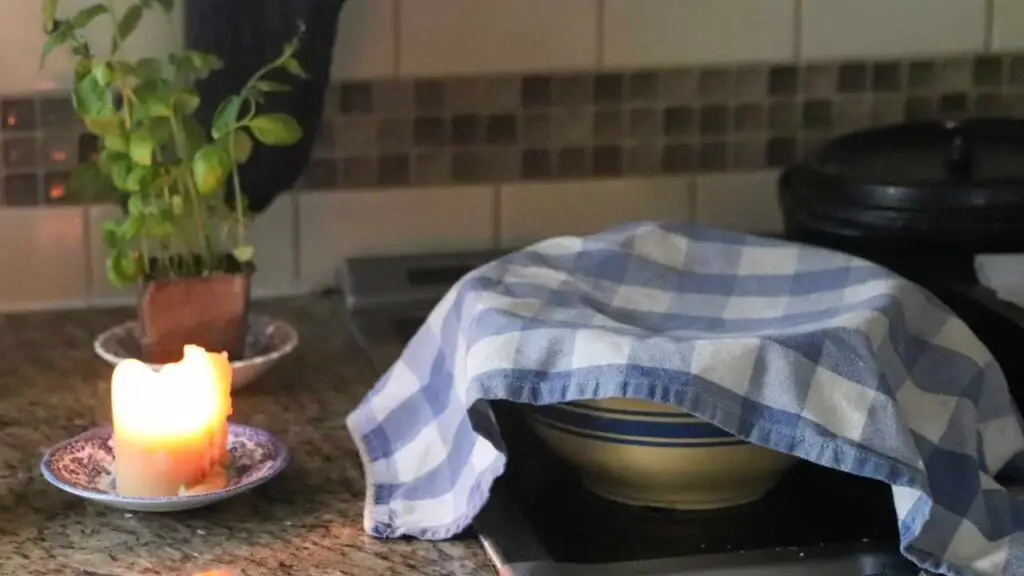
Perform another round of stretch and folds on the dough. Then cover the bowl again for 1-2 hours, and do another round of stretch and folds. Then cover the bowl again, and then do one last round of stretch and folds. You want to do 3-4 rounds of stretch and folds total over the period of 4-5 hours.
Cover the bowl with plastic and place it in the fridge overnight.
HOW TO MAKE WHOLE WHEAT SEEDED SOURDOUGH SANDWICH BREAD, CONTINUED …
The next day, uncover the bowl and let sit at room temperature for about an hour, if possible. This will help make the next step easier but if you don’t let it sit, it will still work.
Line a sandwich tin with parchment paper.
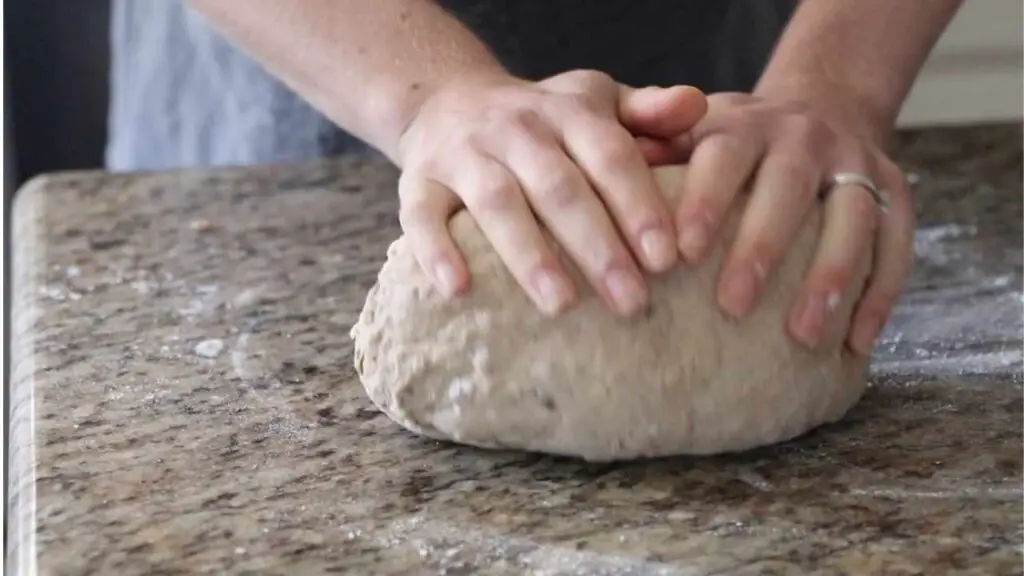
Do one last round of stretch and folds on the dough, and then do the following to shape it to into a sandwich loaf. Use a “c” shape with both hands and cup the dough on both sides. Using a clean countertop, gently pull the dough towards you and roll it just slightly to start shaping it into a rectangle. Use the countertop to create tension under the dough. With your fingers, gently tuck the dough into itself on the bottom, so that you’re creating almost a knot on the bottom of the dough (the side that’s touching the countertop). Continue the cupping motion, rotating the dough occasionally and pulling it towards you to create a rectangle, for 1-2 minutes.
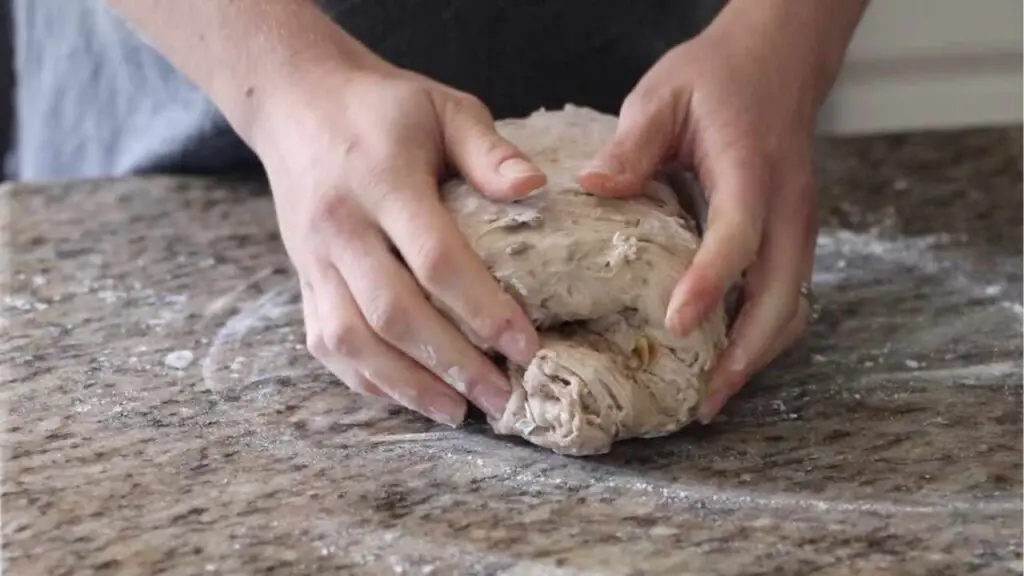
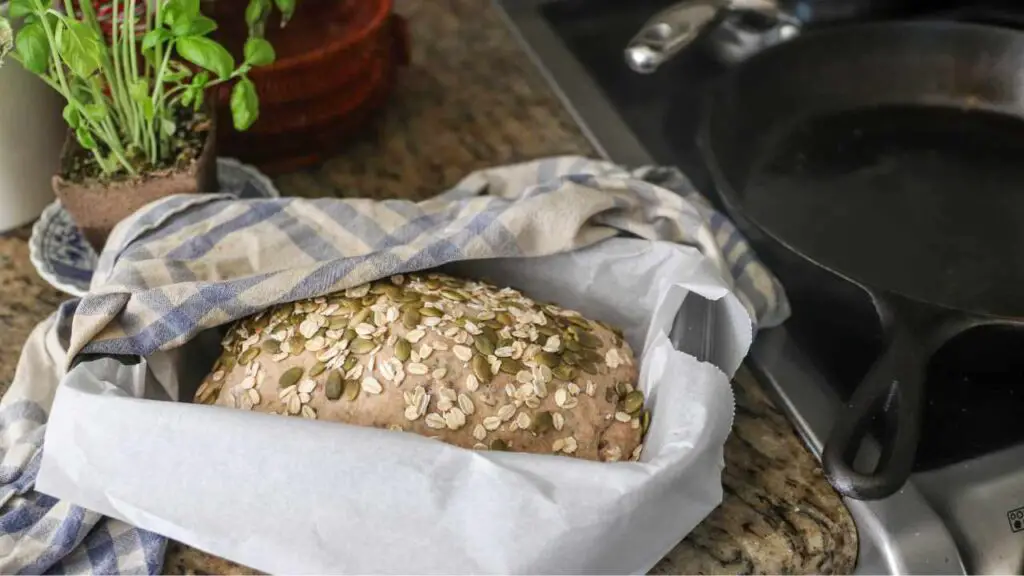
Place the dough in the sandwich tin, knot side down, and cover with a tea towel. Let sit on the counter for 2-4 hours.
Note: keep an eye on your dough! If your house is very warm, the dough may rise quickly and be ready to bake within a couple hours. If the house is cooler, it will may take more like 3-4 hours to rise. Just don’t let it sit too long, or it will over ferment and fall back down!
Preheat the oven the 375 degrees F.
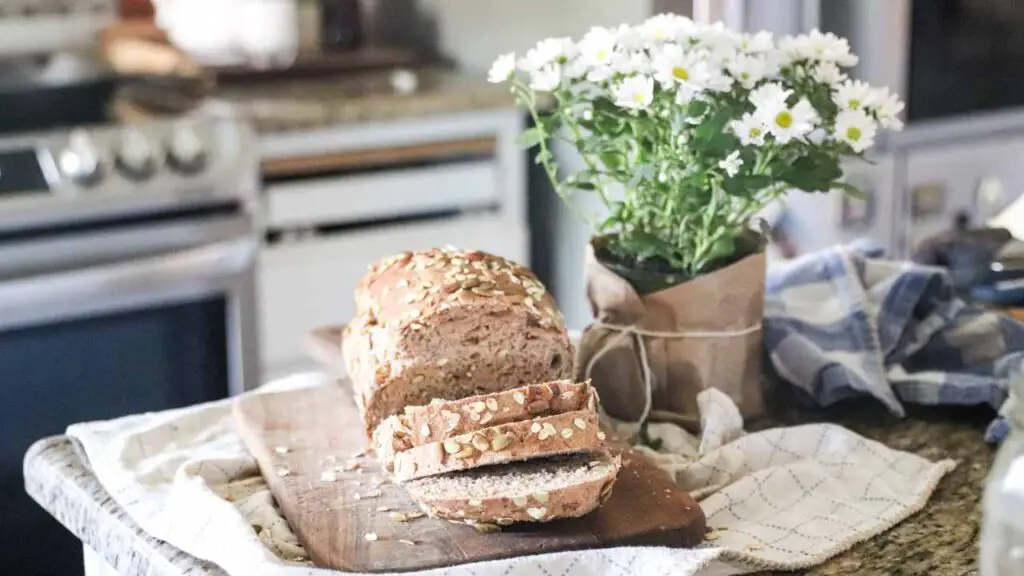
Remove the tea towel and place the sandwich loaf tin directly in the oven. Bake at 375 for 30 minutes, or until the top is golden brown.
FAQ
Is sourdough bread healthier than 100% whole wheat bread?
Remember, sourdough bread is healthy because it is fermented grain, which helps make it easier to digest and adds probiotics into the wheat from naturally occurring yeast. Whole wheat bread is a different wheat entirely, which can also be long fermented into sourdough. So if you want the healthiest option, I’d say just make a sourdough whole wheat bread for maximum health benefits!
Is sourdough bread yeast free?
Yes. Sourdough bread is fermented grain, which contains live active cultures and naturally occurring yeast. You do not need to add yeast to a sourdough recipe if using an active sourdough starter, because the cultures in the starter are strong enough to make bread rise on their own.
PIN IT FOR LATER!
WHOLE WHEAT SEEDED SOURDOUGH SANDWICH BREAD
100% whole wheat seeded sourdough sandwich bread is the perfect breakfast or snack for thole family. This bread is whole grain, packed with nutrients, and the added crunch from the seeds is my favorite. Great for sandwiches or with fried eggs on top.
Ingredients
- 3/4 cup fed, active sourdough starter
- 1 1/2 cup filtered water
- 2 tsp sea salt
- 2 tbsp olive oil
- 1/4 cup honey
- 3 1/2 cup whole wheat flour (I prefer bread flour but all purpose will do, too!)
- 1/2 cup rolled oats
- 1/4 cup pumpkin seeds
- 1/4 cup sunflower seeds
- 2 tbsp chia seeds
Instructions
- In a large bowl or stand up mixer with dough hook, add the sourdough starter, water, salt, olive oil, and honey. Whisk together with a fork to combine. Then add the flour and combine with your hands or the dough hook until a sticky dough forms. Dough should be wet and sticky at this point.
- Cover with a tea towel and let sit on the counter for 30 minutes to an hour.
- Next, add the oats, pumpkin seeds, sunflower seeds, and chia seeds. Knead the seeds into the dough and perform around of “stretch and folds”. Lift one side of the dough up with one hand, and use the other to keep the bottom half down into the bowl. Then fold the top part over the center of the dough. Then rotate the bowl 1/4 turn, and do that again. So you are folding the dough over onto itself. Do that 4 times so you have done all 4 sides and the seeds are nicely incorporated.
- Cover the bowl with a tea towel and let sit for another 1-2 hours.
- Perform another round of stretch and folds on the dough. Then cover the bowl again for 1-2 hours, and do another round of stretch and folds. Then cover the bowl again, and then do one last round of stretch and folds. You want to do 3-4 rounds of stretch and folds total over the period of 4-5 hours.
- Cover the bowl with plastic and place it in the fridge overnight.
- The next day, uncover the bowl and let sit at room temperature for about an hour, if possible. This will help make the next step easier but if you don’t let it sit, it will still work.
- Line a sandwich tin with parchment paper.
- Do one last round of stretch and folds on the dough, and then do the following to shape it to into a sandwich loaf. Use a “c” shape with both hands and cup the dough on both sides. Using a clean countertop, gently pull the dough towards you and roll it just slightly to start shaping it into a rectangle. Use the countertop to create tension under the dough. With your fingers, gently tuck the dough into itself on the bottom, so that you’re creating almost a knot on the bottom of the dough (the side that’s touching the countertop). Continue the cupping motion, rotating the dough occasionally and pulling it towards you to create a rectangle, for 1-2 minutes.
- Place the dough in the sandwich tin, knot side down, and cover with a tea towel. Let sit on the counter for 2-4 hours.
- Note: keep an eye on your dough! If your house is very warm, the dough may rise quickly and be ready to bake within a couple hours. If the house is cooler, it will may take more like 3-4 hours to rise. Just don’t let it sit too long, or it will over ferment and fall back down!
- Preheat the oven the 375 degrees F.
- Remove the tea towel and place the sandwich loaf tin directly in the oven. Bake at 375 for 30 minutes, or until the top is golden brown.
- Now, you want to let the dough sit for about an hour before cutting it open. When you first take it out of the oven, it’s actually still baking and needs more time!
- Slice when ready and enjoy. Once the loaf has fully cooled, wrap it in plastic to preserve it. The sandwich loaf will last up to a week on the countertop if kept wrapped in plastic.
I hope this seeded sandwich bread carries you and your family through breakfast, lunch, and into dinner with smiles on your faces. Enjoy!



Can I let the bread stay in the refrigerator until the day after when you say to take it out the next day? The recipe looks so yum!
Do you mean leaving it in the fridge an extra day? If so, yes that’s totally fine!