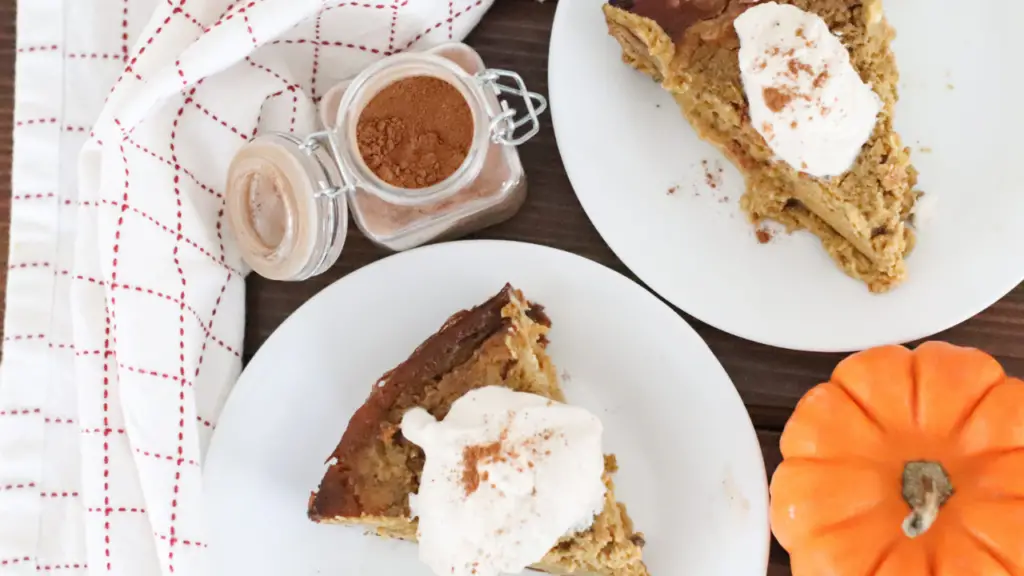
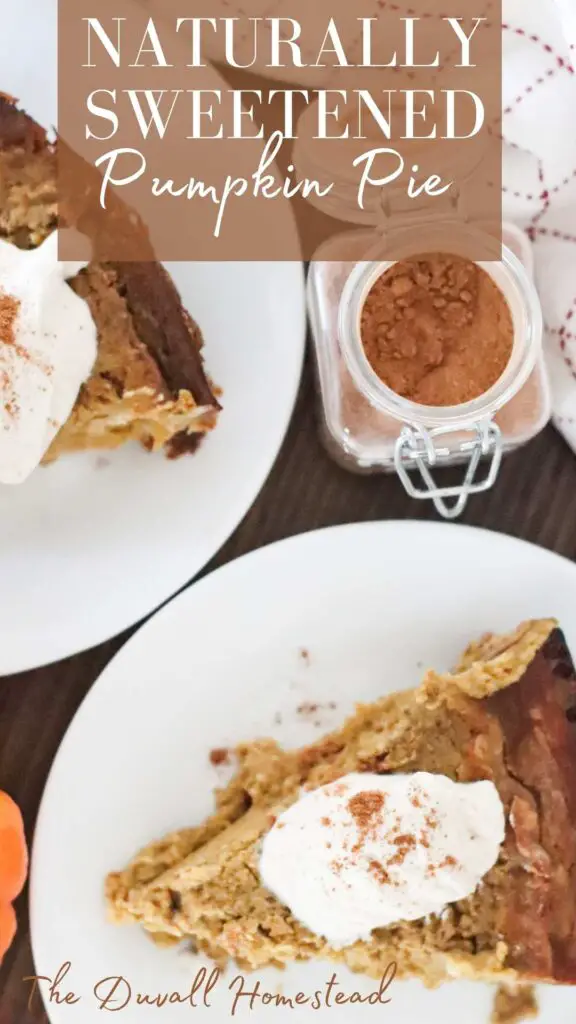
It’s pie season! We are making farm fresh pumpkin pie, sweetened only with natural flavors and spices. Healthy enough to be eaten for breakfast even! What I love about this recipe is that is uses a real pumpkin, so it’s more like a pumpkin meal than a dessert pie. And pumpkin is so good for you too! This no sugar added pumpkin pie is fun to make and is one of the best ways to go farm-to-table this year. Don’t forget pumpkins are in season for a long time, so enjoy this dish well into the holidays!
This post contains affiliate links, which means I may make a small commission off items you buy at no extra cost to you! As an Amazon affiliate, I earn on qualifying purchases.
Have you ever started to make something and then realized part way through that you’re missing one, two, or more of the ingredients? That ALWAYS happens to me. But I’ve actually realized that that is how the best recipes are born. When you don’t have the right flour, or enough eggs, or you want to sub out the sugared syrup. In walks this healthy breakfast pumpkin pie!
Recently we have been doing everything in our control to eliminate canned goods, processed sugars, and anything involving plastic or artificial ingredients. This isn’t always possible, and it takes time to do completely, but you’ve got to start somewhere. When I started making pies like this one, I realized that you can make a sugar-free BPA-free and totally farm-to-table dessert item – and have it be even better than the original!
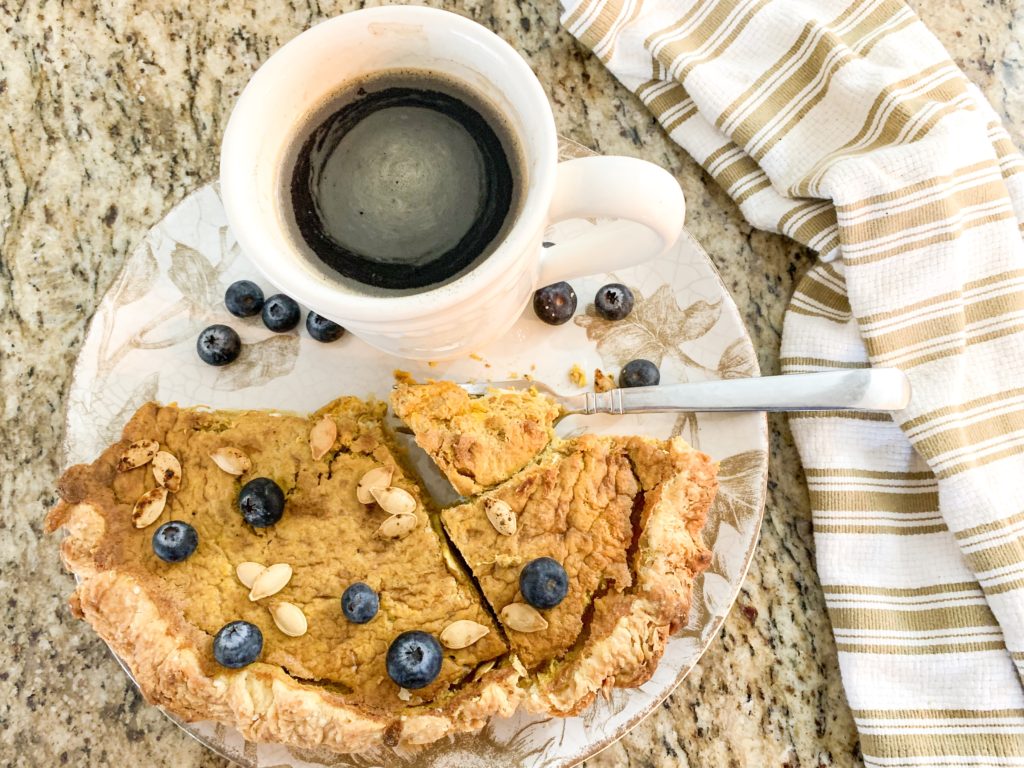
UPDATE: I recently re-photographed this recipe (hey, I think I was using a camera phone before!) but the recipe remains the same. Some things are just best kept original 🙂
Pin it For Later!

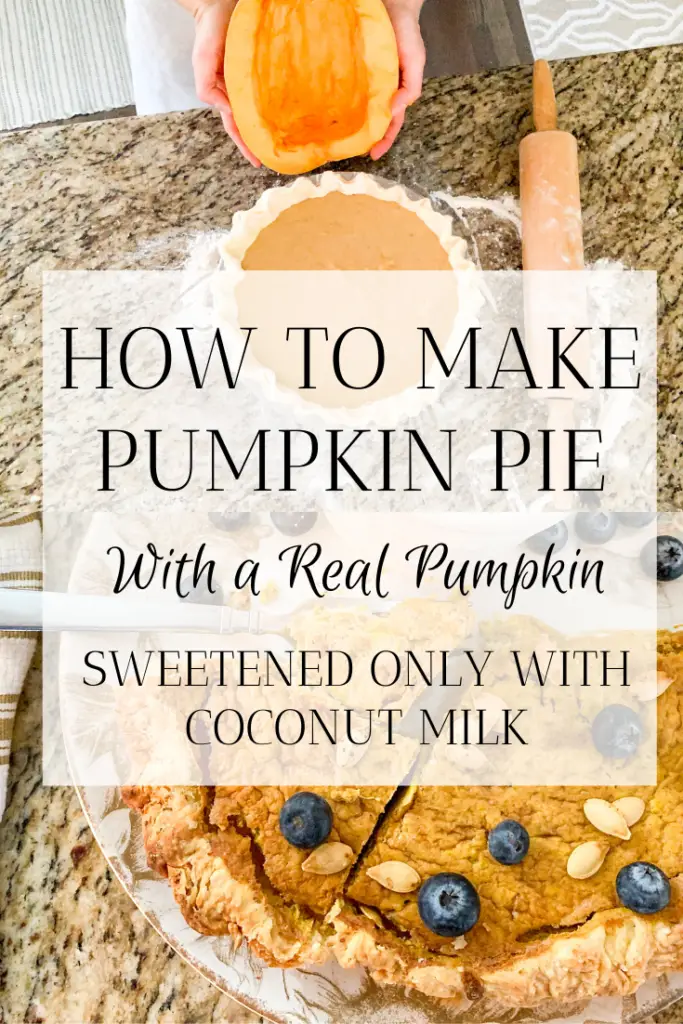
Watch: How to Make Pumpkin Pie with a Real Pumpkin from Start to Finish
What I love about this recipe is that it is so healthy for you. First you will take a real pumpkin, roast it and then blend it. Then you’ll add the coconut milk and spices. That’s it!
Now I like to make this with homemade sourdough pie crust and fresh whipped cream. Here’s the recipe for the pie crust and the recipe for the whipped cream is below!
In this recipe we use a real sugar pie pumpkin. If you don’t have a pumpkin of your own, you can always get organic canned pumpkin, or whatever you hav available, at the store. Using a real pumpkin is just that much healthier for you, and it also adds a slightly chunky texture to the pie as you might find chunks of pumpkin in it. Also there are so added preservatives or sugars in a real pumpkin, of course.
In fact I have an entire blog post dedicated to it! How to make homemade pumpkin puree.
How to Cut, Gut, and Bake a Real Pumpkin
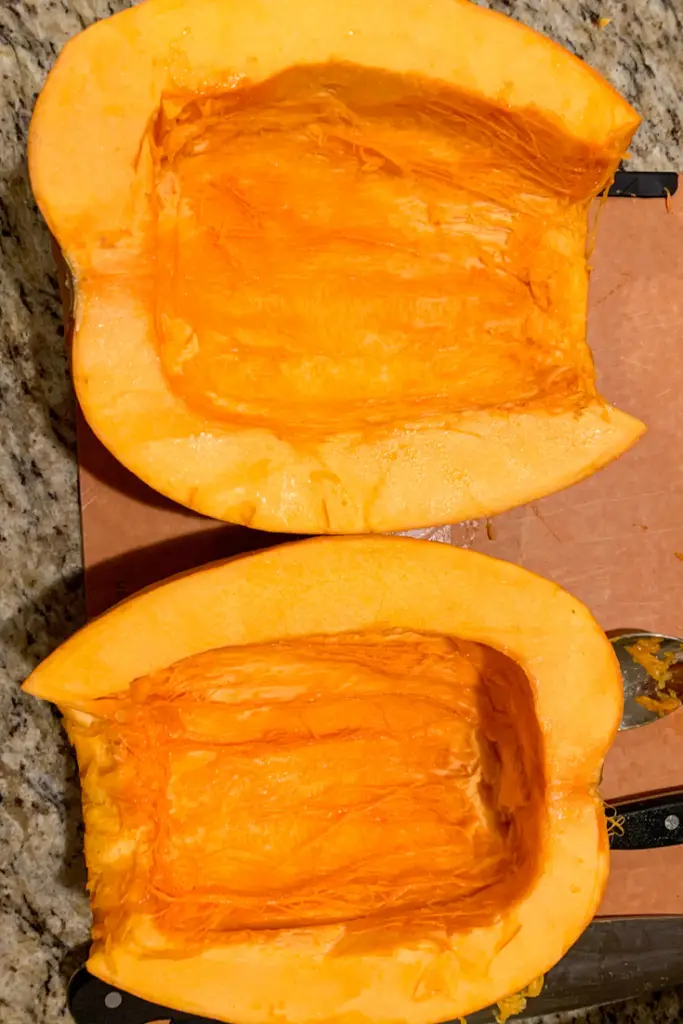
Start by chopping the stem off and then slicing the pumpkin in half. You will need to use a sharp knife, so make sure an adult is performing this task!
Gut the pumpkin by taking a large spoon and scooping out the seeds and the guts. Get as much out as you can.
Use your nicest peeler to peel the skin off the pumpkin. Now the skin will be quite tough, so if you have a squash peeler like this one you’ll have an easier time. But if you don’t and you use a potato peeler like I did, you’ll need some elbow grease but you eventually you will get the job done!
Note: for this recipe you will only need half of the pumpkin chopped and roasted. Save the other half for another pie, or try this homemade pumpkin bread!
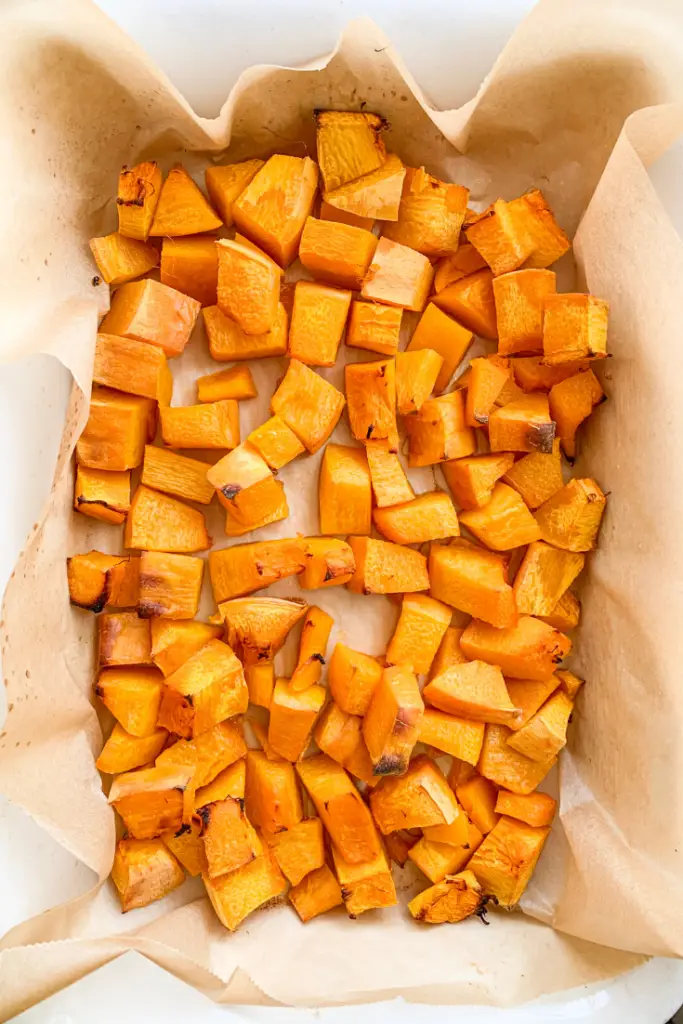
Next, chop the pumpkin into cubed sized pieces, and lay onto a baking sheet lined with parchment paper. And preheat your oven to 365 degrees.
Drizzle the pumpkin cubes with 1/3 C melted coconut oil and add a little salt and pepper. Roast the pumpkin at 365 degrees for 45 minutes.
Note: always check the smoke point of your coconut oil. Ours said it was good up to 365, so we did 365 for 45 minutes. Never put oil in your oven at a temperature higher than the smoke point!
Tips for making Pumpkin Seeds, Crust, and Pie
If you just gutted your pumpkin, you’re probably wondering what to do with all those pumpkin seeds. Well, you could make homemade roasted pumpkin seeds (a healthy and delicious snack!), you could give them to your chickens as a snack and natural de-wormer (ours love them!) or you could toss them. If you’ve never made pumpkin seeds in the oven before, I highly recommend you try it. It’s so easy – simply rinse the pumpkin seeds, let them dry, and place them on a parchment paper-lined baking pan. Throw on your favorite seasonings and roast at 350 degrees. Here’s Martha Stewart’s version of pumpkin seeds.
If you’re new to carving and gutting pumpkins, don’t worry, you’ll be fine. But I would recommend giving yourself plenty of time to do this. What I do a lot is prep some of the ingredients several days before hand so that I cut down the time I spend on the prep. So you can do the pumpkin work the day before to save some time.
Same thing for the crust. You can prepare the crust dough and stick it in the fridge the day before. Just let it sit in the fridge until you’re ready to roll it out! I am all about saving time.
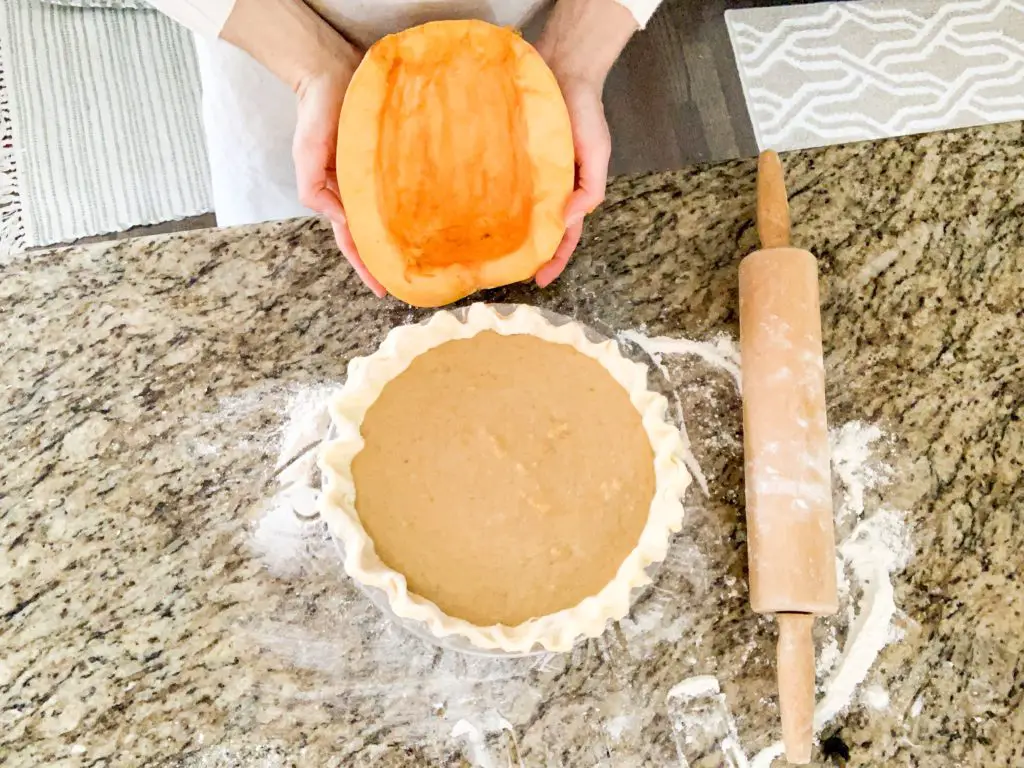
If you have a sourdough starter, here’s a post I made detailing how to make a sourdough pie crust!
Ingredients for Pumpkin Pie Filling
One half of a sugar pie pumpkin, cut into square pieces, roasted and pureed. For the full process of how to make pureed pumpkin, I explain it in this post here. Alternatively, you can use one 14oz can of canned pumpkin.
1/4 C melted olive or coconut oil, for coating the pumpkin with before roasting in step 1.
14 oz can organic coconut milk (alternatively, you could use condensed milk but the coconut milk adds a nice natural sweet flavor)
Two large eggs. Farm fresh is best!
1 Tsp cinnamon
Ginger – 1 tsp
1 tsp nutmeg
1/2 tsp salt (or more if using unsalted butter in your pie crust)
Quarter cup maple syrup (optional and highly recommended)
Homemade Pumpkin Pie Whipped Cream
To add a festive sweet topping, try this homemade whipped cream. Add the following to a mixer and mix on high for 5-10 minutes, until it turns into thick cream:
1/2 cup heavy whipping cream
pinch salt
dash vanilla extract
1-2 tsp sugar (to taste)
1/4 tsp pumpkin pie spice
How to make a pumpkin pie with a real pumpkin
- Start by cutting a sugar pie pumpkin in half, gutting it, and skinning it. Take one half the pumpkin and cut it into cubes. Coat with olive or coconut oil and roast on a baking tray in the oven at 375 degrees F for 30 minutes. Let cool for 30 minutes.
- Place the pumpkin into a food processor and pulse until the pumpkin is pureed. Half of a sugar pie pumpkin yields just under 2 cups of pureed pumpkin. Alternatively, you could use one 14 oz can of pureed pumpkin.
- In a large bowl, beat the pureed pumpkin, coconut milk, eggs, maple syrup, and spices together with a whisk attachment. If you don’t have a whisk attachment, use regular beats for a short amount of time and then switch to a hand-held whisk (this is to keep the filling fluffy).
- Pour the pumpkin filling into the pie crust. We like our sourdough pie crust using our sourdough starter! But you could always grab a crust from the store.
- Bake at 350 degrees F for 60-70 minutes, until a knife inserted in the middle comes out clean. Halfway through, so after 30 minutes, cover the pie with aluminum foil so that the crust doesn’t burn. When the pie first comes out it may look a little watery in the center, but it will form over time. Let cool for 2 hours.
- Top with homemade roasted pumpkin seeds as a snack, or serve with blueberries and coffee for breakfast. And yes, you can also whip up some homemade whip cream for dessert! (recipe above)
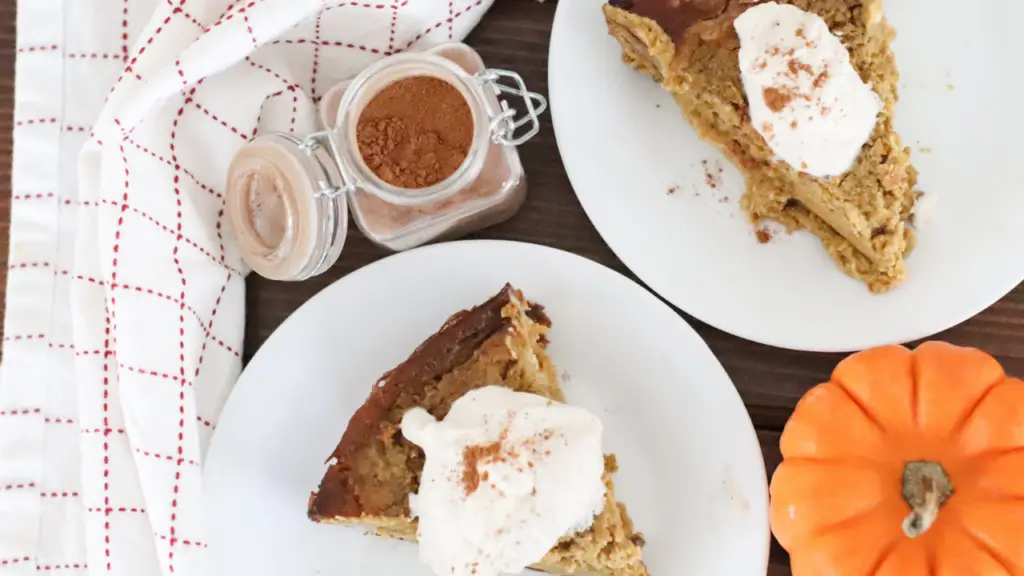
I hope you enjoy this tasty, healthy, and totally handmade pumpkin pie. If you did, write in the comments below how yours turned out. I love to hear from you!
Try this pumpkin chili recipe with lamb next!
Don’t forget to check out some of our other healthy recipes, such as beef stew from scratch and crispy Brussels Sprouts.
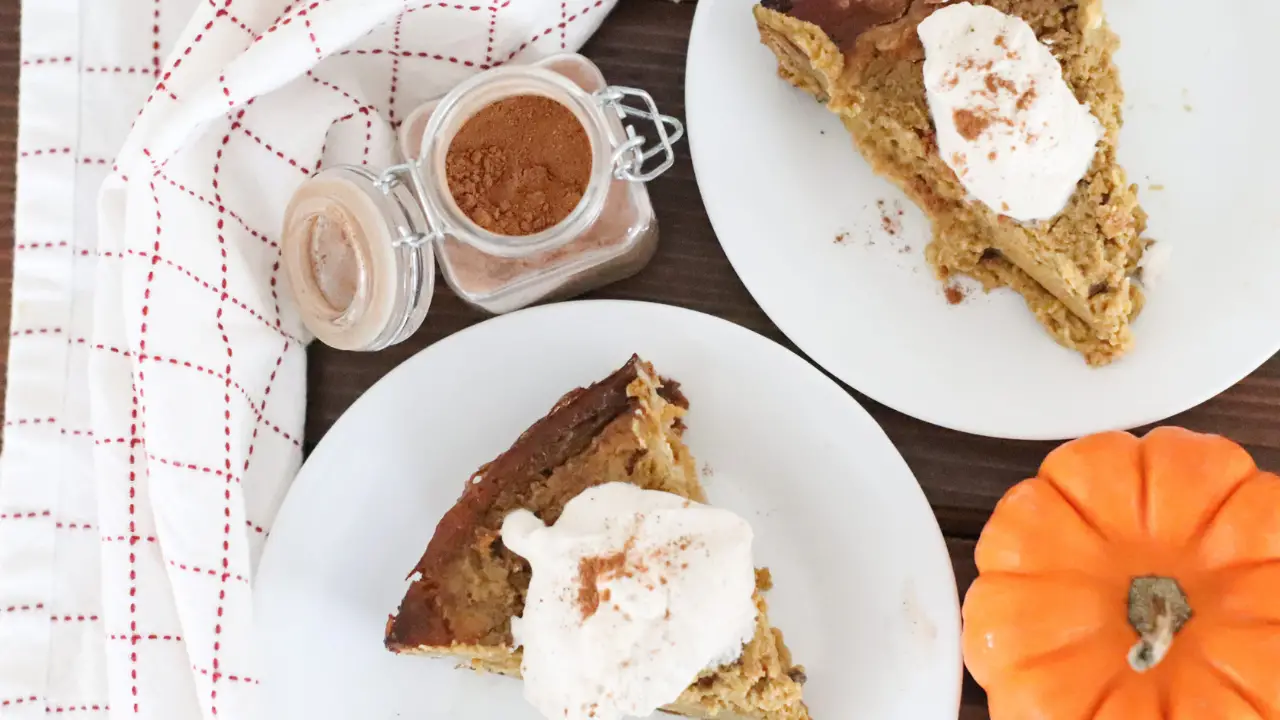
Pumpkin Pie Naturally Sweetened
This pumpkin pie recipe is naturally sweetened and made from scratch from a fresh pumpkin. Enjoy it for breakfast with coffee, or top it with whipped cream for a festive dessert!
Ingredients
- -------------For the Pumpkin Pie Filling------------------
- • Half of one sugar pie pumpkin (about 2 cups) or one 15 oz can of pumpkin puree
- • 1/4 cup coconut or olive oil to coat the pumpkin with before roasting
- • One 14oz can organic coconut milk
- • 2 large eggs
- • 1 tsp cinnamon
- • 1 tsp ginger
- • 1 tsp nutmeg
- • ½ tsp salt
- • 1/4 cup maple syrup (optional)
- • 3 TBSP brown sugar (optional - if serving for dessert)
- ------------Homemade Whipped Cream-----------------
- Add the following to a mixer and mix on high for 5-10 minutes until a thick cream forms.
- • 1/2 C heavy whipping cream
- • 1-2 tsp sugar, to taste
- • dash vanilla extract and a pinch of salt (like my measurements here?)
- • 1/4 tsp pumpkin pie spice
Instructions
- Start by cutting the top off of the pumpkin, cutting it in half, gutting it (taking the seeds and
guts out) and then peeling the skin off with a potato peeler. - Chop the pumpkin into cube-sized pieces and place in a roasting pan lined with parchment paper.
Lightly coat the pumpkin with 1/3C coconut oil or olive oil. Roast the pumpkin in the oven at 375 degrees for 30 minutes. - After roasting, let the pumpkin cool for about 30 minutes.
- Place the pumpkin into a food processor and pulse until the pumpkin is pureed. Half of a sugar pie pumpkin yields about 2 cups of pureed pumpkin.
- In a large bowl, beat the pureed pumpkin, coconut milk, eggs, spices, maple syrup, and brown sugar if using it together with a whisk attachment. If you don’t have a whisk attachment, use regular beats for a short amount of time and then switch to a hand-held whisk (this is to keep the filling fluffy).
- Pour the pumpkin filling into the pie. I like to make this with a homemade sourdough pie crust. Bake at 350 degrees F for 60-70 minutes. Halfway through, so after 30 minutes, cover the pie with aluminum foil so that the crust doesn't burn. When the pie first comes out it may look a little watery, but it will form over time. Let cool for 2 hours.
- Top with homemade roasted pumpkin seeds as a snack, or serve with blueberries and coffee for breakfast. And yes, you can also whip up some homemade whip cream for dessert!
PIN IT FOR LATER!


Leave A Comment