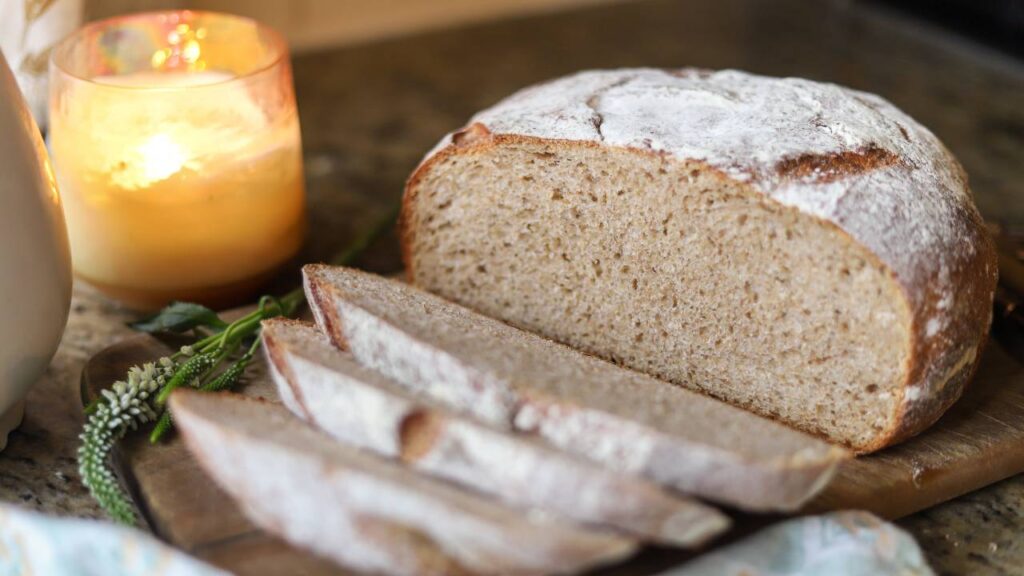
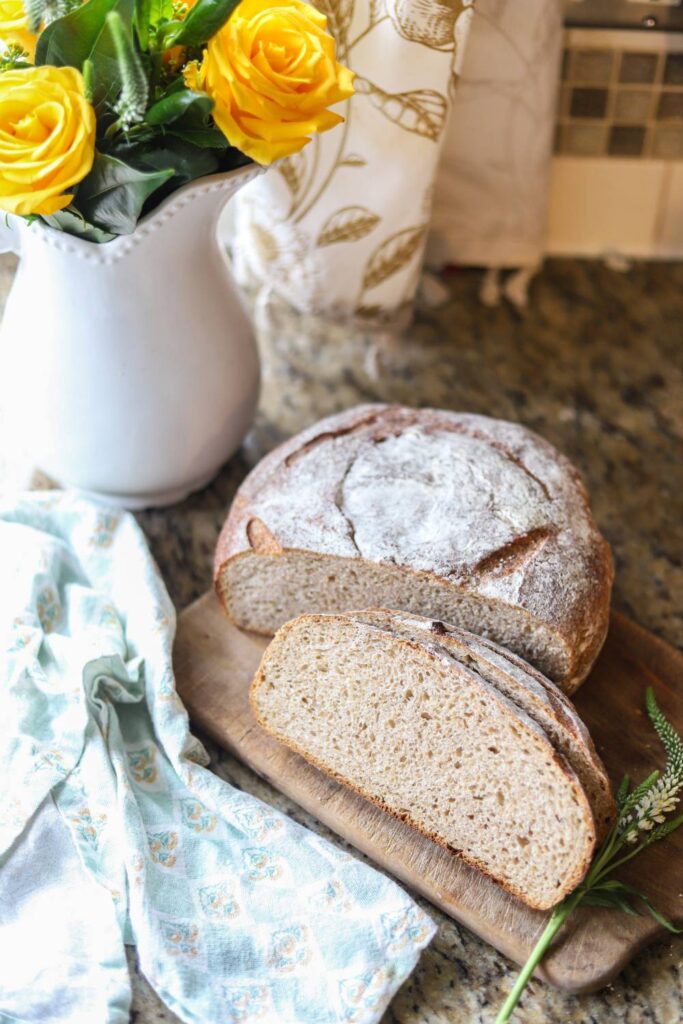
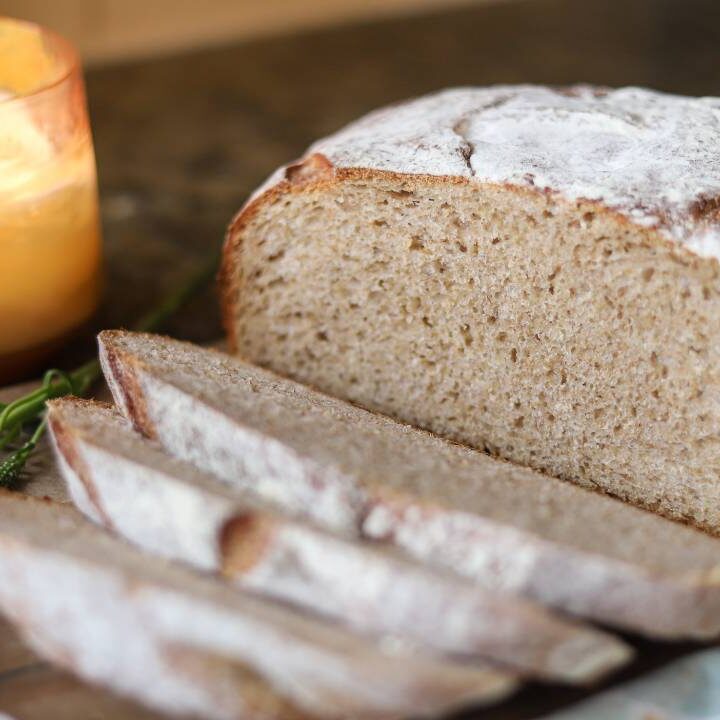
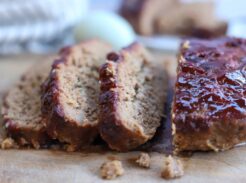
This whole grain sourdough buttermilk bread is an easy beginner’s sourdough recipe, with rich buttermilk and hearty whole grain ingredients. It has just the right balance of flavors and light texture that’s perfect for sandwiches, toast, or serving alongside a hot meal.

This whole grain sourdough buttermilk bread is an easy beginner’s sourdough recipe, with rich buttermilk and hearty whole grain ingredients. It has just the right balance of flavors and light texture that’s perfect for sandwiches, toast, or serving alongside a hot meal.
Pin It For Later!

Having fun with buttermilk!
You’ve got to thank husbands sometimes for getting you started on something new.
This time, it was John who came home with extra buttermilk that I needed to use it, so I started putting in everything. Pancakes (that was easy – my favorite buttermilk pancake recipe), cream of wheat, popsicles, smoothies, and yes, even sourdough bread!
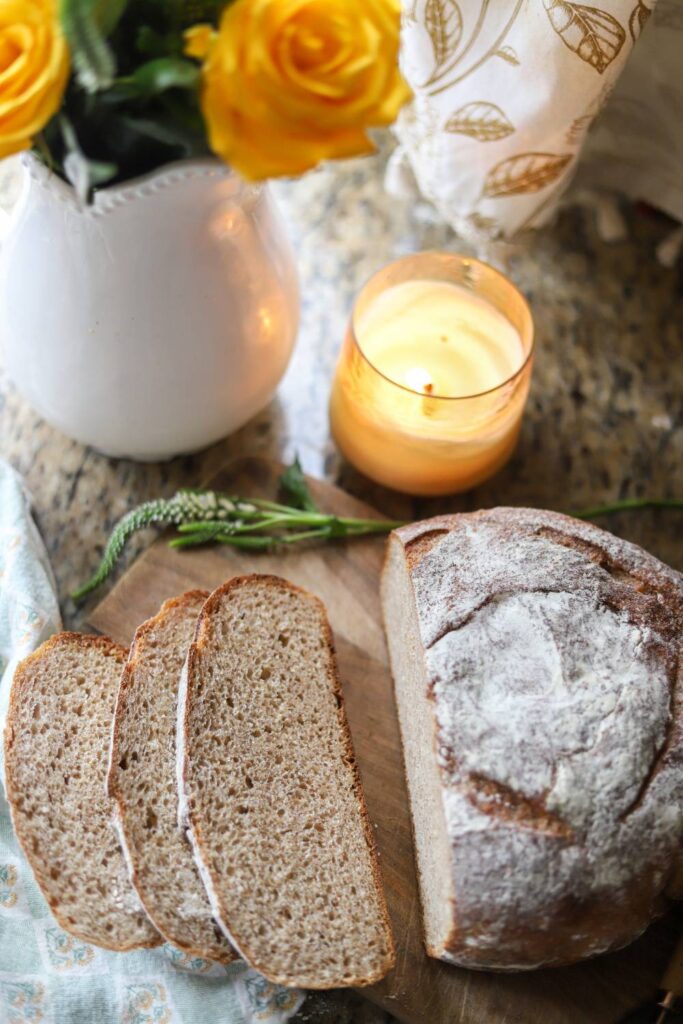
Buttermilk works surprisingly well with sourdough bread because it already has that tangy, delicious flavor. And, it’s thickness gives the bread a wonderful moisture and chewyness.
Buttermilk sourdough bread is crispy on the outside and soft and chewy on the inside, and contains a perfect combination of flavors.
I know you and your family will love it as much as we do!
This post contains affiliate links, which means I may make a small commission off items you buy at no extra cost to you. As an Amazon associate, I earn on qualifying purchases. See my full disclosure here.
Why We Love Whole Grain Sourdough Buttermilk Bread
A surprising flavor. I honestly wasn’t sure if adding buttermilk to sourdough bread would make a difference, but it really does. Baecause of the yogurt-like consistancy of buttermilk, the bread comes out super moist and chewy, with a little extra sour to it.
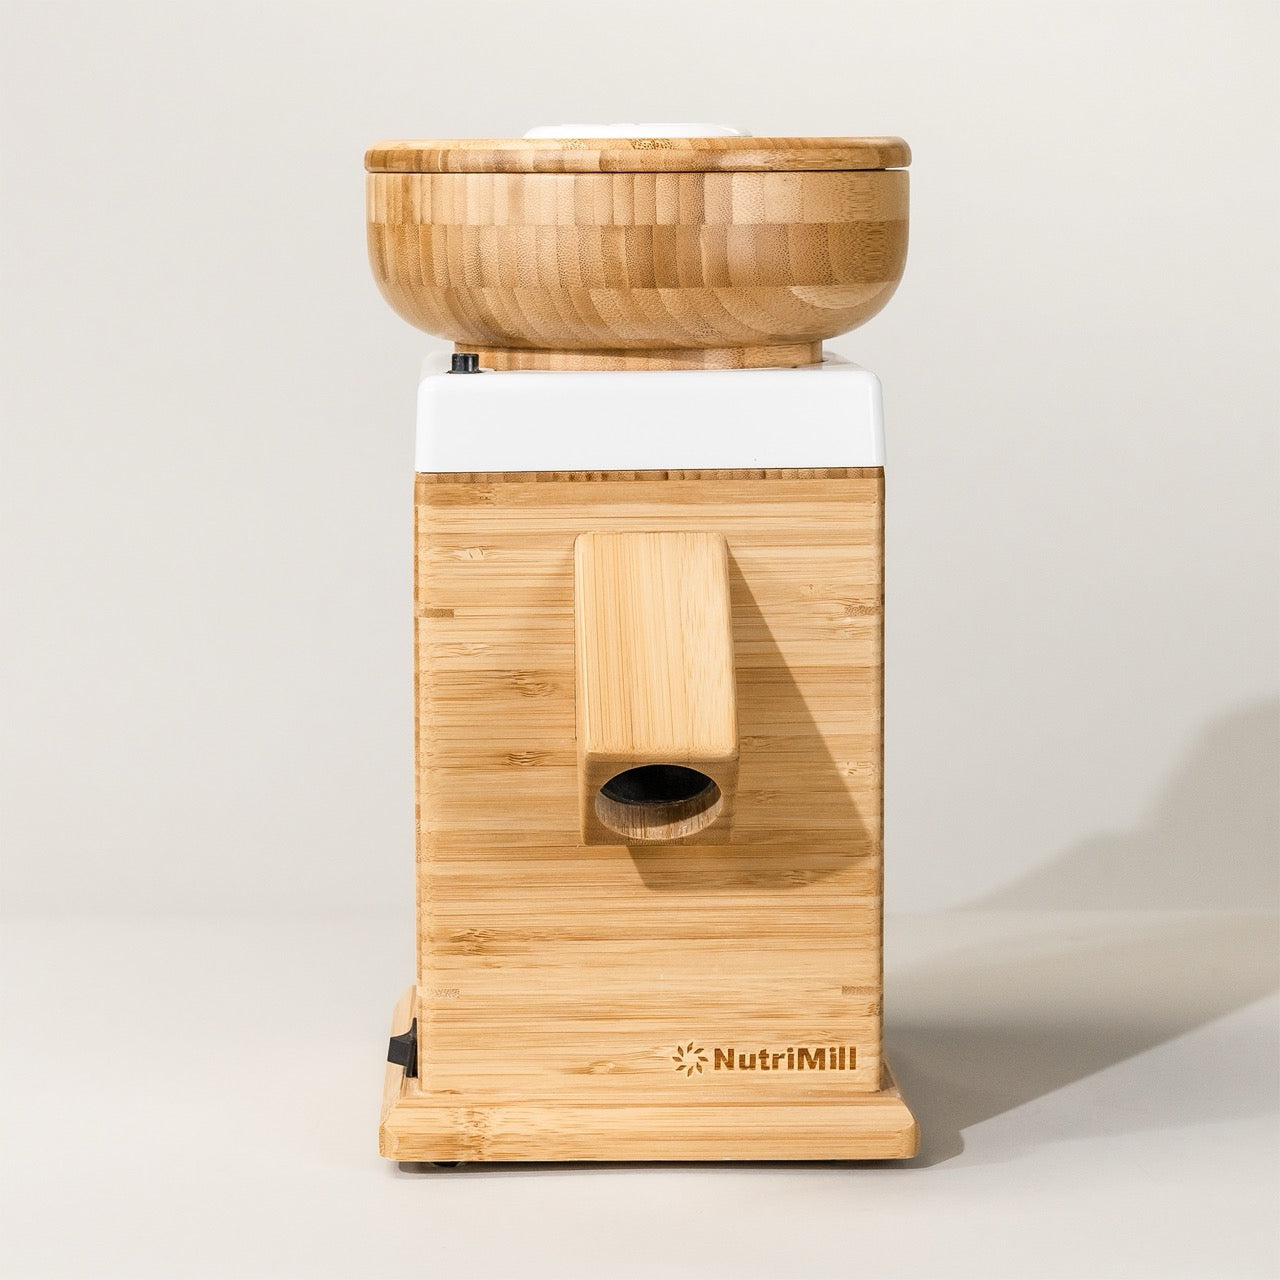
Soft and hearty considering it’s whole grain! We’ve been cooking a lot with our grain mill recently. In fact, I think almost every bread product I make now has at least some whole grain in it. And we know that the whole grain breads can be a bit dense. But the buttermilk actually makes the bread a bit more fluffy, which is a nice change!
Tips for Making Sourdough Buttermilk Bread with Freshly Milled Flour
Watch your dough! I’m saying this because I have been overfermenting my bread so much recently. If your house is warm, it’ll ferment quick, so keep an eye on it.
Depending on your type of flour, grain mill, an overall environment, your dough might need a little bit more or less flour or water. The initial dough should be stick but not watery, and as it absorbs the water and develosp the gluten, it will turn into a more pliable dough. Experimentation is key.
I love using this kind of sourdough bread for french toast or homemade bread sticks.
More Bread Recipes From the Homestead
Einkorn Sourdough French Bread
Einkorn Sourdough Banana Bread
New to Sourdough?
You can learn how to make your own sourdough starter from scratch to make homemade bread, sourdough pizza, bagels, and more.
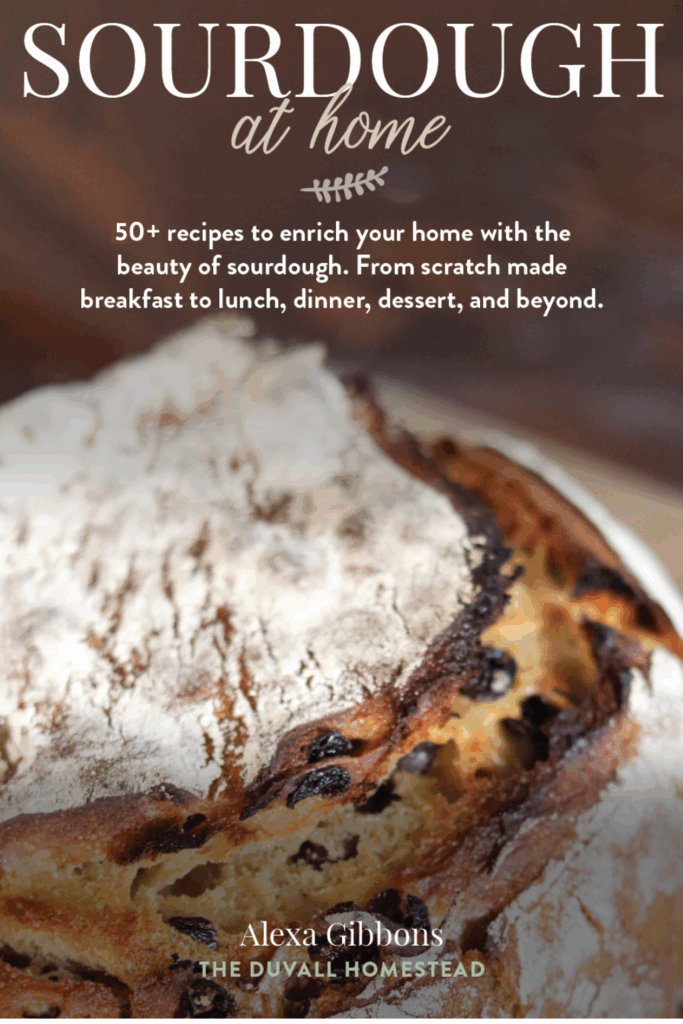
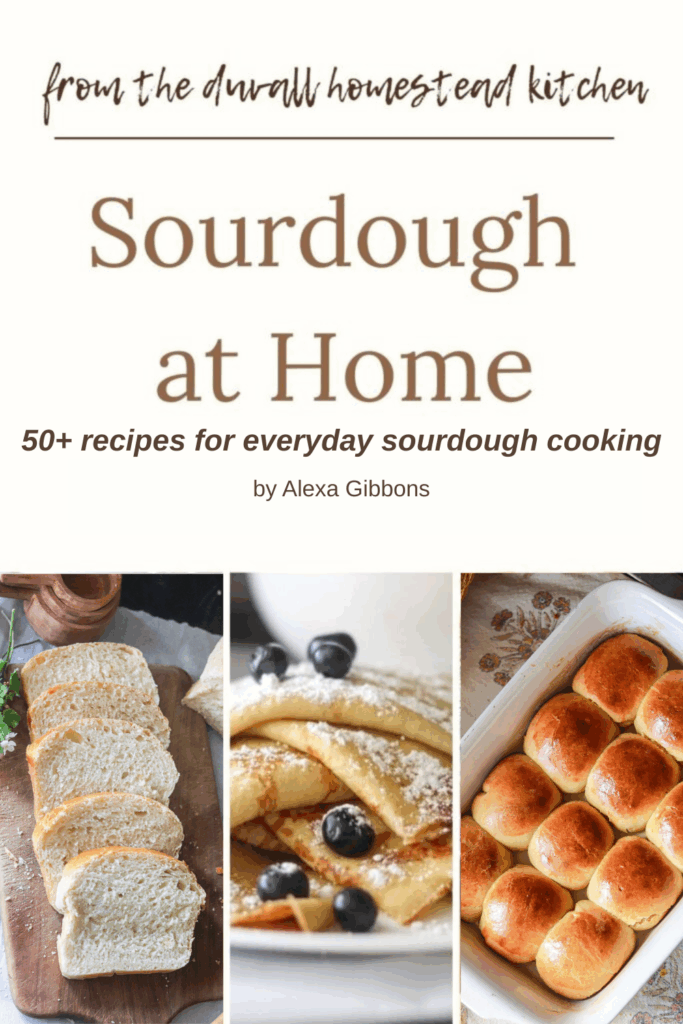
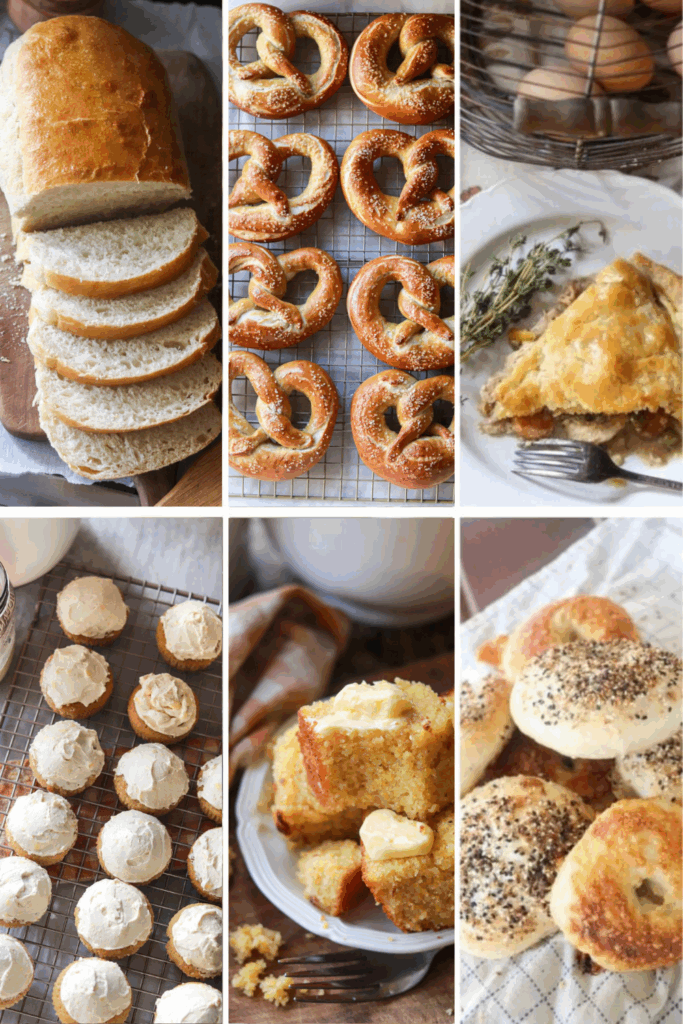
Put all your sourdough recipes in one spot!
Download and print off this NEW sourdough recipes ebook and keep your favorite sourdough recipes on your counter for easy, every day cooking.


Tools Needed
Large glass or stainless steel mixing bowl
Parchment paper
Cooling rack (optional)
Grain Mill (optional – if freshly milling the grains)
Whole Grain Sourdough Buttermilk Bread Ingredients
3/4 cup feed active sourdough starter
1 cup buttermilk
1/2 cup water
1 tbsp avocado oil
1/4 cup honey (optional)
2 tsp salt
2 cups regular all purpose flour
1 3/4 cups whole grain (about 1 1/2 cup hard white wheat berries)
Example Whole Grain Sourdough Buttermilk Bread Timeline
Here are the five phases to making whole grain sourdough buttermilk bread. Now do not be intimidated. Each phase takes less than 5 minutes of your time. All the magic of making bread happens on it’s own with time!
We love having a sourdough loaf for Sunday night’s dinner. To do this, follow the below timeline:
Saturday morning: Take starter out from the fridge and feed it. Let sit on the counter all day until it passes the float test.
On Saturday late afternoon: Phase 1 – Make the Dough
Then Saturday evening: Phase 2 – Lift and Tucks
Saturday over night: Phase 3 – Bulk Rise
Sunday morning: Phase 4 – Second Rise
Sunday afternoon: Phase 5 – Bake the Bread
Phase 1 – Make the Dough (3 min)
Pour the fed and active sourdough starter and water into a large mixing bowl and whisk together. If you’re not sure if your starter is ready, do the “float test” described above.
Add the flour and salt. With clean hands, combine all ingredients for about 20 seconds until all the flour is cleaned off the sides of the bowl. The dough will feel sticky. Do not overdo it here.
Let the dough rest. Put a tea towel on top of the bowl and set on the counter for 30 minutes to an hour.
Phase 2 – Lifts and Tucks (1 min)
Sounds like an exercise routine, but it’s just some hand motions on the dough.
Starting from one end of the dough, lift it up and fold it over itself into the center of the dough. Then rotate the bowl 90 degrees and repeat, until all sides have been lifted, tucked and folded. So, four times total.
Cover the bowl and let sit on the counter. Then, repeat the lifts and tucks 2 more times (for a total of 3 times), each about one hour apart. Now, don’t get too obsessed with this part. This is just creating nice volume in your bread. If you skip one or let two hours go by instead of one, it’s totally okay.
Phase 3 – Bulk Ferment (30 sec)
The easiest (and most important) phase!
Cover the bowl with saran wrap and then a tea towel on top. Place in the fridge and let sit overnight.
Phase 4 – Second Rise (5 min)
Pull the dough out of the fridge and clear a spot on your countertop. On half the counter, sprinkle some flour and leave the other half clean with no flour.
Remove the dough from the bowl and place on the flour side. Do one more round of the lift and tucks to form your dough.
Remove the dough from the flour side, flip it over, and set it on the non-flour side. Form the letter C with your hands and use a cupping motion around the dough to create a ball. Rotate the ball with short rotations in a circle. You should have a dough ball that is easy to pick up and not sticky now. Add more flour if the dough is too sticky.
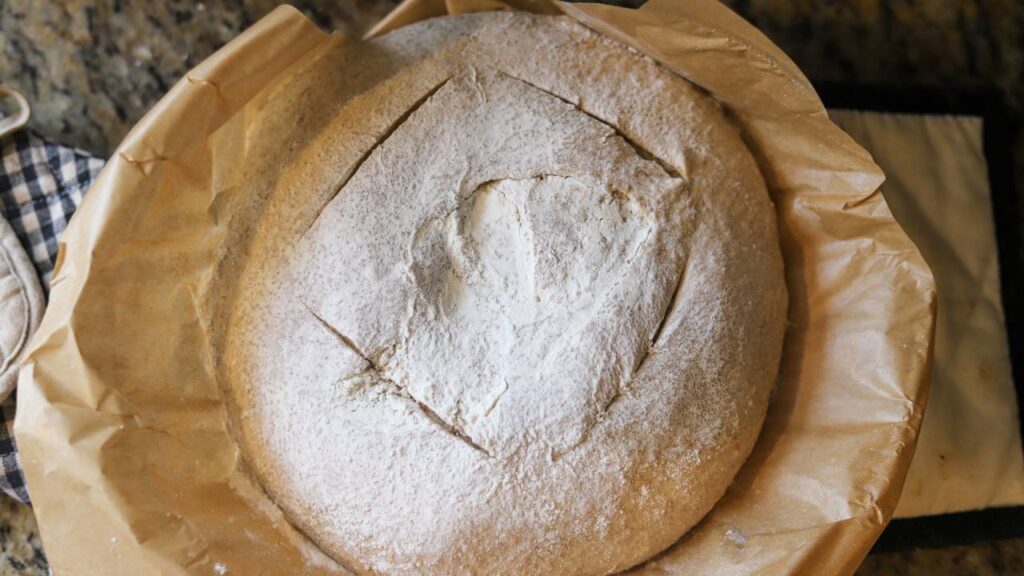
Grab a sheet of parchment paper and set the dough on the parchment paper.
Pick up the parchment paper and set the dough in a dutch oven. Cover with a tea towel and let sit on the counter for at least 2 hours.
Phase 5 – Bake the Bread (finally!)
First, take your bread that was rising in the dutch oven out of the dutch oven.
Turn your oven onto 450 degrees F and place the dutch oven (empty) into the oven to preheat with it.
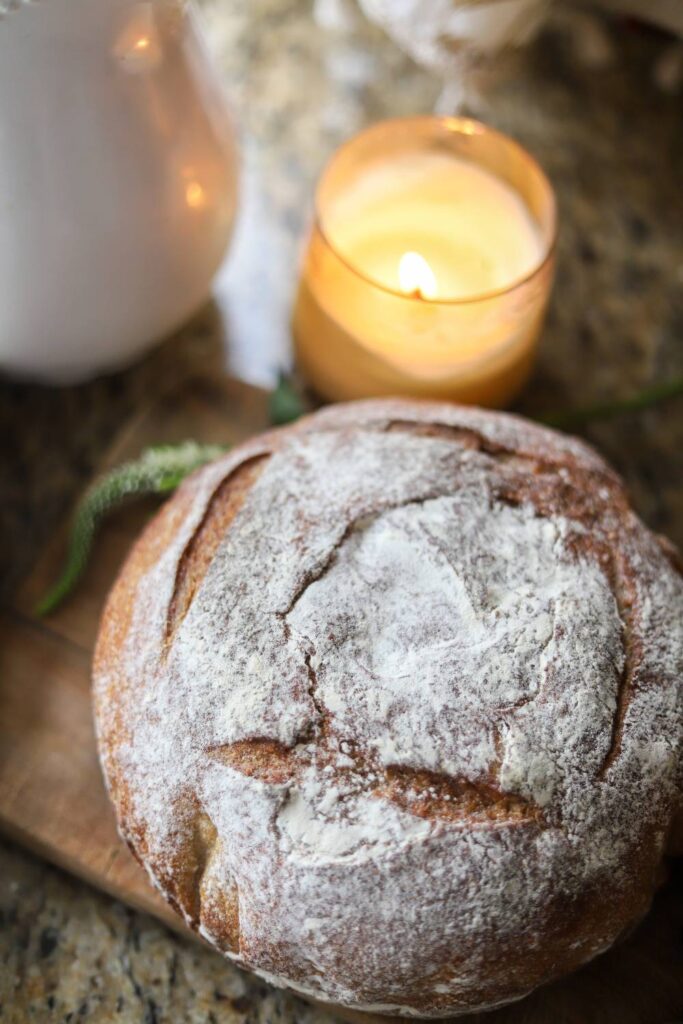
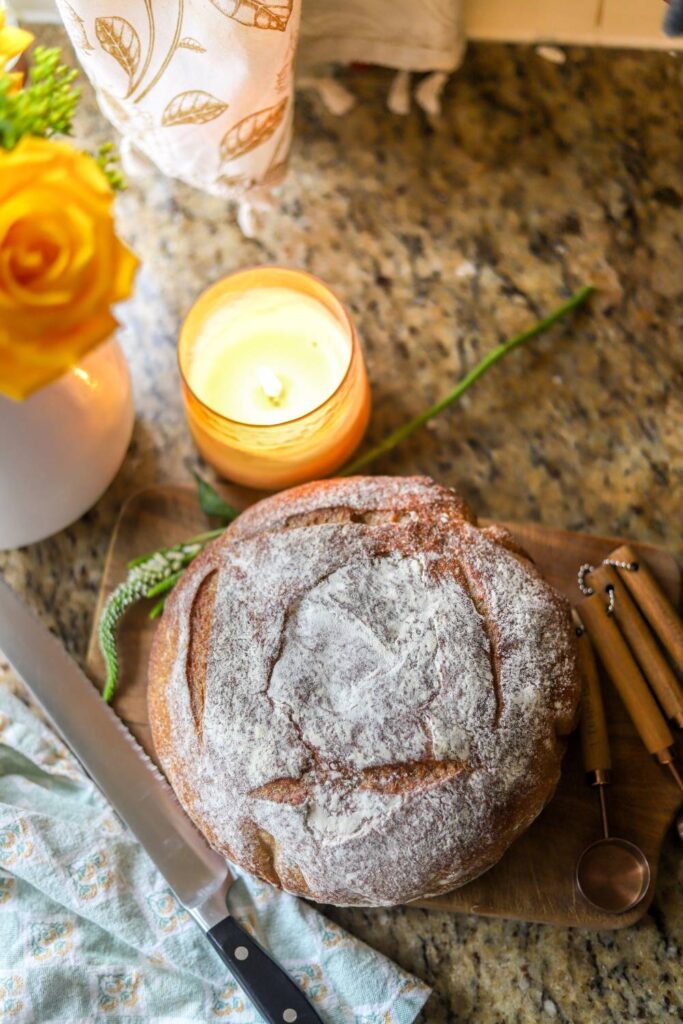
Once the oven is preheated, score your bread. Scoring is the process of creating a slit in the dough so that it can breath and rise in the oven. You can buy a special scoring knife to do this, but we just use a serrated knife and it works perfectly.
Carefully place the parchment paper with the bread on it inside of the dutch oven.
Cover the dutch oven and, with the bread inside, place it in the oven.
Bake for 25 minutes with the lid on, and then another 20 minutes with the lid off.
THIS LAST STEP IS THE MOST IMPORTANT.
WHEN THE BREAD IS DONE, DO NOT CUT IT. You will be tempted to cut it open right away and devour it. I know the smell of freshly baked bread can be hard to resist, but don’t do it. We’ve done it and learned from our mistakes.
The bread needs to sit for an hour in order to finish cooking. If you place your ear right next to the bread, you can hear it crackling. Transfer it to a cooling rack so it can properly cool. Don’t worry, it will still be hot inside after an hour!
FAQs
Can I use 100% whole wheat flour?
You can, but the bread will be more dense. Mixing in all-purpose flour helps keep the loaf softer and fluffier.
What does buttermilk do in sourdough bread?
Buttermilk, because of its yogurt-like consistency, makes the bread soft and moist inside, and also adds a nice sour flavor.
Can I make this bread without honey?
Yes! The honey is optional and mainly adds a touch of sweetness. The bread will still turn out delicious without it.
How do I store sourdough buttermilk bread?
Store the bread wrapped in plastic wrap on the countertop for 4-6 days. Or, slice and freeze for later.
Save It For Later!
More Whole Grain Recipes From the Homestead
Whole Grain Sourdough Boule Recipe
Sourdough Whole Grain Blueberry Muffins
Sourdough Pie Crust with Freshly Milled Whole Grain
Whole Grain Buttermilk Honey Biscuits
Whole Grain Sourdough Buttermilk Bread
This whole grain sourdough buttermilk bread is an easy beginner's sourdough recipe, with rich buttermilk and hearty whole grain ingredients. It has just the right balance of flavors and light texture that's perfect for sandwiches, toast, or serving alongside a hot meal.
Ingredients
- 3/4 cup feed active sourdough starter
- 1 cup buttermilk
- 1/2 cup water
- 1 tbsp avocado oil
- 1/4 cup honey (optional)
- 2 tsp salt
- 2 cups regular all purpose flour
- 1 3/4 cups whole grain flour (about 1 1/2 cup hard white wheat berries)
Instructions
Phase 1 - Make the Dough
Pour the sourdough starter and water into a large mixing bowl and whisk together. Add the flour and salt and combine with your hands for about 20 seconds until all the flour is absorbed. Cover bowl with tea towel and let rest 30 minutes.
Phase 2 - Lift and Tucks
Starting from one end of the dough, lift it up and fold it over itself into the center of the dough. Then rotate the bowl 90 degrees and repeat, until all sides have been lifted, tucked and folded. So, four times total. Cover the bowl and let sit on the counter. Then, repeat the lifts and tucks 2 more times (for a total of 3 times), each about one hour apart. Now, don't get too obsessed with this part. This is just creating nice volume in your bread. If you skip one or let two hours go by instead of one, you're still fine.
Phase 3 - Bulk Ferment
Cover the bowl with plastic wrap and then a tea towel on top. Place in the fridge and let sit overnight.
Phase 4 - Second Rise
Pull the dough out of the fridge and clear a spot on your countertop. On half the counter, sprinkle some flour and leave the other half clean with no flour. Remove the dough from the bowl and place on the flour side. Do one more round of the lift and tucks to form your dough into a ball. Remove the dough from the flour side, flip it over, and set it on the non-flour side. Form the letter C with your hands and use a cupping motion around the dough to create a ball. Rotate the ball with short rotations in a circle. You should have a dough ball that is easy to pick up and not sticky now. Add more flour if the dough is too sticky. Grab a sheet of parchment paper and set the dough on the parchment paper. Pick up the parchment paper and set the dough in a dutch oven. Cover with a tea towel and let sit on the counter for at least 2 hours.
Phase 5 - Bake the Bread
First, take your bread that was rising in the dutch oven out of the dutch oven. Turn your oven onto 450 degrees F and place the dutch oven (empty) into the oven to preheat with it. Once the oven is preheated, score your bread. Scoring is the process of creating a slit in the dough so that it can breathe and rise in the oven. You can buy a special scoring knife to do this, but we just use a serrated knife and it works perfectly. Create one or two slits in the bread with a serrated knife. Remove the dutch oven from the oven and carefully place the parchment paper with the bread on it inside. Cover the dutch oven and, with the bread inside, place it in the oven. Bake for 25 minutes with the lid on, and then another 20 minutes with the lid off. THIS LAST STEP IS THE MOST IMPORTANT. WHEN THE BREAD IS DONE, DO NOT CUT IT. You will be tempted to cut it open right away and devour it. We've done it. Don't do it! The bread needs to sit for an hour in order to finish cooking. If you place your ear right next to the bread, you can hear it crackling. Transfer it to a cooling rack so it can properly cool. Don't worry, it will still be hot inside after an hour!
Notes
Here are the five phases to making sourdoughbread. Now do not be intimidated. Each phase takes less than 5 minutes of your time. All the magic of making bread happens on it's own with resting time!
We love having sourdough bread for Sundaynight's dinner. To do this, follow the below timeline:
Saturday morning: Take starter out from thefridge and feed it. Let sit on the counter all day or until it passes the float test.
Saturday late afternoon: Phase 1 - Make theDough
Saturday evening: Phase 2 - Lift and Tucks
Saturday over night: Phase 3 - Bulk Rise
Sunday morning: Phase 4 - Second Rise
Sunday afternoon: Phase 5 - Bake the Bread
While I made this sourdough bread with all-purpose flour, feel free to experiment with your favorite wheat flour, bread flour, or whole wheat flour. This is the best way to make this rustic sourdough recipe your own.
Some of my favorite variations of this sourdough bread recipe are my whole wheat seeded sourdough sandwich bread and einkorn sourdough cinnamon raisin bread.
Recommended Products
As an Amazon Associate and member of other affiliate programs, I earn from qualifying purchases.

Leave A Comment